This is a boilerplate to use Reveal.JS easily with Gulp, Pug and Stylus.
To know more about Reveal.js and how to use, read the docs here.
You can see the demo here
First of all, install the dependencies to run this boilerplate.
# Clone this repository
$ git clone git@github.com:Qualy-org/qualy-presenter.git new_project
$ cd new_project

# install dependencies
$ npm install
# run tasks and serve
$ npm start
With the commands above, you have everything to start.
├── Readme.md
├── build
│   ├── css
│   │   └── main.css
│   │   └── theme.css
│   ├── img
│   ├── index.html
│   └── js
│       ├── main.js
│       └── vendor
├── gulp
│   ├── index.js
│   ├── paths.js
│   └── tasks
├── gulpfile.js
├── package.json
└── src
    ├── img
    ├── js
    │   ├── main.js
    │   └── vendor
    ├── slides
    ├── styl
    │   ├── highlight-themes
    │   ├── reveal-themes
    │   ├── vendor
    │   ├── main.styl
    │   └── theme.styl
    └── templates
        ├── inc
        │   ├── head.pug
        │   └── scripts.pug
└── index.pug-
Write your slides in
src/slidesfolder in separated files using the pug syntax and add them ontemplates/index.pug. -
If you want to add another scripts and css use the
templates/inc/folder and call them in thetemplates/index.pug. -
Look for different themes on src/styl/reveal-themes and call them on src/styl/theme.styl.
-
For highlight themes you can see on src/styl/highlight-themes.
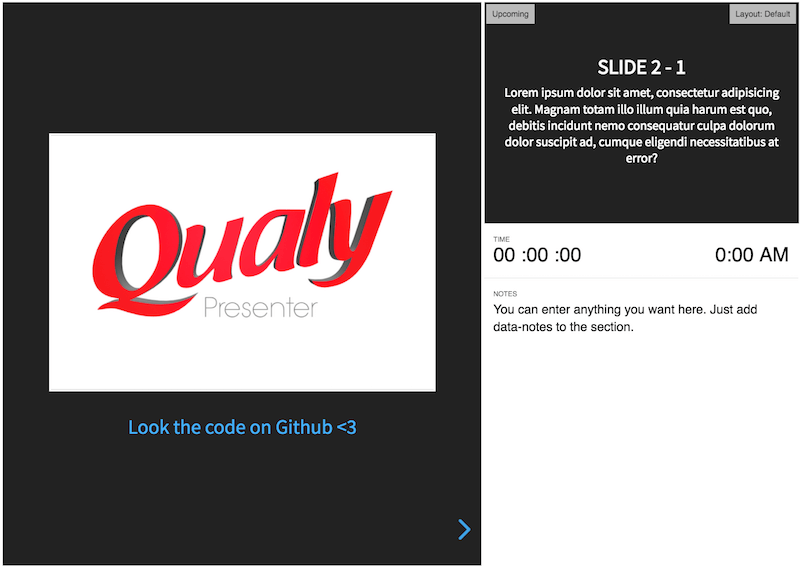
Just add data-notes to the section of the slide, like the code bellow:
- var notes = 'You can enter anything you want here. Just add data-notes to the section.'

section(data-notes=notes)
  img(src="img/qualy-presenter.png", alt="")
  p
a(href="https://github.com/Qualy-org/qualy-presenter") Look the code on Github <3When you clone this repo, every git information will be downloaded to. So, you have to remove all my git stuff to create yours.
# Inside of your project runs to remove git folder.
rm -Rf .git
Next, initialize your git repository:
# init the repo
git init
Commit all files:
# add all files to commit
git add .
# create a commit
git commit -m "Initial commit"
The first deploy needs to be manual:
# creates a gh-pages branch
git checkout -b gh-pages

# push and track the gh-pages branch
git push --set-upstream origin gh-pages
To do next deploys, you just have to run with gulp:
# will create a .publish folder with build content
# and push to gh-pages branch.
npm run deploygulp: Initialize watch for changes and a server(localhost:3000)gulp js: execute js filesgulp notes: copy speaker notesgulp stylus: compile stylus filesgulp imagemin:compress image filesgulp watch: call for watch filesgulp pug: compile pug filesgulp deploy-pages: deploy compiled files atbuildtogithubon branchgh-pages.
Some presentations using the boilerplate:
- Criando Experiências com SVG - SEMCOMP 15
- Passos para se ter um projeto com qualidade - Imasters 15
- CSS loves Math - Meetup CSS SP
- JS loves Music - Front in Sampa 16
This boilerplate is free and open source software, distributed under the The MIT License. So feel free to use this to create your site without linking back to me or using a disclaimer.
If you’d like to give me credit somewhere on your blog or tweet a shout out to @willian_justen, that would be pretty sweet.

