A kubectl plugin to authenticate against an OIDC compatible issuer using PKCE (pixy) flow
As of Kubernetes v1.11 there is beta support for a client-go credentials plugin. Using the support it is possible to use an Auth0 application to authenticate users and provide tokens with which a correctly configured Kubernetes cluster can authorize user actions.
Note that while this tool uses PKCE, since it was built the recommendation for CLIs was changed from using PKCE to using Device Authorization Flow. The recommendation change is due to usability as Deivce Authorization Flow allows for CLIs to work where browsers cannot be opened (eg: SSH terminal) and does not require you to open a port on the local machine to handle the callback. At this time there are no plans to support Device Authorization Flow in this tool, however, we welcome PRs.
At this point in the project installation is manual. In the future this will be automated.
- Make sure your Kubernetes api service is configured to use OpenID Connect Tokens.
- Download a release binary or pull down this repo with
git clone git@github.com:auth0/k8s-pixy-auth.git - If you pulled down the repo, change to the cloned directory and build the binary with
go build - Initialize your kube config making sure to use the argument values applicable to your cluster
k8s-pixy-auth init --context-name "minikube" --issuer-endpoint "https://joncarl.auth0.com" --audience "minikube" --client-id "QXV0aDAgaXMgaGlyaW5nISBhdXRoMC5jb20vY2FyZWVycyAK" --port 8080. If you are using refresh tokens add--with-refresh-tokento the command arguments. If you are using the ID Token instead of the Access Token add--use-id-tokento the command arguments. - Run a command against Kubernetes like
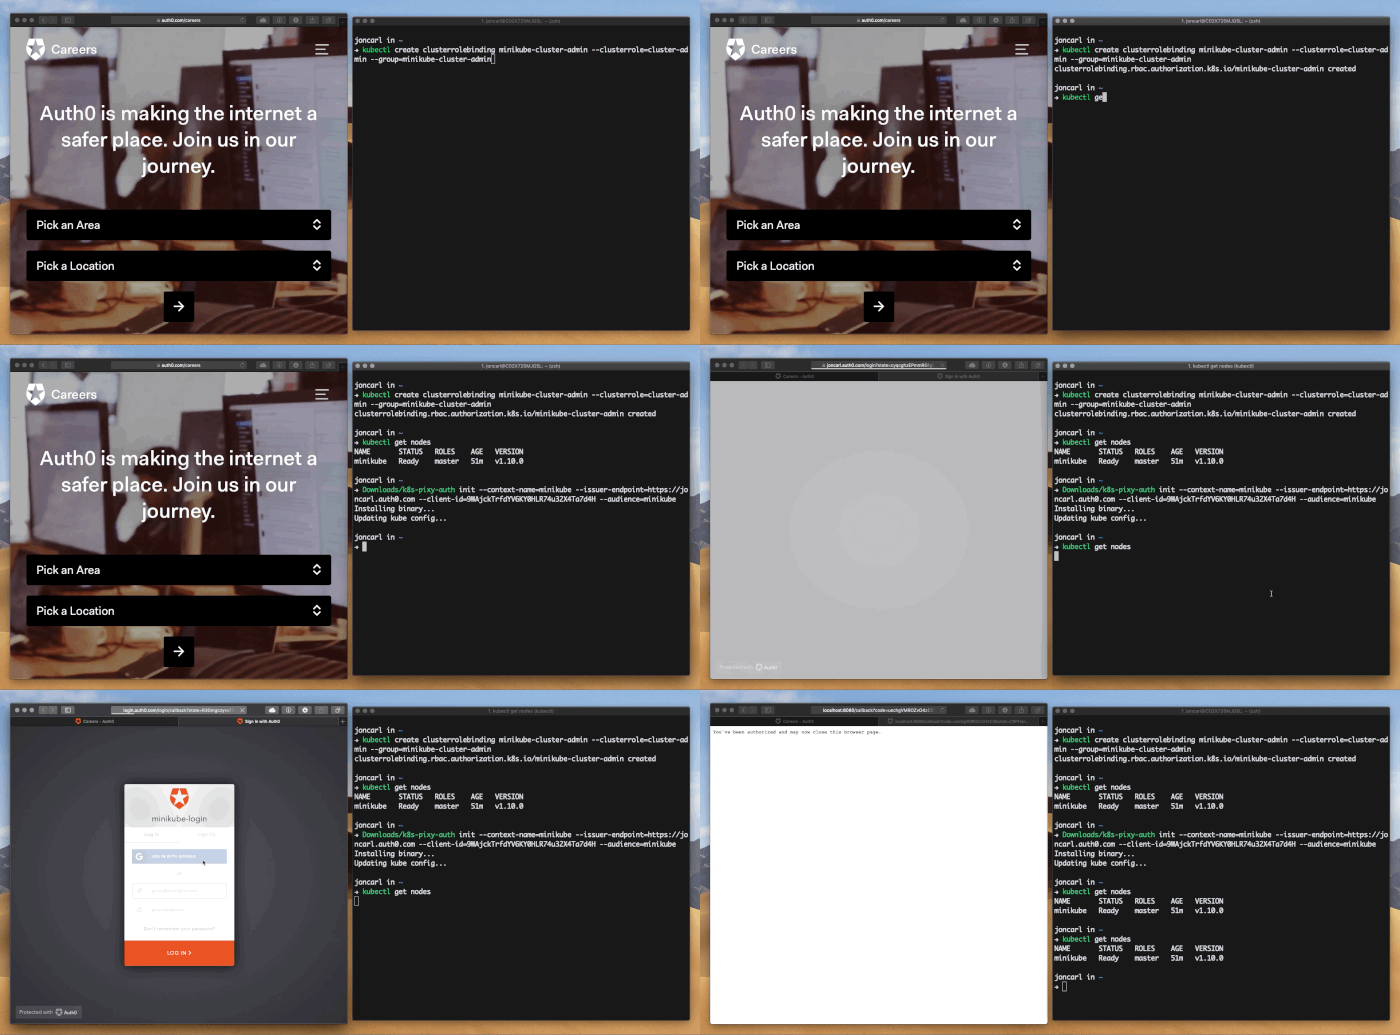
kubectl get nodes. Since this is the first time k8s-pixy-auth has been invoked for the context it will open a browser to authenticate you. - After authentication is complete, switch back to your terminal and you should see the output of the command. If you don't have permissions it will let you know. Make sure you've correctly set up permissions for your user. After authentication is done k8s-pixy-auth will securely cache your the needed tokens.
- Future commands will use the cached information from the first time you invoked k8s-pixy-auth for that context and will thus not require a browser to be opened each time. Because the auth tokens are stored securely the secure backend might ask for your credentials from time to time (the backend depends on OS).
Keyring is used in the background to secure the credentials. This allows cross-platform support to securely store the credentials.
The k8s api service needs to be configured in order to use this tool. Checkout Auth0Setup.md for a basic guide on how to setup Auth0 as the token issuer. Using that guide you should be able to set up other OIDC providers as well.
If you have found a bug or if you have a feature request, please report them at this repository issues section. Please do not report security vulnerabilities on the public GitHub issue tracker. The Responsible Disclosure Program details the procedure for disclosing security issues.
This project is licensed under the MIT license. See the LICENSE file for more info.

