This sample demonstrates the following use cases:
- Export sheets, version sets and uploads of ACC Sheet to excel file. The web application provides two options to display the ID properties either in Raw data and Human readable form.
- View basic information of published sheets. View published sheet in APS Viewer
- View basic information of uploads. List reviewing sheets of uploads (when upload status is IN_REVIEW)
- Modify number and title of reviewing sheets
- Publish reviewing sheets
- Create new sheets from source PDF
- Delete sheets (coming soon)
This sample is implemented based on Node.js version of Learn APS Tutorial, please refer to the tutorial for details about the framework.
- APS Account: Follow this tutorial to create a APS Account, activate subscription and create an app. For this new app, use http://localhost:3000/api/aps/callback/oauth as Callback URL. Finally take note of the Client ID and Client Secret.
- ACC Account: must be Account Admin to add the app integration. It is same to BIM360 integration. Learn about how to integrate.
- ACC Sheet: In one project of Autodesk Construction Cloud, import some sheets manually through UI features. Please check product help for more information
- Node.js: basic knowledge with Node.js.
- JavaScript basic knowledge with jQuery
Install NodeJS, version 8 or newer.
Clone this project or download it (this nodejs branch only). It's recommended to install GitHub desktop. To clone it via command line, use the following (Terminal on MacOSX/Linux, Git Shell on Windows):
git clone https://github.com/
Install the required packages using npm install.
Environment
Set the environment variables with your client ID & secret and finally start it. Via command line, navigate to the folder where this repository was cloned and use the following:
Mac OSX/Linux (Terminal)
npm install
export APS_CLIENT_ID=<<YOUR CLIENT ID FROM DEVELOPER PORTAL>>
export APS_CLIENT_SECRET=<<YOUR CLIENT SECRET>>
export APS_CALLBACK_URL=<<YOUR CALLBACK URL>>

npm start
Windows (use Node.js command line from Start menu)
npm install
set APS_CLIENT_ID=<<YOUR CLIENT ID FROM DEVELOPER PORTAL>>
set APS_CLIENT_SECRET=<<YOUR CLIENT SECRET>>
set APS_CALLBACK_URL=<<YOUR CALLBACK URL>>

npm start
OR, set environment variables of launch.json for debugging.
- Open the browser: http://localhost:3000.
- After user logging, select a project. The code will start extracting all assets, version sets and uploads. They will be displayed in the main table view. Switch Raw data to check IDs data.
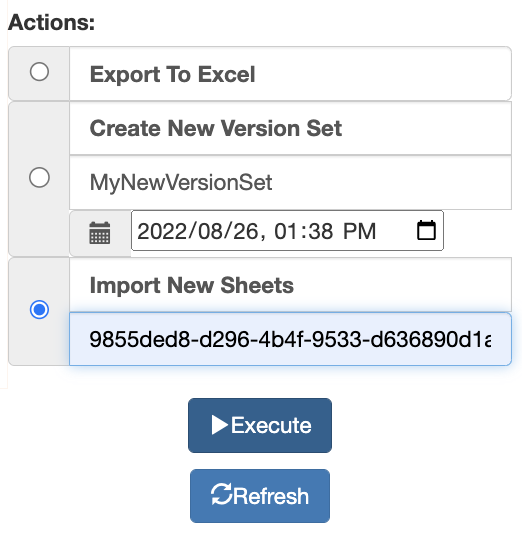
- Click Export option of Actions and click Execute button to download excel file.
- Switch to Sheets tab of the main table view, click any row of sheet, the corresponding sheet will be loaded in APS Viewer.
To deploy this application to Heroku, the Callback URL for APS must use your .herokuapp.com address. After clicking on the button below, at the Heroku Create New App page, set your Client ID, Secret and Callback URL for APS.
- In this version, only one source PDF can be uploaded. It can be extended to multiple PDFs
- In this version, only title and number can be edited with reviewing sheets. It can be extended to support modification of other attributes.
- When editing title or number of reviewing sheets, ensure the values are unique in one version set.
- This sample adopts the library of editable-table, which conflicts to date-picker of Bootstrap. So the sample workaround by common date picker (datetime-local).
Document
Tutorials:
Blogs:
- APS Blog
- Field of View, a BIM focused blog
This sample is licensed under the terms of the MIT License. Please see the LICENSE file for full details.
Xiaodong Liang @coldwood, Developer Advocate and Support
- 09/01/2022: first release
- 04/30/2024: New APS SDK migration


