A Java Application to demonstrate socket functionality in distributed systems
- JDK>=14
- sqlite-jdbc-3.32.3.2 -> SQLite database connection
- jcalendar-1.4 -> A custom date picker
- database -> Contains the database query logic
- jars -> Contains the version of jar files used
- models -> Contains the classes for the entities used in the project: Toy, Manufacturer e.t.c
- protocols -> Contains the logic for handling socket requests
- sockets -> Contains the socket initialization
- ui -> Contains the user interface design and logic
- utils -> Contains helper files
- Import source code correctly. Note that this is a NetBeans app so if you are on a different IDE see the correct way import to import a NetBeans project.
- Make sure you have resolved all jar file dependencies before you attempt to run the program
- Note it is more optimal to run the ui.ServerApp before ui.ClientApp
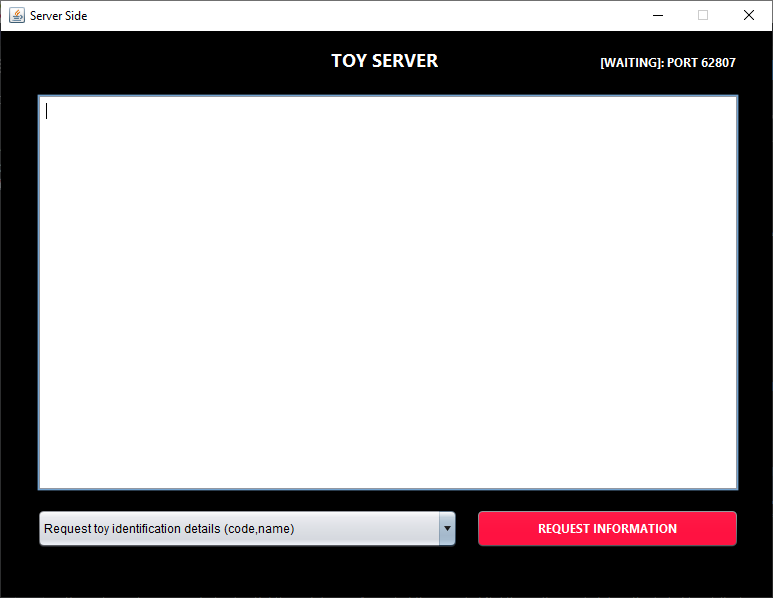
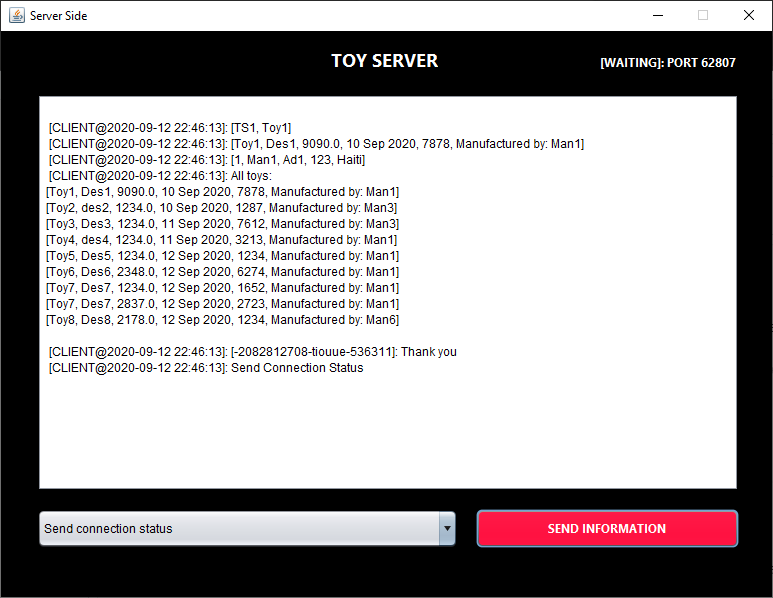
On server start-up, the server socket is bound to a random port which is displayed on the top right corner. Take note of this as it will be needed for connection on the client side.
On client start-up, the first thing you need to do is connect the client socket. You can do this by clicking the "connect" button on the bottom left corner.

Once you click connect, a popup dialog will appear prompting you to enter the port number. Make sure you enter the port number you saw earlier on the top right corner of the server.

If done correctly, you will see the dialog box below.

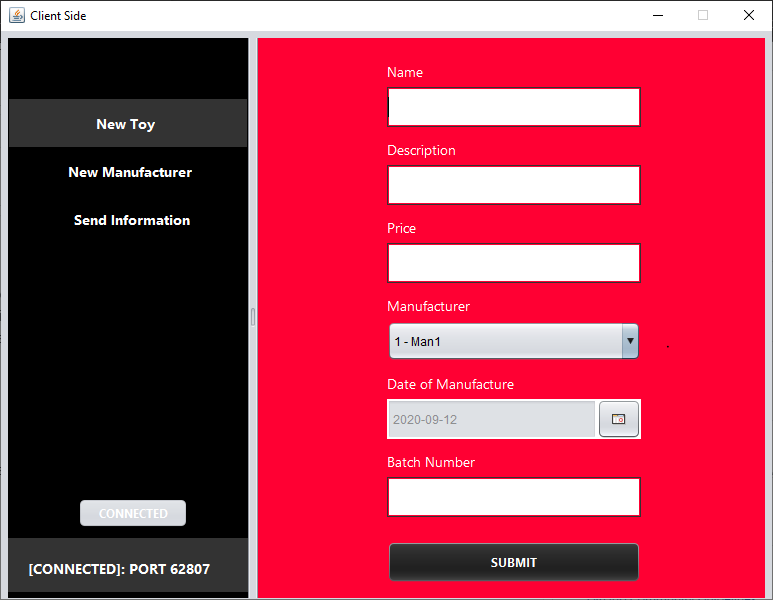
To add a new toy fill the form below, ensuring price and batch number are the numbers. Manufacturers are populated from the database so if the manufacturers for a toy is missing from the dropdown list. Add them from the "New Manufacturer" form.
On successful submission you will receive a message dialog and the server will be notified with the details of the new toy.
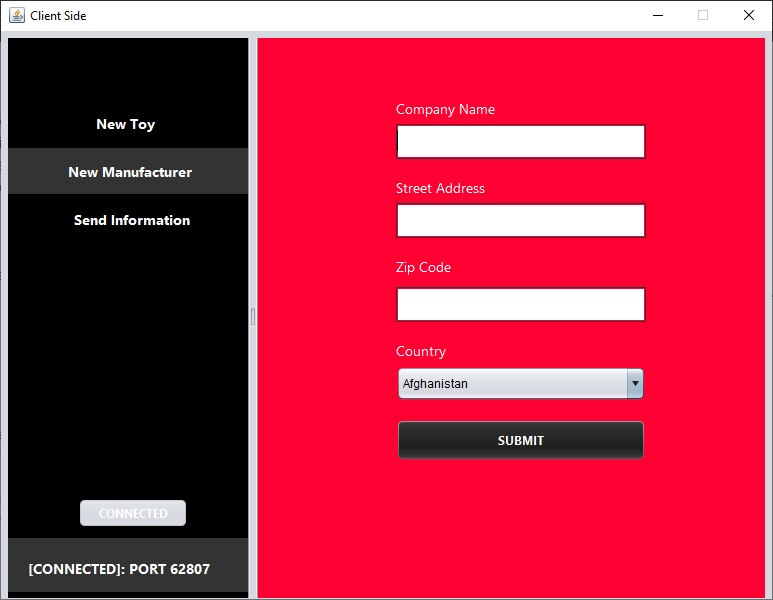
To add a new manufacturer fill in the form below, making sure the zip code is a numeric input.
On successful submission you will receive a message dialog and the server will be notified with the details of the new manufacturer.
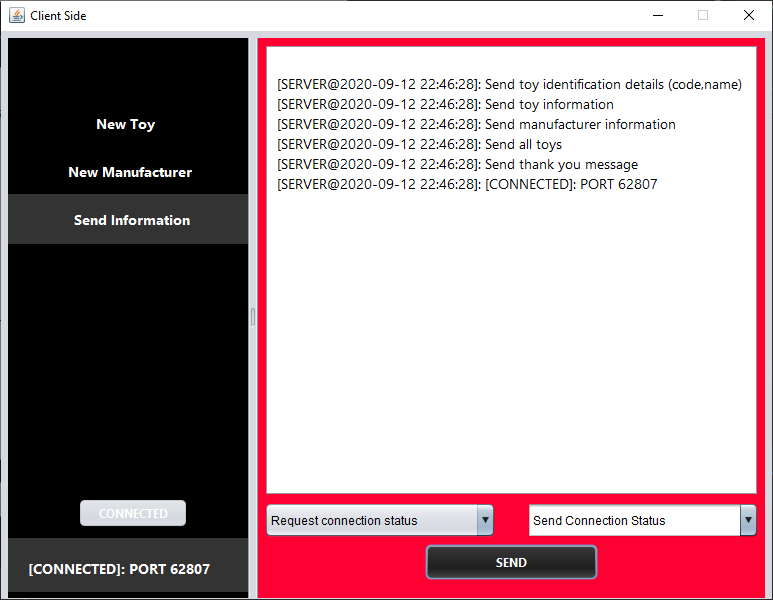
Select an action from the dropdown , then click the send button. The message should appear on the client side.
To send a message from client choose one of the actions from the dropdown and click send. The message should appear on the server side.