Contents
Retro Gaming Hackathon
The live website can be viewed here
Collaborators
UX
Strategy
Project Goals
The central goal is to create an interactive game with retro gaming themes and styles.
The Strategy for achieving the above goals is as follows:
- Collaborate as a team
- Decide on a project game that appeals to the team.
- Build collaboratively based on the scope and skill set of the team.
- Explore all resources available and push our own skills set to get the maximum possible output whilst also creating an enjoyable collaborative atmosphere!
- Eat, Sleep, Hack, Repeat!
The Ideal User of this site is :
- Someone who enjoys gaming!
- Someone with a keen interest in building collaborative projects.
- Someone who enjoys the nostalgic feel of retro gaming!
- Someone with a keen interest in frontend development for interactive games/sites.
User Stories
- As a first time user I want to play a game with intuitive UX design
- As a first time user I want to play a game thematically inspired by retro games.
- As a first time user I want a fun medieval style platform game.
- As a returning user I want to beat the game quicker than my last attempt.
- As a user I want the option to select the gender of my character.
- As a user I want a game with fun, unique audio.
Structure
Concept
Initially we wanted to create a platform style game that would test the players platforming skills as well as their perception skills. To do this we would create a game that would ask the player question based on visual in the game. Correct answers would make the next level easer to complete.
MVP
- Create a basic platformer game that includes:
- Game physics and collision.
- With 3 playable levels.
- Character selection.
Falling out of scope
-
During development of the game, we soon realised that we needed to make a choice between including the perception test mechanic and our team goal of allowing members to attempt to create a level of the game (in a new language for many of us).we could allow our lead Dev to work alone on new mechanics or he could use this time to walk us through to process of developing basic levels and coach us through this challenge. The team decided that hitting our MVP and all trying to work on a game level was the best way to move forward.
-
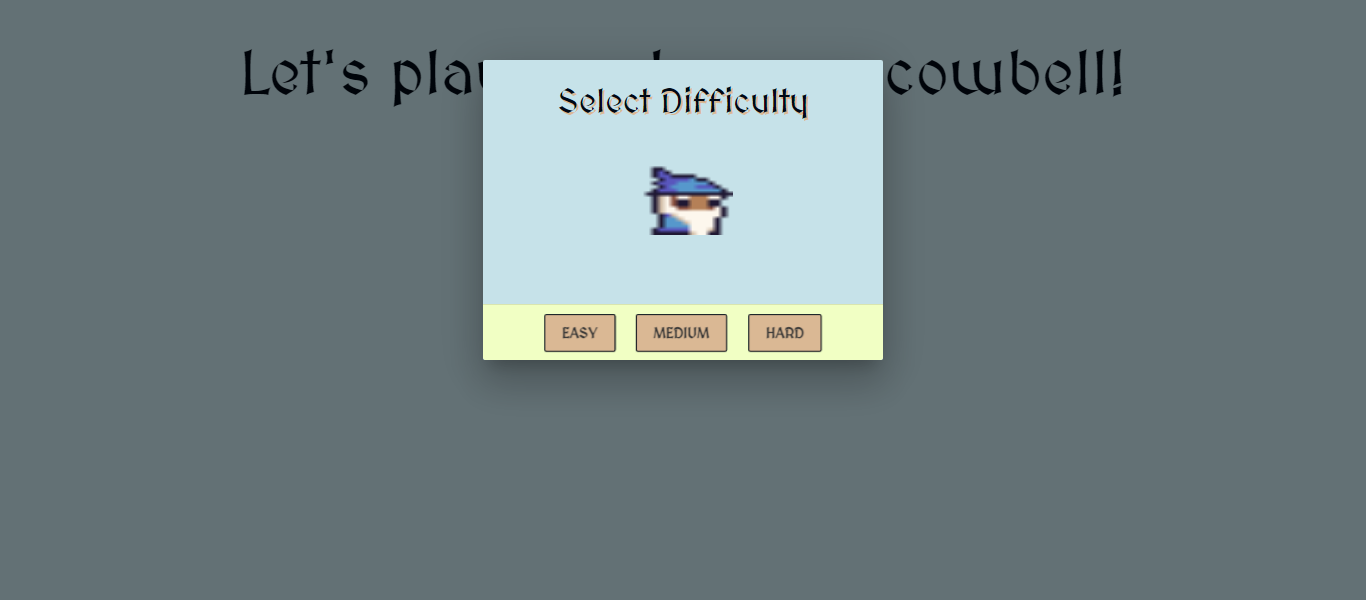
An original third modal was triggered when the user selects the "Start Game" button. This modal intended to allow the user to select their preferred mode of difficulty of gameplay. The user is presented with three options : Easy, Medium, Hard. This was deemed out of scope for this current project due to conflicts with the Phaser framework but will possibly be investigated at a later stage.
Features
Levels
Each level in our game was developed using the Phaser.JS, which is an open sourced Canvas & WebGL Game Framework. As this was new to us, our use of Phaser was kept inline with the "Making your first Game" tutorials on https://phaser.io/learn. This tutorial was used to teach us how to position elements, attribute triggers to certain events, create collision detection, audio generation & more.
Each level has it's own custom created background and audio track. We have a consistent tileset being used throughout the game, and where possible assets were reused and stitched together to create new assets.
There is a direct flow to the game itself with a clear end.
Score keeping & Beating the clock elements were ommitted to be sure that we had more content rather than additional game mechanics.
On start game, the user is asked to select a Character. The Character selection asset href is held in localStorage and passed from the index.html file to the level-1.html file and persists in localStorage across all levels.
🥚🍳🥚🍳 <--- 👀 also...
Home Page.
The home page gives a general overview of the content offered by the site.
Main Menu
The main menu consists of a series of modals.
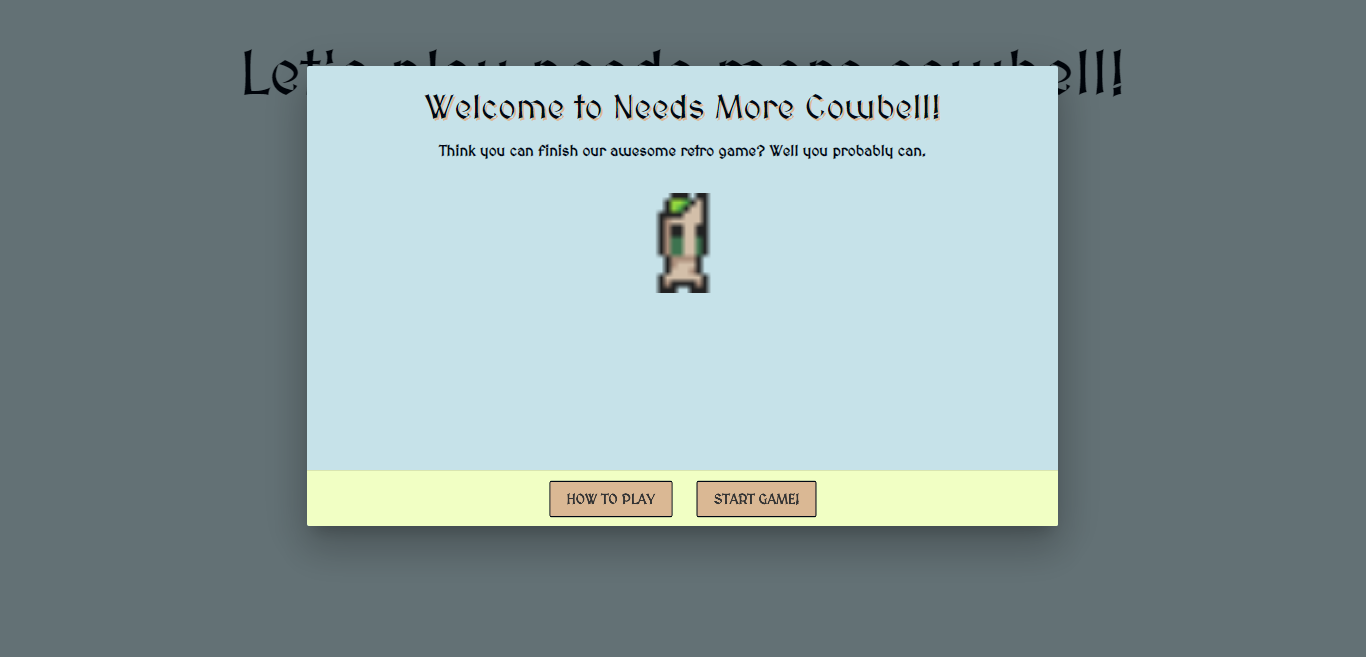
- The first modal is triggered when the user lands on the page. It provides the user with the option of viewing the game instructions or beginning the game immediately.
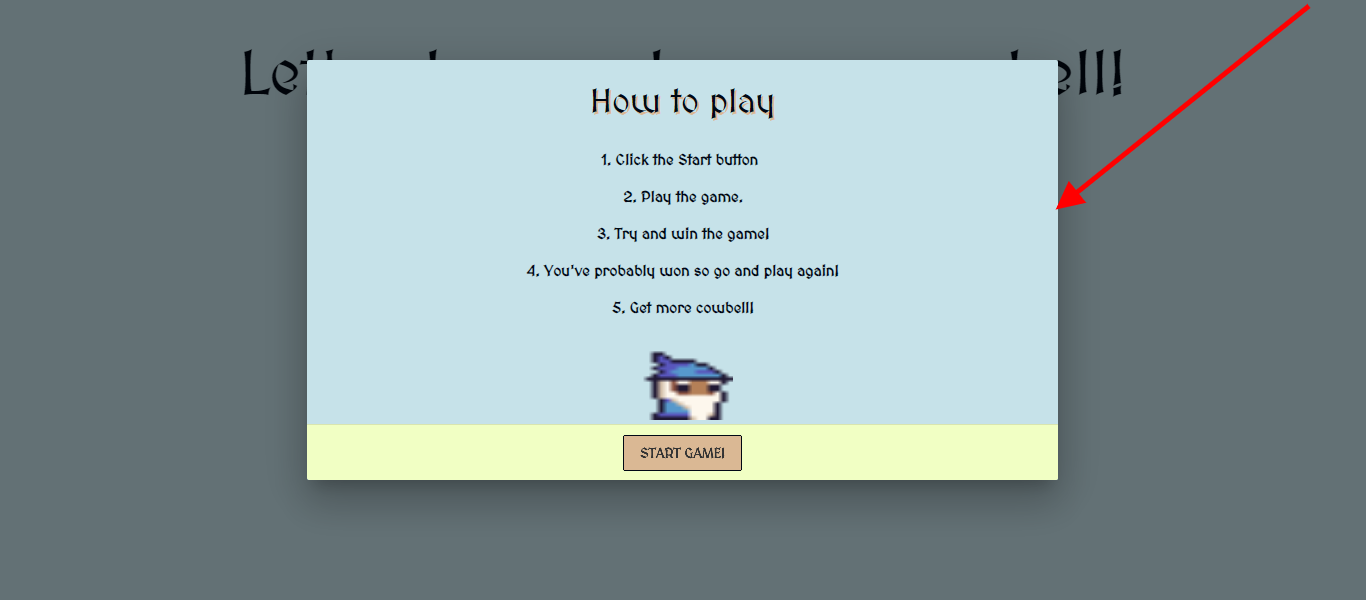
- The second modal is triggered when the user selects the "How to Play" button. This modal provides the user with a series of instructions on how to play the game. The user can then select the "Start Game" button.
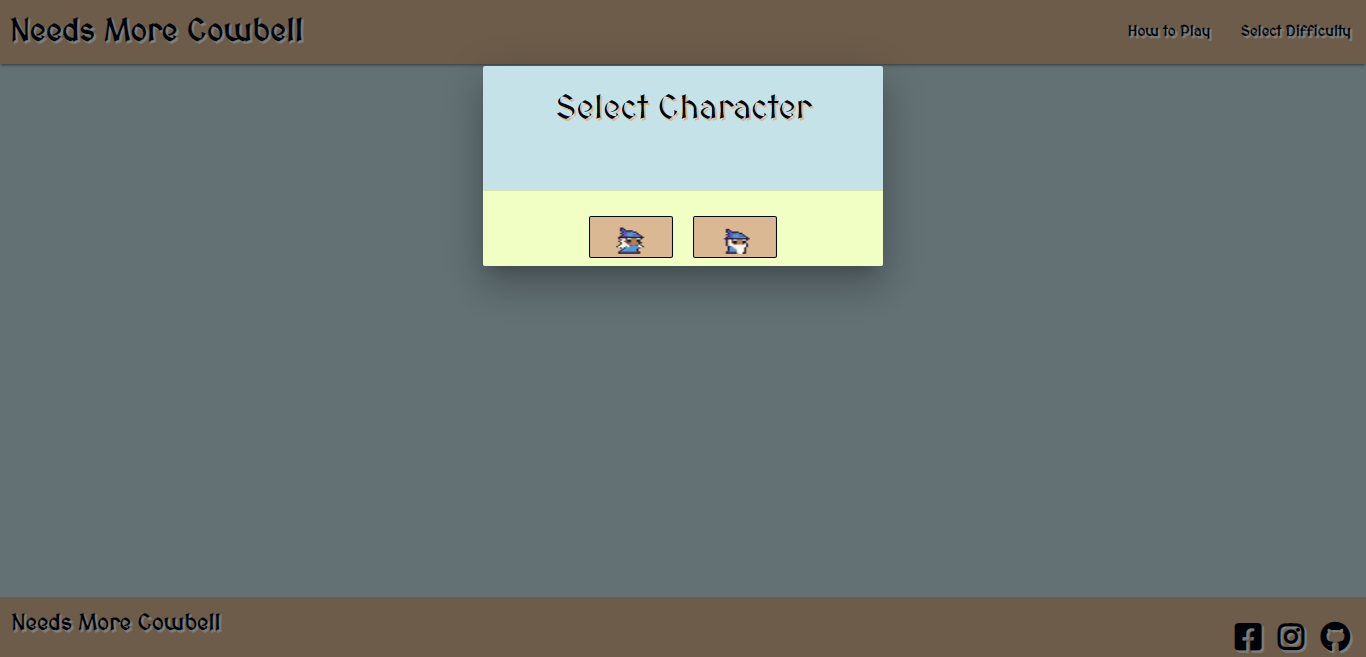
- The third modal allows the user to select the gender of the character they would like to use. They are presented with two image buttons to choose from before beginning gameplay.
- The fourth modal allows the user to select the gender of the character they would like to use. They are presented with two image buttons to choose from before beginning gameplay.
Credits page
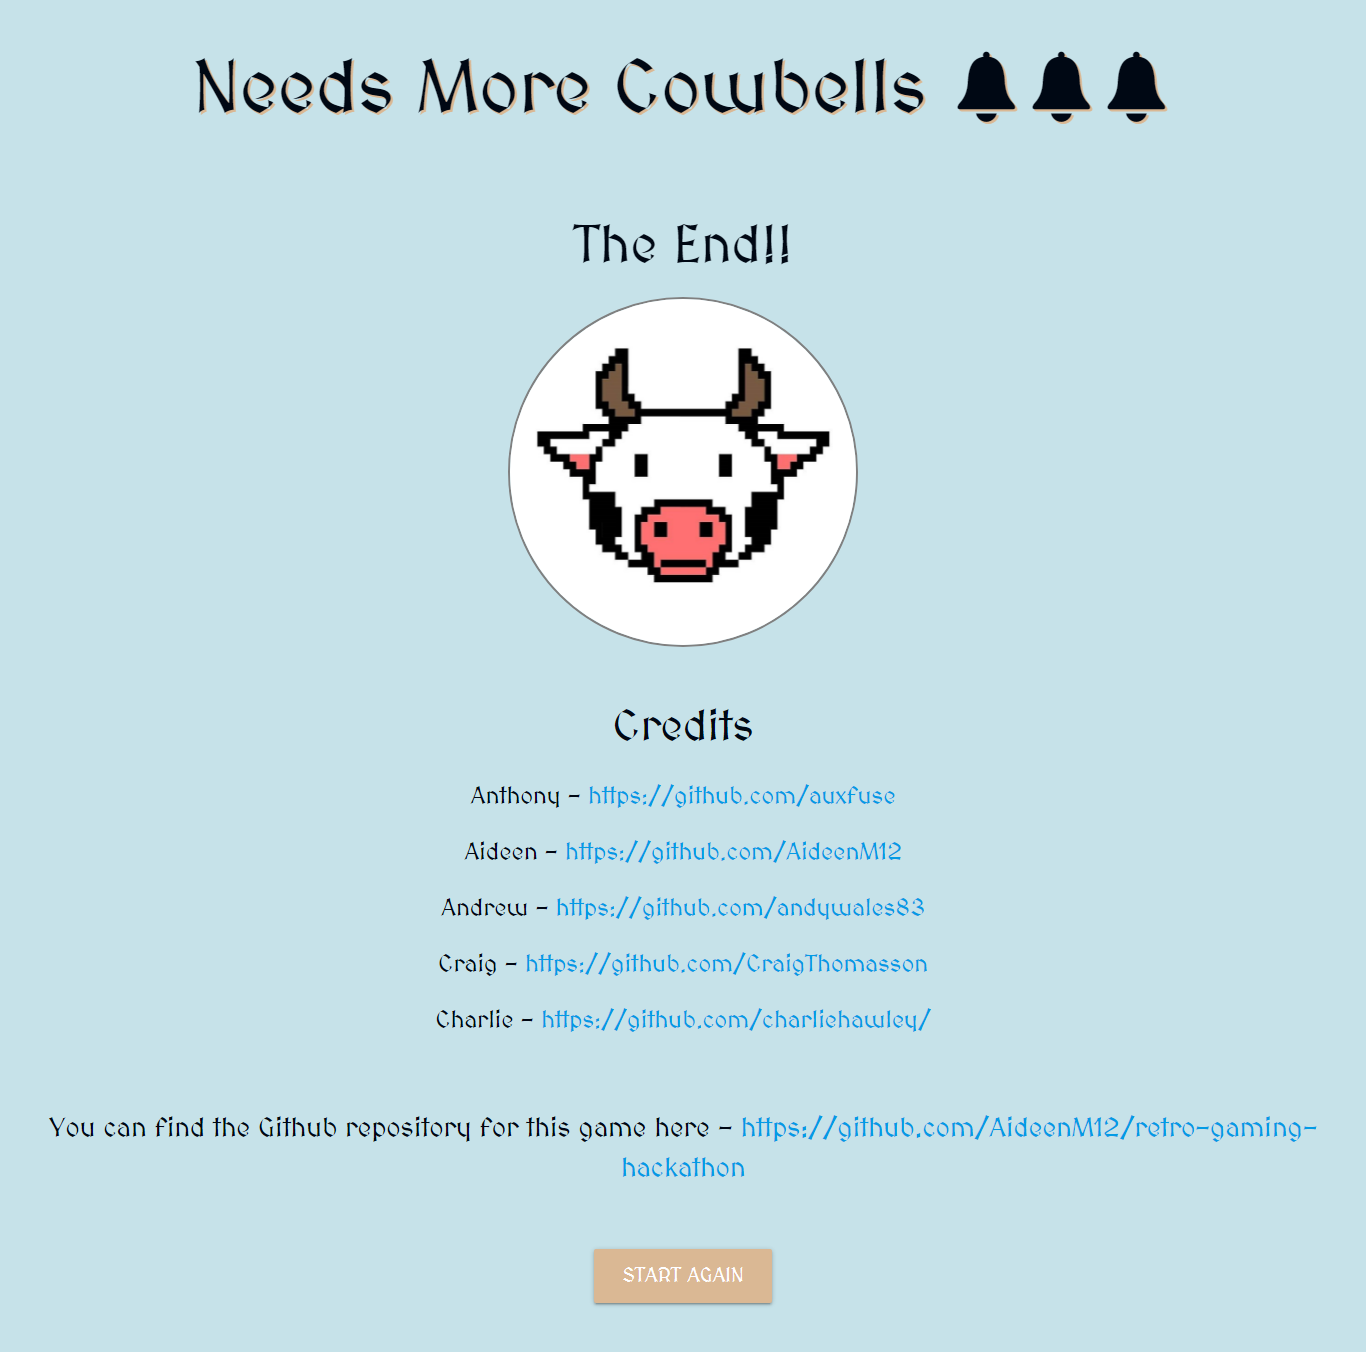
- The Credits page showcases all the collaborators who worked together to make this project. Links to each individual collaborator's github page can be found on this page alongside a link to the main menu page. A link to the site repository can also be found on this page, many thanks to Andy for taking the time to work with Materializecss for the first time to create this page.
404 page
- This page exists to inform users that the page they are looking for does not exist. Instead of using a generic 404 page we decided to ensure it's stylings keep to the same themes of the main pages and inject some of the team’s personality in it. That said personality being cow puns apparently.
- The page holds links that take us back to main game. Ensuring a 404 error does not lead to a loss in traffic to the game.
Design
Typography The 'MedievalSharp' font was chosen to match the medieval aesthetic of the game. It was found on Google fonts.
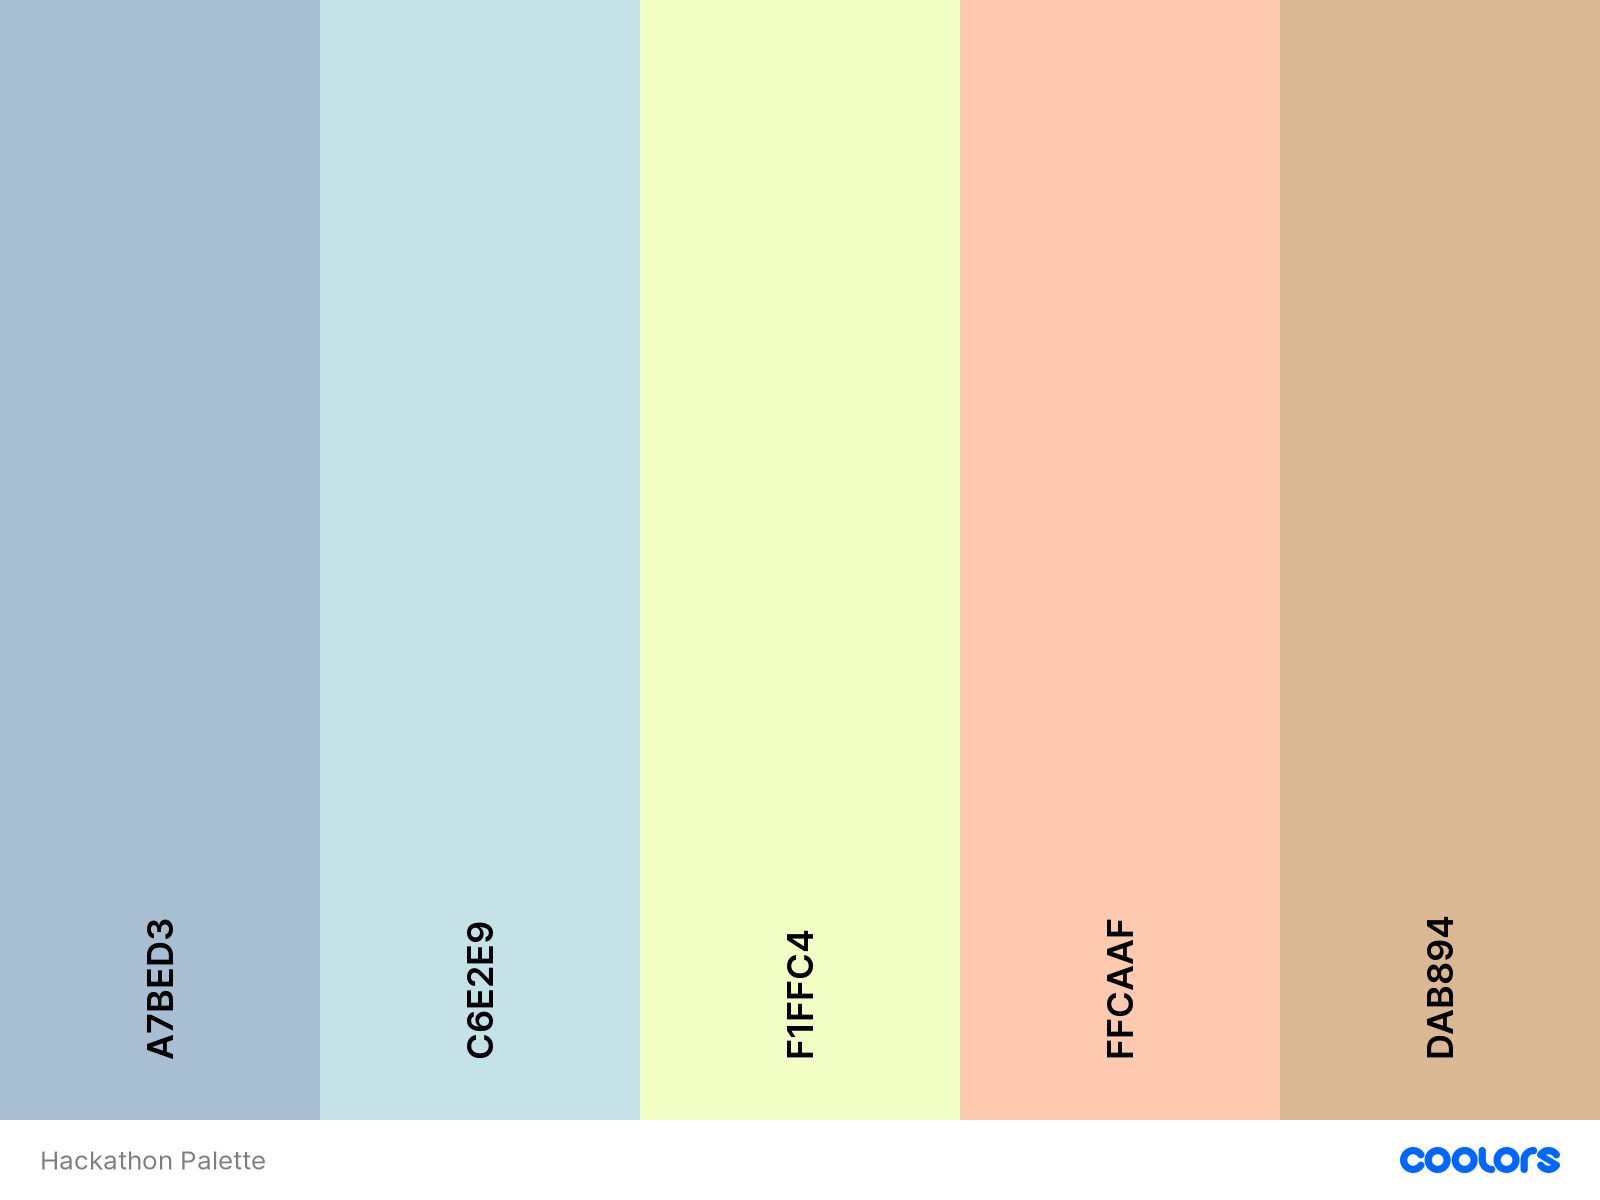
Colours The color palette was chosen using the https://coolors.co website. This particular palette was chosen for its simplicity and because the basic colours presented are redolent of those often found in retro PC games.
Imagery The imagery and graphics were chosen to recreate a medieval aesthetic in keeping with the goals from the user stories. Other imagery chosen was inspired by the game's uniquely original title.
Skeleton
Wireframes
-
The wireframes were created using Balsamiq wireframes
-
The wireframe mockup links can be found below:
Technologies Used
- This project is built using HTML5 semantic markup, CSS stylesheets and Javascript.
- Gitpod
- This project was built using Gitpod as the IDE.
- Google fonts
- The font styles used on this website were chosen from Google fonts.
- Materializecss
- Various aspects of this website were structured using Materialize.
- Animate.css
- Buttons, images and popups were animated using Animate.css.
- Fontawesome
- The icons used on this page were found in Fontawesome.
- Phaser.io
- Phaser.io was the core framework used to develop gameplay.
- Balsamiq
- The wireframes for this project were created using Balsamiq.
- Unsplash
- The majority of images used in this project were found in Unsplash.
- Freeformatter- CSS beautifier
- This was used to format the CSS stylesheet.
- Freeformatter- HTML formatter
- This was used to format each HTML page
- Google DevTools
- Google Dev Tools was extensively used throughout the project for various styling and testing purposes. Its lighthouse feature was used as one of the main testing tools for this project.
- Github
- Github pages was used to to publish a live version of this game following deployment.
- Github was used to remotely store this game.
- Krita
- Tileset & background manipulation, as well as creating the spriteSheets for the characters
- Ableton
- Custom music by Charlie 🤜 Legend!
- Free Sounds
- To grab door creek for levels.
Testing
Testing information can be found here in the separate TESTING.md file
Deployment
This project was developed using Gitpod IDE and pushed to Github using the in-built terminal.
This project was deployed from the Github Respository to GitHub Pages using the following steps:
- Log into Github.
- Select the AideenM12/retro-gaming-hackathon respository.
- Click the settings tab.
- Scroll to the GitHub Pages section of the page.
- Under the source heading select the master branch option.
- Click save.
- The project has now been deployed. Scroll back to the GitHub pages section and click on the link above the source heading to view the live site.
Making a clone to run locally
- Log into GitHub.
- Select the respository.
- Click the Code dropdown button next to the green Gitpod button.
- Download ZIP file and unpackage locally and open with IDE. Alternatively copy the URL in the HTTPS box.
- Open the alternative editor and terminal window.
- Type 'git clone' and paste the copied URL.
- Press Enter. A local clone will be created.
Credits
Media
- Custom audio was created by collaborator Charlie
- Custom backgrounds & spriteSheet stitching done by collaborator Anthony
Code
-
All code used is an original creation of this site's collaborators.
-
Stack Overflow was used as a general resource for general issues and obstacles.
Acknowledgements
-
We would like to thank our esteemed facilitator Kevin Ci.
-
We also like to thank the fantastic Jim Community Ci for all his help and support during the course of this Hackathon.
-
We would also like to thank Atlas, hope the beach is good!
