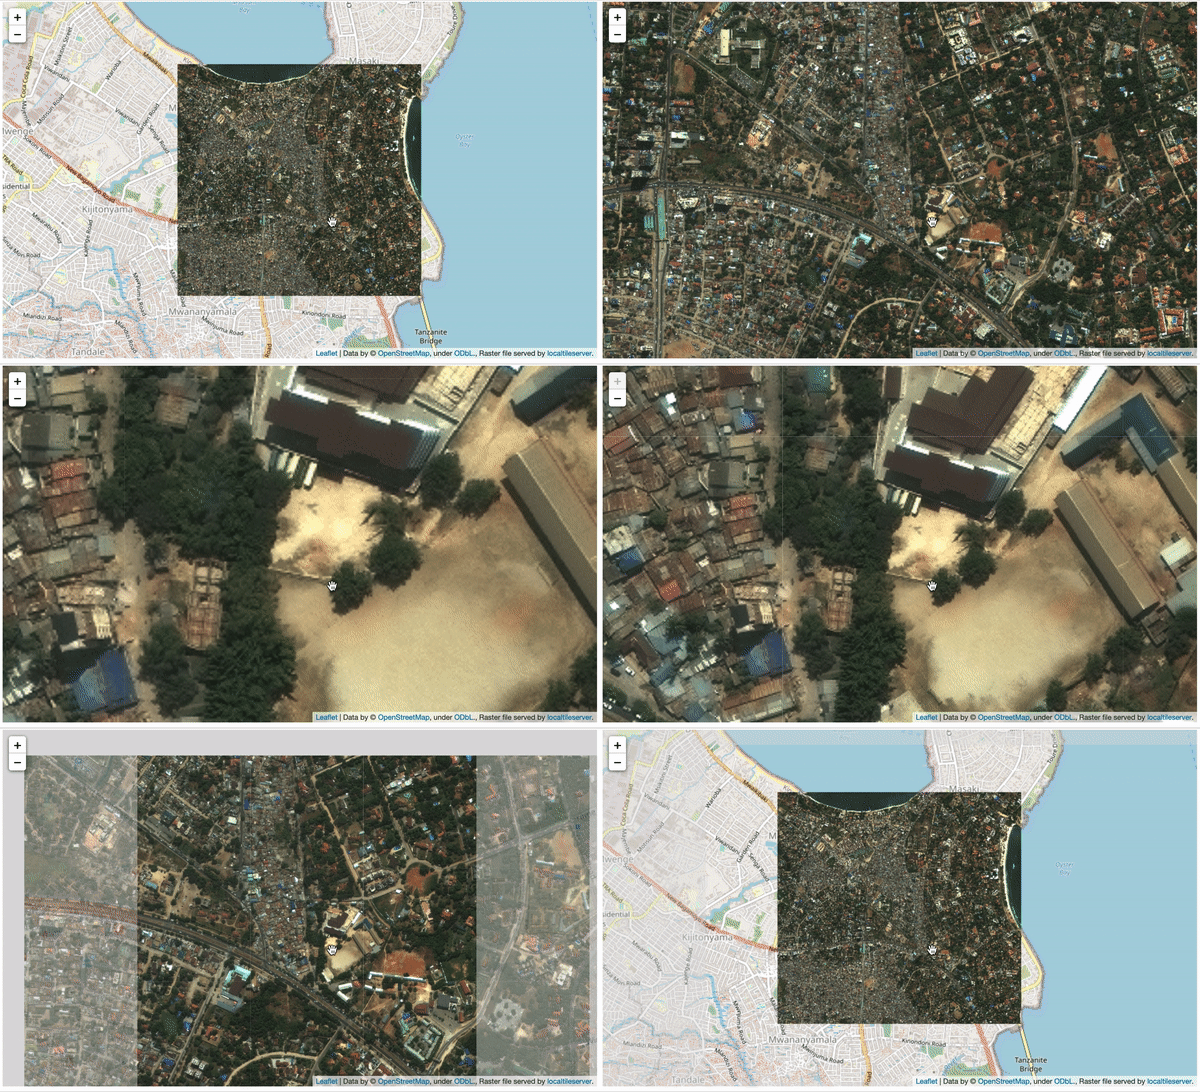
Create a local tile server with large geospatial imagery, and explore the imagery with either Jupyter or Bokeh.
This repository uses the excellent localtileserver codebase to quickly spin up a map tile server with SpaceNet imagery (or any COG for that matter).
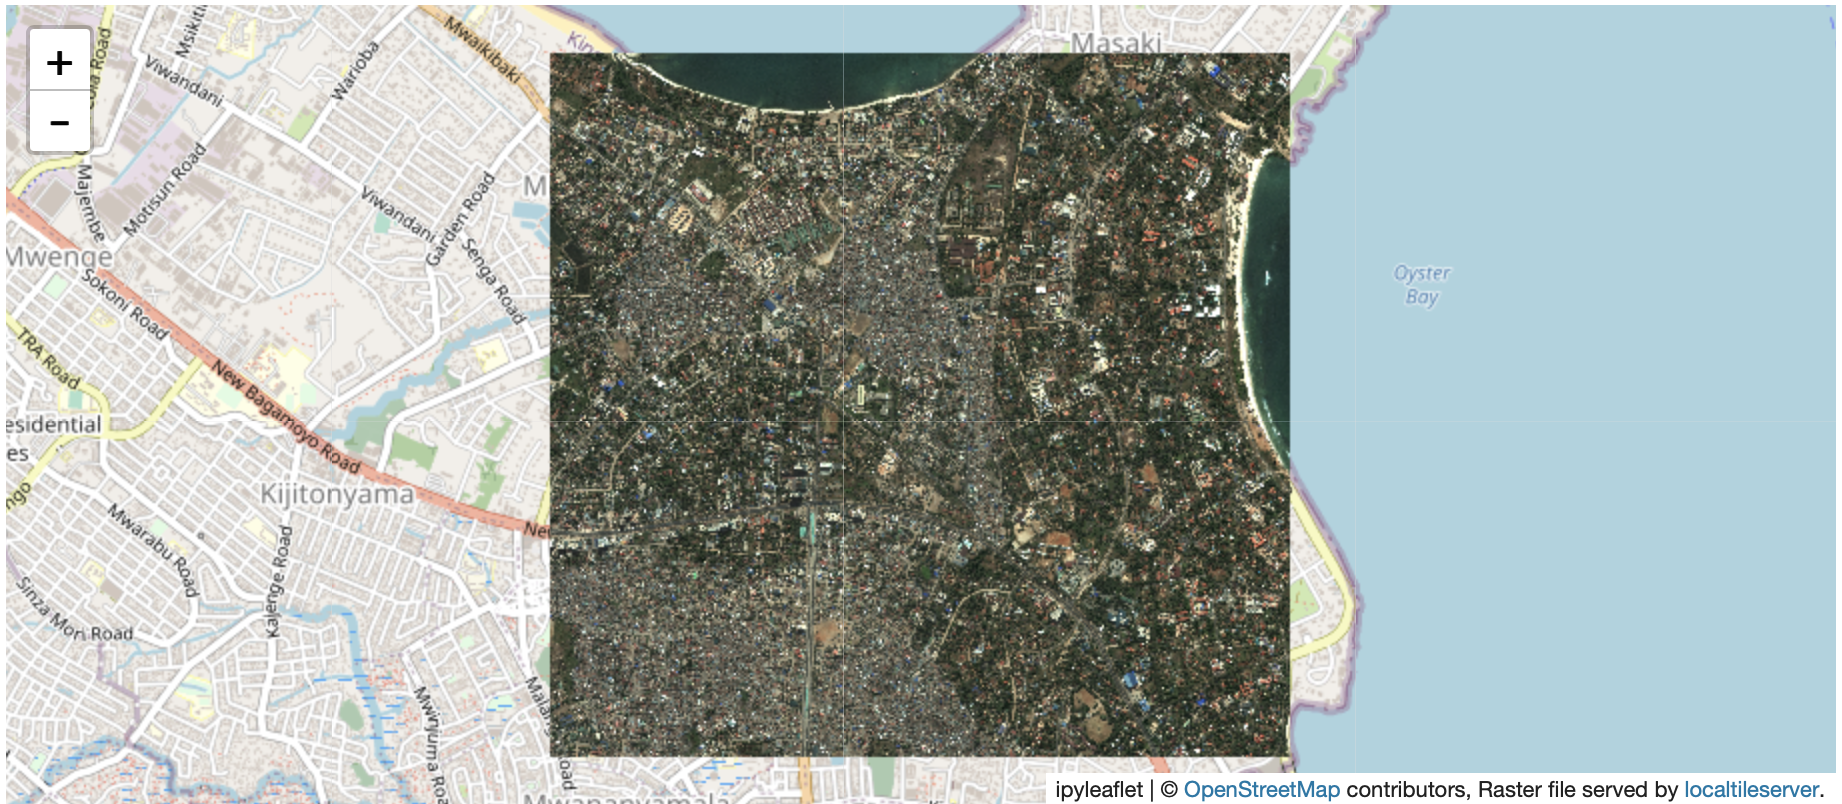
See bokeh_tiler.ipynb for detailed examples. The following is a minimal example to visualize a local SpaceNet raster file in Jupyter with
ipyleaflet:
from localtileserver import get_leaflet_tile_layer, TileClient
from ipyleaflet import Map
image_path = 'path_to_spacenet_data/AOI_10_Dar_Es_Salaam_PS-RGB_REALCOG_clip_final.tif'

# First, create a tile server from local raster file
tile_client = TileClient(image_path)

# Create ipyleaflet tile layer from that server
t = get_leaflet_tile_layer(tile_client, band=[1,2,3])

# Create ipyleaflet map, add tile layer, and display
m = Map(center=tile_client.center(), zoom=14)
m.add_layer(t)
m
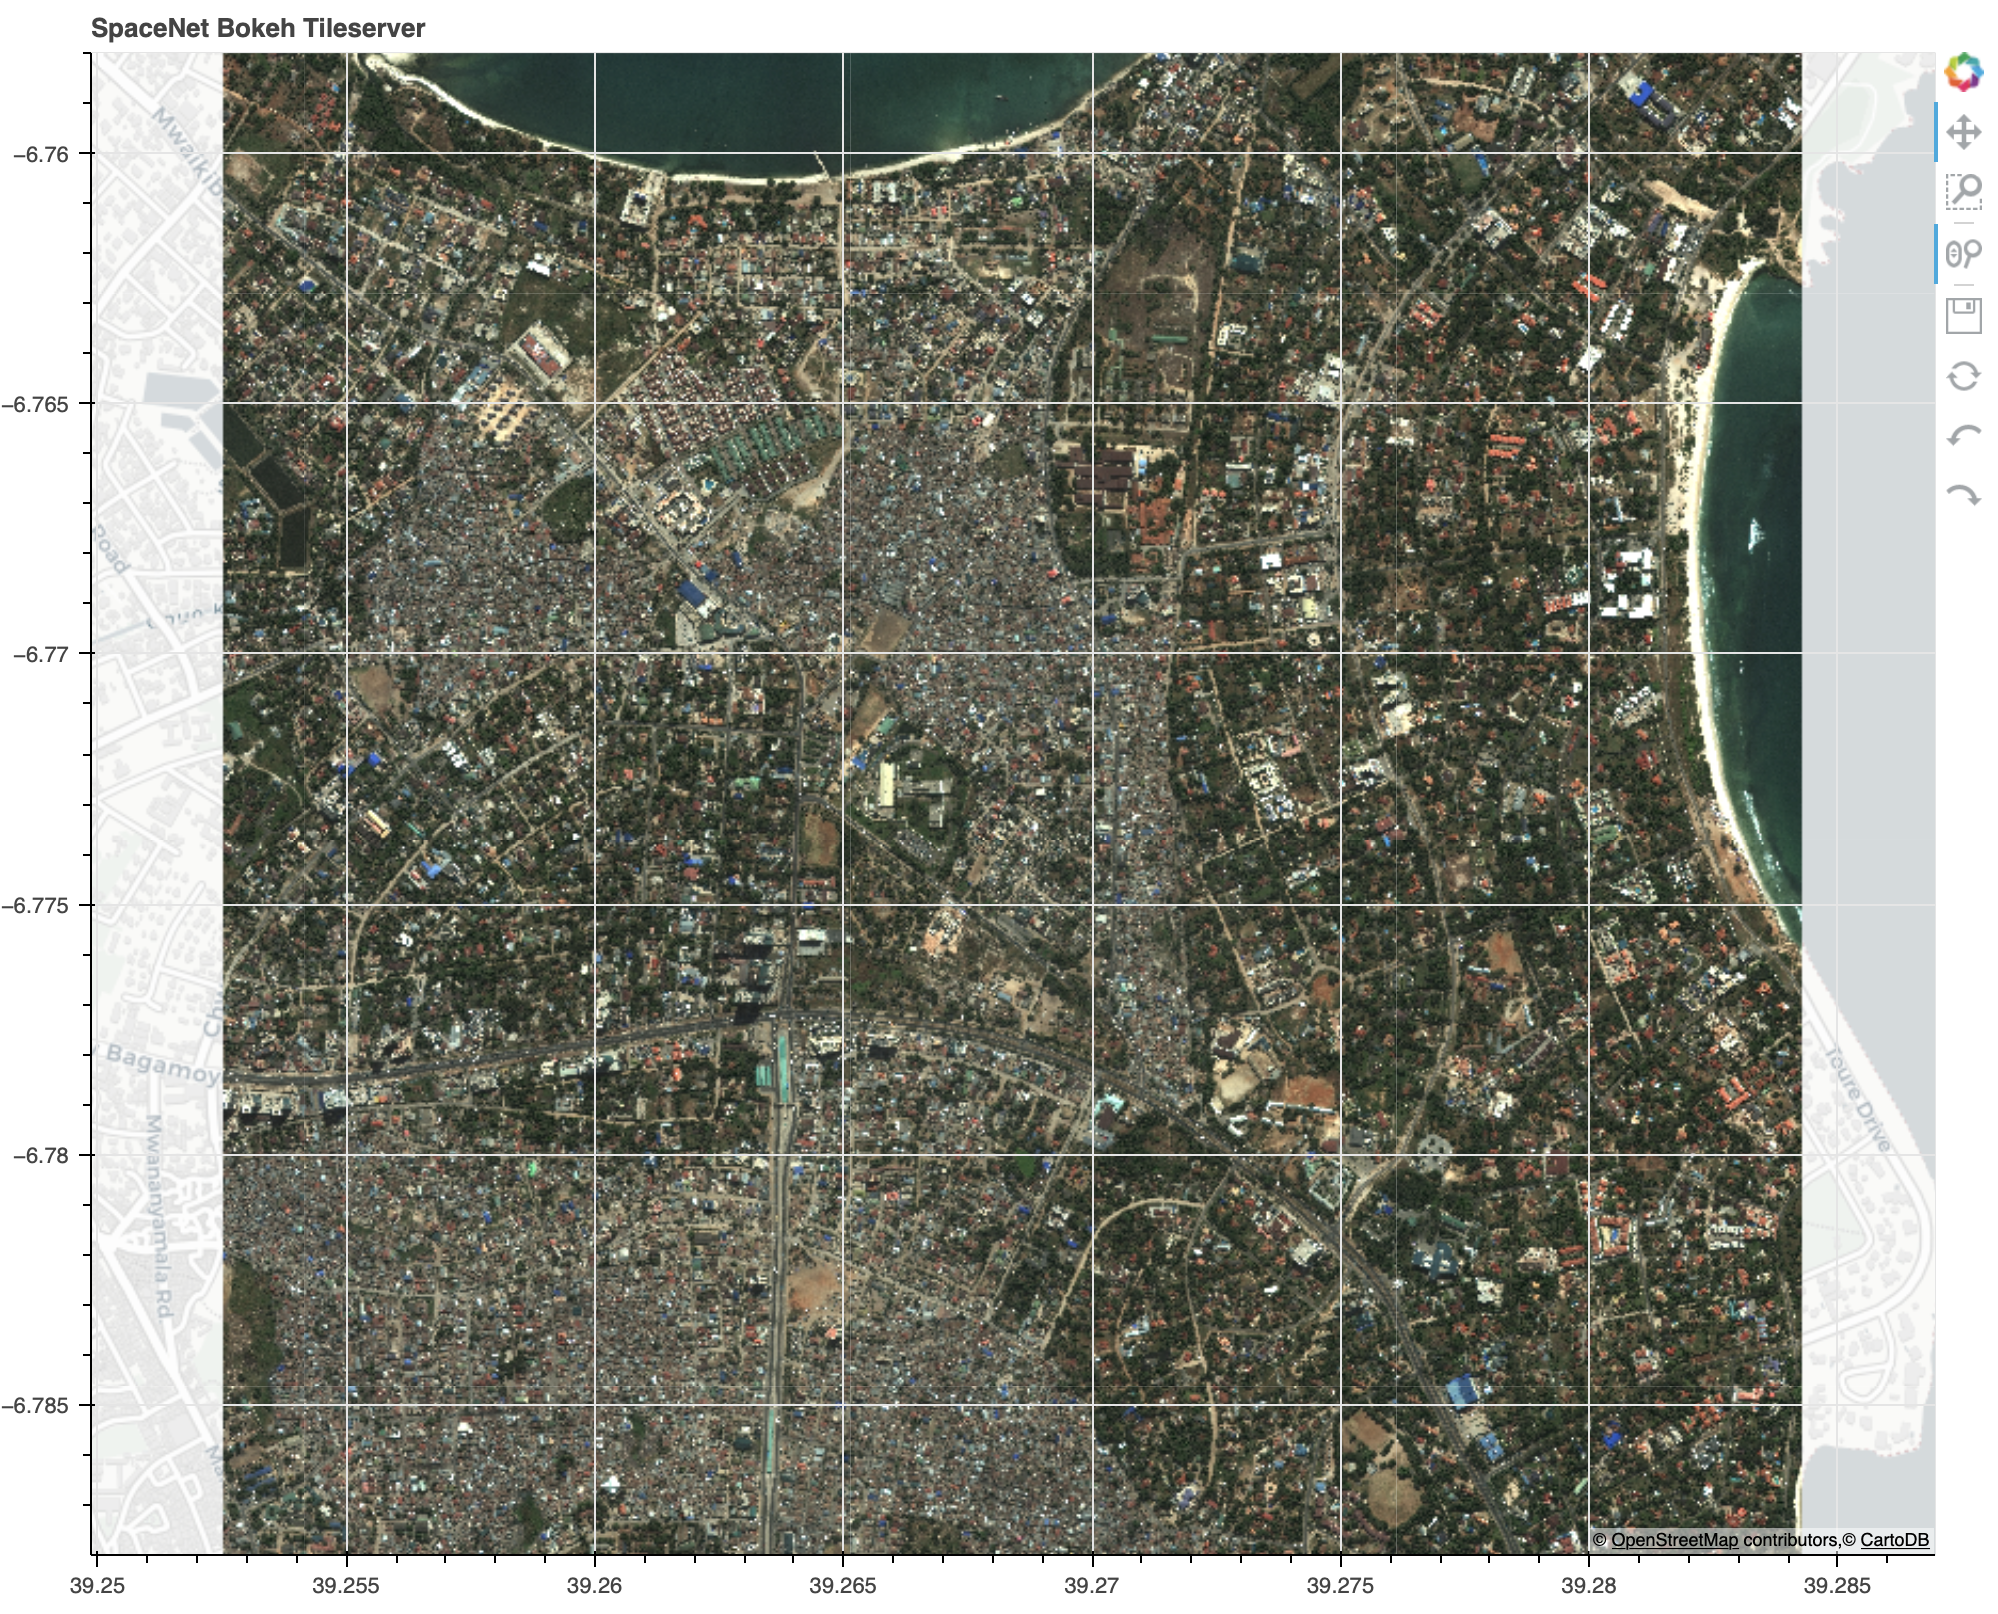
Bokeh servers enable the creation of interactive web applications that connect front-end events to running Python code (1). Therefore, tiling SpaceNet (or any other) imagery in a Bokeh server is a useful capability if one aims to create an interactive geospatial dashboard. To run a Bokeh server with tiled SpaceNet imagery simply execute:
conda activate tiler
cd /path_to_bokeh_tiler/
bokeh serve --show bokeh_tiler_server.py --args /path_to_spacenet_data/AOI_10_Dar_Es_Salaam_PS-RGB_REALCOG_clip_final.tif
We assume you have installed conda. Now build the tiler conda environment in a terminal:
conda env create --file tiler_environment.yml
conda activate bokeh-tiler
Now simply clone this repository:
git clone https://github.com/avanetten/bokeh-tiler.git
This repository will work with any COG (cloud optimized geotiff). The steps below provide the precise steps to download and compress (optional) SpaceNet data for use in the tiler.
For this tutorial we will use public imagery from the SpaceNet 5 Challenge. These images are part of the Registry of Open Data on AWS, and can be downloaded for free. You will need an AWS account to access the data, and since the AWS CLI tool is installed within the docker container, simply execute: aws configure in the docker container and enter your credentials. You will now be able to download SpaceNet data.
For this exercise, we'll explore SpaceNet Area of Interest (AOI) #10: Dar Es Salaam. To download the data (25 GB) execute the following in the command line of the tiler conda environment:
test_im_dir=/path_to_spacenet_data/
aws s3 cp --recursive s3://spacenet-dataset/AOIs/AOI_10_Dar_Es_Salaam/PS-MS/ $test_im_dir
While the tiler is able to handle images of arbitrary size and extent, for this exercise we will clip the image somewhat for visualization purposes.
cd $test_im_dir
gdal_translate -projwin 39.25252 -6.7580 39.28430 -6.788 AOI_10_Dar_Es_Salaam_PS-MS_COG.tif AOI_10_Dar_Es_Salaam_PS-MS_COG_clip_tmp.tif
We will also convert the 8-band multispectral 16-bit image to an easier to visualize 8-bit RGB image. First we create a 8-bit image, then rescale the image to brighten it (while this theoretically can be done with a single command, in practice gdal pukes with a single command). The final output is the file AOI_10_Dar_Es_Salaam_PS-RGB_REALCOG_clip_final.tif.
cd $test_im_dir
gdal_translate -ot Byte -of COG -a_nodata 0 -co "PHOTOMETRIC=rgb" -b 5 -scale_1 1 1950 0 255 -b 3 -scale_2 1 1600 0 255 -b 2 -scale_3 1 1600 0 255 AOI_10_Dar_Es_Salaam_PS-MS_COG_clip.tif AOI_10_Dar_Es_Salaam_PS-RGB_COG_clip_tmp.tif
gdal_translate -ot Byte -of COG -a_nodata 0 -co "PHOTOMETRIC=rgb" -scale 0 100 0 255 AOI_10_Dar_Es_Salaam_PS-RGB_COG_clip_tmp.tif  AOI_10_Dar_Es_Salaam_PS-RGB_COG_clip_final.tif
# rm AOI_10_Dar_Es_Salaam_PS-RGB_COG_clip_tmp.tif # optional
# The single command below "should" work instead of the two above, but gdal is finicky and the command below yields many nodata pixels.
# gdal_translate -ot Byte -of GTiff -a_nodata 0 -co "PHOTOMETRIC=rgb" -b 5 -scale_1 75.0 702.0 0 255 -b 3 -scale_2 87.0 556.0 0 255 -b 2 -scale_3 65.0 470.0 0 255 AOI_10_Dar_Es_Salaam_PS-MS_COG_clip.tif AOI_10_Dar_Es_Salaam_PS-RGB_COG_clip_final.tif
We need to make sure that the image is actually a COG (the creator of localtileserver astutely noted that imagery stored on AWS aren't true COGs), so run the code below:
gdal_translate AOI_10_Dar_Es_Salaam_PS-RGB_COG_clip_final.tif AOI_10_Dar_Es_Salaam_PS-RGB_REALCOG_clip_final.tif -of COG
# rm AOI_10_Dar_Es_Salaam_PS-RGB_COG_clip_final.tif # optional

# check that the COG is valid:
python
	from localtileserver.validate import validate_cog
	validate_cog('AOI_10_Dar_Es_Salaam_PS-RGB_REALCOG_clip_final.tif')
	# True


