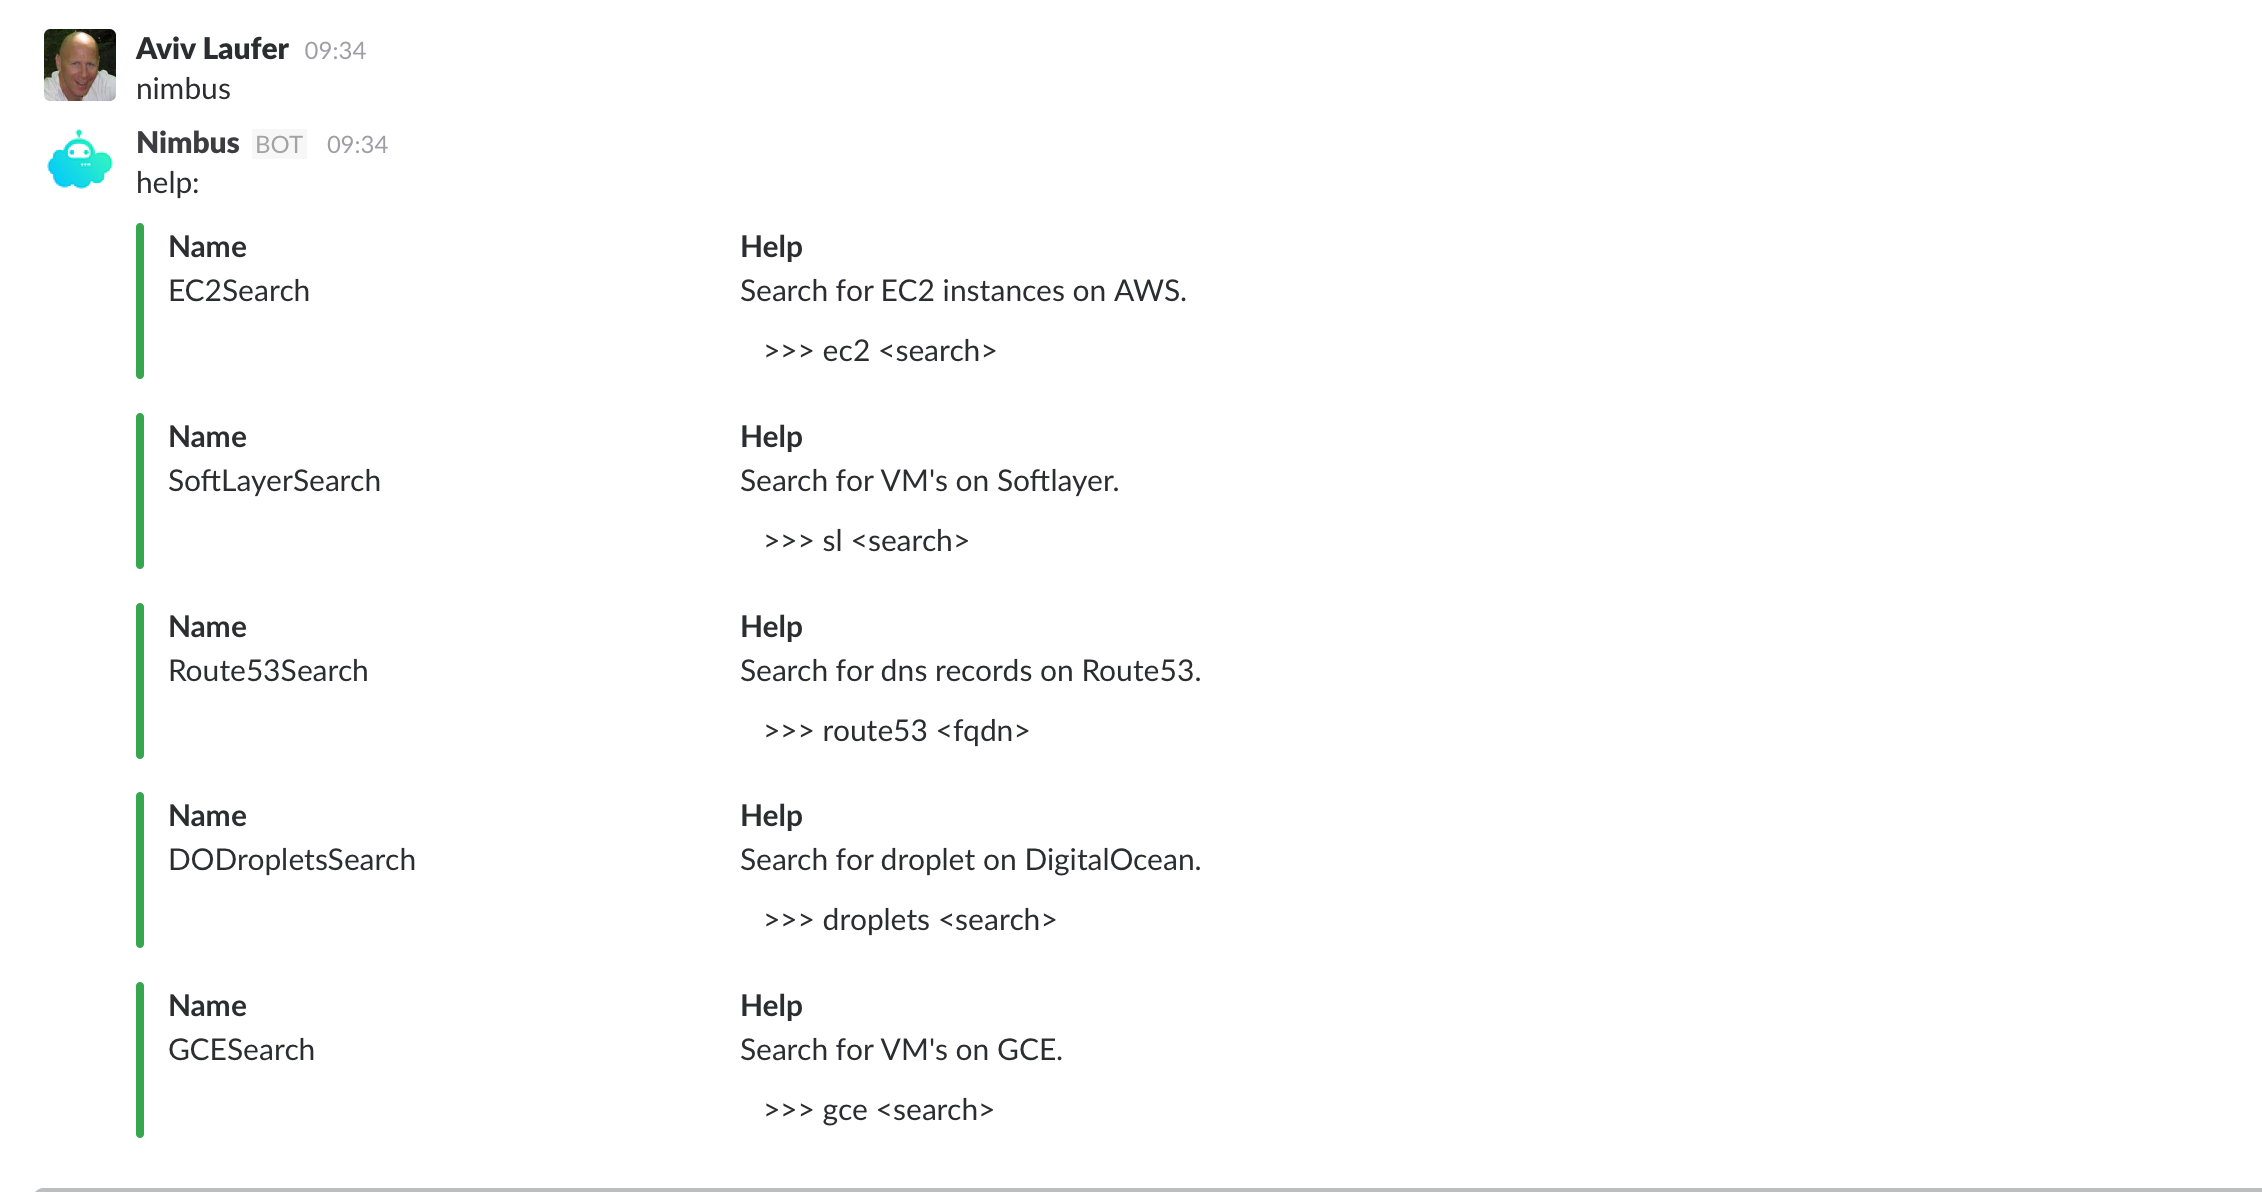
Nimbus will allow you to interact with different cloud providers (current support AWS, GCE, DO, SL)
Following is a detailed installation guide for Nimbus. We're using Apex to simplify the process, so you'll need to install it locally and use as described below.
- Lambda management is done with Apex
- Install Apex
sudo curl https://raw.githubusercontent.com/apex/apex/master/install.sh | sh - Run
apex init - Run
pip install -r requirements.txt -t functions/nimbus - Set
timeoutto 60 in theproject.jsonfile. - Go to Identity and Access Management
- Select nimbus_lambda_function
- Attach the following policies
- AmazonEC2ReadOnlyAccess
- AmazonRoute53ReadOnlyAccess
- AmazonDynamoDBReadOnlyAccess
- Go to AWS API Gateway.
- Click "Get Started Now".
- Under "API name", enter the name of your API. I will just name it "nimbus".
- Click "Create API".
- You will be redirected to the "Resources" page.
- Click "Create Method" and on the dropdown menu on the left, choose "POST" and click on the "tick" icon.
- Now, you will see the "/ - POST - Setup" page on the right.
- Under "Integration Type", choose "Lambda Function".
- Under "Lambda Region", choose "us-east-1".
- Under "Lambda Function", type "nimbus" and it should auto-complete it to "nimbus_nimbus".
- Click "Save" and "Ok" when the popup appears.
- You will be brought to the "/ - POST - Method Execution" Page.
- Click "Integration Request".
- Click "Mapping Templates" and the section should expand.
- Click "Add Mapping Template" and type in "application/x-www-form-urlencoded" and click on the "tick" icon.
- Under "Input Passthrough" on the right, click on the "pencil" icon.
- Choose "Mapping Template" on the dropdown that appears.
- Copy and paste this GitHub Gist to the template box.
- Click on the "tick" icon beside the dropdown once you are done.
- This GitHub Gist will covert the your API Gateway data from application/x-www-form-urlencoded to application/json.
- Click on "Deploy API" button on the top left.
- Under "Deployment Stage", click "New Stage".
- Under "Stage Name", type in "prod".
- Click "Deploy".
- Note the "Invoke URL" at the top and your API is now live.
- Go to Slack Apps.
- Search for "Outgoing WebHooks".
- Click "Install" besides the team you wanted.
- Click "Add Outgoing WebHook Integration".
- Scroll down to "Integration Settings" section.
- Under "Channel", choose "Any".
- Under "Trigger Word(s)", type in "nimbus" (without the quotes).
- Under "URL(s)", type in your "Invoke URL" as noted above.
- Customize "Descriptive Label", "Name" and "Icon" (you can use cloudy_robot_200.png from the nimbus repo) )to your liking and click "Save Settings".
- Copy the Token value.
- You are all set.
- Go to Identity and Access Management
- Create the following mandatory keys - SlackAPIKey (Slack AP Token), nimbus (Slack verification token)
- Create optional keys - DigitalOcean (DigitalOcean API key), SoftLayer (user name and a token), Google
- For each of the created keys do the following
aws kms encrypt --key-id alias/<KMS key name> --plaintext "<COMMAND_TOKEN>"
- Copy the base-64 encoded, encrypted key
- if you you want to list your GCE instance, create keys as describe here
- For each of the keys decrypt using
aws kms encrypt --key-id alias/NimbusGoogle --plaintext fileb://"key file"" --output text "
- Store this values in a string set by the name of GCETokens in dynamodb.
- Go to DynamoDB and create a table by the name of nimbus
- Add the following items to the table:
- BotName - Default "Nimbus"
- DigitalOcean - Encrypted DigitalOcean key
- SlackAPI - Encrypted SlackAPI Token
- SlackExpected - Encrypted Slack verification token
- SLUserName - SoftLayer user name
- SLAPI - SoftLayer API key
- icon - Url for the bot icon
- Give your function's role permission for the kms:Decrypt action. Example:
   {
     "Version": "2012-10-17",
     "Statement": [
       {
         "Effect": "Allow",
         "Action": [
           "kms:Decrypt"
         ],
         "Resource": [
           "<your KMS key ARN>"
         ]
       }
     ]
   }```

### Ready, Set, Go!

You can deploy your code by running `apex deploy`
