This lab is provided as part of AWS Builders Online Series.
ℹ️ You will run this lab in your own AWS account. Please follow directions at the end of the lab to remove resources to minimize costs.
AWS Amplify makes it easy for you to create, configure, and implement scalable mobile and web apps powered by AWS. In this workshop you will learn how to build the Vote Rocket voting web application with React and the Amplify Framework
- Setup
- Getting started - create the application
- Adding a GraphQL API
- Adding custom business logic to the GraphQL API
- Creating the React front-end application
To run this lab, you will require an AWS account. You will be using a Cloud9, which is a web-based development environment that provides a terminal program running on a virtual machine that has the AWS CLI pre-installed and configured.
1. Login to your AWS Account.
2. From the Services menu, select Cloud9.
If you are prompted for a region, select the one closest to you.
You will now create a Cloud9 environment.
3. Click Create environment.
4. For Name, enter: amplify-lab
5. Click Next step twice, then click Create environment.
Cloud9 will take a few minutes to launch the environment. Once it is ready, continue to the next step.
6. In the bash terminal at the bottom of the screen (showing ~/environment $), run the following commands:
npm install -g yarn create-react-app

region=$(curl -s http://169.254.169.254/latest/meta-data/placement/availability-zone | sed 's/\(.*\)[a-z]/\1/')

cat <<END > ~/.aws/config
[default]
region=$region
END

git clone https://github.com/aws-john/voterocket-lab.git
Hint: You can expand the size of the terminal pane.
You will now install the AWS Amplify CLI.
7. Run this command:
npm install -g @aws-amplify/cli8. Run this command to create a new React app using the Create React App CLI:
create-react-app voterocketThis will create a new React app in the voterocket directory.
9. Run these commands to configure the project to work with the Amplify Framework:
cd voterocket
amplify init
10. Provide the following values when prompted:
- Enter a name for the project:
voterocket - Enter a name for the environment:
dev - Choose your default editor:
None - Choose the type of app that you're building:
javascript
Please tell us about your project:
- What javascript framework are you using:
react - Source Directory Path:
src - Distribution Directory Path:
build - Build Command:
npm run-script build - Start Command:
npm run-script start - Do you want to use an AWS profile?
Yes - Please choose the profile you want to use:
default
The AWS Amplify CLI will initialise a new project inside your React project and you will see a new folder called amplify. The files in this folder hold your project configuration.
11. Run this command to add a GraphQL API (AWS AppSync):
amplify add api12. Provide the following values when prompted:
- Please select from one of the above mentioned services:
GraphQL - Provide API name:
voterocket - Choose an authorization type for the API:
API key - Enter a description for the API key:
default - After how many days from now the API key should expire (1-365):
7 - Do you want to configure advanced settings for the GraphQL API?
No, I am done. - Do you have an annotated GraphQL schema?
N - Do you want a guided schema creation?
Y - What best describes your project:
Single object with fields (e.g. “Todo” with ID, name, description) - Do you want to edit the schema now? (Y/n)
Y
Voterocket's schema requires a Candidate with an id, name, description and count of votes received.
13. In the Cloud9 file navigator, find voterocket/amplify/backend/api/voterocket/schema.graphql.
14. Open the file and replace the existing contents with the following:
type Candidate @model {
  id: ID!
  name: String!
  description: String
  votes: Int!
}
15. Save the file.
Amplify CLI uses GraphQL Transform, which simplify the process of developing, deploying, and maintaining GraphQL APIs on AWS. Transforms are implemented using directives
This example uses the @model directive, which by default will automatically configure these AWS resources.
16. Run this command in the terminal window to push the configuration to the account:
amplify push17. Provide the following values when prompted (they are all default values):
- Do you want to generate code for your newly created GraphQL API:
Y - Choose the code generation language target:
JavaScript - Enter the file name pattern of graphql queries, mutations and subscriptions:
(src/graphql/**/*.js) - Do you want to generate/update all possible GraphQL operations - queries, mutations and subscriptions?
Y - Enter maximum statement depth (increase from default if your schema is deeply nested):
2
The generated GraphQL via the @model directive can be found in: amplify/backend/api/voterocket/build/schema.graphql
The generated Javascript source can be found in ./src/graphql/ and provides pre-built queries, mutations and subscriptions that can be imported directly into your React application.
You will now access the AWS AppSync console.
18. Right-click this link and open it in a New Tab: https://console.aws.amazon.com/appsync
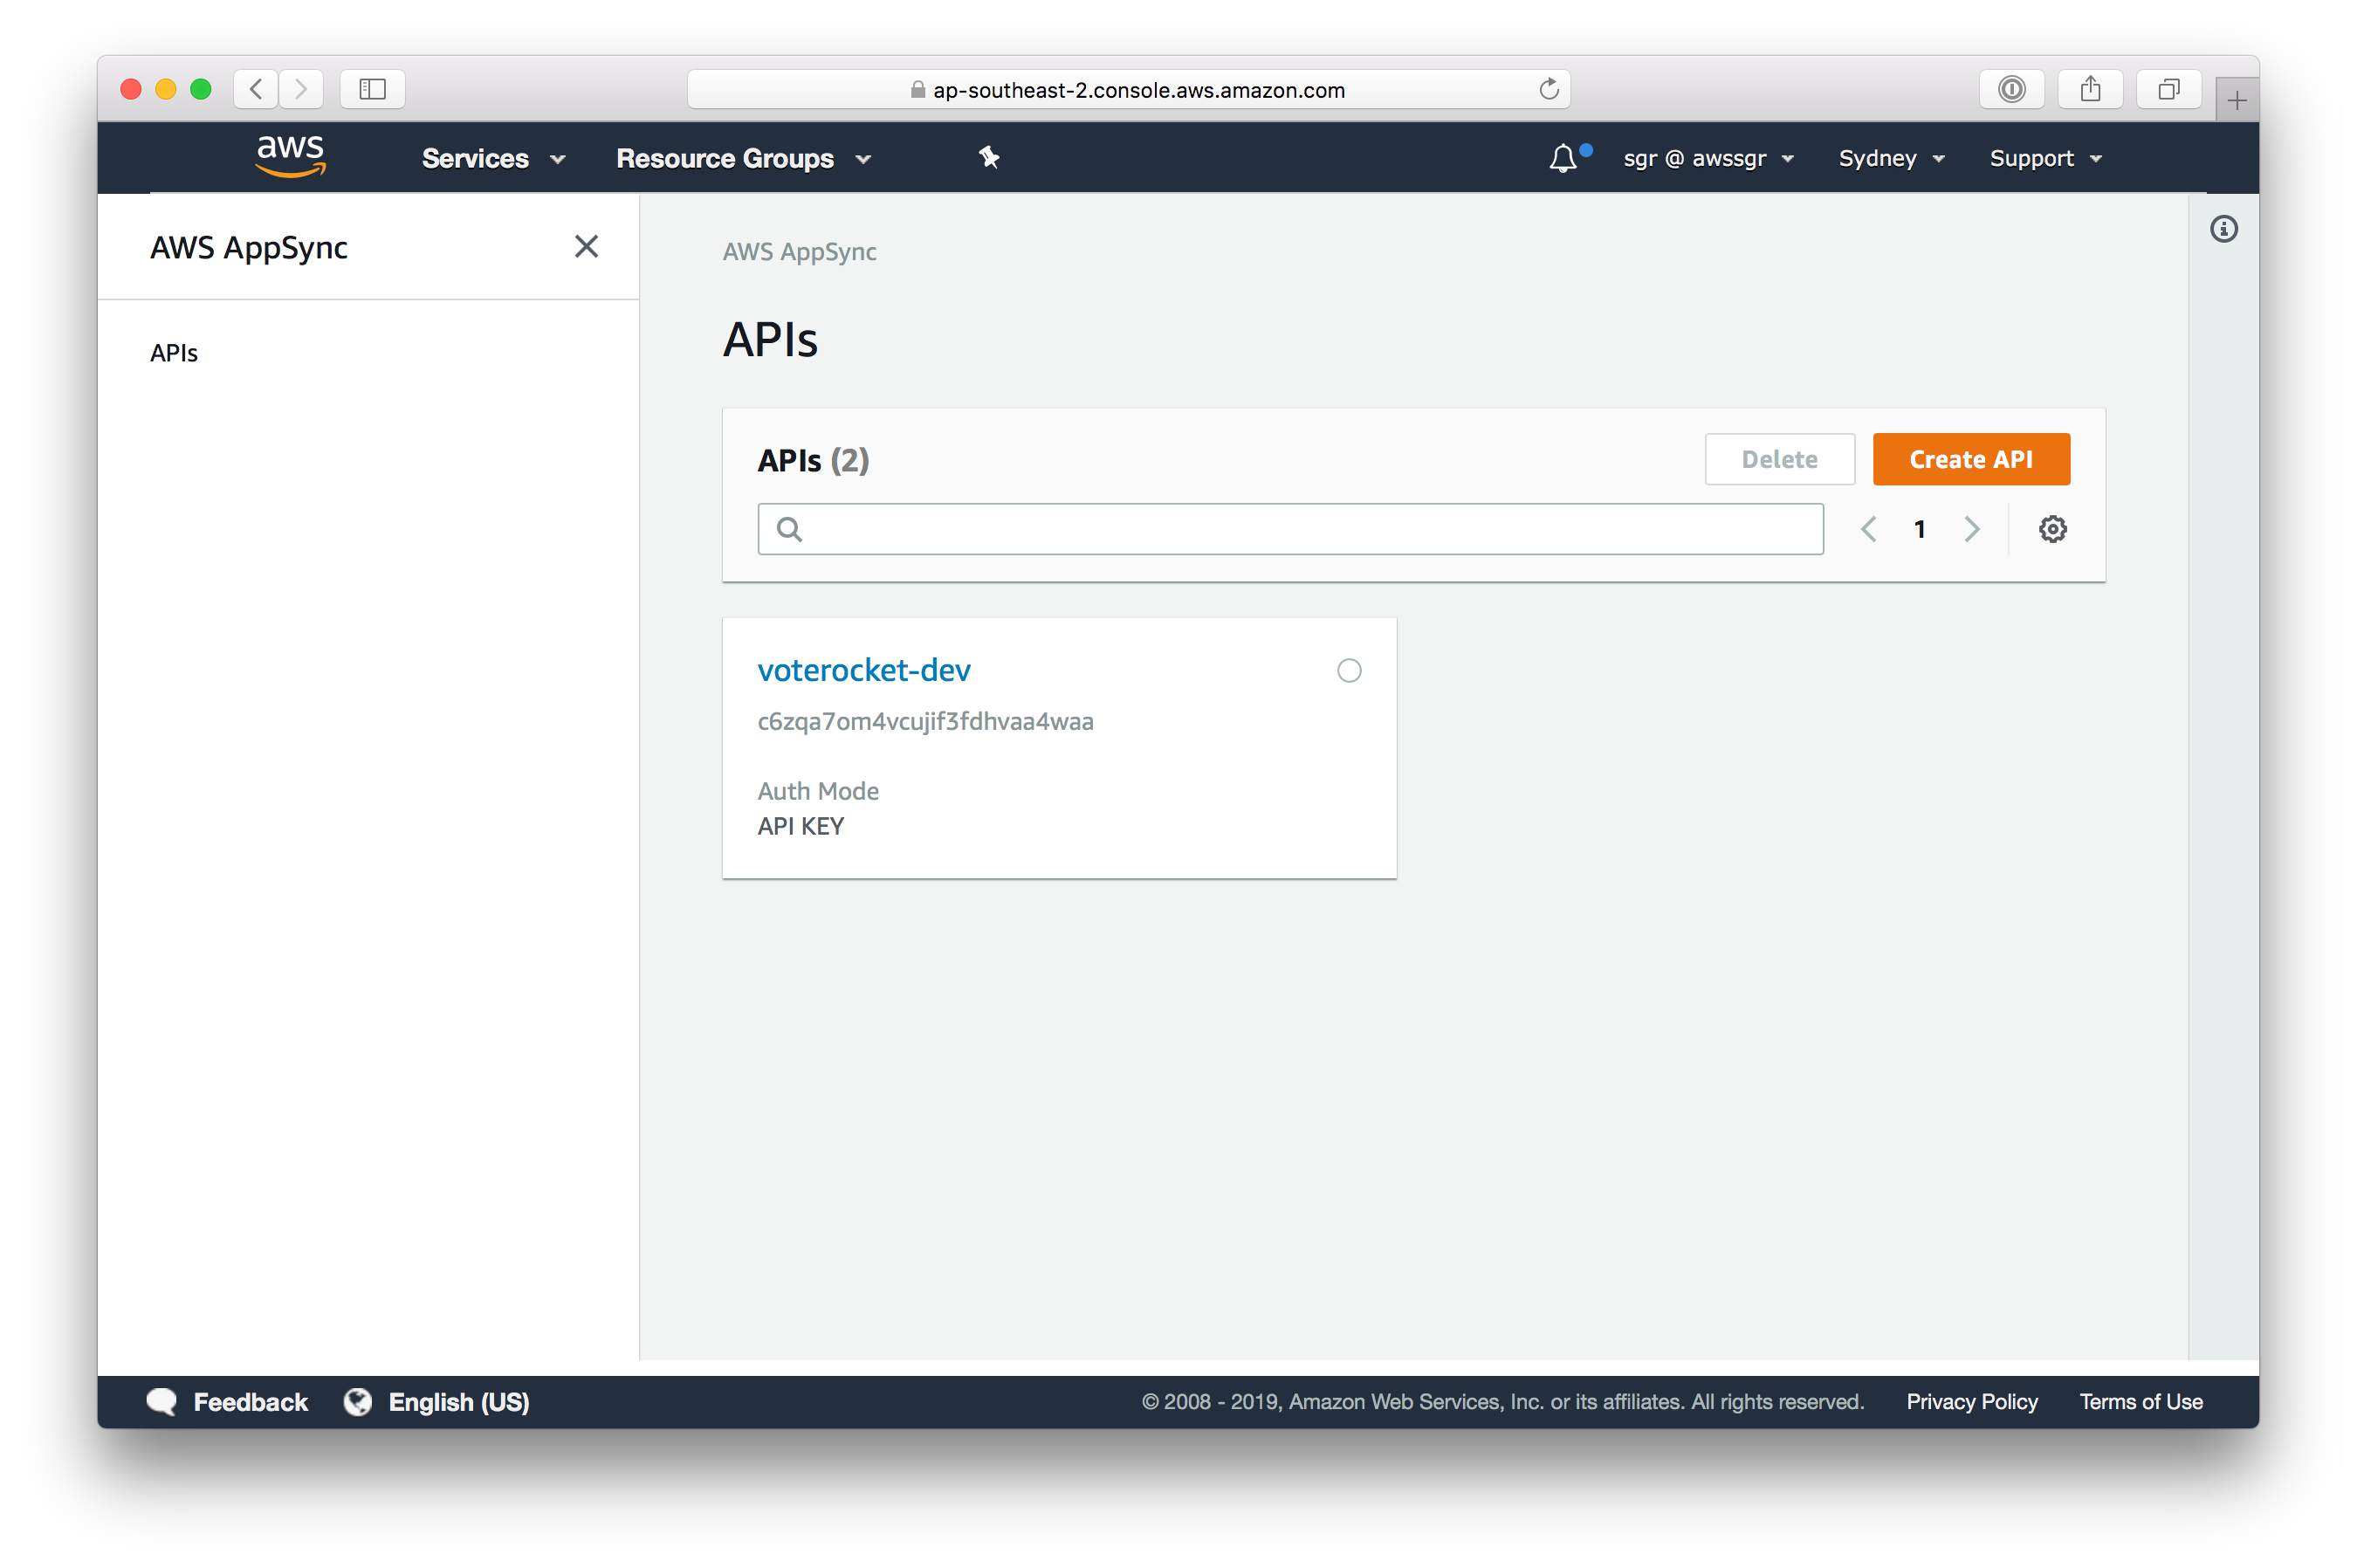
If the voterocket-dev API does not appear, check that you are in the correct Region. It will be the same region as where you launched Cloud9.
19. In the AWS AppSync console, click voterocket-dev.
20. In the left navigation pane, click Queries.
21. Delete the contents of the left half of the console ('Query Variables'), then paste the following:
query AllCandidates {
  listCandidates {
    items {
      id
      name
      description
      votes
    }
  }
}
22. Click the Play button (with the triangle) to run the query.
It should return an empty list of items. This is because there is no data in the underlying DynamoDB database.
You will now add some Candidates using a mutation as below. This will add four entries and return a result.
23. Run this query (deleting the existing contents):
mutation createCandidates {
  candidate1: createCandidate(input: {name: "Lambda",      description: "Run code without thinking about servers",  votes: 0 }) {id, name, description, votes }
  candidate2: createCandidate(input: {name: "DynamoDB",    description: "Fast and flexible NoSQL database service", votes: 0 }) {id, name, description, votes }
  candidate3: createCandidate(input: {name: "API Gateway", description: "Managed RESTful APIs",                     votes: 0 }) {id, name, description, votes }
  candidate4: createCandidate(input: {name: "AppSync",     description: "Managed GraphQL APIs",                     votes: 0 }) {id, name, description, votes }
}
This created Candidates.
24. Now run the first query again:
query AllCandidates {
  listCandidates {
    items {
      id
      name
      description
      votes
    }
  }
}
It now returns the candidates that were created in the mutation.
You can also filter when querying. This is available because the Amplify CLI generated the transforms as described earlier.
25. Run this query:
query NameContainsLambda {
  listCandidates(filter: {name: {contains: "Lambda"} }) {
    items {
      id
      name
      description
      votes
    }
  }
}
It will return only the Candidate whose name contains Lambda.
Because this is a voting application you need to find a way to record a vote for a candidate. While you could use the updateCandidate mutation and resolver that was generated for us, this relies on having to increment the value on the client. It can't be guaranteed that all clients will have the same value for the vote count—it's much more robust to do this server-side1..
This is how you would it if this were the AWS CLI:
aws dynamodb update-item \
    --table-name Candidate \
    --key '{ "id": {"S": "552e120b-3192-4cac-bb13-c8821472e6d6"} }' \
    --update-expression 'set #votesField = #votesField + :i' \
    --expression-attribute-values '{ ":i": { "N": "10"} }' \
    --expression-attribute-names '{ "#votesField": "votes" }'
For the GraphQL API to execute a similar update-item you need to create a custom resolver2..
26. Append the following to the end of the schema.graphql file:
input CastVoteInput {
  id: ID!
}

type Mutation {
  castVote(input: CastVoteInput!): Candidate
}

type Subscription {
  onCastVote: Candidate
    @aws_subscribe(mutations: ["castVote"])
}
27. Save the file.
This will allow a call to the castVote mutation that will increment the vote counter by 1, and enforce an input that has only the ID of the candidate. There is also a subscription type that will "push" real-time updates to a connected client when the mutation is called.
28. Run this command to copy the two .vtl files from the samples folder into your project ./amplify/backend/api/voterocket/resolvers directory:
cp ~/environment/voterocket-lab/samples/Mutation.castVote.*.vtl ./amplify/backend/api/voterocket/resolvers/If you open the Mutation.castVote.req.vtl resolver in the editor you will see it looks a lot like aws dynamodb update-item CLI command above.
You also need to tell Amplify to add these resolvers to your API by adding a new resolver resource to Amplify's CloudFormation templates.
29. Run this command to copy the CustomResources.json file from the samples folder and overwrite the file at ./amplify/backend/api/voterocket/stacks/CustomResources.json:
cp ~/environment/voterocket-lab/samples/CustomResources.json ./amplify/backend/api/voterocket/stacks/CustomResources.json30. Run this command to provision the custom resolvers:
amplify push
31. Provide the following values when prompted (they are all default values):
- Do you want to update code for your updated GraphQL API
Yes - Do you want to generate GraphQL statements (queries, mutations and subscription) based on your schema types. This will overwrite your current graphql queries, mutations and subscriptions:
Yes
Two things will then happen behind the scenes:
- The custom resolvers will be added to the
amplify/backend/api/voterocket/build/resolvers/along with the other auto-generated resolvers implied from theCandidate's@modeldirective earlier. - Amplify's generated queries, mutations and subscriptions Javascript source in
./src/graphql/will be updated to reflect the newcastVotefunctionality.
32. Return to the AppSync console.
33. Run this query to list the Candidates:
query AllCandidates {
  listCandidates {
    items {
      id
      name
      description
      votes
    }
  }
}
34. Paste the following into the Queries console (but do not run it yet):
mutation CastVote {
  castVote(
    input: {
      id: "YOUR-ID-HERE"
    }
  )
  {
    id
    votes
  }
}
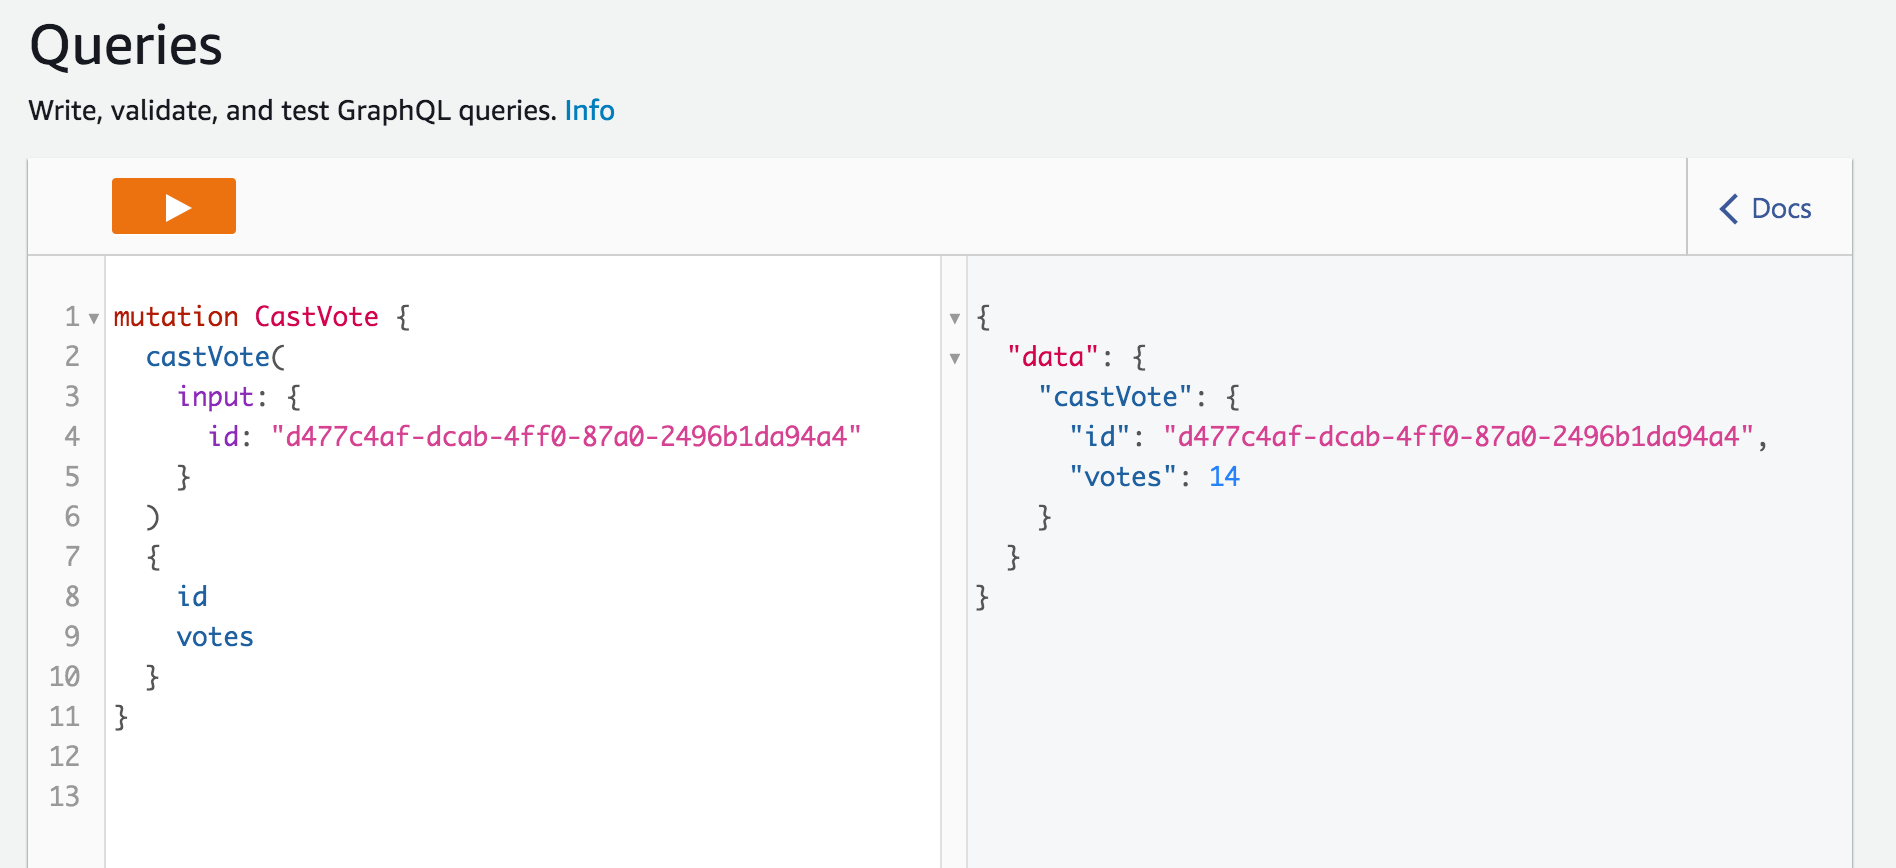
35. Replace YOUR-ID-HERE with one of the id values shown in the output window (on the right).
36. Run the query several times.
Each time you execute the mutation it will increment the votes value by 1:
You will now add the front-end HTML and Javascript files to the front-end.
You need to add the Amplify Framework dependencies to the app. You will also add Chart.js and the React wrapper for Chart.js to display the vote counts as a chart.
37. Run this command:
yarn add aws-amplify aws-amplify-react chart.js react-chartjs-2
38. Run these commands to copy App.js and index.html files from the samples folder to the project (overwriting the existing files generated by create-react-app earlier):
cp ~/environment/voterocket-lab/samples/App.js ./src
cp ~/environment/voterocket-lab/samples/index.html ./public39. Run this command to start the app:
yarn start
You should see something like this:
You can now view voterocket in the browser.

  Local:            http://localhost:8080/
  On Your Network:  http://172.31.40.28:8080/

Note that the development build is not optimized.
To create a production build, use yarn build.
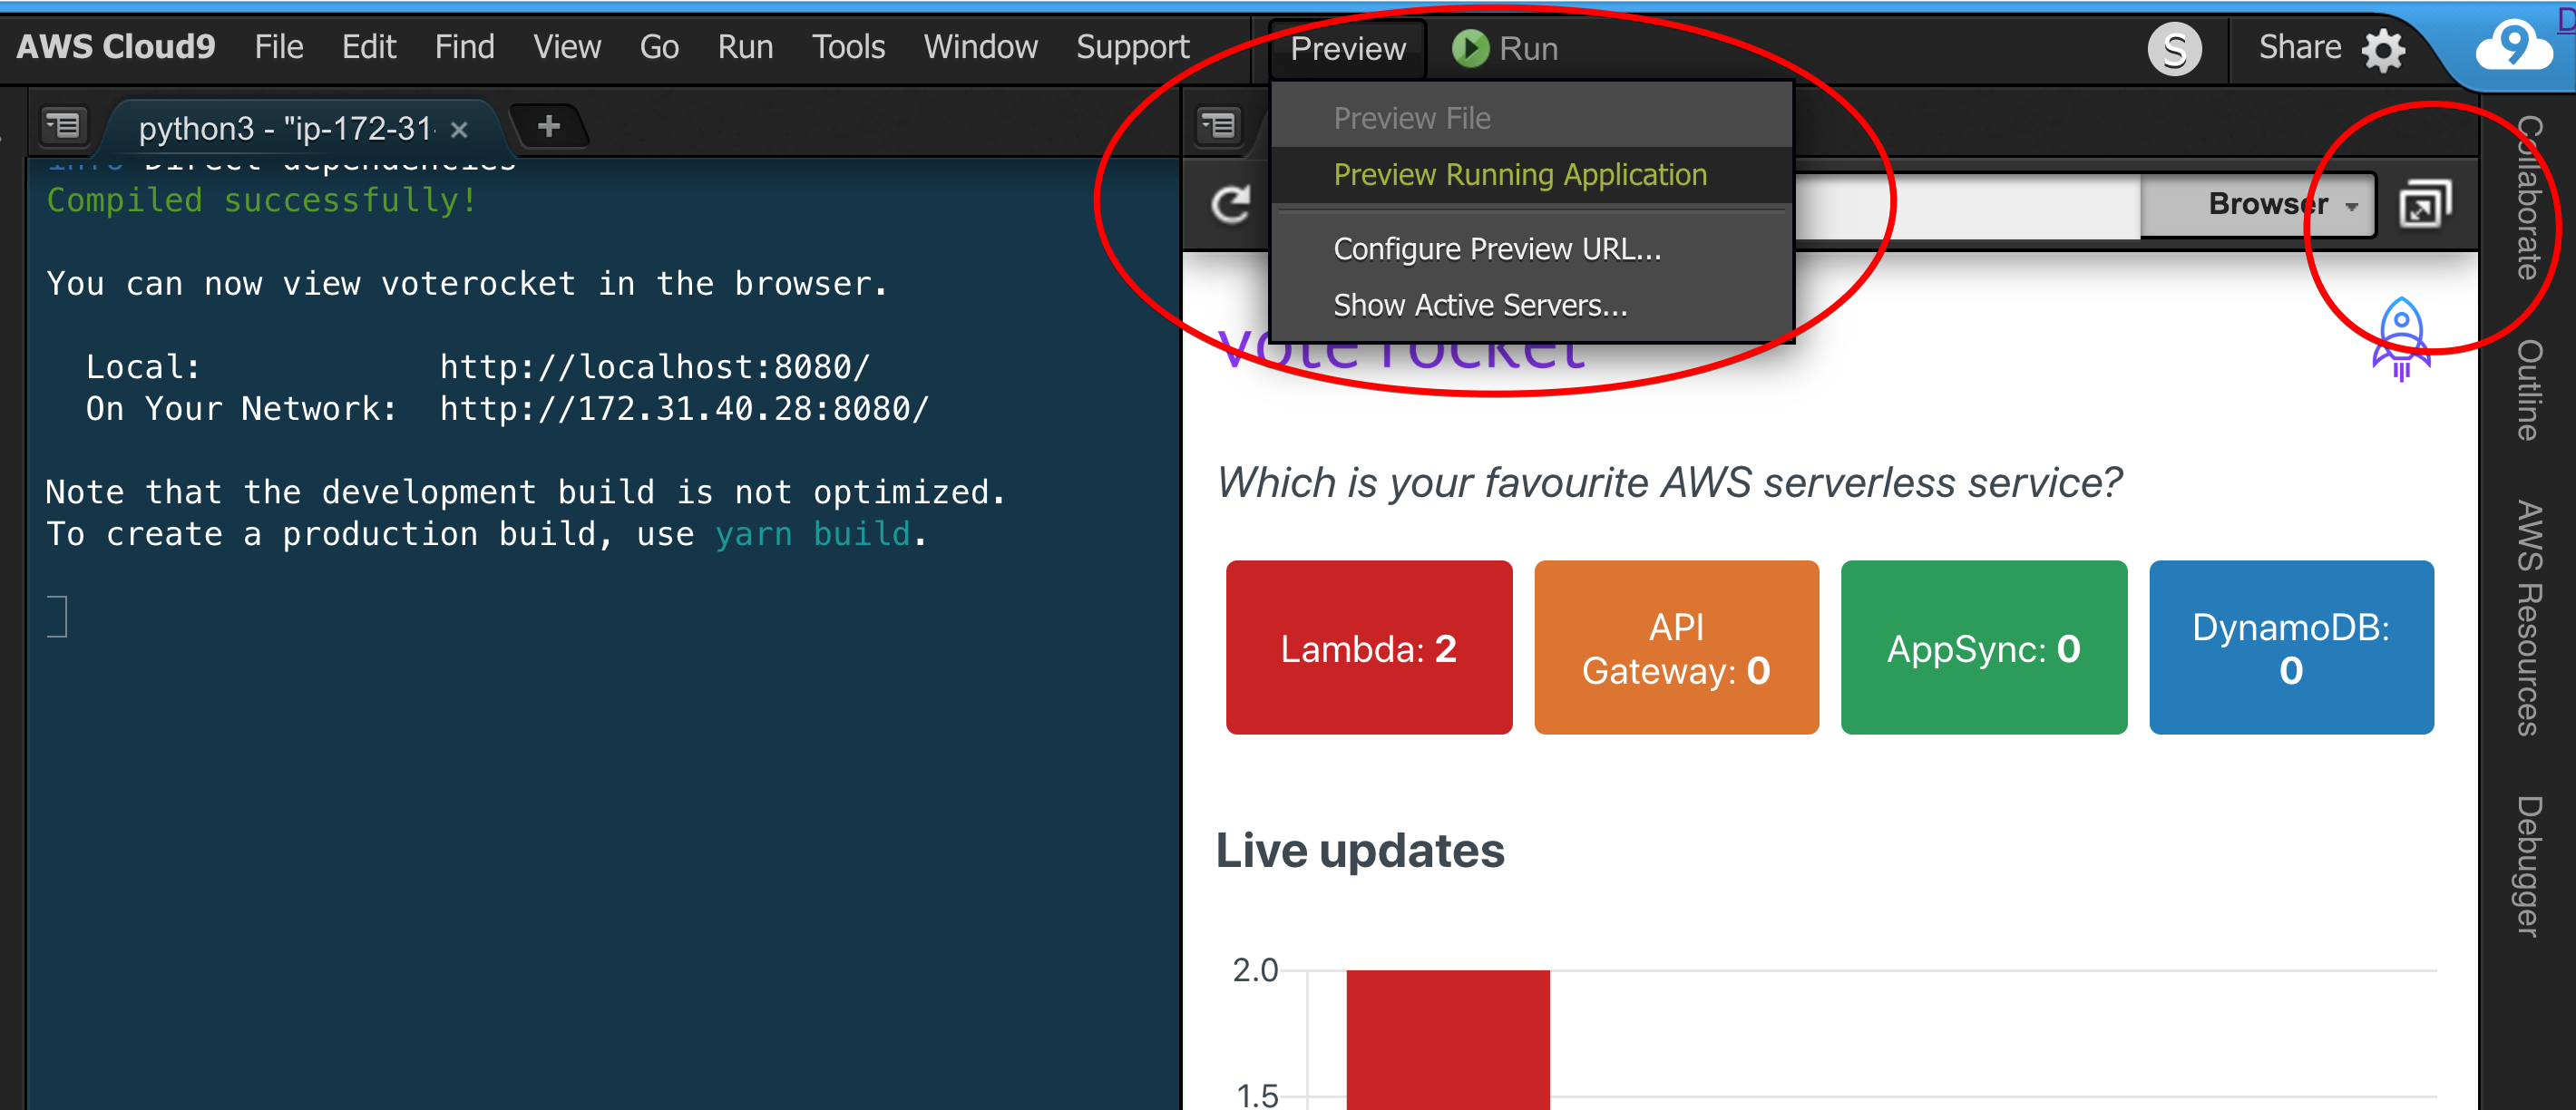
40. In the Cloud9 Preview menu, click Preview Running Application.
41. Click the 'popout' icon to open it in a new browser tab, as shown below:
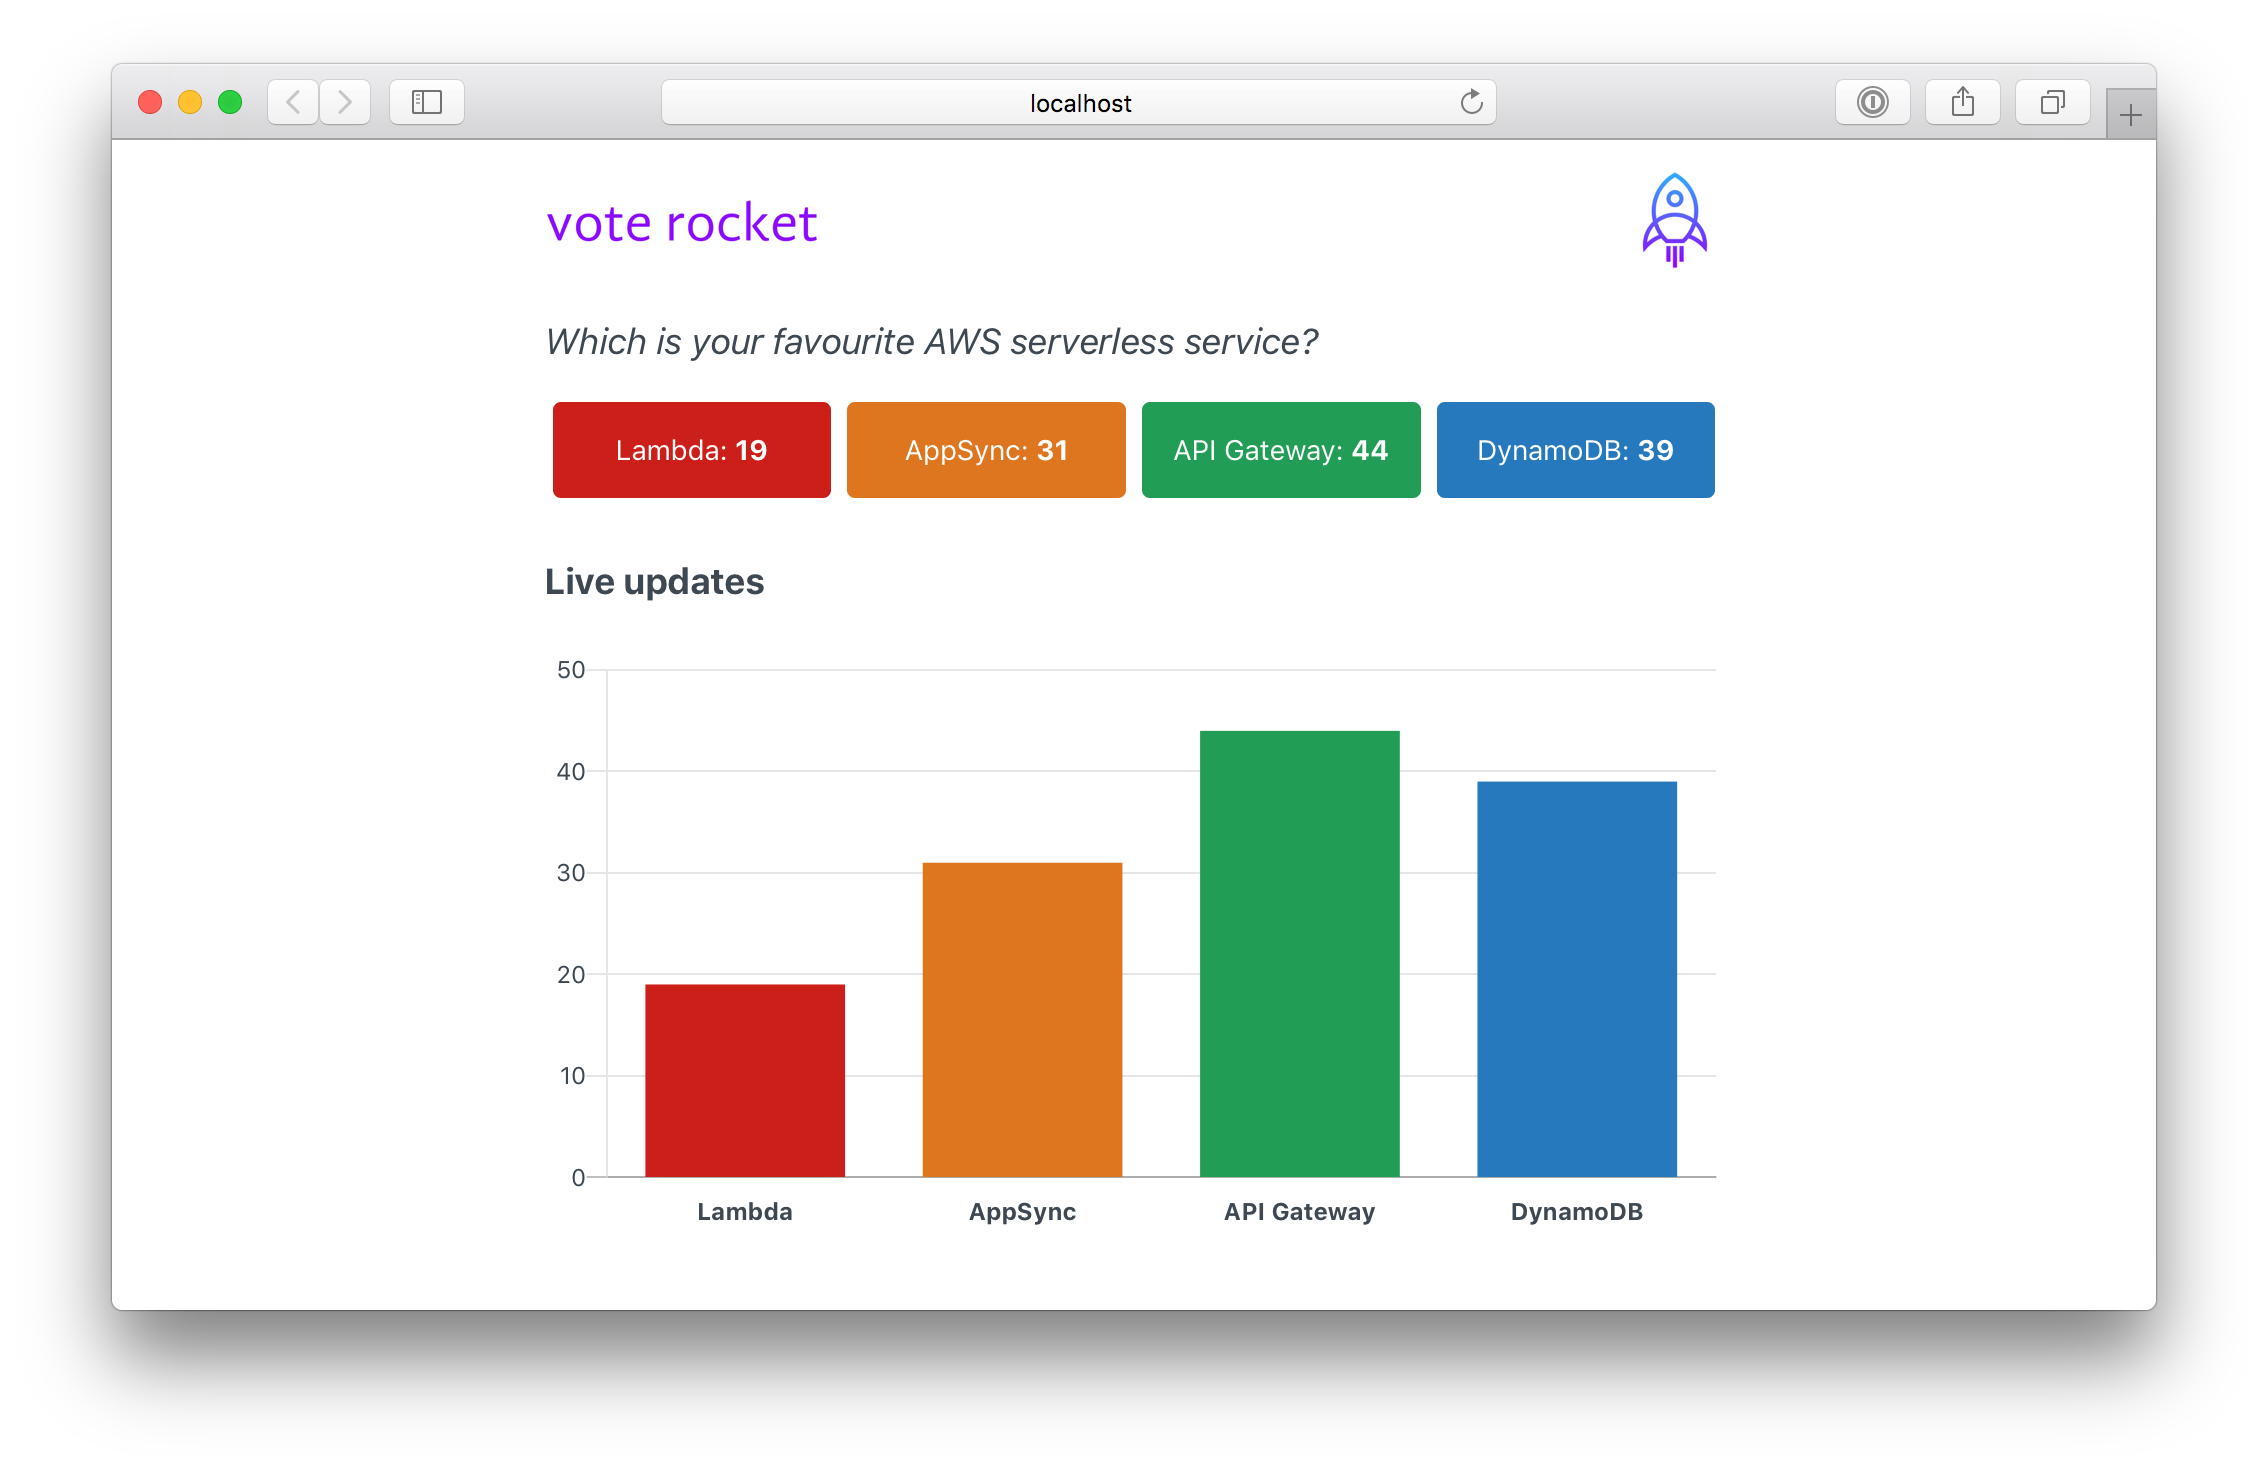
42. Press some buttons to cast votes.
The chart should update in real-time.
43. Open the URL in another browser tab.
You should see the same chart update in that window, also in real-time.
In a short space of time you were able to create a working application from scratch with:
A scalable serverless back-end:
- Real-time GraphQL API, with a comprehensive set of queries, mutations and subscriptions for common CRUDL and custom operations
- Database to hold the state with a lock-free atomic counter to hold vote counts
- Custom business logic to connect the API to the database
A browser-based React front-end:
- Application-specific API client libraries that require minimal code to use for invoking the APIs.
- Real-time, event-driven updates to the page with React and subscriptions
Importantly this allowed you to focus on building what matters. Our business logic.
If you would like some more insights into how the front-end works, open the App.js file you copied in your editor. Note how the file is set up to use and configure the Amplify Framework:
import React, { Component } from 'react';
import Amplify, { API, graphqlOperation } from 'aws-amplify';
import * as queries from './graphql/queries';
import * as mutations from './graphql/mutations';
import * as subscriptions from './graphql/subscriptions';
import aws_exports from './aws-exports';

Amplify.configure(aws_exports);Note also how the code in the componentDidMount method of the App class will query list of Candidates from the API and load it into the component's state when the page is first loaded.
const candidates = await API.graphql(graphqlOperation(queries.listCandidates))
this.setState({
  candidates: candidates.data.listCandidates.items
})
The arguments to the graphqlOperation method above (in this case queries.listCandidates) are managed and generated automatically by the Amplify Framework and were imported from ./graphql/* at the top of the file.
Also note how the subscribe method below automatically binds the subscription to the user interface, and will upgrade the counters and chart in real-time.
  API.graphql(graphqlOperation(subscriptions.onCastVote)).subscribe({
    next: (voteCasted) => {
      const id = voteCasted.value.data.onCastVote.id
      const votes = voteCasted.value.data.onCastVote.votes
      const candidates = this.state.candidates
      const row = candidates.find( candidate => candidate.id === id );
      row.votes = votes;
      this.setState({ votes: candidates });
      console.log("state:", this.state.candidates)
    }
  })
This will update the React state using the GraphQL subscription you added to the schema.graphql file above, and again is updated and managed automatically by the Framework.
You can also very easily deploy the application using AWS Amplify Console. Here are some examples that demonstrate how to do this.
The Amplify Framework is comprehensive and can let you integrate other services such as RESTful APIs, authentication, relational databases, analytics, storage, messaging, chat and others. For example, its really easy to add authentication using Amplify and Amazon Cognito. In a few lines of code you will be able to add an authentication step so that only logged-in users can access your application.
You can also use Amplify to develop applications for mobile apps using iOS and Android native APIs that could for example share the same back-end as this lab's.
Please follow these instructions to clean-up your account so that there will be no on-going charges for any services used.
44. Run this command to remove resources that were created during the lab (Press Ctrl+C first to stop the running app):
amplify delete
45. Return to the Cloud9 console by clicking AWS Cloud9 in the top left, then click Go To Your Dashboard.
46. Delete the amplify-lab.
You will need to enter Delete to delete the environment.
- AWS Amplify framework: https://aws-amplify.github.io/
- AWS Amplify product page: https://aws.amazon.com/amplify/
- Awesome AWS Amplify: https://github.com/dabit3/awesome-aws-amplify
- The AWS AppSync community: https://github.com/aws/aws-appsync-community
- Full code for this lab at https://github.com/awssgr/voterocket
Footnote 1. A resolver is a function that converts the GraphQL payload to the underlying storage system protocol and executes if the caller is authorised to invoke it. Resolvers are comprised of request and response mapping templates, which contain transformation and execution logic. AWS AppSync uses mapping templates, which are written with the Apache Velocity Template Language (VTL) and interpreted by AWS AppSync. There is a resolver mapping template programming guide in the AWS AppSync Developer Guide that covers how to write resolvers in detail. [return ↑] Footnote 2. See Amplify Framework Custom Resolvers. You also get the benefit of using DynamoDB atomic counters. [return ↑]
