| Region (that supports Rekognition) | Button |
|---|---|
| us-east-1 |  |
| us-west-2 |  |
| eu-west-1 |  |
Cost Estimate: ~$12/month with ~10 requests per second: Simple Monthly Calculator
We'll cover the concepts of:
- Twitter API
- AWS Lambda
- Amazon DynamoDB
- Amazon S3
- Amazon EC2, Amazon EC2 SSM, AWS Autoscaling, Amazon VPC
- AWS IAM
- AWS CloudFormation
- Python
To design your own bot you should have a working knowledge of:
- JSON
- Twitter API
- A programming language
- REST APIs
- OAuth
- Setup Twitter App
- Launch Stack
- Send a test tweet
- How does it all work?
- Additional Exercises
Video of setup: https://youtu.be/cOTZxTJ3pN4
-
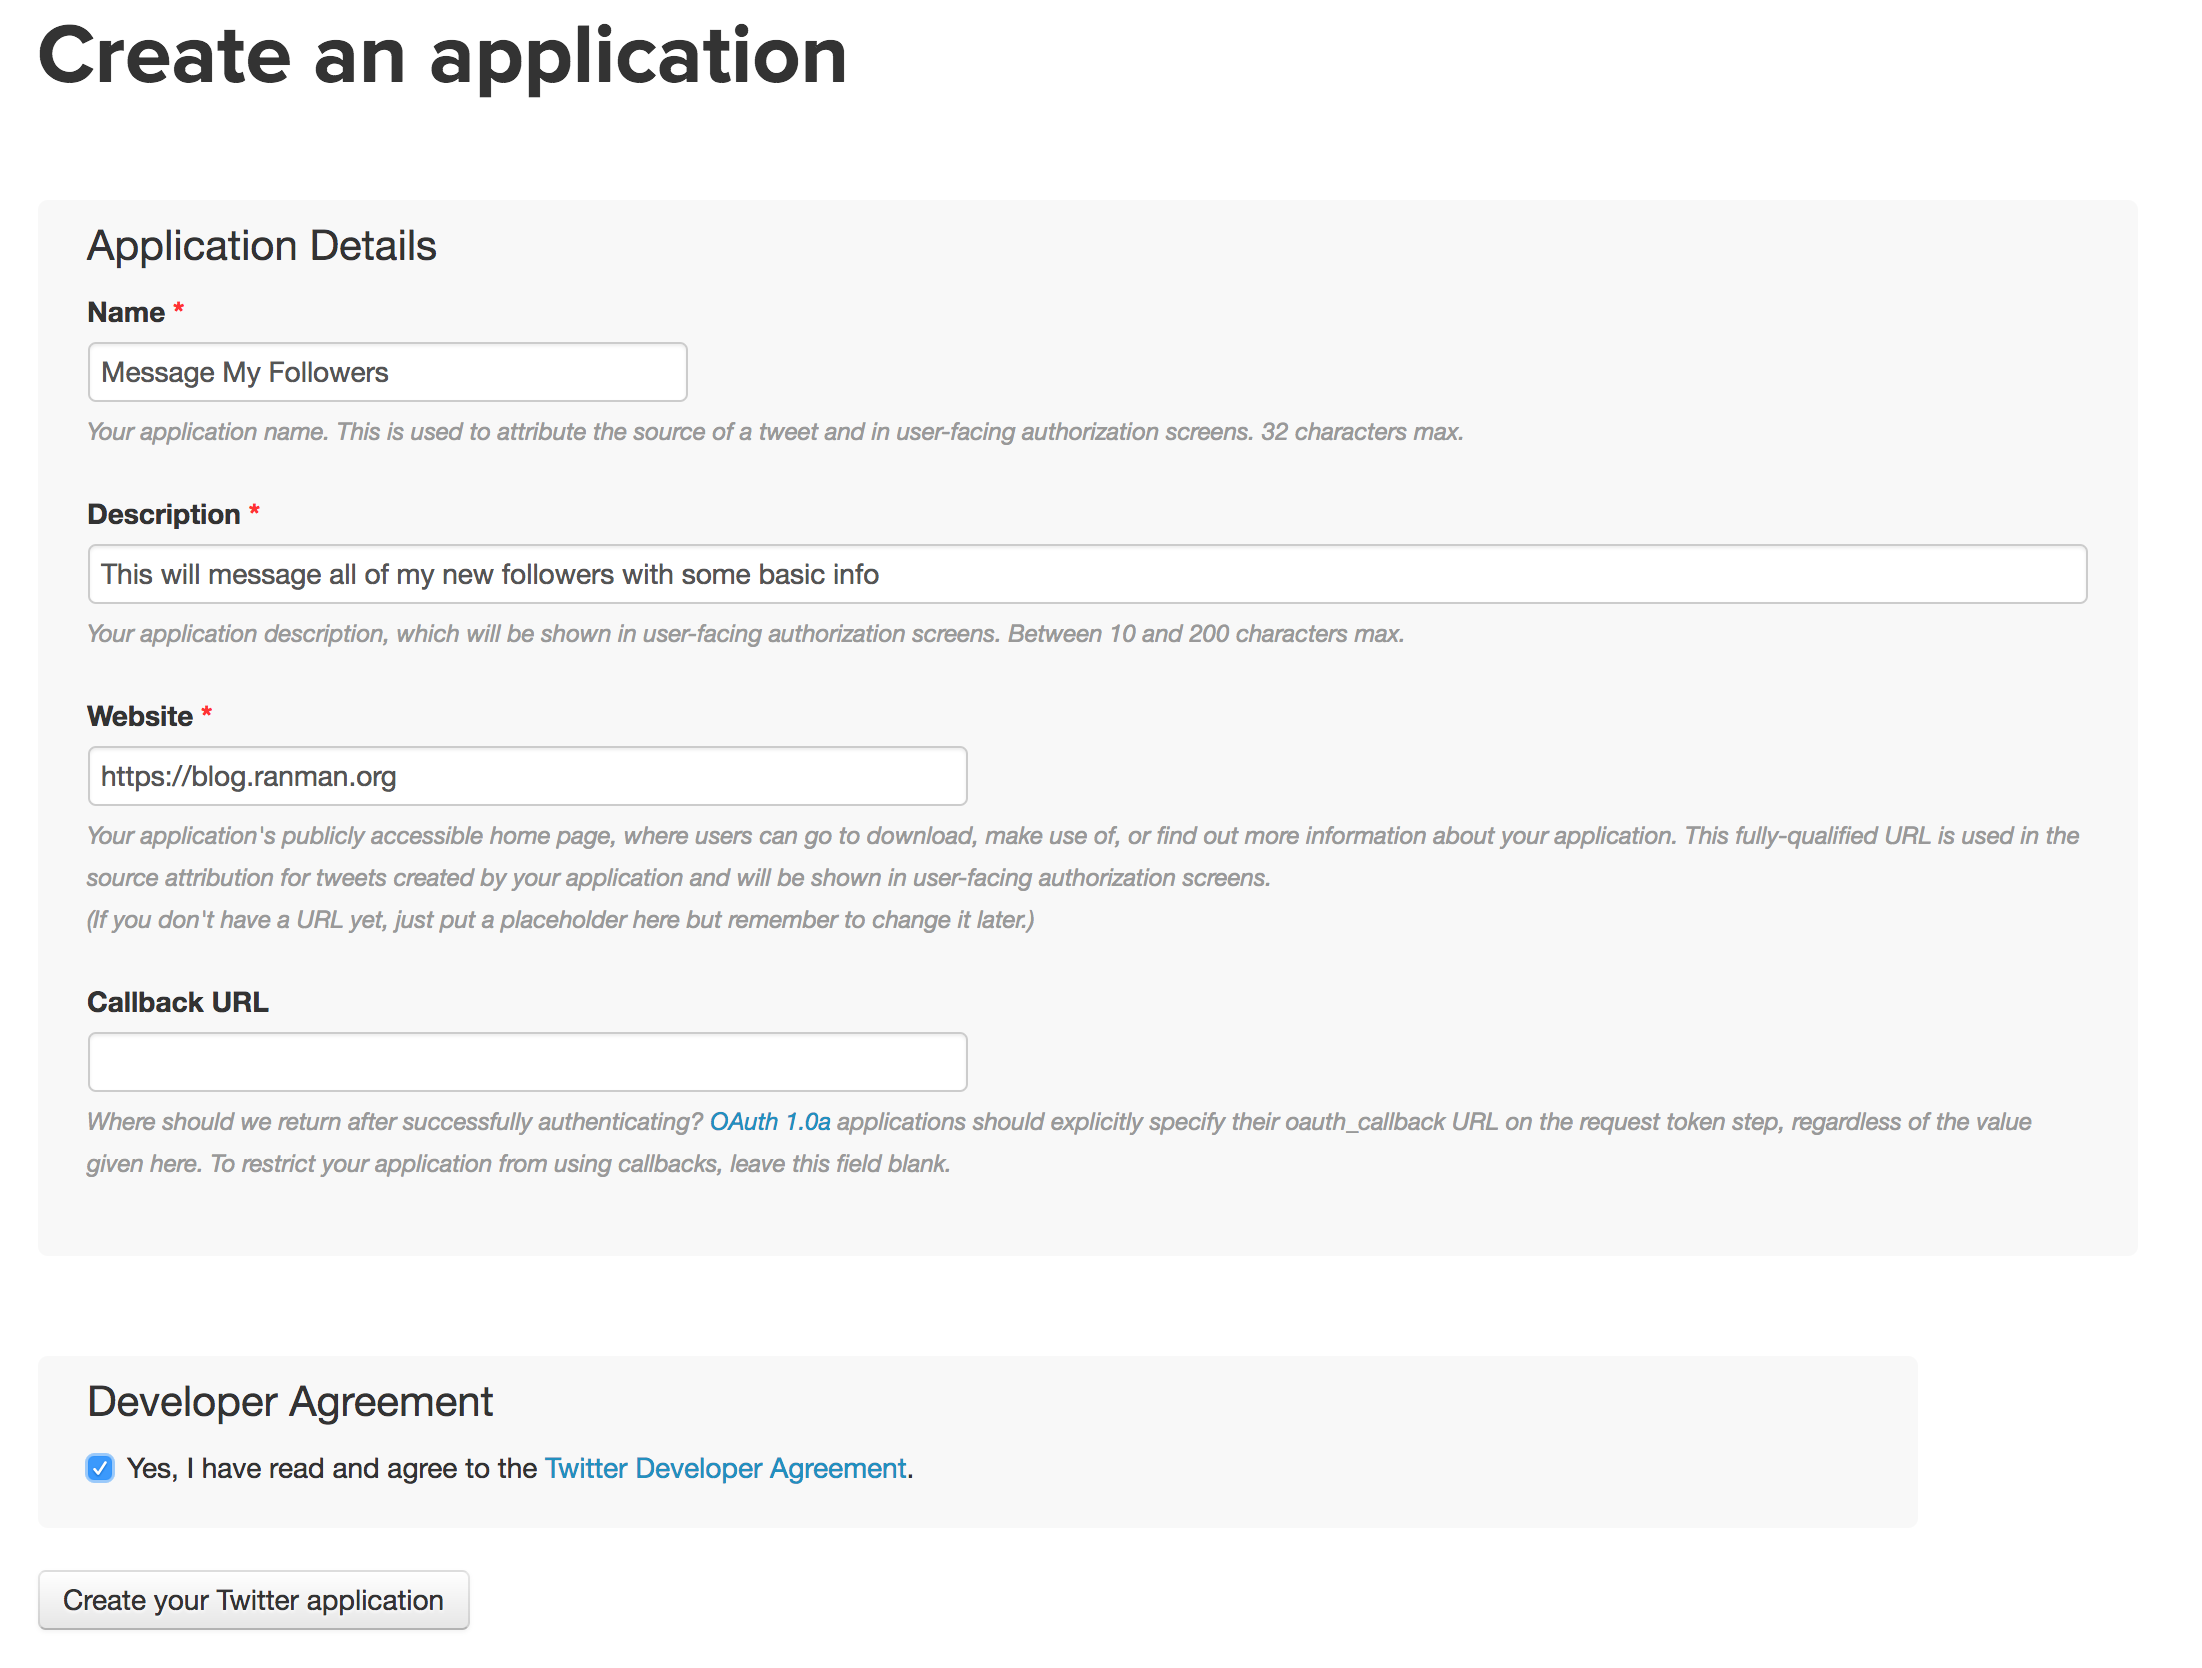
First we need to create a new twitter app by navigating to: https://apps.twitter.com/
-
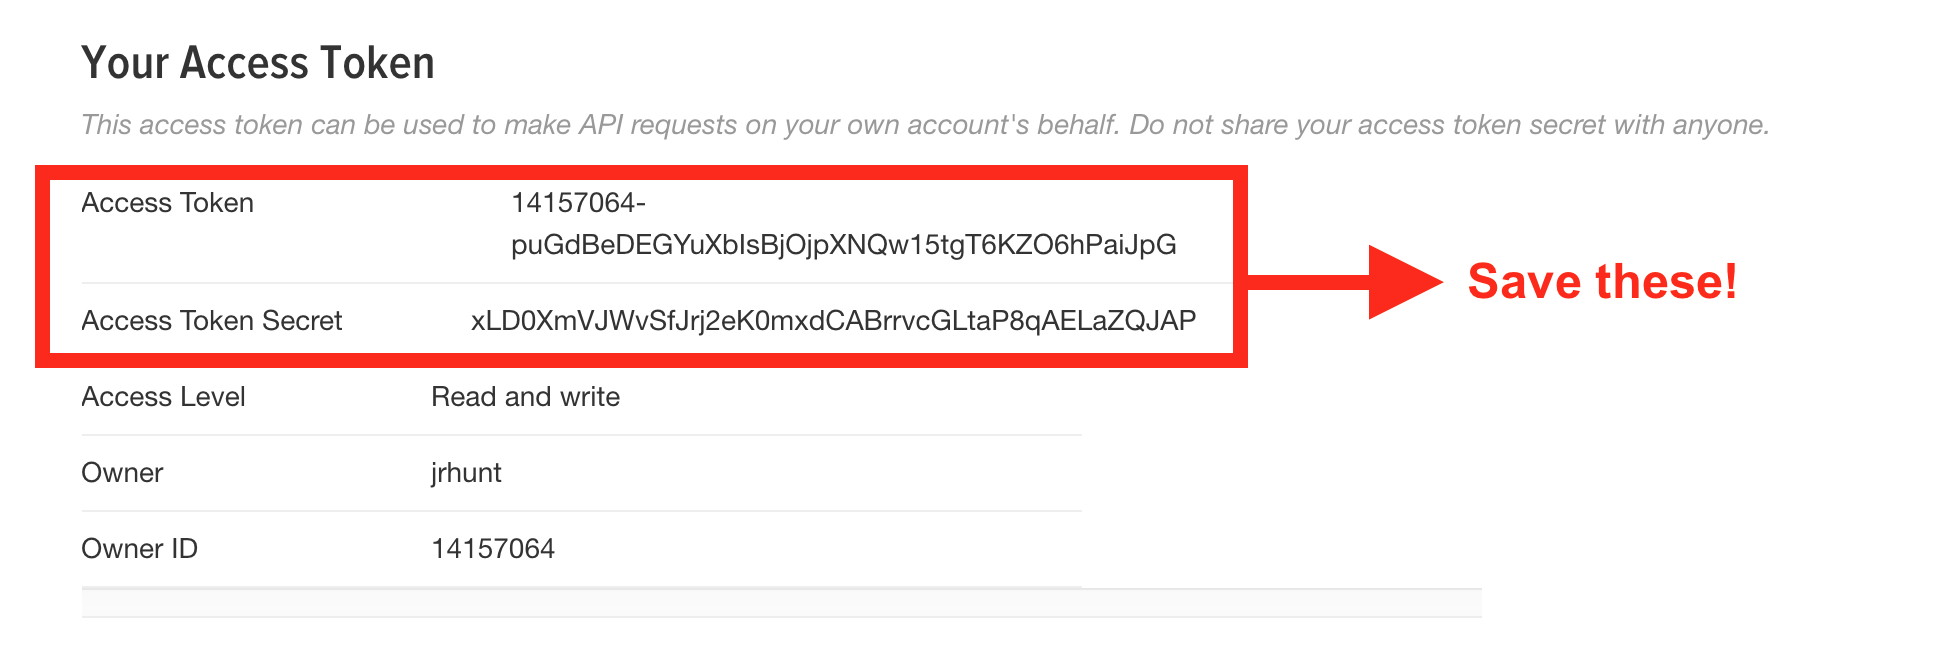
Next we'll generate some additional credentials for accessing our application as ourselves:
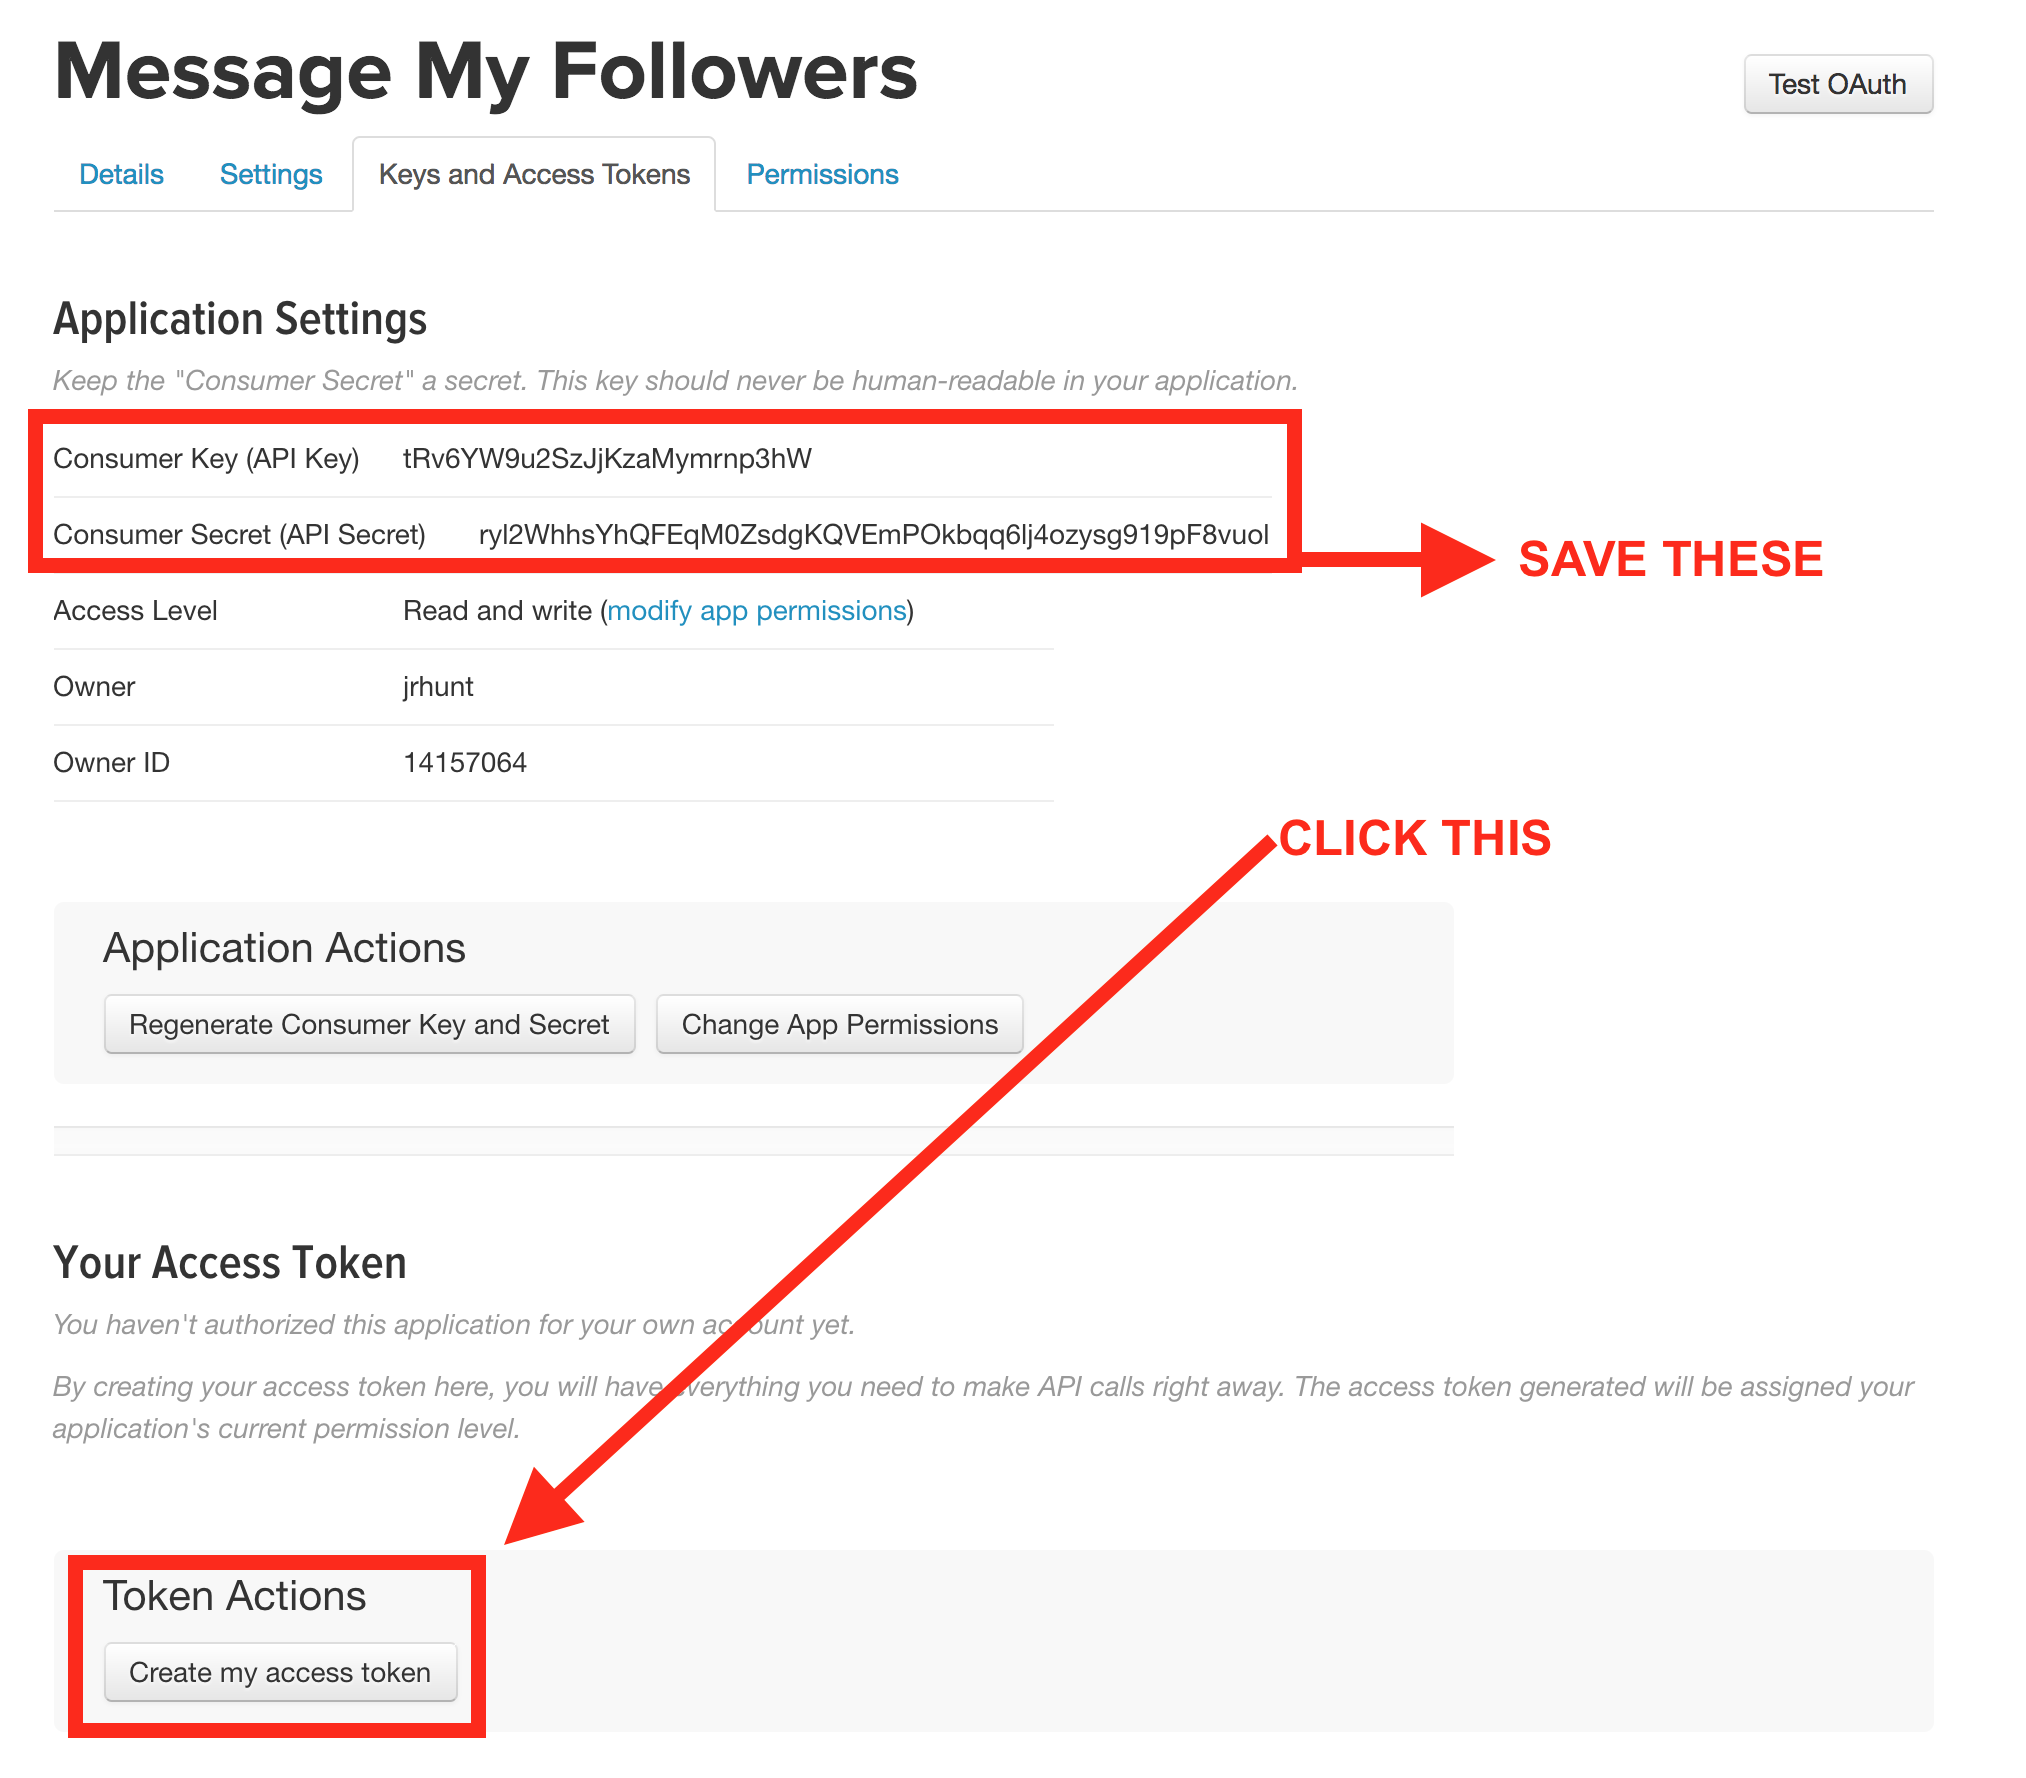
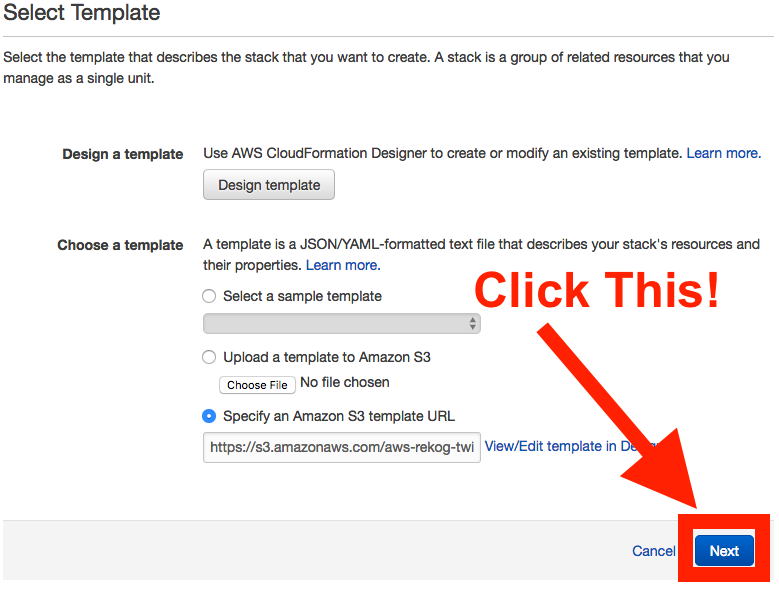
To setup the lambda function and associated infrastructure we can either use the launch stack button or we can simply upload this template-{region}.yaml file into the CloudFormation console and have CloudFormation set everything up for us!
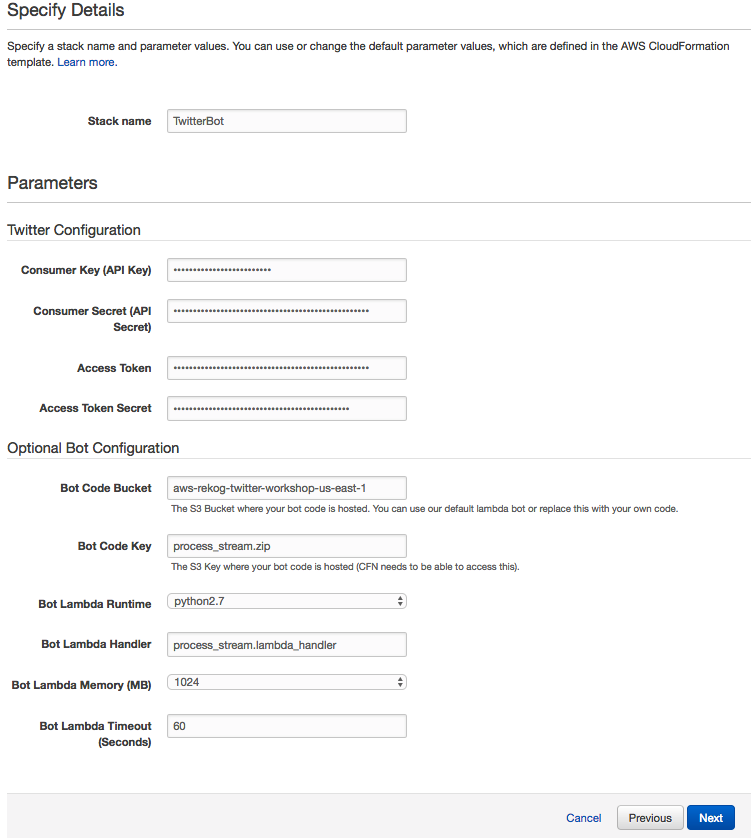
Then we click next and fill out the credentials we saved earlier!
Next we continue to click next and accept and then we launch the stack!
You can walk through the CloudFormation template in detail below:
You can see the template file here: template-us-east-1.yaml
The first section of the CloudFormation template are the Parameters. The only required parameters are the Twitter credentials.
The rest of the parameters are for testing and convenience sake (or for when you want to easily deploy your own bot later).
There's a small metadata section that just includes some details on how to render the parameters page.
The final part of the preamble are the Mappings. In this case we just have a simple Region-to-AMI map that gives us a amazon linux instance.
We create a Kinesis Stream: AWS::Kinesis::Stream with a single shard.
We create a DynamoDB (DDB): AWS::DynamoDB::Table with some basic attributes.
Now we create two S3 buckets: AWS::S3::Bucket one for unprocessed images and one for processed images.
Now that we have most of our resources we can create a role for our application: AWS::IAM::Role.
We'll give our role an AssumeRolePolicyDocument AKA a Trust Policy that allows both Lambda and EC2 instances to assumme this role.
We'll also give our policy access to: x-ray, logging, rekognition, our dynamodb table, and our S3 Buckets.
Finally we also create an SSM Parameter: AWS::SSM::Parameter of type StringList from the credentials provided in the Parameters section of the template.
Next we create our lambda function: AWS::Lambda::Function and connect it to our kinesis stream through an AWS::Lambda::EventSourceMapping.
We also assign this lambda function the IAM role we created above.
We start by declaring a VPC: AWS::EC2::VPC with a CIDR Block of 10.0.0.0/16.
This tells CloudFormation to build us a Virtual Private Cloud with 65536 addresses (2^(32-16)).
Next we build and attach an Internet Gateway (IGW): AWS::EC2::InternetGateway.
We create a Route Table: AWS::EC2::RouteTable, and populate it with a route to our IGW.
Then we declare 2 subnets: AWS::EC2::Subnet of 10.0.0.0/24 and 10.0.1.0/24 with 255 addresses each (2^(32-24)) and in two separate AZs.
Next we associate our route table created above with our 2 subnets.
Now we create an IAM profile to associate with our EC2 instances.
Next we create an AutoScaling Group Launch Configuration: AWS::AutoScaling::LaunchConfiguration with some UserData to setup our streaming instance.
Now we associate the LaunchConfiguration with our AutoScaling Group: AWS::AutoScaling::Group with a CreationPolicy to wait for a signal from our user data on the EC2 instances.
We give our AutoScaling group a desired, min, and max size of 1 but access to two AZs to ensure our ingestion continues during a single AZ outage.
It's easy! Just make sure you mention the name of your twitter bot and include a photo and you should get a response:
Hey @awscloudninja cloud ninja me and @werner!
It's really straight forward and all the magic happens in process_stream.py
- Change the "mask.png" in the lambda to whatever you want and re-zip and re-upload the lambda function!
- Can you make this detect beards and rate them (based on confidence value) ?
- Can you make this bot detect celebrities and return their name (or tag them on twitter!?!) ?
- Can you make this use Lex instead of rekogntion to respond to users ?
Run ./build.sh process_stream.zip process_stream.py mask.png to create the lambda package.
If you've only changed the proccess_stream.py file you can just zip -9 process_stream.zip process_stream.py
Upload that package to lambda:
aws lambda update-function-code --function-name <FUNCTION_NAME> --code s3://<BUCKET>/<KEY>


