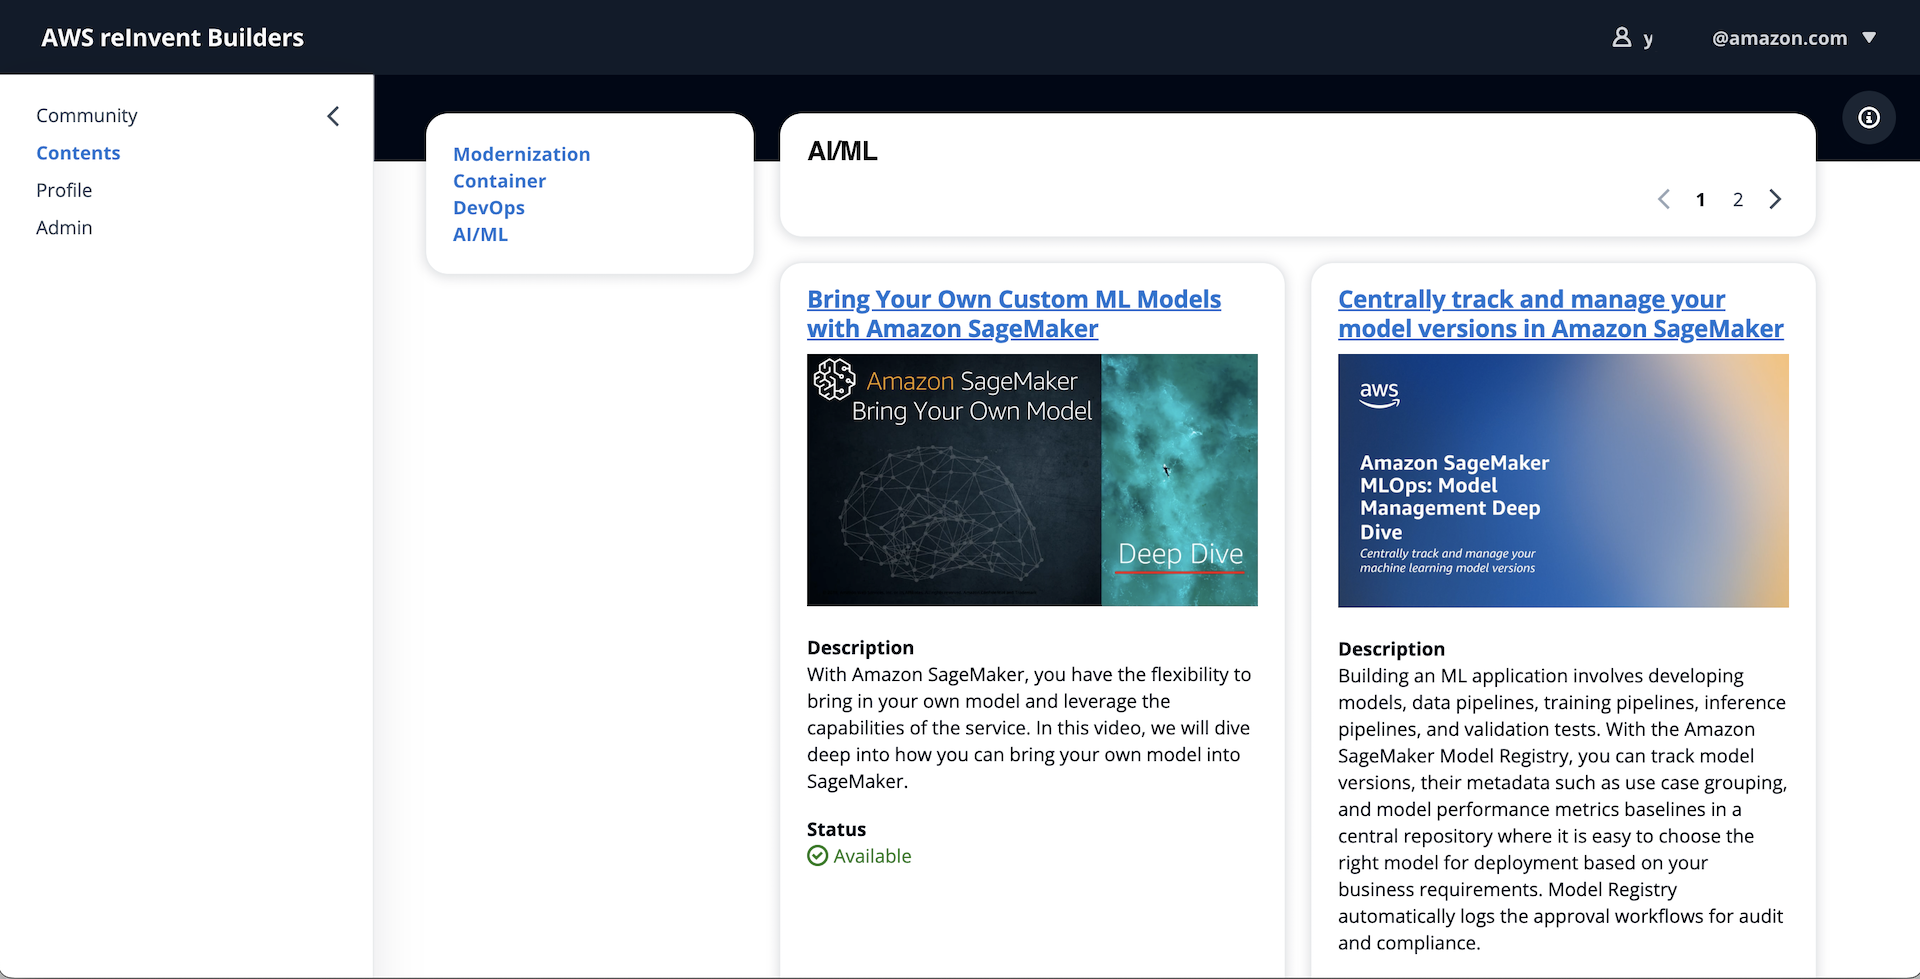
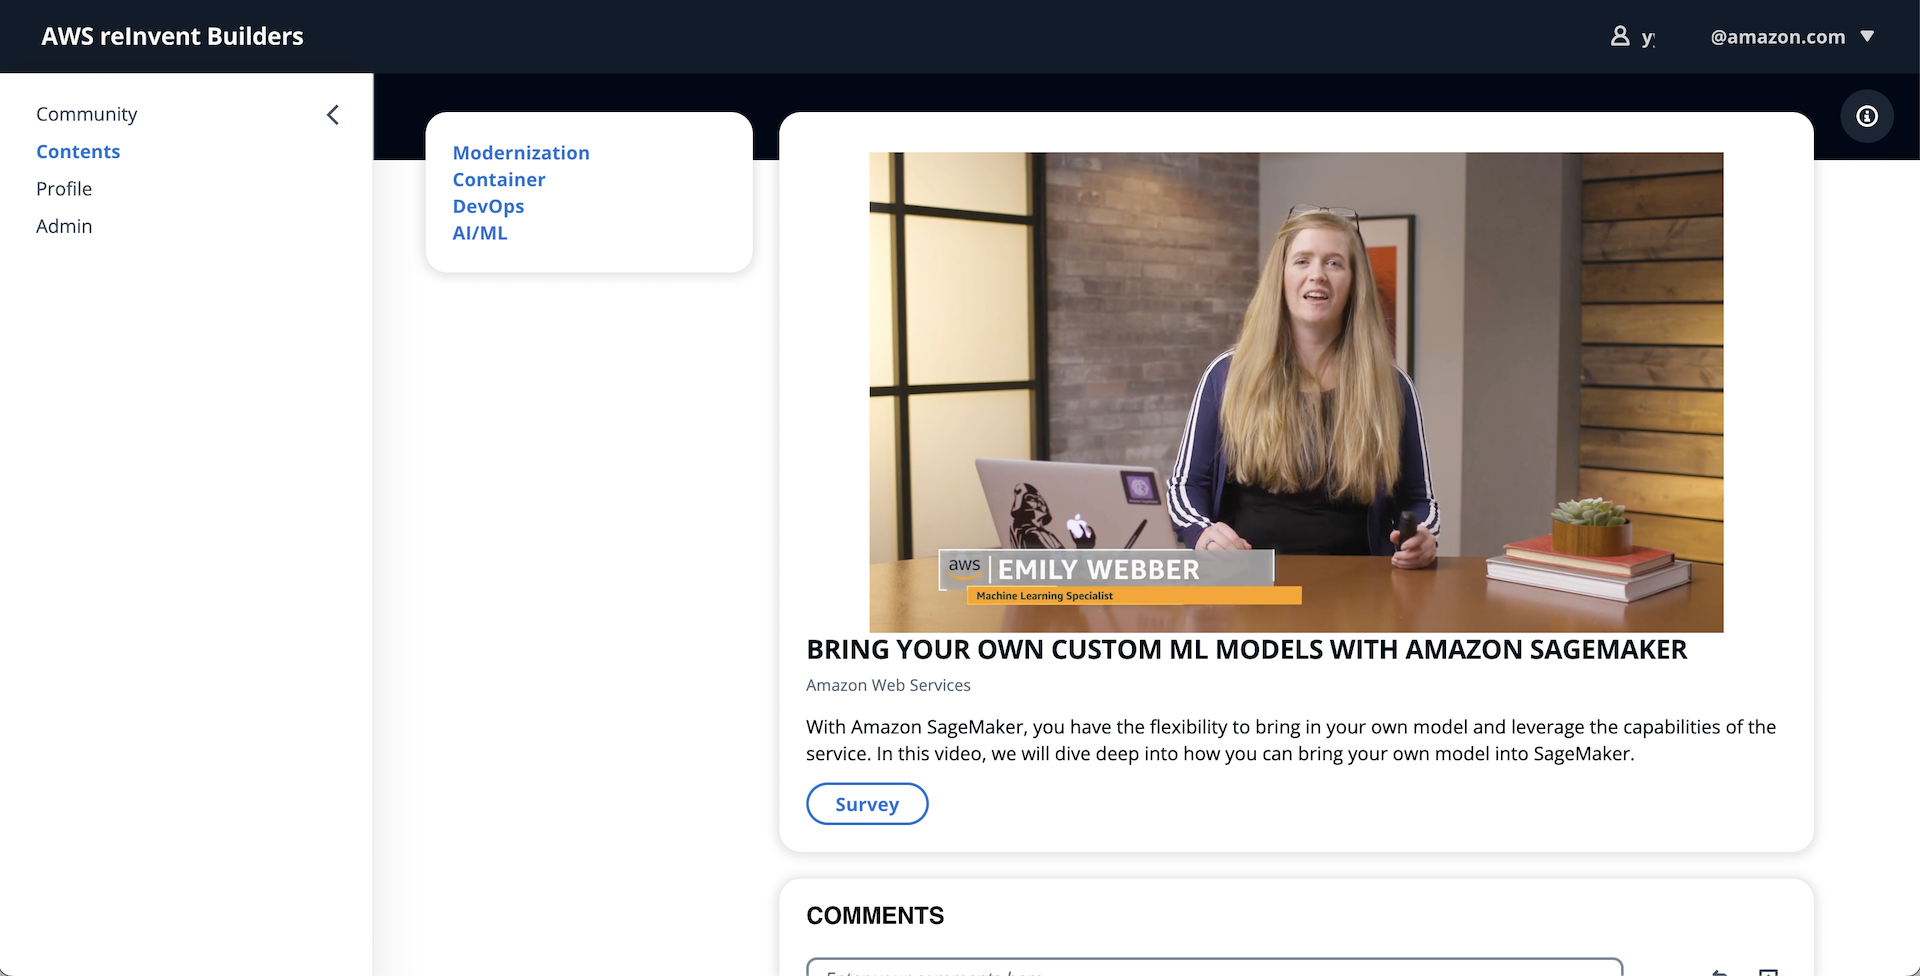
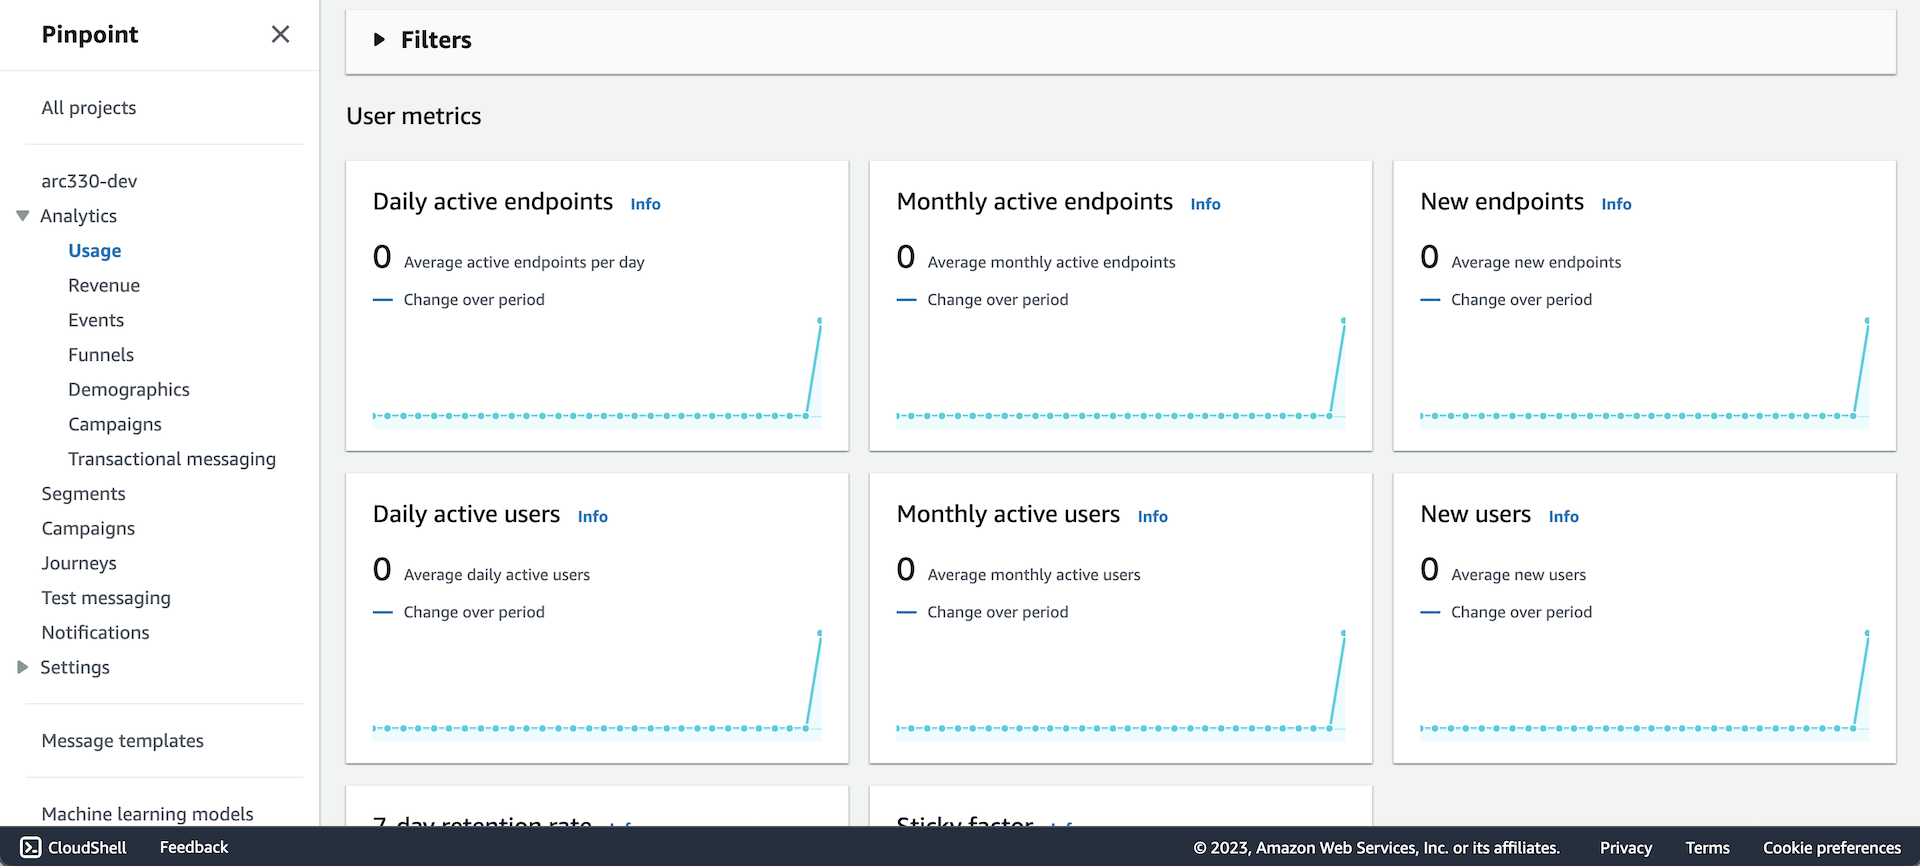
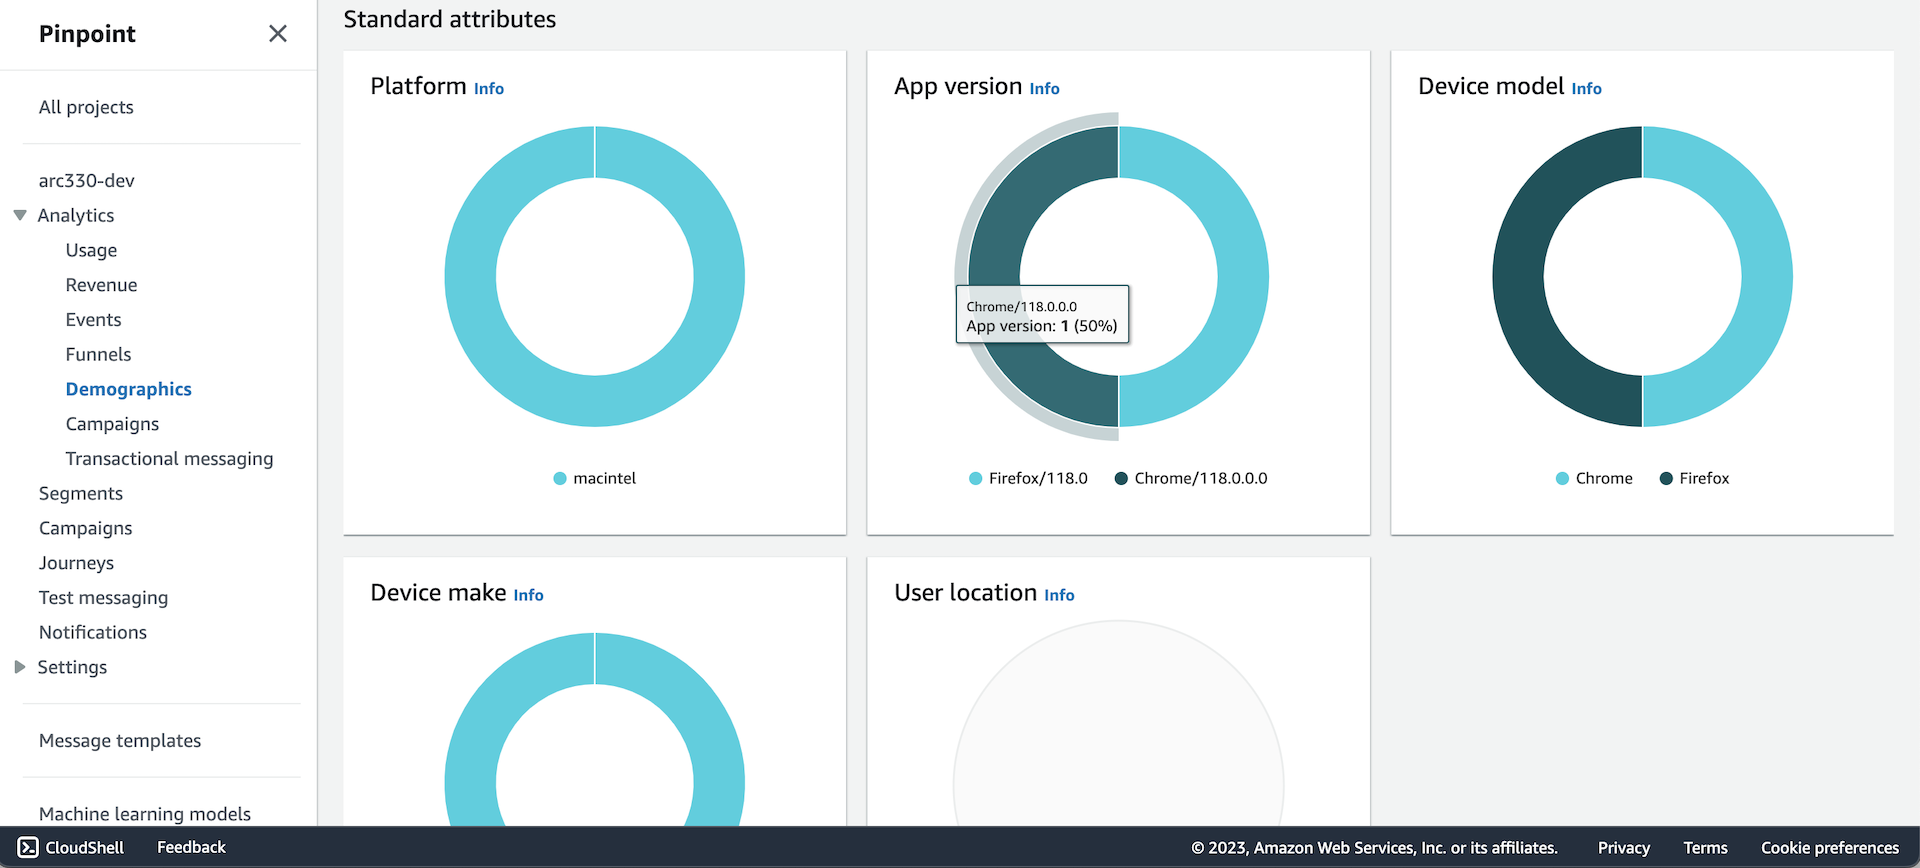
This is an example shows how to build rapidly a e-learning service with Cloudscape and AWS Amplify and AWS serverless services, such as AWS Cognito, AWS AppSync, Amazon DynamoDB.
Download example as cloudscape-app directory:
git clone git@github.com:aws-samples/build-full-stack-application-with-cloudscape-and-aws-amplify.git cloudscape-app
And change directory to the project source.
cd cloudscape-app
Before you run your React application, you have to install reactstrap and npm dependencies on your workspace.
Run npm-install command to download and install the packages:
npm install reactstrap
You can try to use 'force' option to install the packages, if you see a dependency error message. This will force to install.
npm install reactstrap --force
The Amplify command-iine interface (CLI) is a unified toolchain to create AWS cloud services for your app. To install the amplify-cli on your workspace, vist the developer guide and follow the instructions.
macOS
brew install node
npm install -g @aws-amplify/cli
You can start to build an application from scratch using amplify-cli init command. This task will create a new amplify application on your AWS account.
Run command:
amplify init
amplify add auth
> Cognito User Pool
> Default configuration
> Username
amplify add api
> Change the auth mode config to Cognito User Pool
> Blank Schema
[Important] You must replace the auto-generated graphql.schema file by amplify-cli in the previous step with pre-defined model schema to run this example porperly.
Copy the graphql.scheam file under the src/graphql directory in your project directory, cloned local repository.
cp src/graphql/schema.graphql amplify/backend/api/cloudscape-app/graphql.schema
Then, update the api configuration using amplify-cli. You can see an update on your local server configuration.
amplify update api
amplify add analytics
> Amazon Pinpoint
And apply changes on your AWS environment. Thia step will create your backend infrastructure on your AWS account such as Amazon Cognito (Auth), AWS AppSync (API), and Amazon DynamoDB (Database).
amplify push
In the project directory, you can run:
Runs the app in the development mode.
Open http://localhost:3000 to view it in your browser.
The page will reload when you make changes.
You may also see any lint errors in the console.
Launches the test runner in the interactive watch mode.
See the section about running tests for more information.
Builds the app for production to the build folder.
It correctly bundles React in production mode and optimizes the build for the best performance.
The build is minified and the filenames include the hashes.
Your app is ready to be deployed!
See the section about deployment for more information.


