Fast memory note for your brain.
Memory Note is an app like reminder.app, but it does not have frontend. You can create and customize frontend and backend.
In other words, Memory Note is programmable todo-app middleware.
- Fast - Work on CDN Edges
- Memory Notes works on Cloudflare Workers
- Customizable Backend - Create own backend
- You can use Cloudflare Worker KV or GitHub Projects as backend
- Also, you can create own backend by implementing 3 APIs
- Flexible Frontend - Memory Notes interface is just REST API. You can create any frontend
- iOS shortcut.app, iOS Widgets, Alfred Workflow
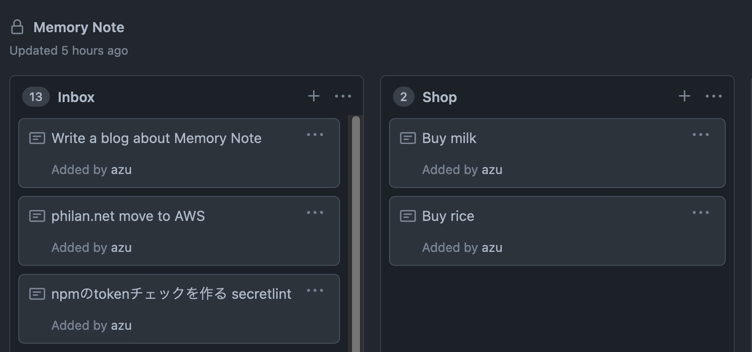
use GitHub Project Board as backend
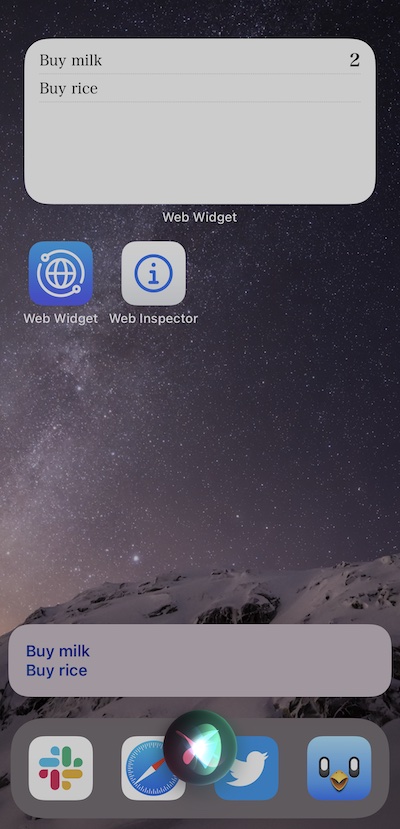
iOS Widgets using Web Widget and Siri integrations
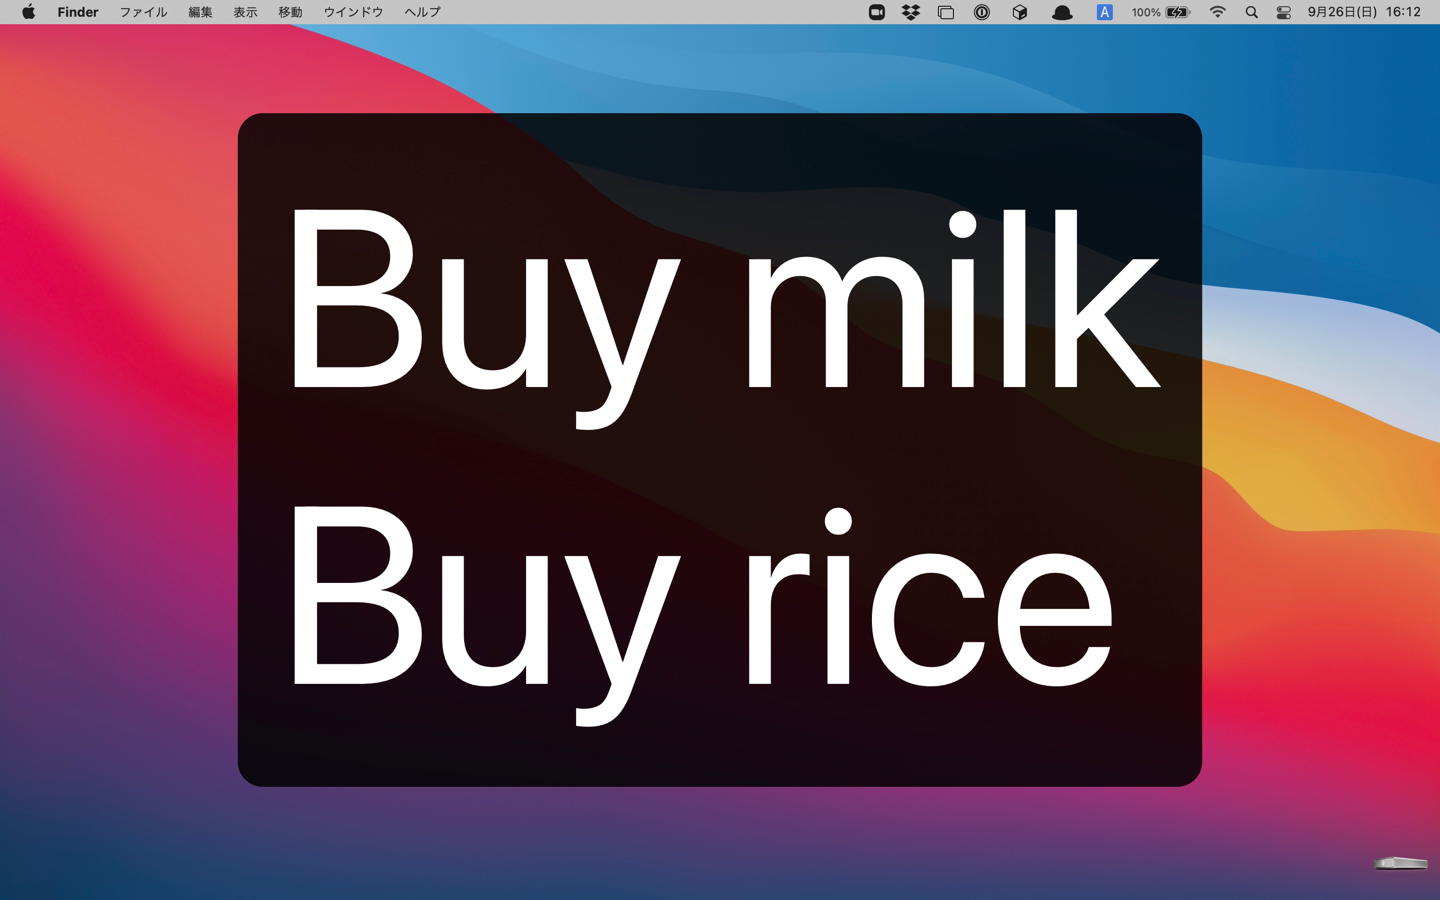
Alfred workflow integration
Requirements: Cloudflare account
Click
2. Deploy memory-note
3. Set Environment Variables to your Memory Note workers
- You need to choose a backend from
cloudflareorgithubfor your Memory Note
MEMORY_NOTE_TOKEN: It is random value. This is used for authorization.- You need to access your memory note using
?token=<MEMORY_NOTE_TOKEN>. - You can use random password generator like https://www.lastpass.com/features/password-generator
- You need to access your memory note using
BACKEND_SERVICE: backend servicegithuborcloudflareis supported- Default:
cloudflare
- Other vars is defined in each Backend Service
📝 all values should be encrypted.
Currently, Memory Note supports following backend:
cloudflare: Cloudflare Workers KVgithub: GitHub Project Boardnotion: Notion
You can choose a backend.
📝 If you want to add new backend, please submit Pull Request!
StorageAdapter.ts is an interface for backend.
You need to create KV Binding.
- Visit
https://dash.cloudflare.com/{your account id}/workers/kv/namespaces - Add new Namespace like
MY_MEMORY_NOTE - Visit
https://dash.cloudflare.com/{your account id}/workers/view/memory-note/settings - Add new KV Namespace Bindings
Variable name:MEMORY_NOTEKV namespace: created KV Namespace(MY_MEMORY_NOTE)
- Add new Environment Variables
MEMORY_NOTE_TOKENVariable name:MEMORY_NOTE_TOKENValue: your defined random password
BACKEND_SERVICEVariable name:BACKEND_SERVICEValue:cloudflare
You need to create GitHub Projects Board and Get your GitHub API Token
1. Create Project and Get Column Id
- Create a GitHub Repository
- Create a GitHub Project on the repository
- Create a column like "Memory Note"
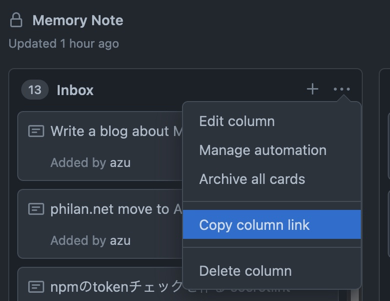
- Copy Column link
- Get Column id from the copied link
This Column id is :listId value of API endpoint.
For example, if column link is https://github.com/yourname/yourrepo/projects/1#column-1111111, 1111111
is column_id. You need to copy it.
You can use the column id as :listId.
$ curl https://example-memory-note.worker.dev/notes/1111111?token=random-password2. Get GitHub API Token
- Visit https://github.com/settings/tokens/new
- Create new API Token
- permissions:
repo
- permissions:
- Copy it
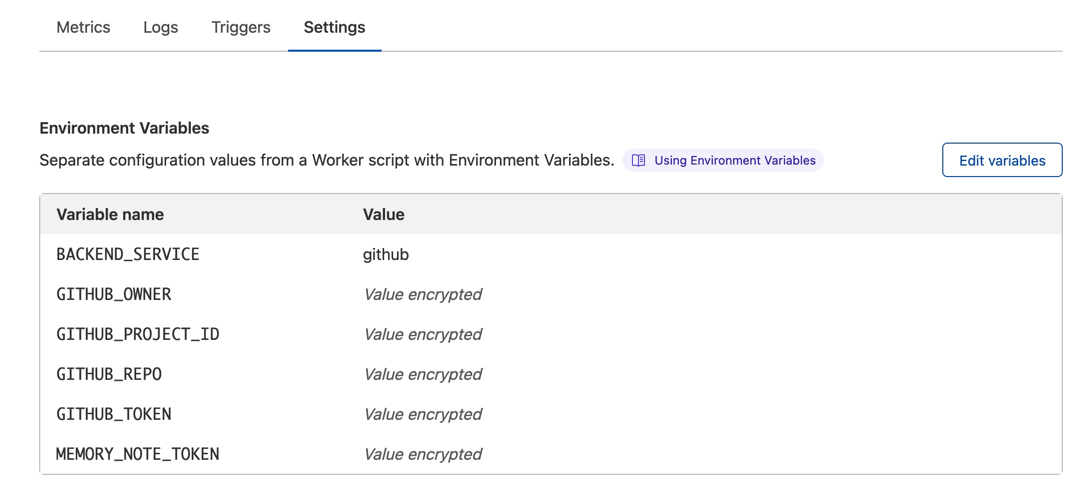
3. Add Environments Variables to Cloudflare Workers
Add some Environment Variables.
Visit https://dash.cloudflare.com/{your account id}/workers/view/memory-note/settings
MEMORY_NOTE_TOKENVariable name:MEMORY_NOTE_TOKENValue: your defined random password
BACKEND_SERVICE:Variable name:BACKEND_SERVICEValue:github
GITHUB_OWNER:Variable name:GITHUB_OWNERValue: your GitHub account name
GITHUB_REPO:Variable name:GITHUB_REPOValue: your GitHub repository name
GITHUB_PROJECT_IDVariable name:GITHUB_PROJECT_IDValue: your GitHub Project id
GITHUB_TOKENVariable name:GITHUB_TOKENValue: your GitHub API token
For example, if you have used https://github.com/your/my-note/projects/1 repo, you need to set GITHUB_OWNER=your
and GITHUB_REPO=my-note, and GITHUB_PROJECT_ID=1.
You need to create Notion Database and Get your Notion API Token
NOTION_TOKEN="<NOTION API TOKEN>"NOTION_MESSAGE_PROPERTY_NAME="<TITLE property Name>"
You need to pass Notion Database ID as :listId value of API endpoint.
GET /notes/<NOTION_DATABASE_ID>POST /notes/<NOTION_DATABASE_ID>/new
https://www.notion.so/myworkspace/a8aec43384f447ed84390e8e42c2e089?v=...
                                  | --------- Database ID --------|
Optional:
NOTION_FILTER_OPTIONS='{"name":"<PROPERTY_NAME>","type": "type": "<PROPERTY_TYPE>", "value":"<PROPERTY_VALUE>"}'
NOTION_FILTER_OPTIONS is a JSON string of NotionFilterOption[].
It will filter notes by PROPERTY_NAME and PROPERTY_VALUE.
export type NotionFilterOption =
| {
  name: string;
  type: "checkbox";
  value: string;
}
| {
  name: string;
  type: "relation";
  value: string;
}
| {
  name: string;
  type: "select";
  value: string;
  op?: "equals" | "does_not_equal";
}
| {
  name: string;
  type: "status";
  value: string;
  op?: "equals" | "does_not_equal";
};
Examples:
# filter category and checkbox
NOTION_FILTER_OPTIONS='[{"name":"category","type":"select","value":"test"},{"name":"done","type":"checkbox","value":false}]'
# filter relation and checkbox
NOTION_FILTER_OPTIONS='[{"name":"ref","type":"relation","value":"xxxx-id--id"},{"name":"done","type":"checkbox","value":false}]'
Memory-Note provides following API.
Return an array of notes.
Parameters:
:listId: note key. This use-case is defined by adapter.- on
github: your project column id - on
cloudflare: any string
- on
Query:
?limit: result item count&token: Your Memory Note token
Example:
# curl https://{your worker}/notes/{your GitHub Project Column Id}?token={your Memory Note Token}
$ curl https://example-memory-note.worker.dev/notes/11111?token=random-password
txt version of /notes/:listId.
The response is like following:
note
note
note
Return simple html page for widgets.
You can show your notes on Widgets app like Web Widget.
Post a note that following json data.
type NoteBody = {
    message: string;
};
Example of post data.
{
  "message": "test"
}
Parameters:
:listId: note key. This use-case is defined by adapter.
Query:
?token: Your Memory Note token
Edit a note with the :noteId
type NoteBody = {
    message: string;
};
Example of post data.
{
  "message": "test"
}
Parameters:
:listId: note key. This use-case is defined by adapter.:noteId: note id. you can get the id from GET api
Query:
?token: Your Memory Note token
Delete the note.
Parameters:
:listId: note key. This use-case is defined by adapter.:noteId: note id. you can get the id from GET api
Query:
?token: Your Memory Note token
Move the note to another list.
:listId: note key. This use-case is defined by adapter.:noteId: note id. you can get the id from GET api
Body:
to: to list id
{
  "to": "another list id"
}You can use client app for Memory Note.
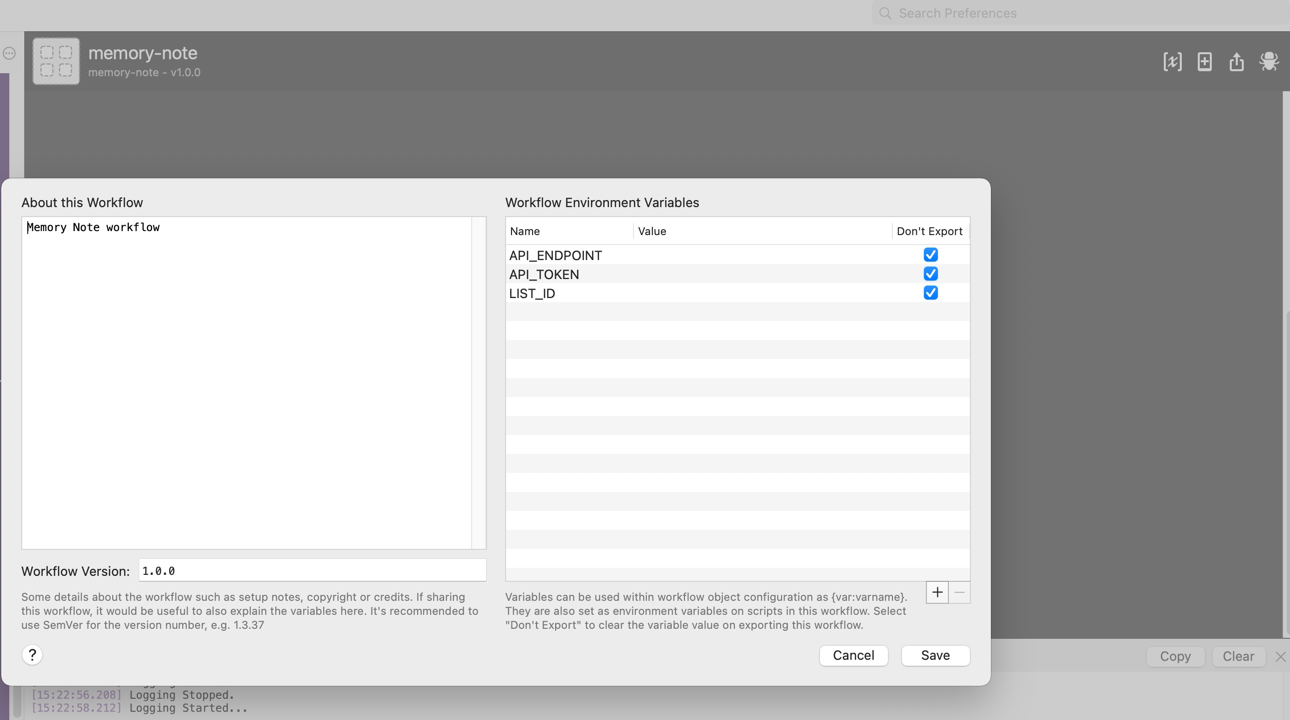
Alfred workflow can show notes in large types, add a new note, remove a note.
- Download memory-note.workflow
- Set Workflow Variables
API_ENDPOINT: your cloudflare worker url- Example,
https://my-memory-note.you.workers.dev
- Example,
API_TOKEN: your memory note tokenLIST_ID: your main:listId
iOS shortcut can create a new note using voice(siri), read out notes.
- Add note using voice to memory note: https://www.icloud.com/shortcuts/c1095e066e1b40f9986aa1a5b0e36be8
- Read memory note: https://www.icloud.com/shortcuts/d05d9b072cf94fffb4215b4e9d4ea6b6
📝 You input worker url and :listId and memory note token after installing the workflow
- Please submit a Pull Request
- Fork it!
- Create your feature branch:
git checkout -b my-new-feature - Commit your changes:
git commit -am 'Add some feature' - Push to the branch:
git push origin my-new-feature - Submit a pull request :D
MIT

