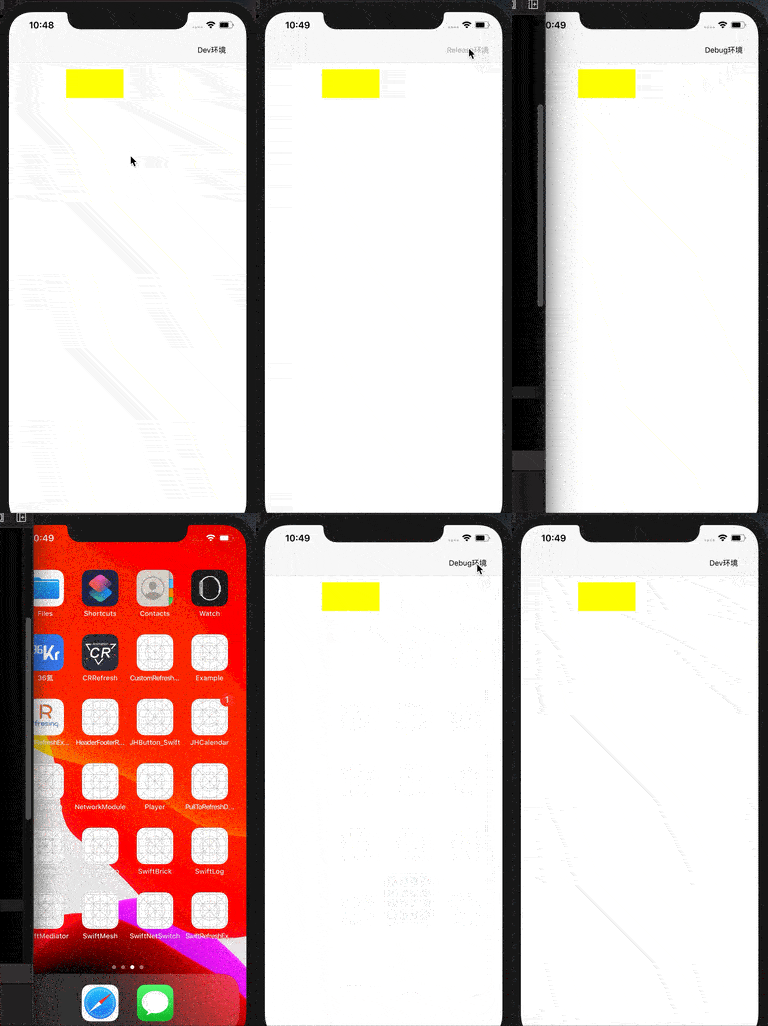
如果你的APP在开发测试阶段有多套网络环境,且不想频繁打包,可以使用这个组件很方便的在APP内切换各种配置好的网络环境。 你需要找到一个页面用于添加组件入口: 比如添加到导航栏上
        #if DEBUG
        //添加到导航栏上
        SwitchManager.shared.configWithNavBar(self) { type in
            print("完成设置,当前环境:\(type)")
        }

        //添加到导航栏上并且切换完成后杀死APP
        SwitchManager.shared.configWithNavBar(self, true) { type in
            print("完成设置,当前环境:\(type)")
        }
        #endif
或者直接添加到页面内
        //添加到指定容器view里
        SwitchManager.shared.configWithView(self, vi) { type in
            print("\(type)")
        }

        //添加到指定容器view里,并且切换完成后杀死APP
        SwitchManager.shared.configWithView(self, vi, true) { type in
            print("\(type)")
        }

        //添加到VC上的指定位置
        SwitchManager.shared.configWithFrame(self, CGRect.init(x: 100, y: 100, width: 100, height: 50)) { type in
            print("完成")
        }
注意仅仅DEBUG阶段加入。
环境变量设置:可以通过一个类去管理,也可以直接设置
class Config {
    static func setConfig(){
        SwitchManager.shared.defaultSign = .debug

        SwitchManager.shared.configHostDebug = ["DebugSever":"https://Debug.qq.com",
                                                "AppDebugSever":"https://Debug.baidu.com"]

        SwitchManager.shared.configHostRelease = ["ReleaseSever":"https://www.qq.com",
                                                  "AppReleaseSever":"https://www.baidu.com"]

        SwitchManager.shared.configHostDev = ["DevSever":"https://Dev.qq.com",
                                              "AppDevSever":"https://Dev.baidu.com"]

        SwitchManager.shared.configHostOther = ["OtherSever":"https://Other.qq.com",
                                                "AppOtherSever":"https://Other.baidu.com",
                                                "WebOtherSever":"https://Other.sina.com",
                                                "ShopOtherSever":"https://Other.taobao.com"]

        SwitchManager.shared.setDefaultNetworkConfig()
    }
}
环境变量你可以自建一个私有pod仓库,里边仅有一个类去设置环境变量,也是以`configurations => [‘Debug’]``的方式引入。
在 Podfile 中添加 pod ‘SwiftNetSwitch’, :configurations => [‘Debug’] 。这样可以在上线打包的时候不带入测试环境代码,不建议使用其他方式引入。


