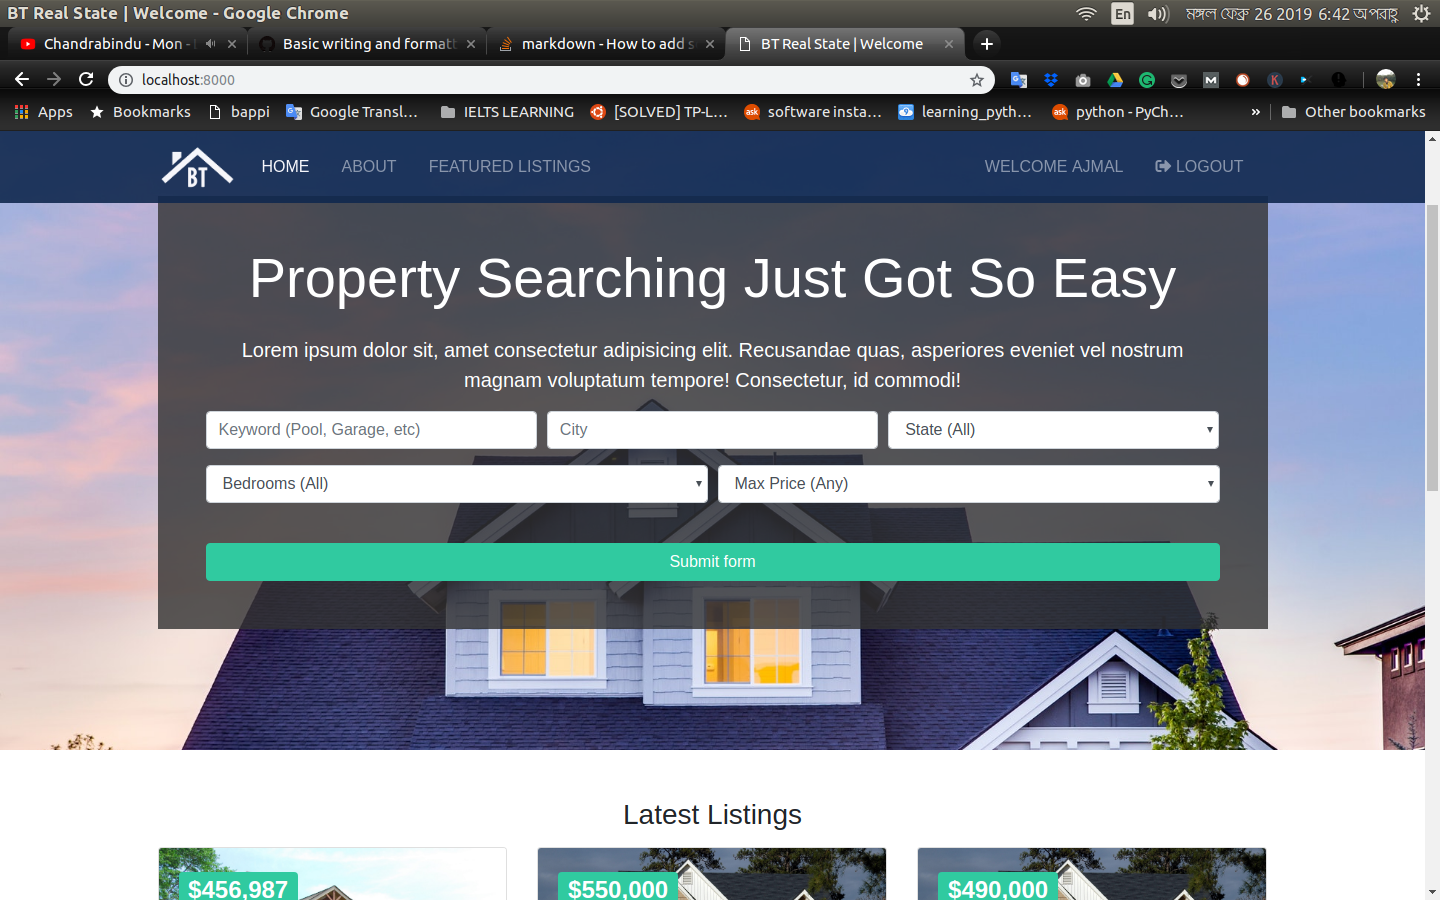
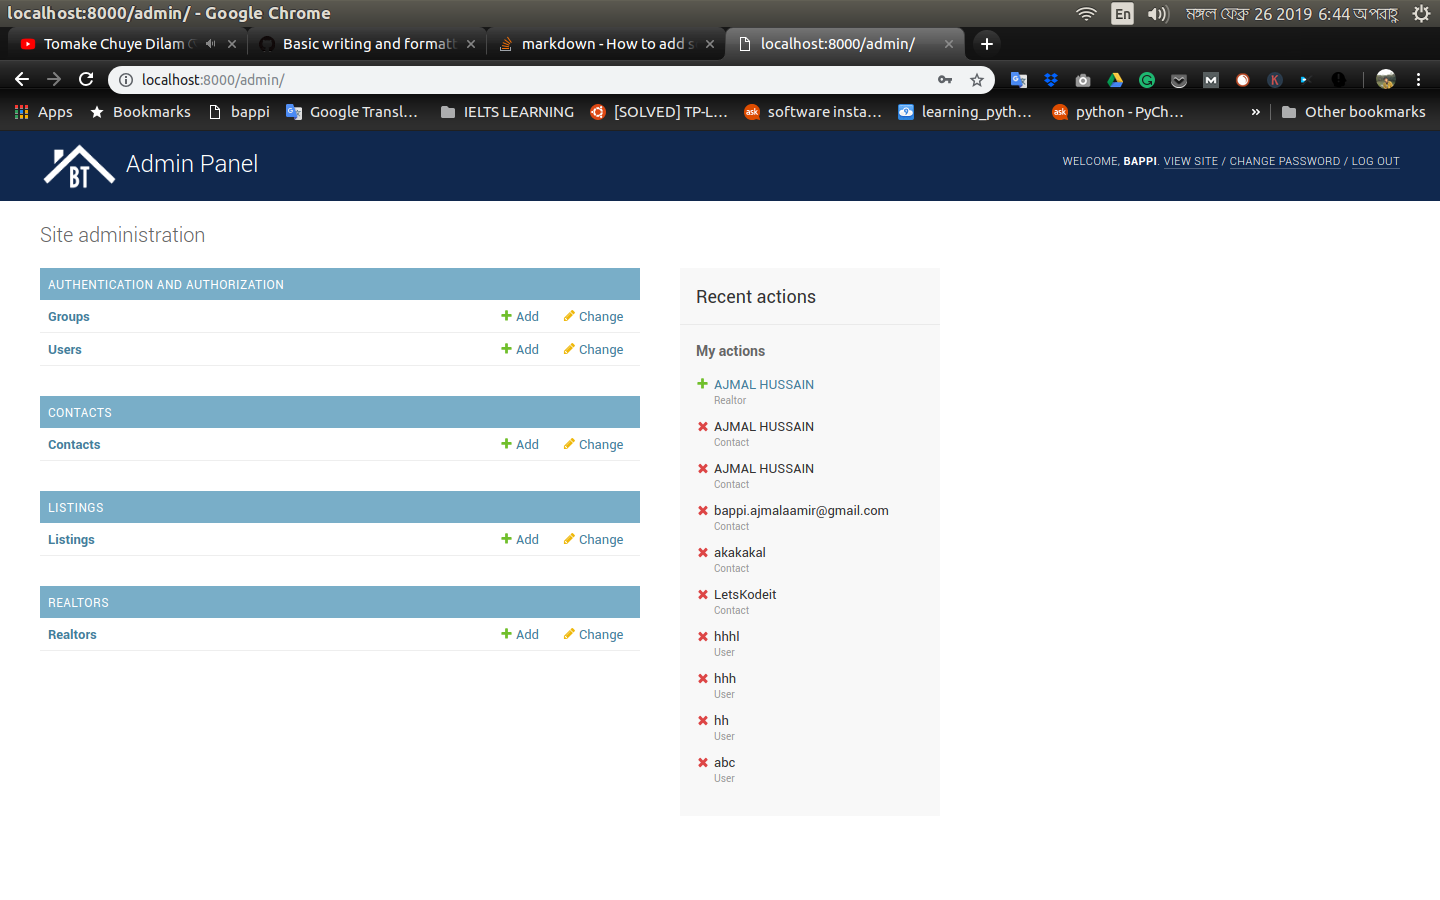
A dynamic django website with postgresql and bootstrap template for publishing real state property with django admin panel and user dashboard.
If you know django, postgresql, bootstrap you can easily modify html template and backend according to your project needs.You can change the images in static directory in the project, and add contents from you or your client's requirements. To know how to setup, follow the table of contents.
- Technology Used
- Current Features
- Setup in local machine
- Setup PostgreSQL in local machine
- How to use admin panel to manage contents
autopep8==1.4.3 Django==2.1.5 Pillow==5.4.1 pkg-resources==0.0.0 psycopg2==2.7.7 psycopg2-binary==2.7.7 pycodestyle==2.5.0 pytz==2018.9
- Responsive single page webapp
- Admin Panel for Property Management
- Search Engine
- User Login
- User Registration
- User Dashboard
First step- Create a directory or folder for the project where you want to copy this in your local machine. You can use any existing folder or directory if you want.
Open the directory or the project folder in an editor and then open the CLI of the editor . In the CLI make sure you are in your exact path of the folder or directory Clone this project or fork and clone your fork url and paste it in the CLI and hit enter
git clone https://github.com/bappi2016/Django_real_state.git
Then go to the project root directory, here the name is django_startup
cd django_startup
Here the django_startup is our project root directory
Second Step- Create a virtual environment in your current directory for this project and activate it Make sure you are in the project root directory that is django_startup
pip3 install --upgrade pip
sudo pip3 install virtualenv
python3 -m venv ./venv
. is used for referring the current directory. Here ./venv will create a virtual environment is this current project directory what exactly we want Check there is a folder or directory created inside the django_startup project directory Now activate the virtual environment.
source venv/bin/activate
If virtual environment successfully activated it will show something like the following line in you CLI (venv) bappi@bappi-pc:~/DJANGO_FOLDER/django_startup$
Now run and install django
pip install django
Check the version of django
python -m django –version
- Downlaod and install PostgreSQL
- Run the PostgreSQL in your machine
- Download pgAdmin if you prefer managing PostgreSQL visually
- Run pgAdmin to create database visually
- Or Create a database in PostgreSQL in terminal
- Update django frameworks's project settings django_startup/djangostartup/settings.py
DATABASES = {
    "default": {

        "ENGINE": "django.db.backends.postgresql",
        "NAME": "YOUR_LOCAL_DB_NAME",
        "USER": "YOUR_POSTGRESQL_USER_NAME",
        "PASSWORD": "YOUR_POSTGRESQL_PASSWORD",
        "HOST": "localhost",
} }- Apply database migration from django to postgresql This will convert all the models to SQL tables in postgresql
python3 manage.py migrate
- Start django server locally
python3 manage.py runserver
- Visit http://127.0.0.1:8000/ in a web browser to see the following webpage.
- Quit the server with CONTROL-C in terminal
CONTROL-C- First create a superuser
python3 manage.py createsuperuser- Now run the server again
python3 manage.py runserver- Now in web browser visit http://127.0.0.1:8000/admin . Login with the superuser name and password you created already.
You will see the following admin panel with 4 Models AUTHENTICATION AND AUTHORIZATION, CONTACTS LISTINGS REALTORS
-
Now Click on the models to see the tables.
-
Now to add a contacts. Click the [+ Add] button
You will see the following form
Now fill the form for our demo purpose. In later you can modify/remove/add anything according to your requirements. After filling, SAVE the form.


