A console for your console
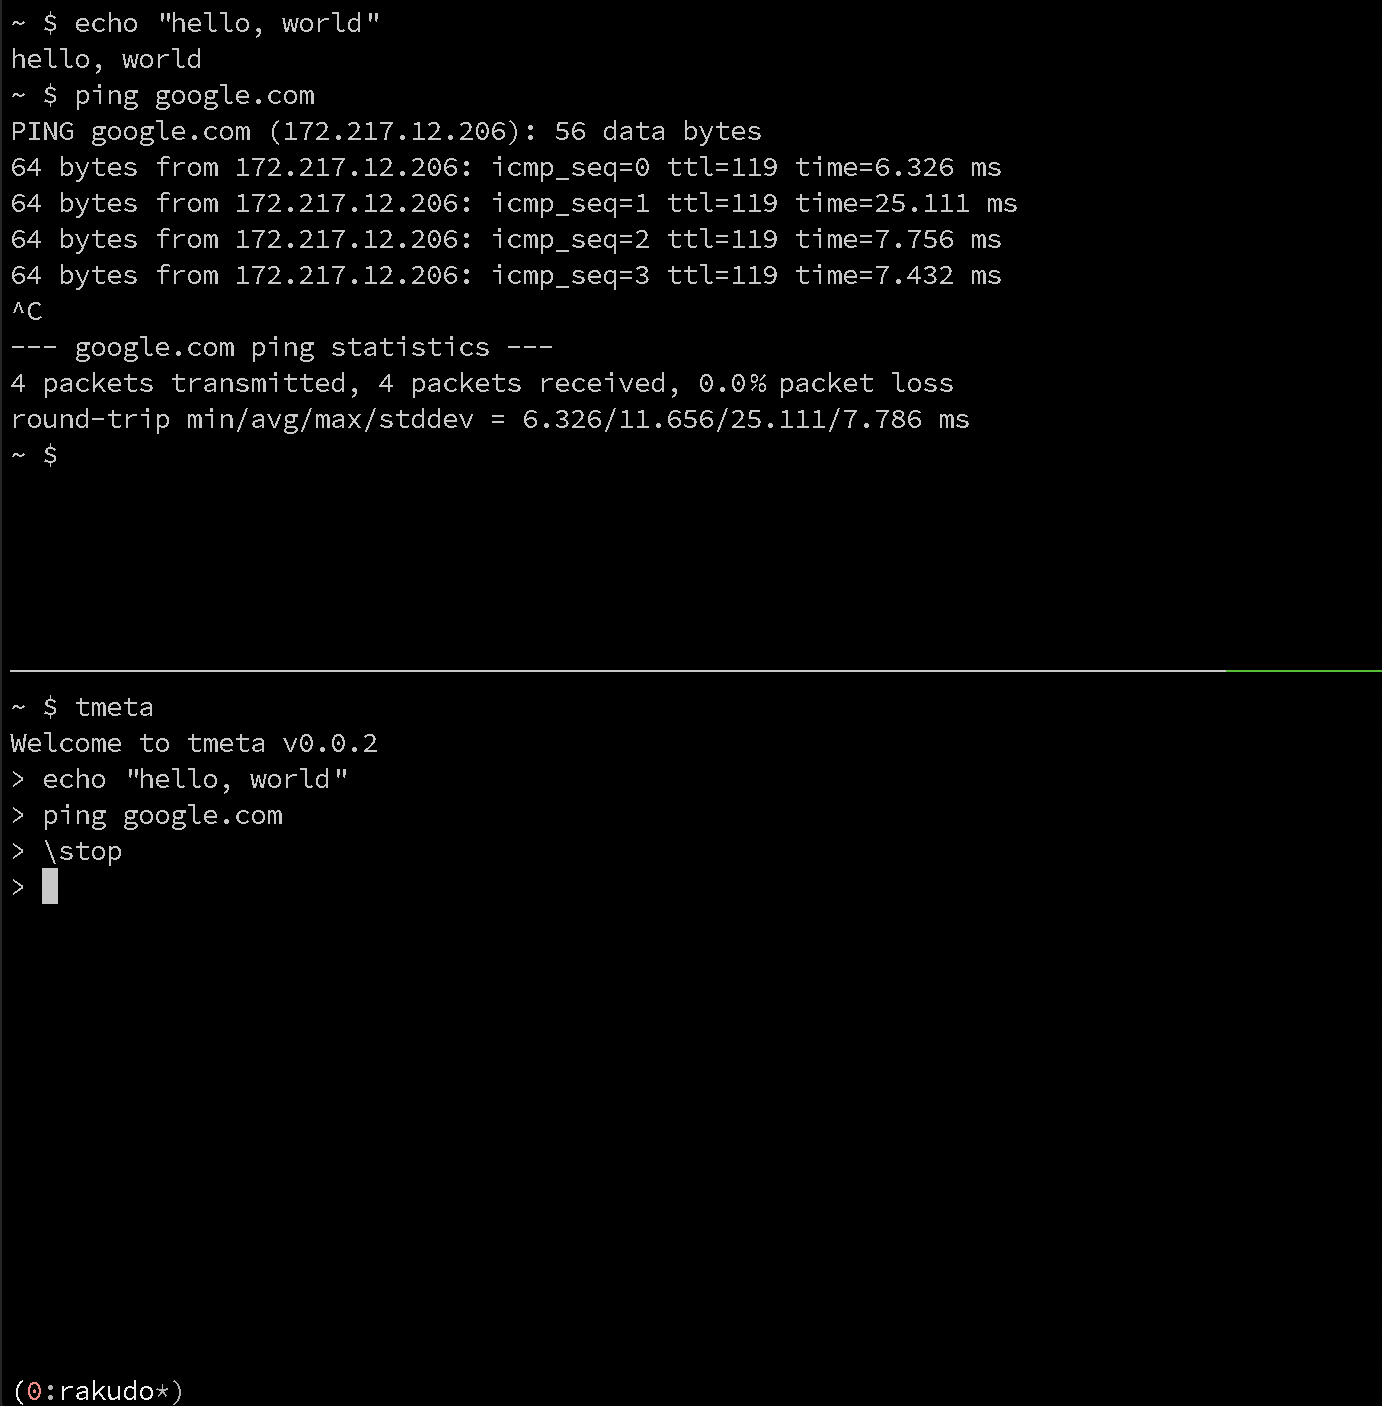
termie (formerly tmeta) is a wrapper for tmux that supports sending and receiving data to/from tmux panes.
Anything typed into the bottom pane is sent to the top one, but
lines that start with a backslash are commands for termie.
You can type \help to see all possible commands.
(To send a literal leading backslash, either start with a space or start with a double backslash.)
Because you get:
- an uncluttered view of your commands separate from the output
- a local history for commands that are run remotely
- readline interface independent of the remote console
- scripting support for programs that require a TTY
- macros
- the ability to monitor or capture output
- other
expect-like functionality - controlled copy-and-paste operations into remote sessions
See below for installation.
There are a few different ways to start termie.
-
Start
tmuxyourself, then havetermiesplit a window and start up in its own pane:$ tmux $ termie -
Let
termiestart tmux for you:
$ termie
- Run a termie script. This will split and run in another pane.
$ tmux $ termie script.termie
I use the .termie suffix for my termie scripts. If you do too, you
might like this vim syntax file.
termie plays well with REPLs, or any console based application that uses a tty. For instance, docker, rails console, interactive ruby shell, the python debugger, the jupyter console, psql, mysql, regular ssh sessions, local terminal sessions, whatever
Please see the documentation for a complete list of commands.
Show a list of commands.
> \help
Run date every 5 seconds until the output contains 02
> date
> \repeat
> \await 02
Within a debugger session, send next every 2 seconds.
> next
> \repeat 2
Search the command history for the last occurrence of 'User' using fzf (readline command history works too)
> \find User
Search the output for "http"
> \grep http
Send a local file named bigfile.rb to a remote rails console
> \send bigfile.rb
Same thing, but throttle the copy-paste operation, sending 1 line per second:
> \delay 1
> \send bigfile.rb
Similar, but send it to an ssh console by first tarring and base64 encoding and not echoing stdout, and note that 'something' can also be a directory:
> \xfer something
Run a command locally, sending each line of output to the remote console:
> \do echo date
Run a shell snippet locally, sending each line of output to the remote console:
> \dosh for i in `seq 5`; do echo "ping host-$i"; done
Start printing the numbers 1 through 100, one per second, but send a ctrl-c when the number 10 is printed:
> \enq \stop
queue is now : \stop
> for i in `seq 100`; do echo $i; sleep 1; done
# .. starts running in other pane ...
> \await 10
Waiting for "10"
Then I will send:
\stop
Done: saw "10"
starting enqueued command: \stop
Add an alias cat which cats a local file
\alias cat \shell cat
Show a local file (do not send it to the other pane) using the above alias
\cat myfile
Edit a file named session.rb, in ~/.termie/scripts
\edit session.rb
After running the above, add this to session.rb:
irb

\expect irb(main):001:0>

"hello world"

\expect irb(main):002:0>

exit
Now running
\run session.rb
will start the interactive ruby console (irb) and the following session should take place on the top panel:
$ irb
irb(main):001:0> "hello world"
=> "hello world"
irb(main):002:0> exit
$
Prerequisites: fzf, tmux, libreadline, raku and a few modules
-
Install a recent version of Raku. The recommended way is to use rakubrew.
-
Also install
zef, the Raku package manager (rakubrew build-zef) -
zef install https://github.com/bduggan/termie.git
- The documentation, with links to the source
- The same documentation as shown by the
\helpcommand - This blog article: https://blog.matatu.org/raku-tmeta
