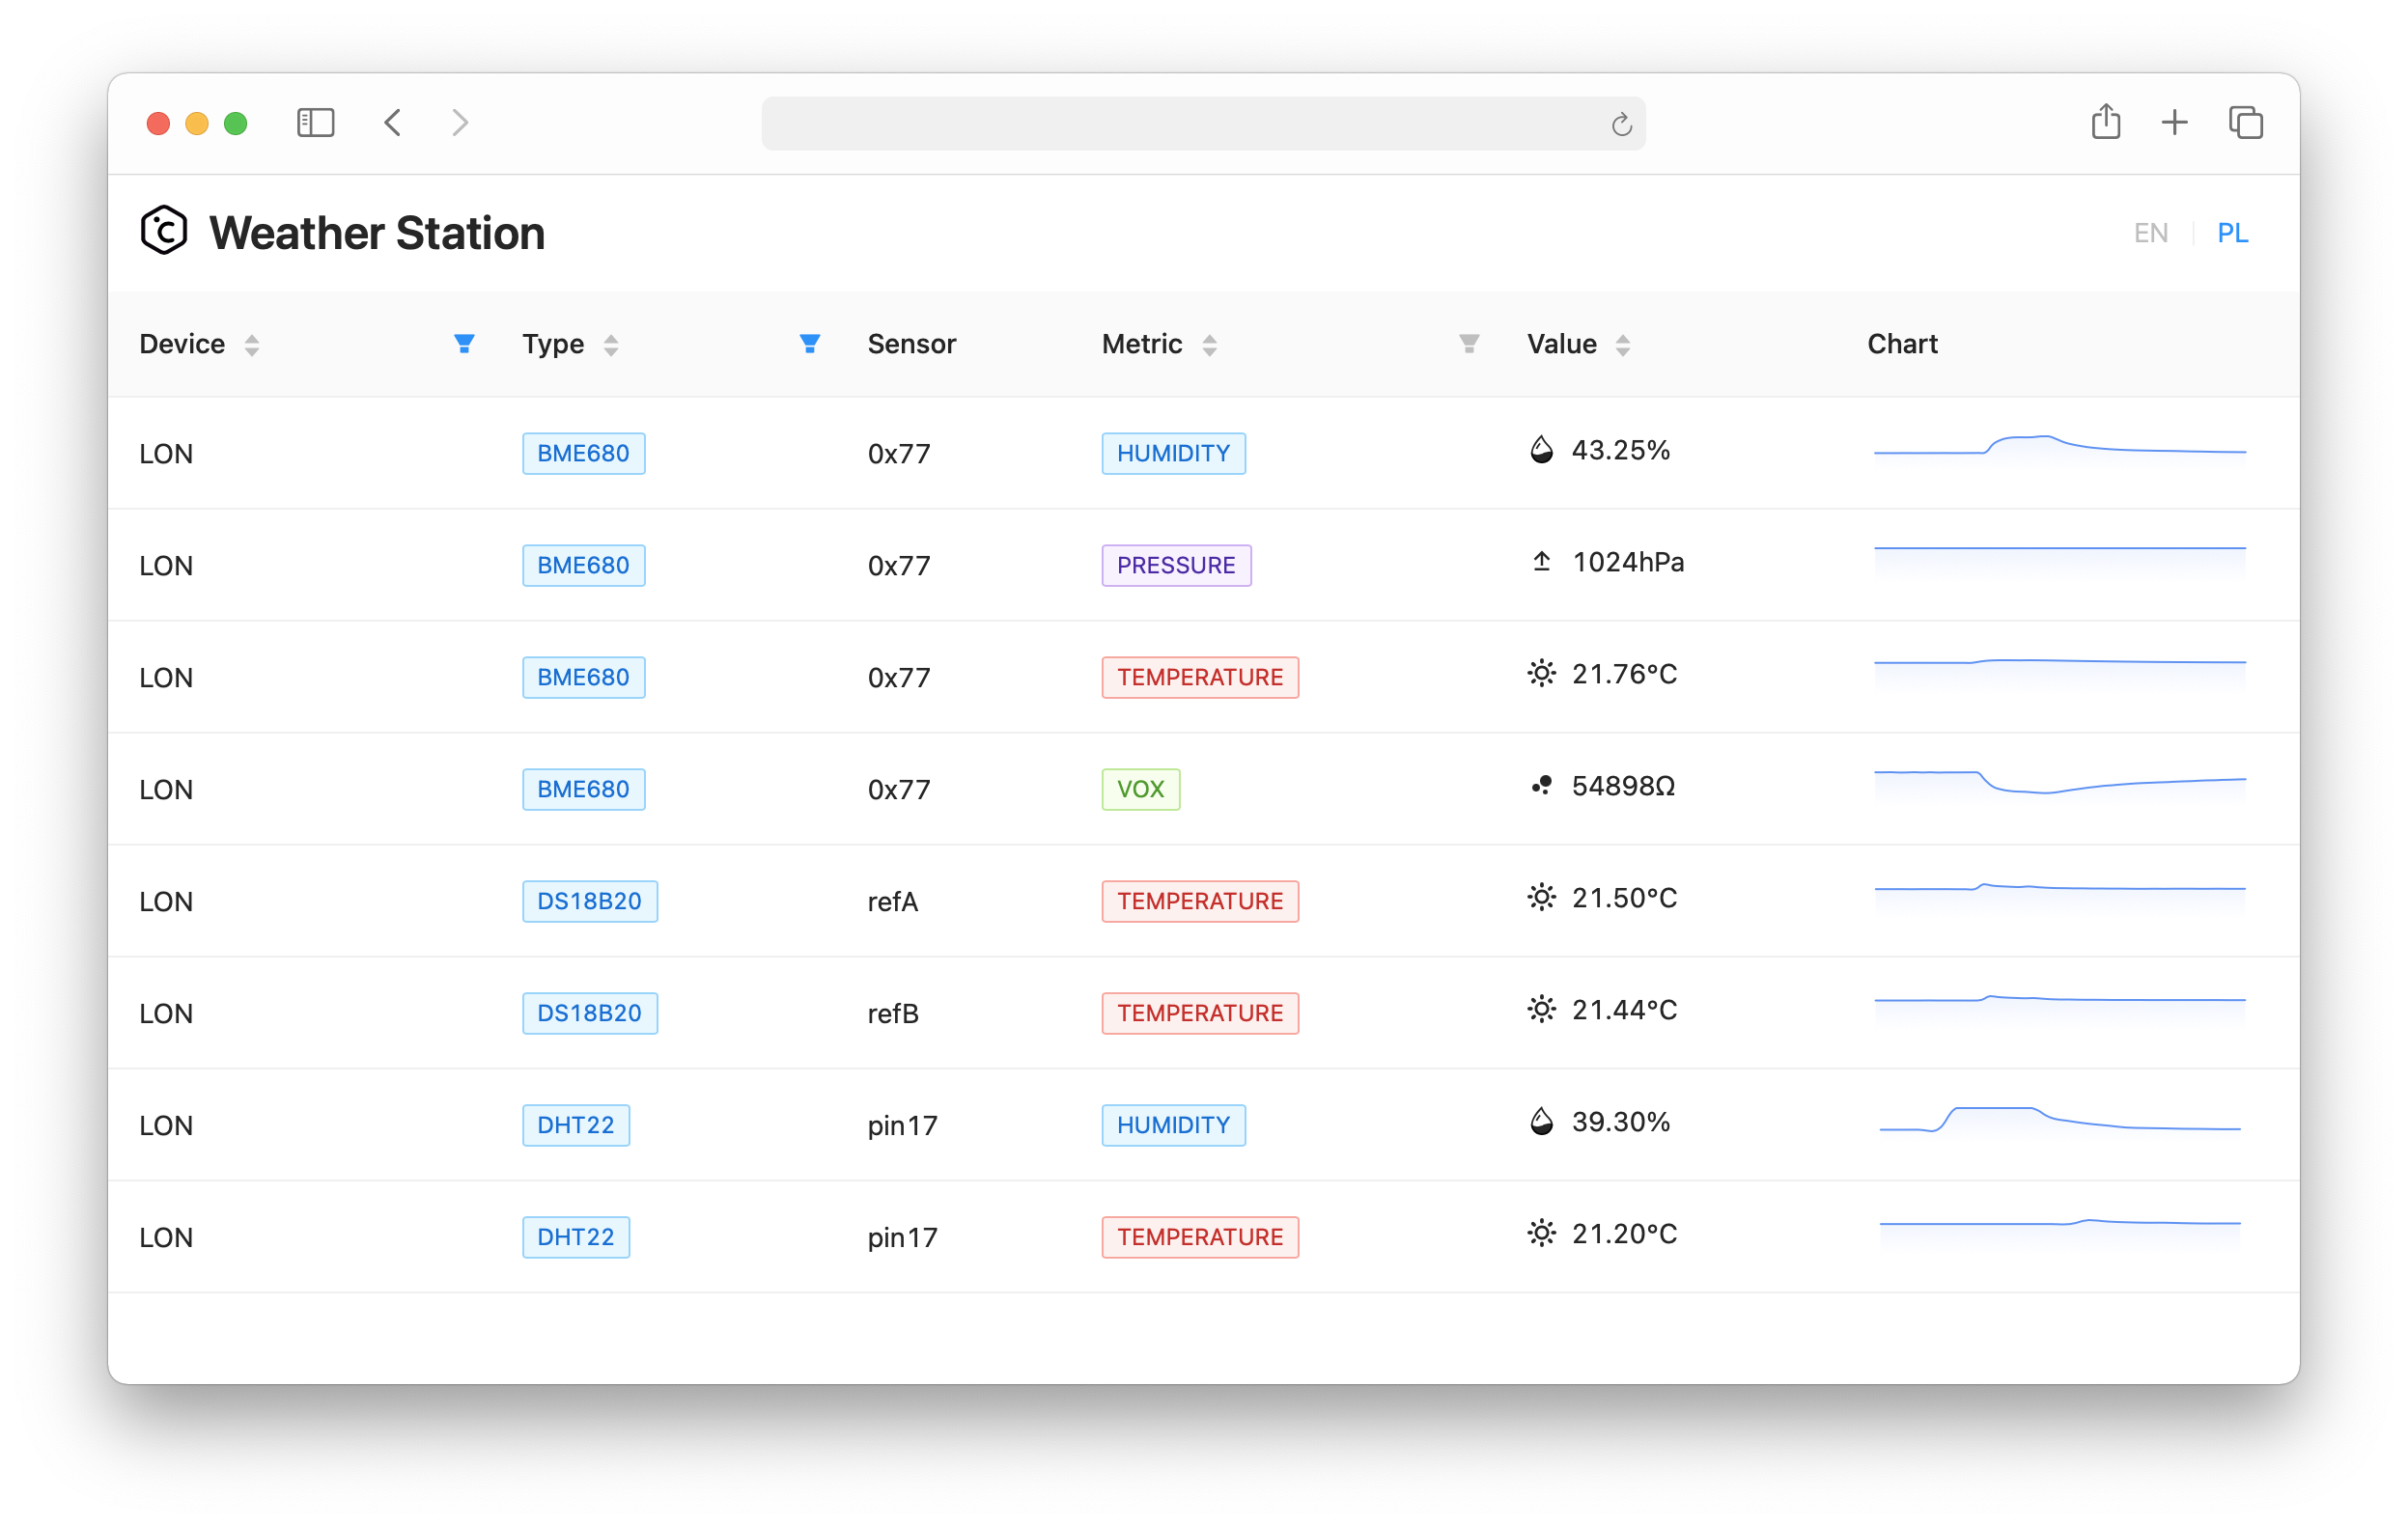
The project objectives were to create a way to remotely monitor countryside house temperature with Raspberry Pi and sensors like DS18B20, and to automate the control of emergency heating with relays and GPIOs, to protect water pipes in the winter. The POC was ready in under two weeks, however later on I decided to push the project further and use it as a sandbox to broaden my skill set.
- [GitHub] bartoszadamczyk/weather-station-cloud
- /app - frontend React App that displays live
readings. Tech stack:
Netlify,TypeScript,React,Immer,WebSockets,i18next,antd,Sentry,Jest,ESLint,GitHub Actions - /serverless - serverless API bundled with
Serverless and hosted on AWS Lambda. Tech stack:
Serverless,TypeScript,DynamoDB,SQS,AWS API Gateway (with WebSockets),AJV,Sentry,Mocha,Chai,Sinon,ESLint,GitHub Actions - /terraform - Tech stack:
Terraform,TFLint,GitHub Actions
- /app - frontend React App that displays live
readings. Tech stack:
- [GitHub] bartoszadamczyk/weather-station-rpi - raspberry Pi worker
deployed with balena.io. Tech stack:
Raspberry Pi,Linux,balena.io,Docker,Python,AsyncIO,SQS,Mypy,Black,Flake8,SentryandGitHub Actions
For all AWS resources this project follows naming convention:
S3: namespace-app-env-region-[name]IAM: {account}/app-env-region-[name]DynamoDB: {account}/{region}/app-env-[name]
This provides:
- no conflicts with other
accounts,regions,environments, - it is easy to read for humans,
- for a
name,regionandenvwe can use wildcard for example in theIAMpolicies.
- Variables in API, and data pipelines should use
snake_case - SQL DBs should use
snake_case - DynamoDB should use
camelCase - Constant values in:
- Python:
const FOO = "foo" - TypeScript:
const Foo = "foo"
- Python:
- Time should be stored as timestamp with milliseconds without coma
Following serverless advice, this project is using both. Serverless is used to easily deploy lambda code together with app-specific infrastructure. On the other hand terraform is used to set up shared and persistent parts of infrastructure like data tables that should not be affected by a serverless teardown or updates.
While we believe that all infrastructure should be managed with IaC automation, we like to distinguish between the infrastructure that’s specific to one application and the infrastructure that’s shared between multiple applications in your stack. Those might need to be managed in different ways.
Application-specific infrastructure gets created and torn down as the app gets deployed. You rarely change a piece of application-specific infrastructure; you’ll just tear everything down and re-create it from scratch. As the app is developed, the infrastructure that supports it also needs to change, sometimes significantly from one deploy to another.
The shared infrastructure, on the other end, rarely gets re-created from scratch and is more stateful. The core set of infrastructure (such as the set of security groups and your VPC ID), won’t change between the deploys of your application, as they’re probably referenced by many applications in your stack. Those more persistent pieces of infrastructure will generally be managed outside of your deploy pipeline. [Source]
- Fork and clone this repo
- You need:
- AWS account
- AWS CLI installed and configured on your computer
- Terraform installed (
brew install terraform) - Node.js installed (
brew install n) - Netlify account
- [Optional] Terraform account
- [Optional] Sentry account (one sentry_dsn per app)
- Enter terraform folder (
cd terraform) - Edit
backend,regionandlocalsinmain.tf - You can use terraform backend or store the state locally
- Run
terraform applyto deploy your infrastructure - Create AWS user for your Raspberry Pi and assign
rpigroup created with Terraform.
- Enter serverless folder (
cd serverless) - Edit
serviceanddeploymentBucket- this property optional - [Optional] You can store sentry DSN in AWS parameter store as
weather-station-serverless-sentry-dsn - Run
yarn - To deploy, run
yarn run deploy - Note
websocket url
- Login to
Netlify - Create new app with the code from your repo with:
- Build settings:
- Base directory:
app - Build command:
yarn build - Publish directory:
app/build
- Base directory:
- Environment variables:
- REACT_APP_WEBSOCKET_URL: url from the serverless log
- [Optional] REACT_APP_SENTRY_DSN: your_sentry_dsn
- Build settings:
- End to end MVP
- More frontend tests
- Move types and ajv validators to separate repo and pre compile. For they are symlinked between
serverlessandapp - Send live data only when there is active client (requires websocket in RPi app)
- More charts and compare
- Historic data (aggregated)
- Authentication
- Implement alarms
- Relays remote control

