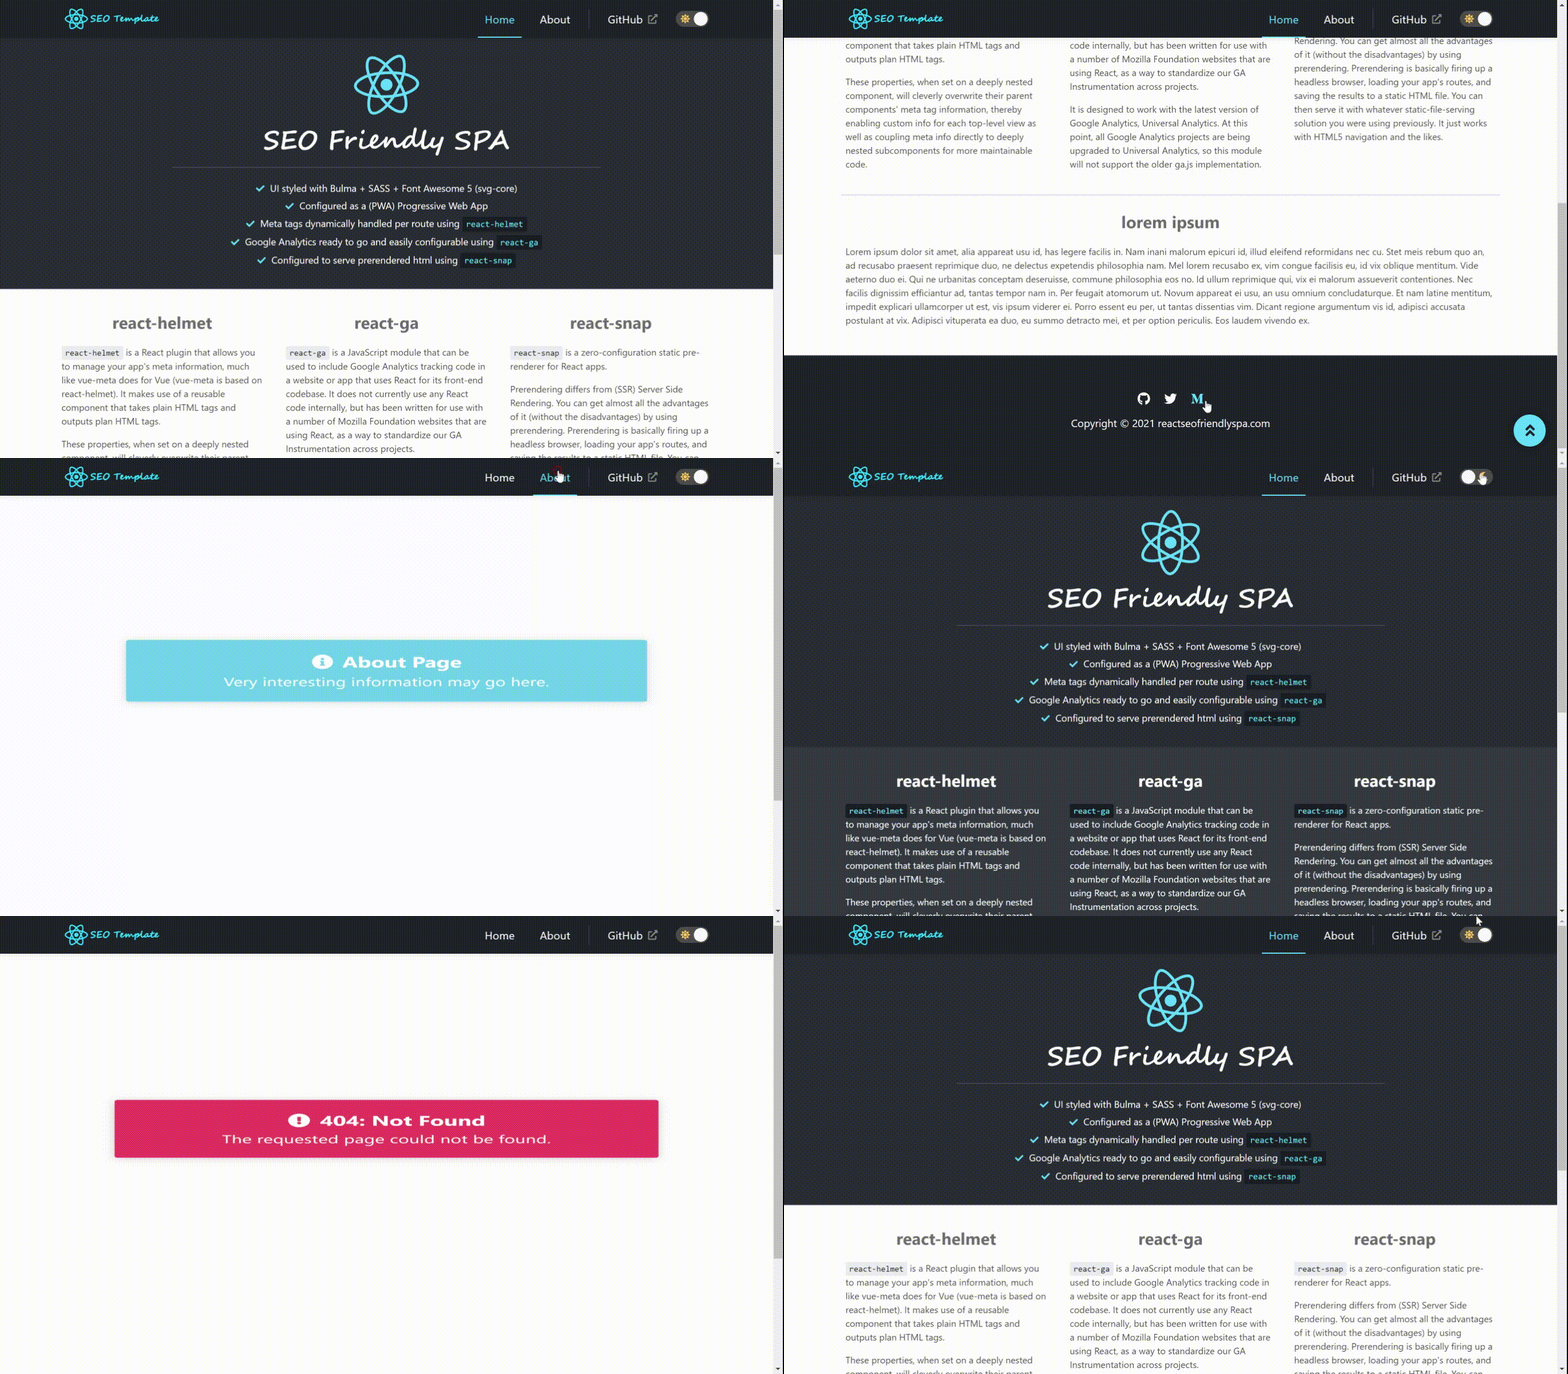
React PWA/SPA template configured for SEO (initially scaffolded with Create React App).
Features:
- TypeScript
- Incorporates
styled-components - Route transitions handled using
react-transition-group - Built entirely with
React HooksAPI (no legacy class components) - Google analytics management with
react-ga - Route meta tag management with
react-helmet-async - Configured to serve prerendered static HTML with
react-snap - Custom
BackToTop.tsxcomponent - Custom
ToggleTheme.tsxcomponent that handles light/dark theme transitions
This is the React version based on my Vue SEO template which you can find here: vue-seo-friendly-spa-template
initial scaffolding
react-helmet-async - plugin that allows you to manage your app's meta information. It is a reusable React component that will manage all of your changes to the document head - Helmet takes plain HTML tags and outputs plain HTML tags. It's dead simple, and React beginner friendly. This is the thread safe fork of react-helmet.
I have it configured to use one more level of abstraction, where I have the Helmet component and child meta tags broken out to its own component MetaInfo.tsx - referenced at the root of the app i App.tsx to initialize data and then referenced in each route component to override route-specific values (Home.tsx, About.tsx, NotFound404.tsx):
MetaInfo.tsx
import { Helmet } from 'react-helmet-async';
import type { FunctionComponent } from 'react';
import { getRouteMetaInfo, type MetaInfoProps } from '../config/routes.config';
import { APP_NAME, BASE_URL, AUTHOR_NAME, DEFAULT_LANG, DEFAULT_LOCALE } from '../config/env.config';

const {
  title: DEFAULT_TITLE,
  description: DEFAULT_DESCRIPTION
} = getRouteMetaInfo('Home');

const MetaInfo: FunctionComponent<MetaInfoProps> = ({
  meta = [],
  defer = false,
  lang = DEFAULT_LANG,
  title = DEFAULT_TITLE,
  locale = DEFAULT_LOCALE,
  description = DEFAULT_DESCRIPTION
}) => {
  const url = window?.location.href || 'unknown';

  return (
    <Helmet
      defer={defer}
      title={title}
      htmlAttributes={{ lang }}
      titleTemplate={`${APP_NAME} | %s`}
      link={[
        {
          rel: 'canonical',
          href: url
        }
      ]}
      meta={[
        {
          name: 'description',
          content: description
        },
        {
          property: 'og:description',
          content: description
        },
        {
          property: 'og:title',
          content: title
        },
        {
          property: 'og:site_name',
          content: APP_NAME
        },
        {
          property: 'og:type',
          content: 'website'
        },
        {
          property: 'og:url',
          content: url
        },
        {
          property: 'og:locale',
          content: locale
        },
        {
          property: 'og:image',
          content: `${BASE_URL}logo192.png`
        },
        {
          name: 'author',
          content: AUTHOR_NAME
        }
      ].concat(meta)}
    />
  );
};

export default MetaInfo;
...and used in About component
import type { FunctionComponent } from 'react';
import { Alert, MetaInfo } from '../../components';
import { getRouteMetaInfo } from '../../config/routes.config';

const About: FunctionComponent = () => (
  <div className="container view-wrapper">
    <MetaInfo {...getRouteMetaInfo('About')} />
    <Alert
      title="About Page"
      alertAnimation="rubberBand_animation 1s"
      subTitle="Very interesting information may go here."
    />
  </div>
);

export default About;
react-ga - This is a JavaScript module that can be used to include Google Analytics tracking code in a website or app that uses React for its front-end codebase. It does not currently use any React code internally, but has been written for use with a number of Mozilla Foundation websites that are using React, as a way to standardize our GA Instrumentation across projects.
My preferred configuration - in a custom hook that initializes your google analytics settings and contains an effect that reacts to the location object that is retrieved from the referenced react-router-dom hook useLocation - usePageTracker.ts:
import ReactGA from 'react-ga';
import { useEffect } from 'react';
import { useLocation } from 'react-router-dom';
import { isLocationValidRoute } from '../config/routes.config';

// Initialize the react-ga plugin using your issued GA tracker code + options
ReactGA.initialize('UA-000000-01', {
  testMode: process.env.NODE_ENV === 'test',
  debug: process.env.NODE_ENV !== 'production',
  gaOptions: {
    cookieFlags: 'max-age=7200;secure;samesite=none'
  }
});

// Define custom hook to handle page tracking
const usePageTracker = (): void => {
  const location = useLocation();

  useEffect(() => {
    const { pathname, search } = location;

    if (isLocationValidRoute(pathname)) {
      const page = pathname + search;
      ReactGA.set({ page });
      ReactGA.pageview(page);
    }
  }, [location]);
};

export default usePageTracker;
...and then use that hook in the root of the application tree:
e.g. in the App.tsx component
import Layout from './Layout';
import type { FunctionComponent } from 'react';
import { routes } from './config/routes.config';
import { MetaInfo, NotFound404 } from './components';
import { usePageTracker, useScrollToTop } from './hooks';
import { useLocation, Route, Routes } from 'react-router-dom';
import { CSSTransition, SwitchTransition } from 'react-transition-group';

const App: FunctionComponent = () => {
  useScrollToTop();
  usePageTracker();
  const location = useLocation();

  return (
    <Layout>
      <MetaInfo />
      <SwitchTransition mode="out-in">
        <CSSTransition
          timeout={250}
          classNames="fade"
          key={location.key}
        >
          <Routes location={location}>
            {routes.map(({ path, Component }) => (
              <Route
                key={path}
                path={path}
                element={<Component />}
              />
            ))}
            <Route
              path="*"
              element={<NotFound404 />}
            />
          </Routes>
        </CSSTransition>
      </SwitchTransition>
    </Layout>
  );
};

export default App;react-snapshot - Pre-renders a web app into static HTML. Uses Headless Chrome to crawl all available links starting from the root. Heavily inspired by prep and react-snapshot, but written from scratch. Uses best practices to get the best loading performance.
Configured in two simple steps:
Add the following entries to package.json:
"scripts": {
  "postbuild": "react-snap"
},
"reactSnap": {
  "skipThirdPartyRequests": true
}
The reactSnap.skipThirdPartyRequests = true entry is critical since it prevents the analytics related requests from executing during static HTML generation. During the build process you may notice the following error logged (per route): Failed to load resource: net::ERR_FAILED. This is a non-issue as it represents the analytics request being intercepted.
And then in src/index.tsx:
import { StrictMode } from 'react';
import { BrowserRouter } from 'react-router-dom';
import { HelmetProvider } from 'react-helmet-async';
import { hydrateRoot, createRoot } from 'react-dom/client';
import App from './App';

const appElement = (
  <BrowserRouter>
    <HelmetProvider>
      <StrictMode>
        <App />
      </StrictMode>
    </HelmetProvider>
  </BrowserRouter>
);

const container = document.getElementById('root') as HTMLElement;
const hasChildNodes = container?.hasChildNodes() ?? false;

hasChildNodes
  ? hydrateRoot(container, appElement)
: createRoot(container).render(appElement);After cloning the repo, run this command. This will:
- Install Node dependencies from package.json
To start the app (development build), run this command. This will:
- Compile the app and run on the development server
- Execute any Jest tests (based on your configration)
- This command will execute code in the sitemap-generator.js. Using the sitemapUrl parameter defined in that file (should reflect your registered domain name) a sitemap.xml is generated and persisted under the 'public' folder - this file is referenced in the robots.txt file. This uses the
sitemap-generatorpackage.
This script will:
- Build release Webpack bundles and run react-snapshot to serve prerendered static files
