ESP32 Remote Camera
Work in progress
Hardware
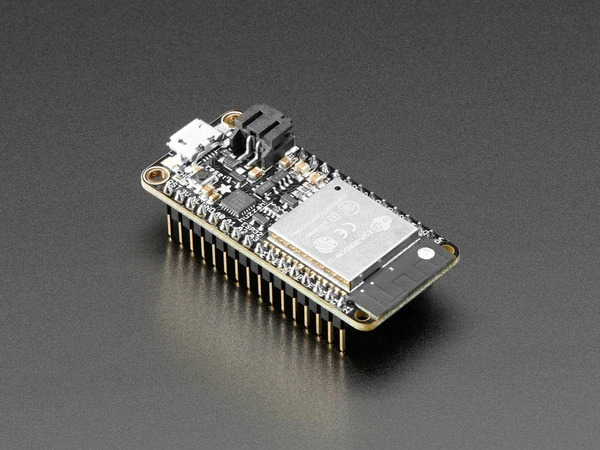
Adafruit HUZZAH32 ESP32 Feather
A very high quality, and feature-rich ESP32 board with a built-in Lithium-Ion/Polymer battery charger. It's on the expensive side, but the built-in battery charger (and the pre-soldered versions from ThePiHut) make it worthwhile, especially if used for multiple or complex projects.
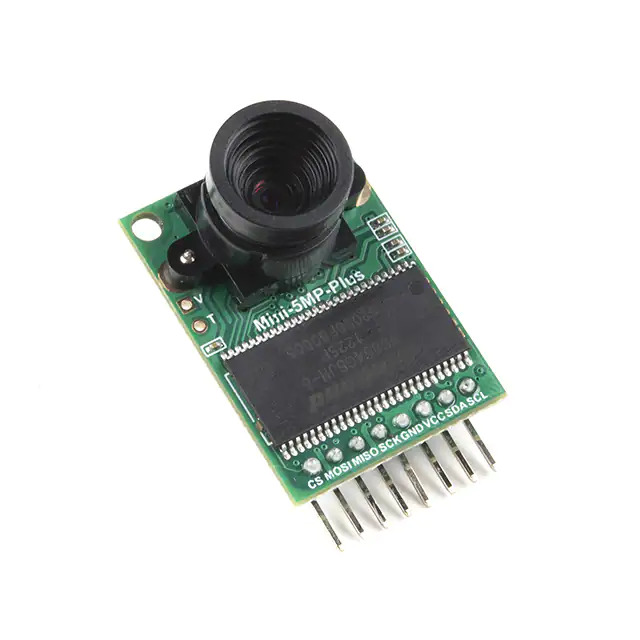
Arducam 5MP OV5642 Mini SPI Camera Module
This is an excellent, high-quality, simple camera module that uses SPI (and I2C for commands) for communicating with any microcontroller. You can attach any M12 Lens on the camera for different viewing angles.
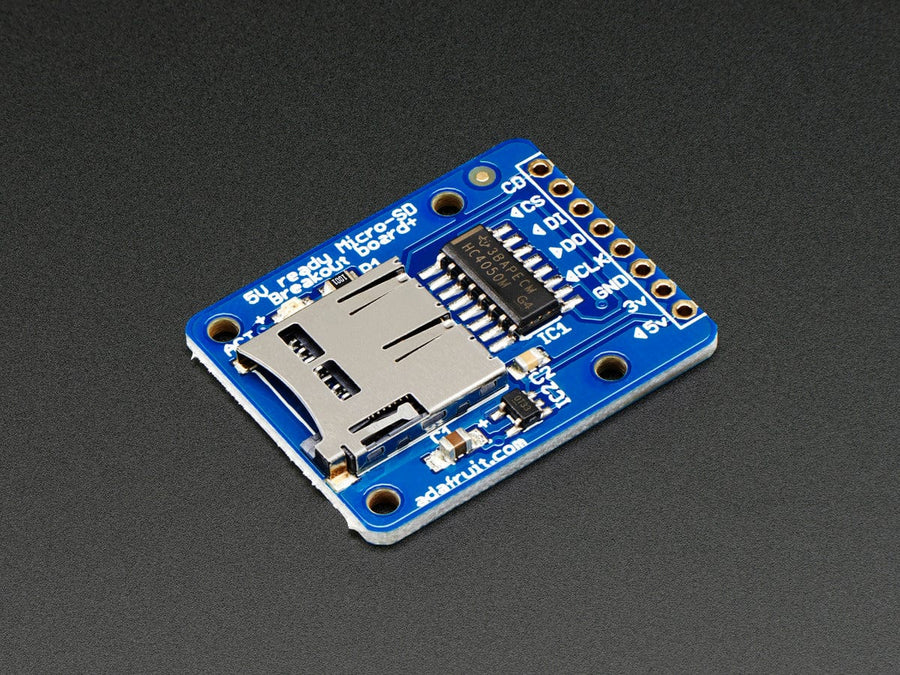
MicroSD Card Module
High quality feature-rich (somewhat expensive), MicroSD Card Module. MicroSD Card Modules are known to be fussy about signal integrity, so I recommend using tight and secure wires, and soldering the included headers. Of course, you need a microSD card which should be using the FAT filesystem, most come with this by default but if not then simply format it using your tool of choice, this will erase all data on it.
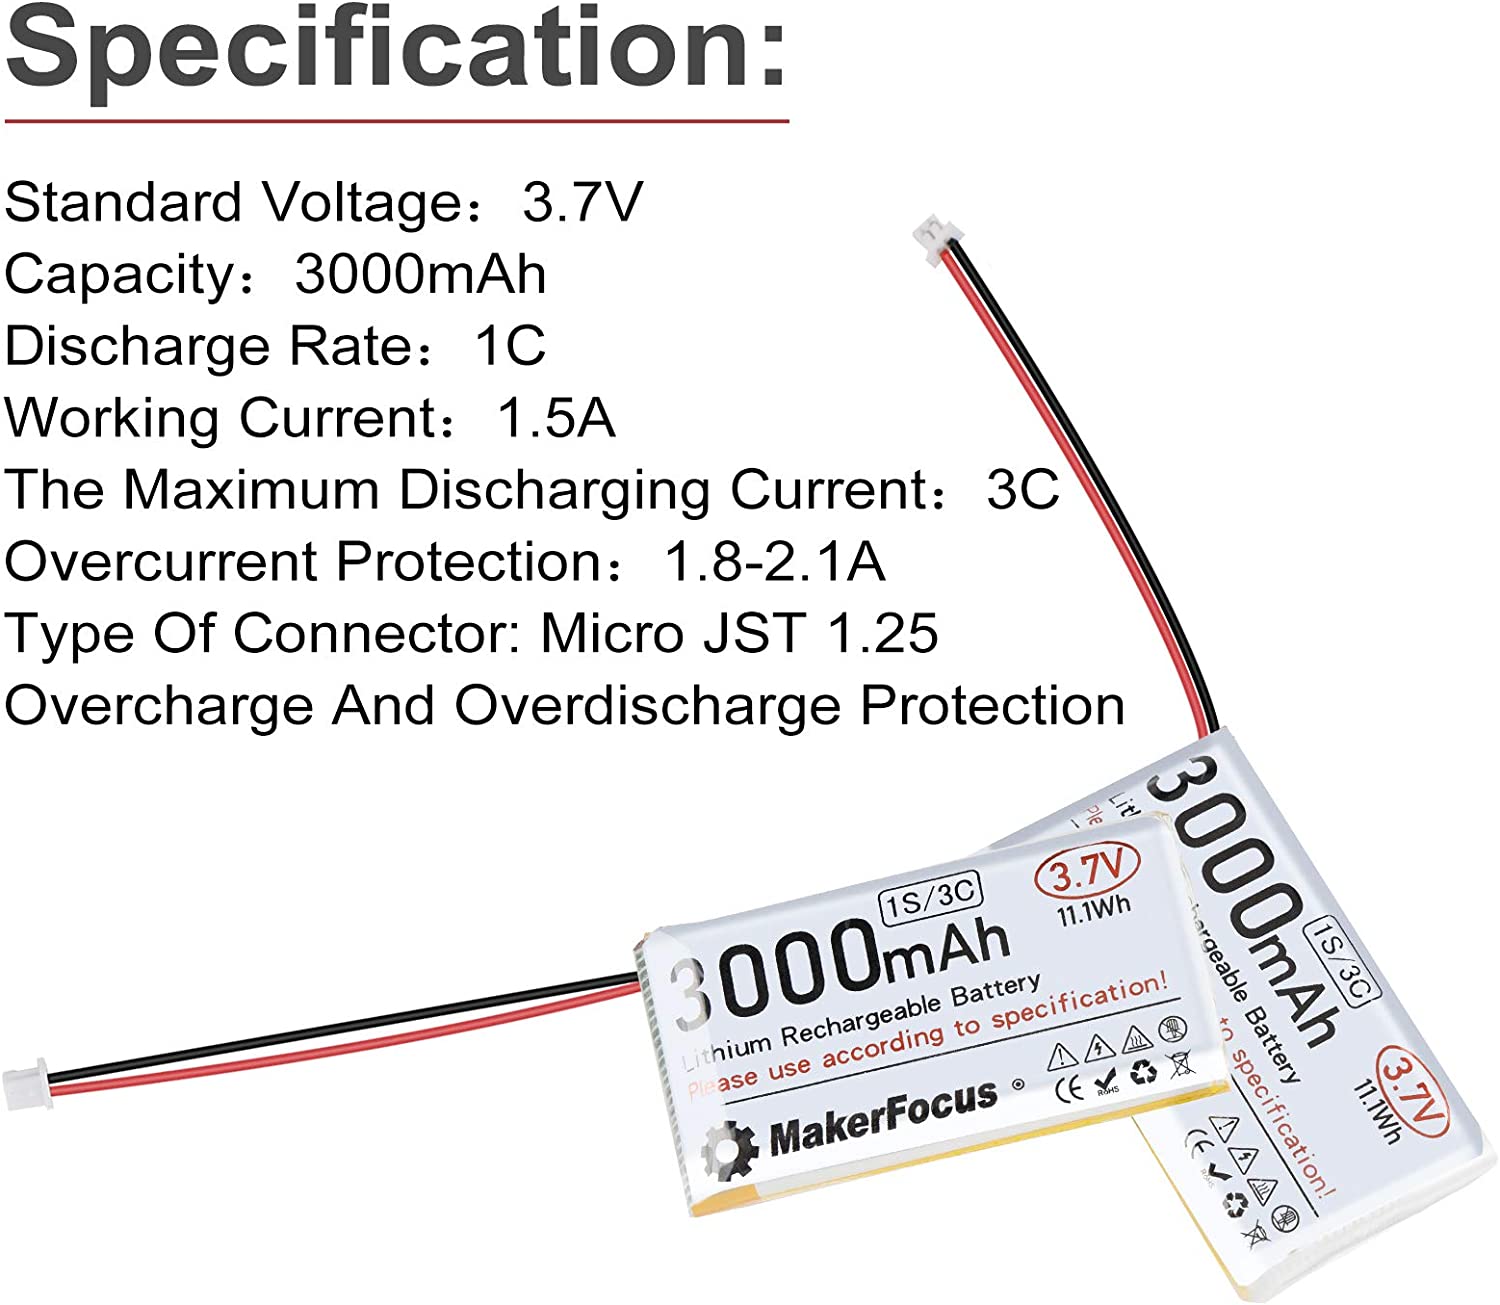
3.7V Lipo Battery
I used the Seamuing 3.7V 3000mAh Lipo Battery (bought from amazon but no longer sold as of writing), however any 3.7V Lipo battery will suffice as long as it uses a JST-PH 2.0 2-Pin Connector, otherwise you will need to solder the wires to an adapter, which is what I needed to do as the battery I used uses a JST 1.25 connector. The black (negative?) wire is the one adjacent to the micro-USB port, be careful to not get this wrong as Adafruit claim doing so could fry your board. As always, be careful and cautious with batteries, most batteries nowadays are very safe and smart but always act and behave as if they are not (and they all secretly want to explode), just in case.
Software
Software Setup
Follow the
ESP-IDF installation guide
before starting.
You'll need to have the following in your ~/.bashrc file in order to use ESP-IDF tools from
any shell:
addPath() {
    export PATH="$*:$PATH"
}

addPath "/home/$(echo $USER)/data/ESP32-IDF/xtensa-esp32-elf"
export IDF_PATH="/home/$(echo $USER)/data/ESP-IDF/esp-idf"
export IDF_PYTHON_ENV_PATH="/usr/bin/python3.8"

alias esp-export=". $IDF_PATH/export.sh"
Change the above appropriately if needed, you will need to call esp-export once per terminal session
before any ESP-IDF operations such as idf.py build
CLion
Add the environment script ./setup-env.sh to the current toolchain
so that CLion loads the path variables correctly, this solves the issue with unknown C, CXX and ASM compilers
as well as any "missing dependencies" problems that CMake would otherwise exclaim,
see JetBrains' guide
for how to do this and read more about ESP-IDF setup on CLion
here.
Multi-root CMake Project
CLion is not yet capable of functioning with multiple root CMake projects. This project has 2 CMake roots,
./main/ (the main component with the actual application) and ./test/
(the test component for running unit tests on device). The IDE will only "be aware" of 1 of these after
right-clicking "Load CMake Project" on ./CMakeLists.txt for main or
./test/CMakeLists.txt for test. When one is loaded the other will have errors
in the IDE despite being able to build and run both from idf.py or cmake directly from the command-line.
It is a minor inconvenience that you will need to "Load CMake Project" when switching between editing either
of these components, but at least it makes sense as these are the only 2 "applications" that can be run
on the device and only one can be run at a given time.


