⚠️ DEPRECATED!
Since Home Assistant 0.104 the Signal Messenger integration is now part of Home Assistant - i.e this custom component isn't needed anymore. If you are using this custom component, please migrate to the official integration. This component will not be maintained anymore.
Signal Notifications for HomeAssistant
This is a custom component that adds Signal Messenger Notifications to HomeAssistant.
Install
-
Copy the
signalmessengerfolder to your Home Assistantcustom_componentsfolder.The
custom_componentsfolder is usually the folder, where yourconfiguration.yamlfile resides. In case there doesn't already exist acustom_compontensfolder, just create one and copy thesignalmessengerfolder into it. -
Next, we need to create the signal-cli-rest-api docker container. The docker container is just a small REST API wrapper around the signal-cli commandline tool and used for communicating with the Signal Messenger Service.
In case you are already using docker compose for Home Assistant, just add the
signal-cli-rest-apiservice to it.A simple
docker-compose.ymlfile could look like this:version: "3" services: signal-cli-rest-api: image: bbernhard/signal-cli-rest-api:latest ports: - "8080:8080" network_mode: "host" volumes: - "./signal-cli-config:/home/.local/share/signal-cli" -
Start the service with
docker-compose up -d -
Next, you need to register the phone number that you want to use for sending signal messages. (you only need to do that once)
In order to do that, execute the following command via CURL:
curl -X POST -H "Content-Type: application/json" 'http://127.0.0.1:8080/register/<number>'Don't forget to replace
<number>with your actual phone number! (e.g:+4361212112912112) -
If everything went fine, your phone number should now be registered. Next, edit your Home Assistant
configuration.yamlfile and add the following entry to the notify section:notify: - name: signal platform: signalmessenger sender_nr: <phone number> # add the phone number you've registered above here (e.g "+4361212112912112") recp_nr: - <recipient 1> #the number you want to the send the signal message to (e.g "+4912172812871721" signal_cli_rest_api: http://127.0.0.1:8080 -
Restart your Home Assistant service
Testing
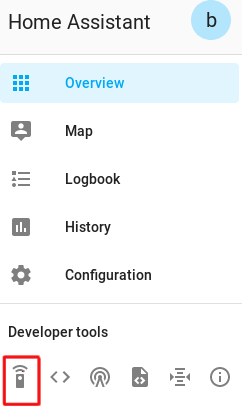
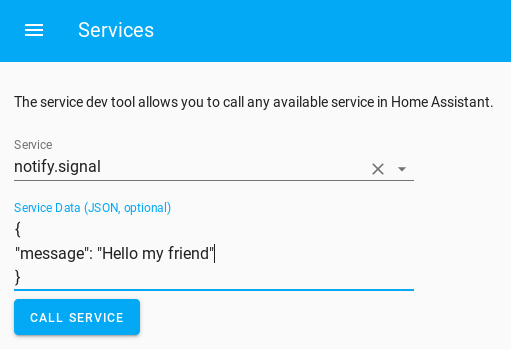
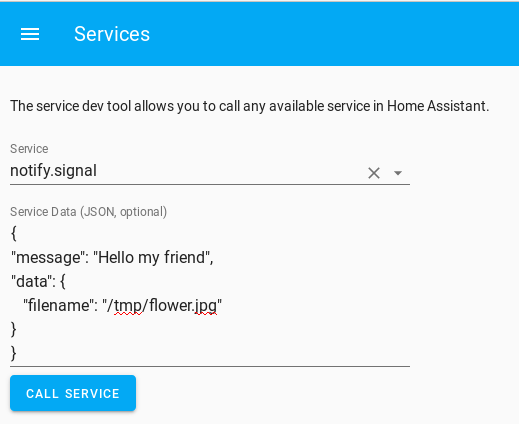
After we've setup everything, let's test if we can send a message via Home Assistant.


