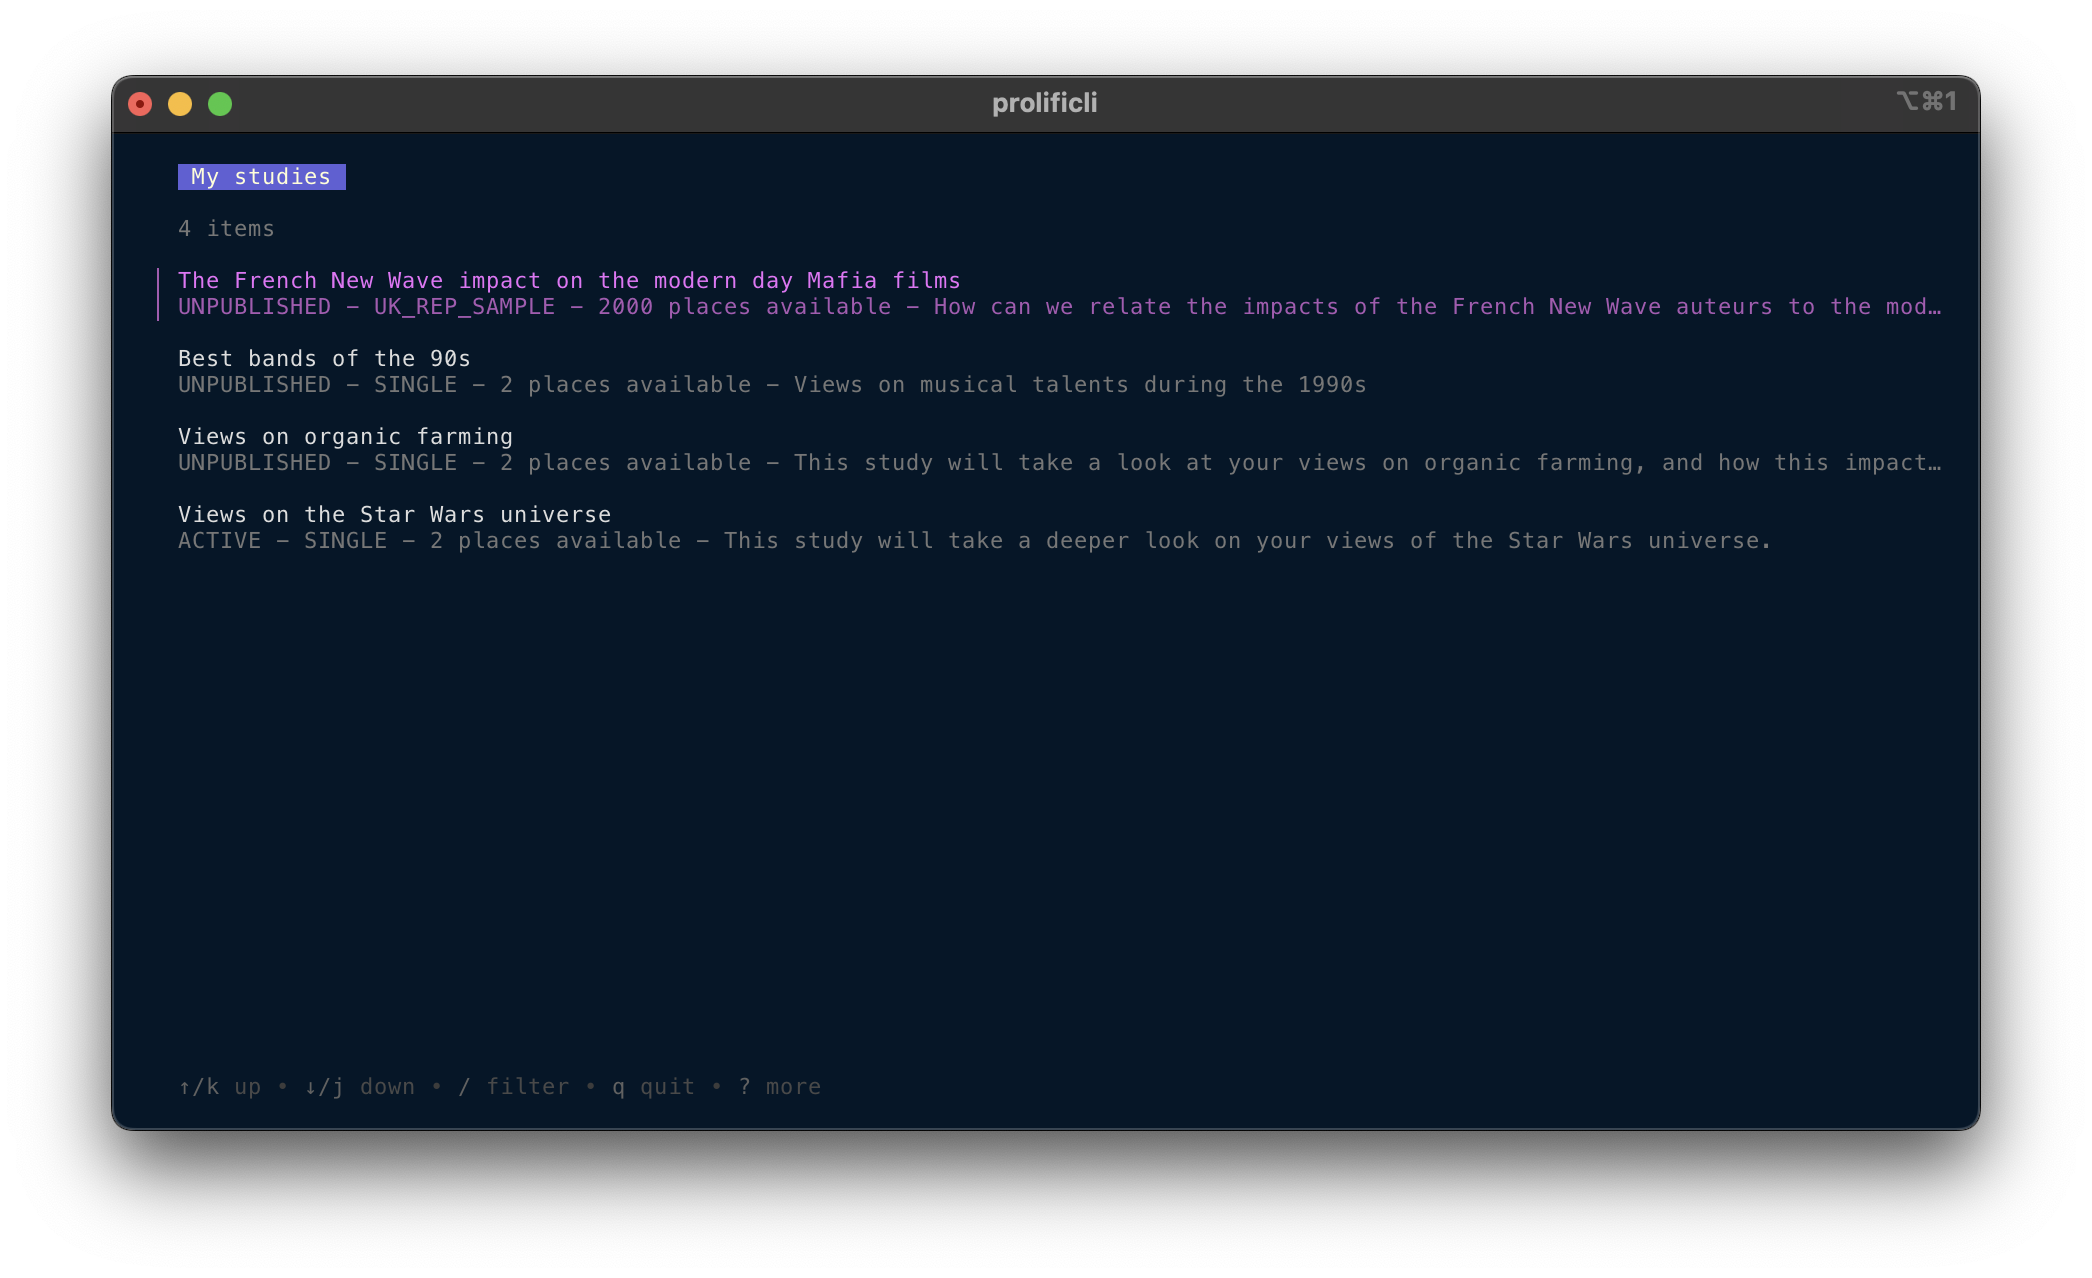
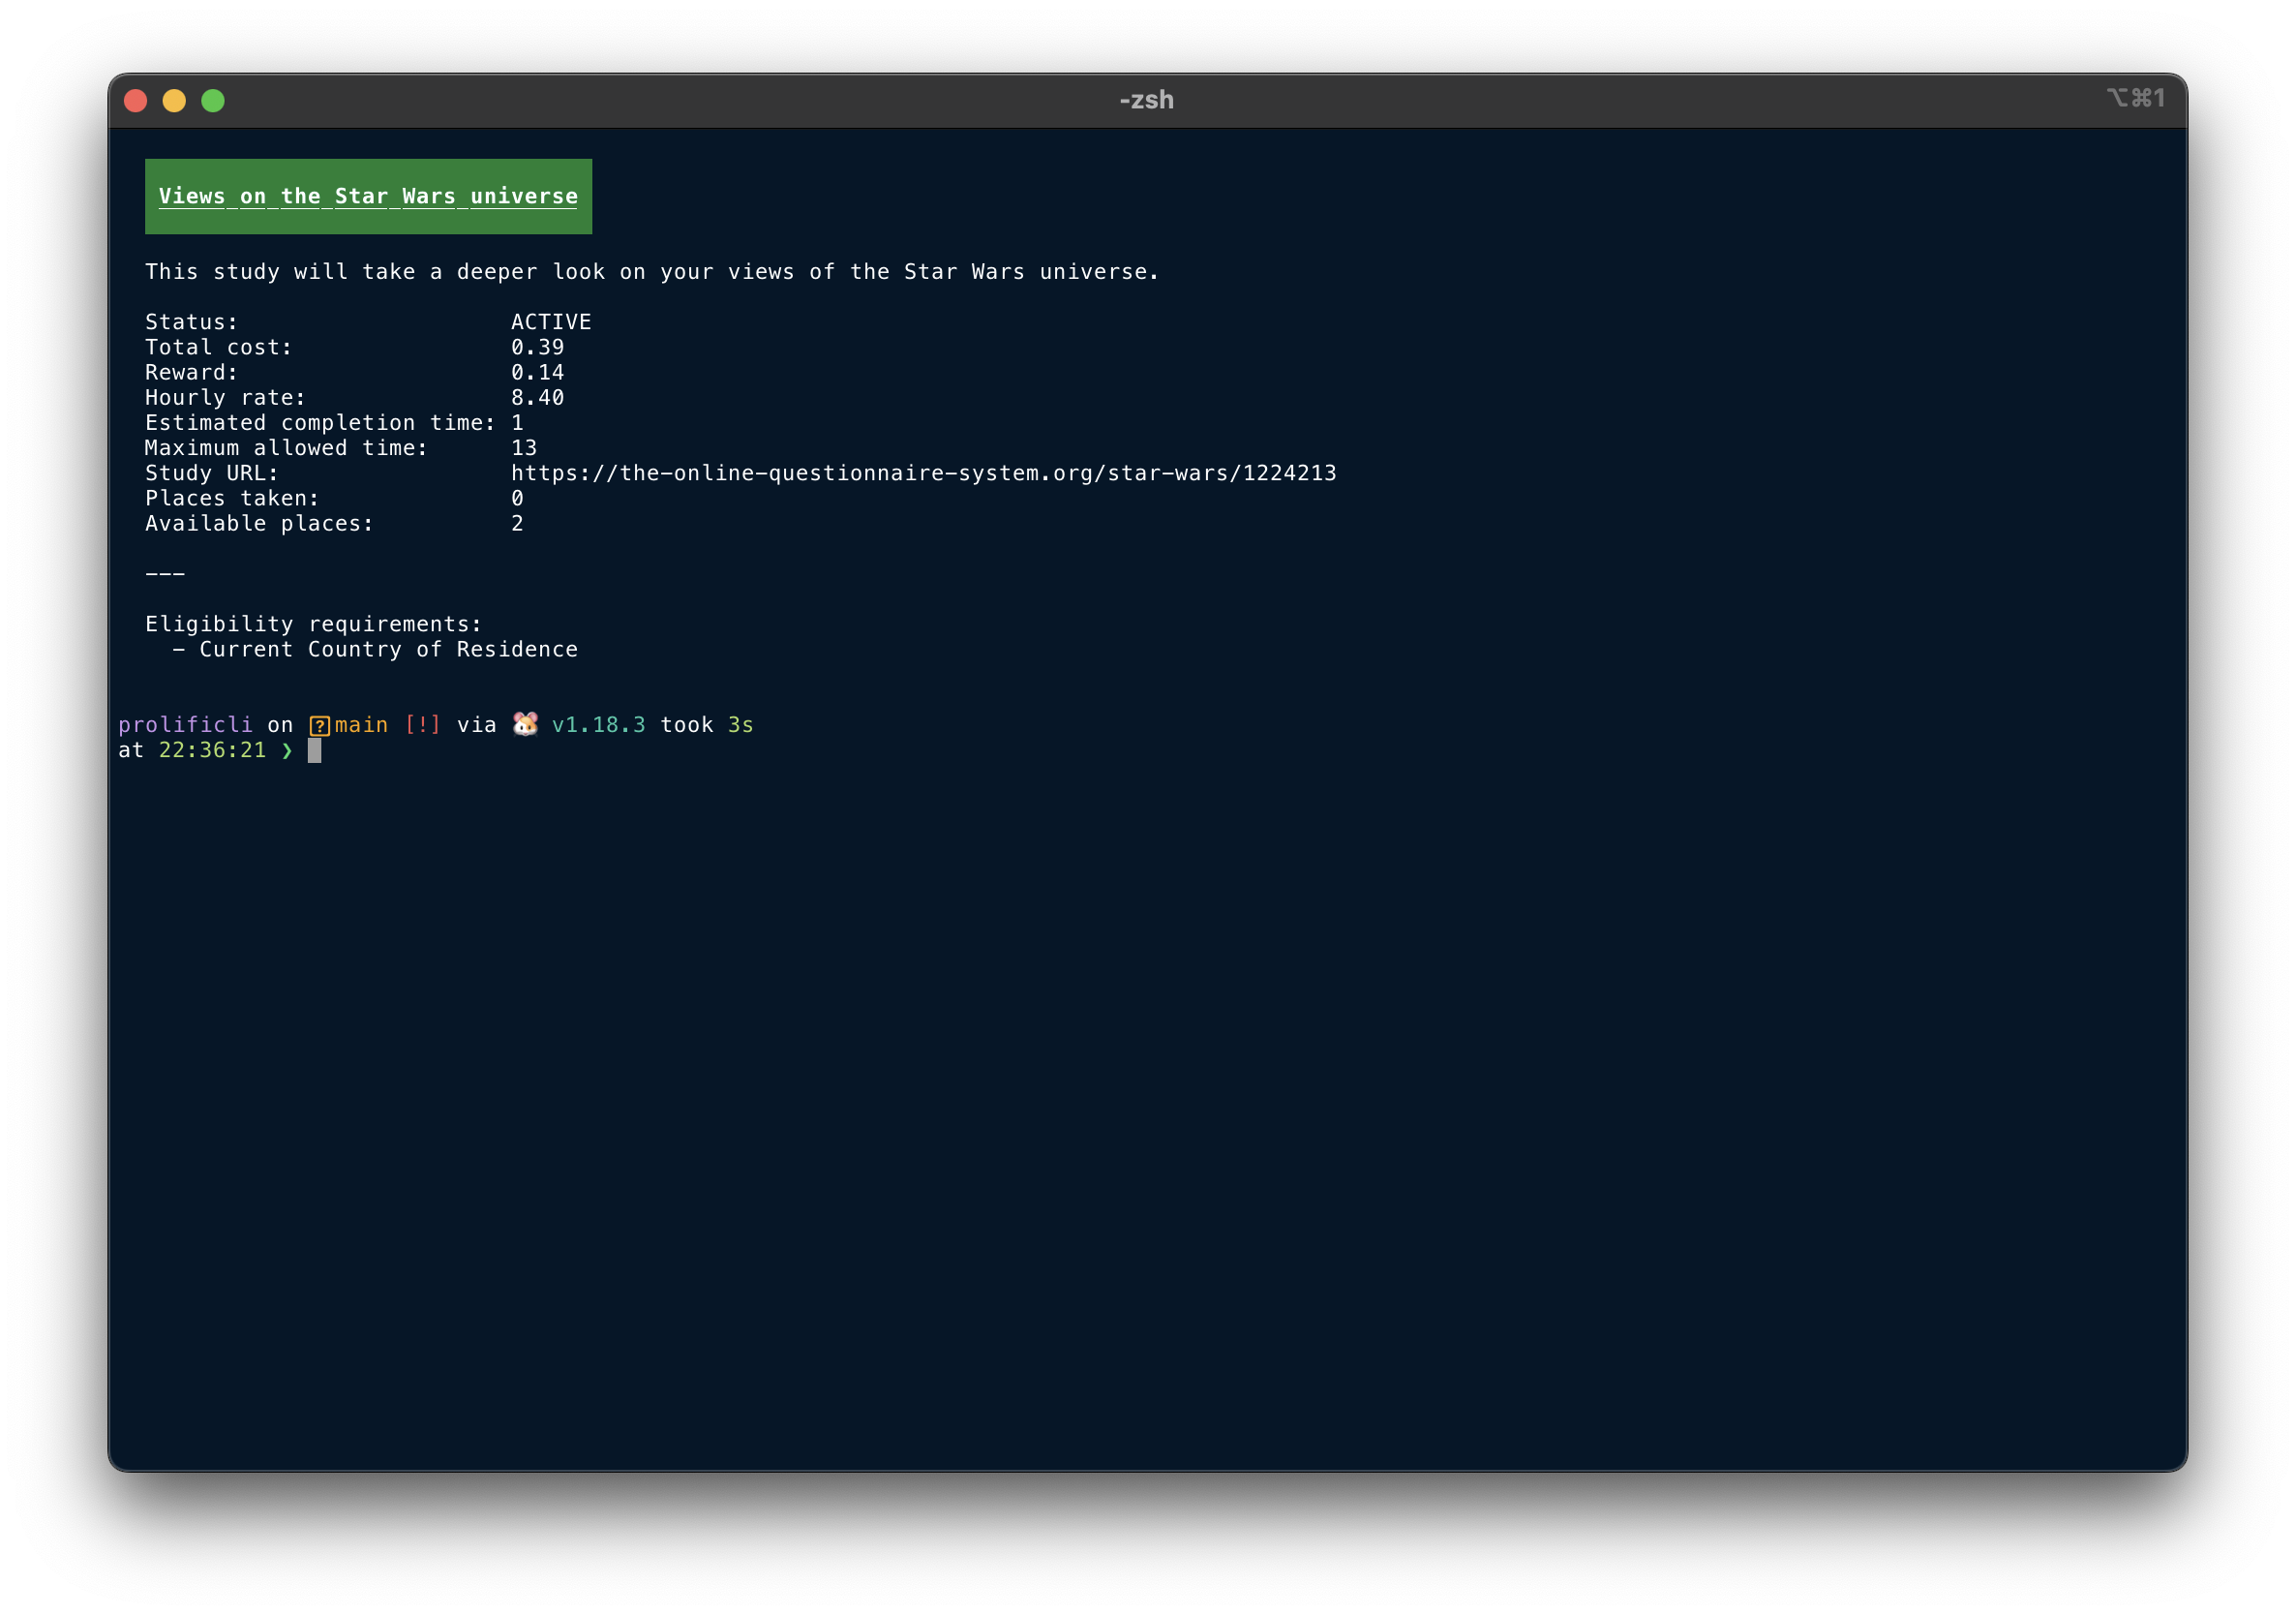
CLI application for getting information out of Prolific about your research studies. This project is not affiliated to Prolific in any way.
CLI application for retrieving data from the Prolific Platform

Usage:
  prolific [command]

Available Commands:
  campaign     Provide details about your campaigns
  completion   Generate the autocompletion script for the specified shell
  filter-sets  Manage and view your filter sets
  help         Help about any command
  hook         Manage and view your hook subscriptions
  message      Send and retrieve messages
  participant  Manage and view your participant groups
  project      Manage and view your projects in a workspace
  requirements List all eligibility requirements available for your study
  studies      List all of your studies
  study        Manage and view your studies
  submission   Manage and view your study submissions
  whoami       View details about your account
  workspace    Manage and view your workspaces

Flags:
      --config string   config file (default is $HOME/.config/benmatselby/prolific.yaml)
  -h, --help            help for prolific
  -v, --version         version for prolific

Use "prolific [command] --help" for more information about a command.
Main features include:
- Ability to list and filter studies.
- Ability to list submissions for a given study.
- Ability to list studies and define which fields to do display in a table format.
- Ability to render details about a study, and the submissions.
- Ability to create a Study via a YAML/JSON configuration file.
- Ability to publish a study whilst creating it (if you have sufficient funds).
- Ability to silently create a study, meaning you can script creating many studies in one go.
- Ability to get your user account details.
- Ability to list your hook subscriptions.
- Ability to send and retrieve messages.
- Ability to list and view your filter sets
- Ability to list and view your participant groups
Checkout the wiki for more tips and tricks.
If you are wanting to build and develop this, you will need the following items installed. If, however, you just want to run the application I recommend using a binary (See below).
You can create studies via a configuration file. See some examples in /docs/examples. It's one study per file.
You can then create a study by calling:
prolific study create -t docs/examples/standard-sample.yamlYou can also define some defaults in the configuration file: $HOME/.config/benmatselby/prolific.yaml.
Currently you can define the following:
workspace: xxxxxxxxxxYou will need the following environment variables defining:
export PROLIFIC_TOKEN=""You can create a Researcher token in your account. Log in, and go to settings.
You can optionally override the URL for the API too. This will be set as default to the Prolific API URL. You can override this if Prolific have granted you access to a different environment.
export PROLIFIC_URL="https://api.prolific.com"You can install this application a few ways:
Installation via Docker
By using Docker, you will not require any dependencies on your host machine.
$ docker run \
  --rm \
  -t \
  -ePROLIFIC_URL \
  -ePROLIFIC_TOKEN \
  -v "${HOME}/.prolific":/root/.prolific \
  benmatselby/prolificli:latest "$@"
The latest tag mentioned above can be changed to a released version. For all releases, see here.
| Tag | What it means |
|---|---|
latest |
The latest released version |
main |
The latest git commit, not released as a tag yet |
v* |
Docker releases |
You can also build the image locally:
make docker-buildInstallation via Git
git clone https://github.com/benmatselby/prolificli.git
cd prolificli
make all
./prolific
You can also install into your $GOPATH/bin by running make build && go install.
Installation via Binaries
You can download the binaries from the release pages. Find the release you want, and check the "Assets" section.
Once downloaded, be sure to put the binary in a folder that is referenced in your $PATH.

