Website: http://status.open311.org
Project Backlog: https://github.com/codeforamerica/open311status/projects/1
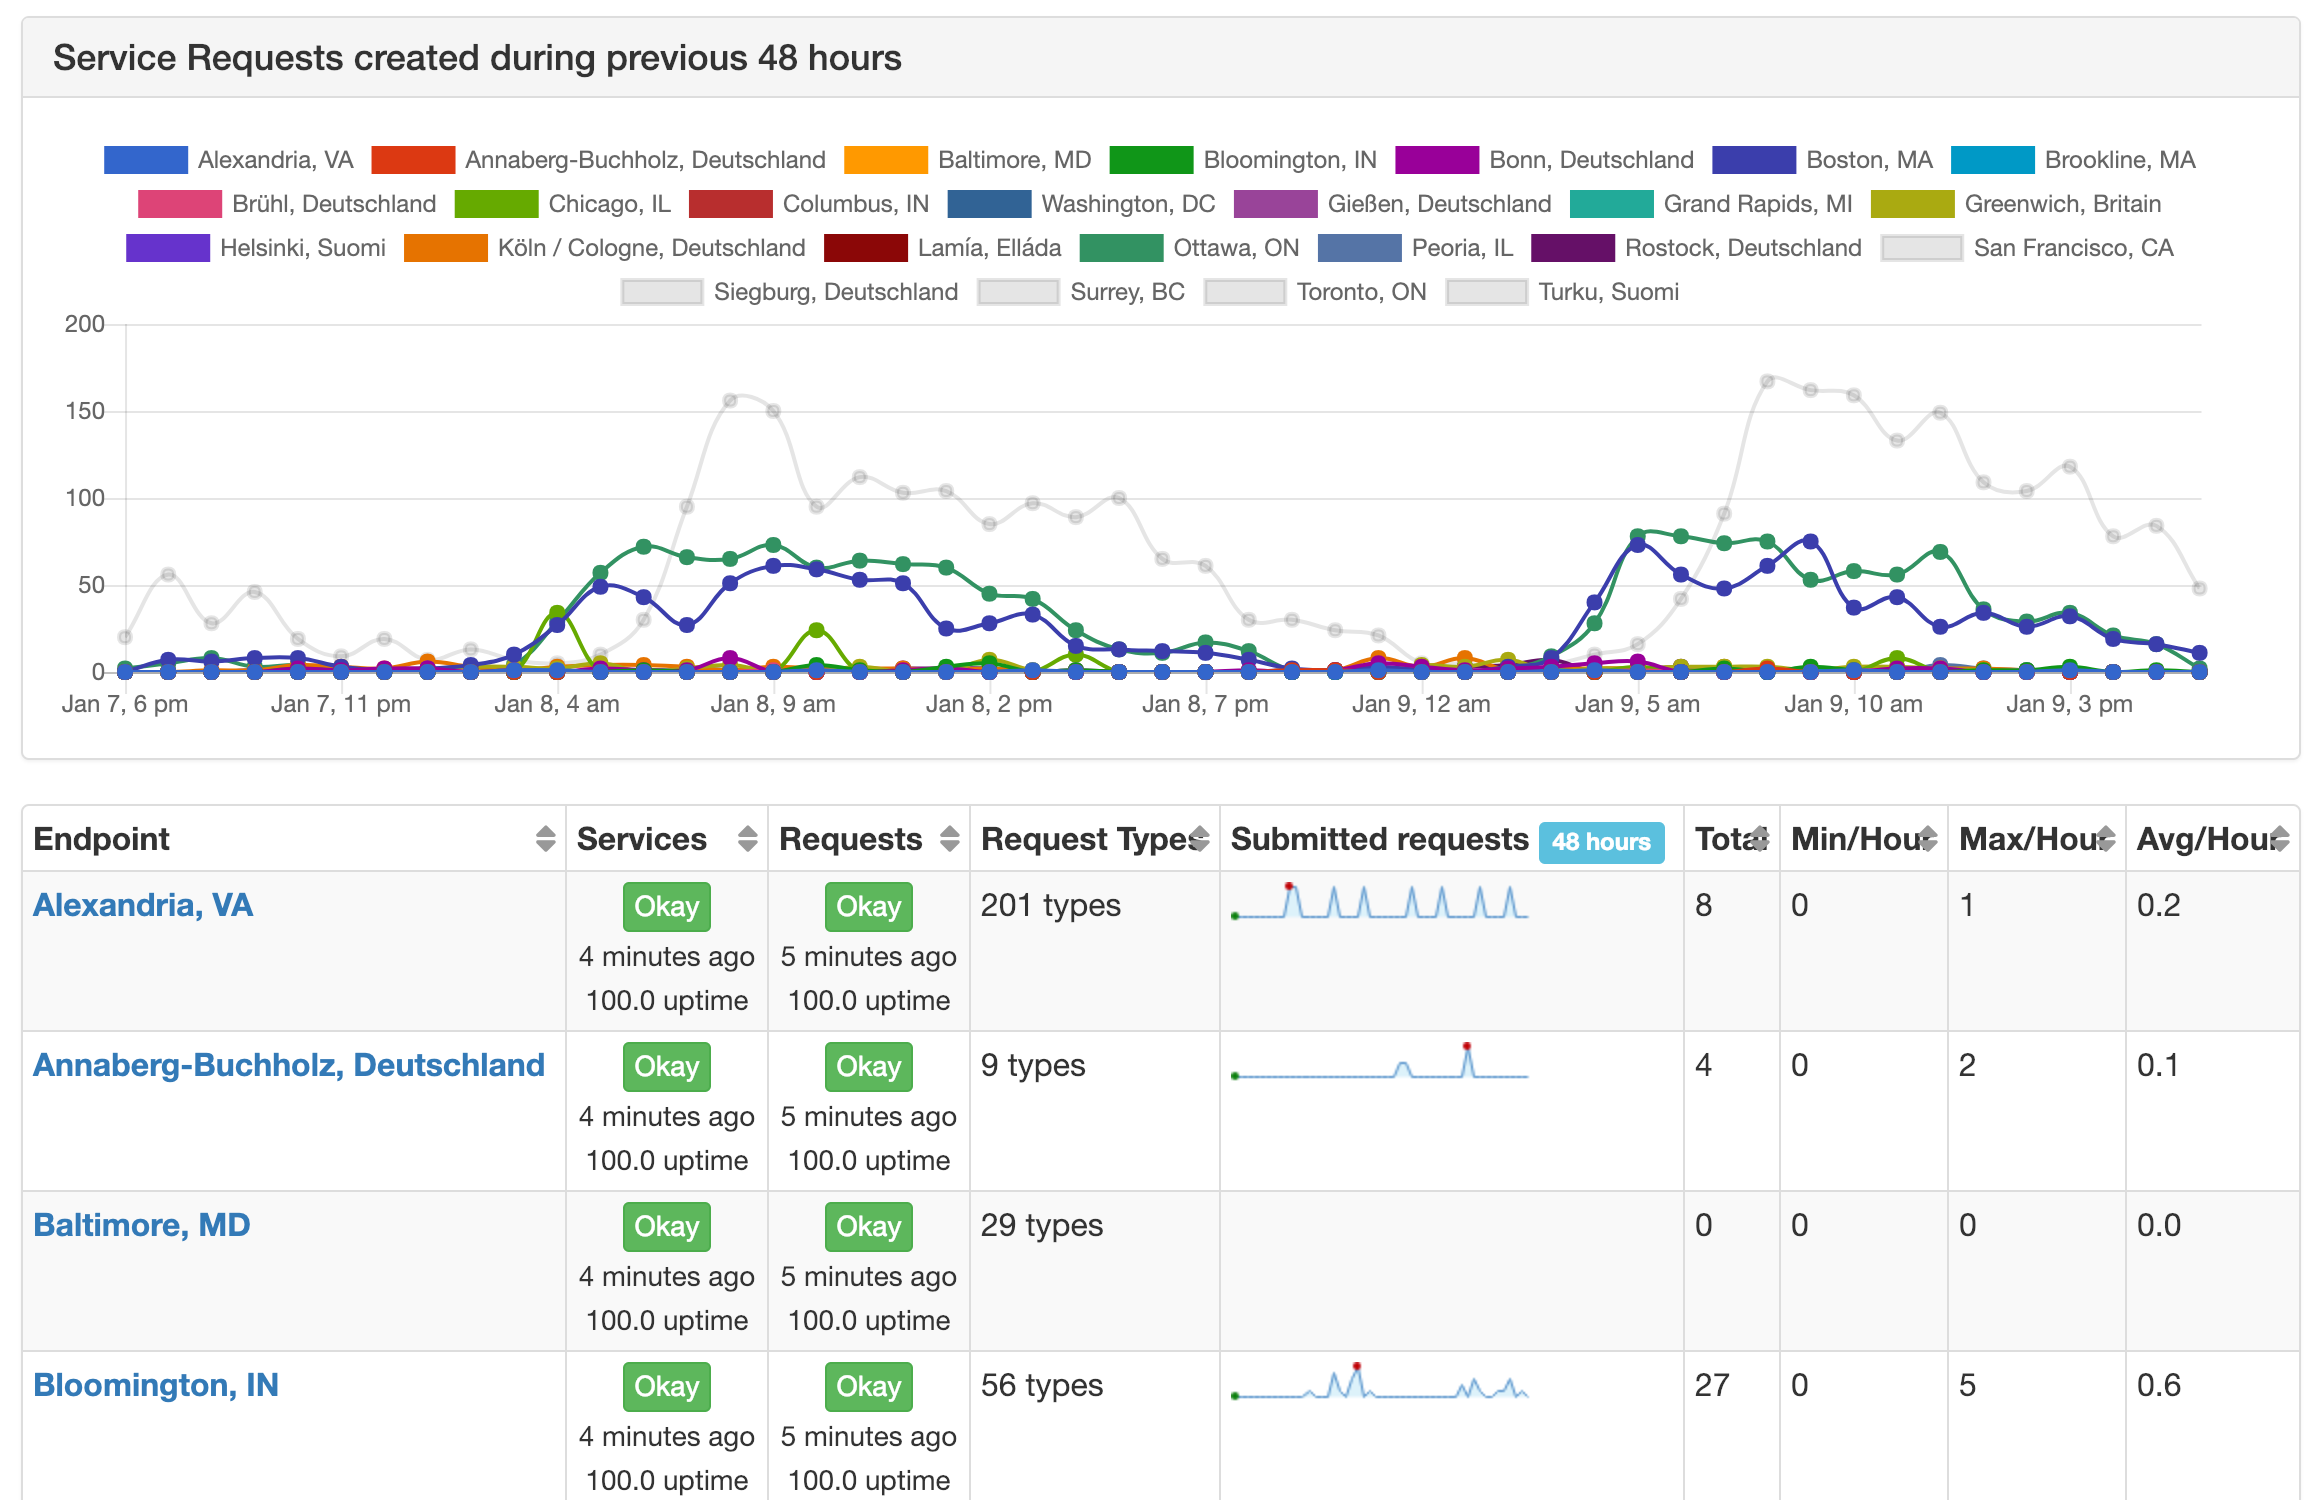
Open311 Status monitors and aggregates the status of dozens of Open311 API endpoints, providing benchmarks and comparative insights into:
- Upness: the API is currently available
- Uptime: the availability of the API over time
- Performance: how quickly the servers respond to API requests
- Comprehensiveness: how fully the API is implemented/adopted; e.g. the number of service types that can be submitted through the API
- Utilization: how much the 311 service being used; e.g. the number of service requests submitted
To add a new Open311 endpoint, add their API configuration to the config/cities.yml file. This should include:
slug: a unique key for the API endpoint.name: the human readable name of the city or location.endpoint: the complete URL of the Open311 api endpoint, ending in a/, withoutservices.xmlorrequests.xml.jurisdiction(optional): the?jurisdiction_id=parameter, if required.format(optional):xmlorjson; defaults toxml/headers(optional): custom API headers necessary for the API.
Example:
bruhl:
  name: 'Brühl, Deutschland'
  endpoint: 'https://www.achtet-auf-bruehl.de/georeport/v2/'
jurisdiction: 'bruehl.de'By default, running db:setup will load cities and generate fake service
requests. To load cities, run rake cities:load. And to load service requests,
rake cities:service_requests
- Install Ruby with your ruby version manager of choice, like rbenv or RVM
- Check the ruby version in
.ruby-versionand ensure you have it installed locally e.g.rbenv install 2.6.1 - Install bundler (the latest Heroku-compatible version):
gem install bundler - Install Postgres. If setting up Postgres.app, you will also need to add the binary to your path. e.g. Add to your
~/.bashrc:export PATH="$PATH:/Applications/Postgres.app/Contents/Versions/latest/bin". - Install PostGIS, the Postgres geospatial extension, if it's not included in your distribution. Postgres.app comes with postgis.
- Install ruby gem dependencies:
bundle install - Create the databases and load schema and seeds:
bin/rails db:setup - Run the tests:
bin/rspec - Run the server:
bin/rails server, and visit the web-browser:http://localhost:3000
You may need to run rake db:gis:setup to enable PostGIS on your database.
