Single Sign-on extension for TYPO3. It enables you, to log into the TYPO3 backend or the website frontend by using an Identity Provider (IdP), for example an ADFS server (Active Directory Federation Services). It is fully configurable by TypoScript.
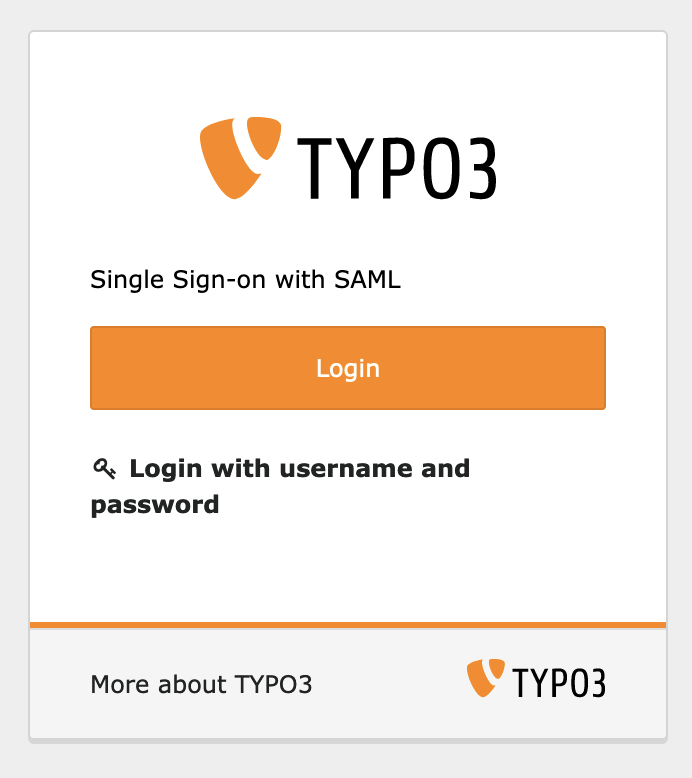
TYPO3 login:
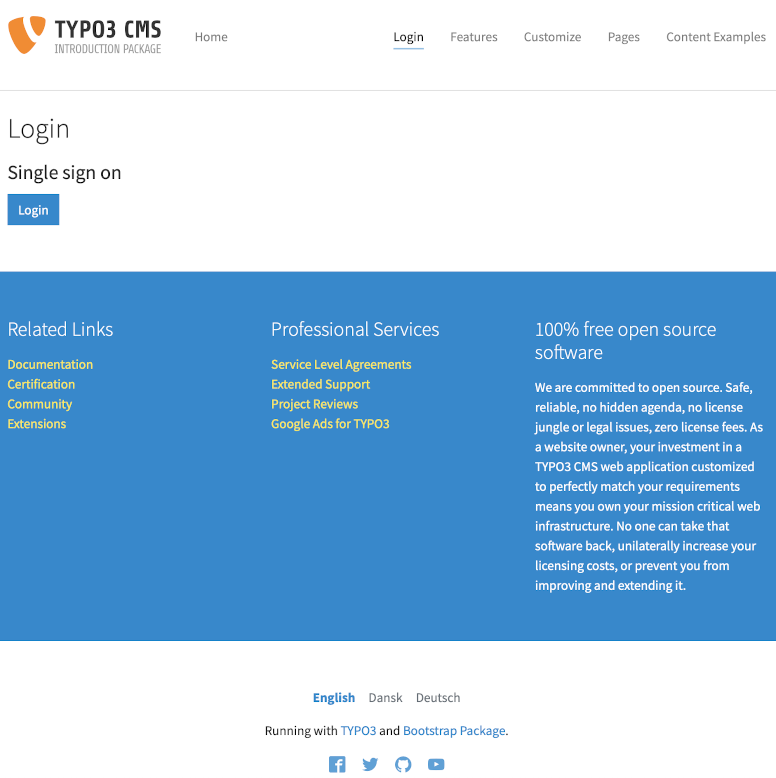
Frontend login:
- TYPO3 v10.4 or v11.5
- Install the extension with the following composer command:
composer req mediadreams/md_samlor use the extension manager - Include the static TypoScript of the extension
- Configure the extension by setting your own constants
The Service Provider (SP) and Identity Provider (IdP) can be configured by adapting the settings in TypoScript.
- Copy file
ext:md_saml/Configuration/TypoScript/setup.typoscriptto your own extension and modify according your needs. - Generate a certificate for the Service Provider (SP)
openssl req -newkey rsa:3072 -new -x509 -days 3652 -nodes -out sp.crt -keyout sp.key - Open certificate files and remove all line breaks. Copy value of
sp.crttoplugin.tx_mdsaml.settings.saml.sp.x509certand value ofsp.keytoplugin.tx_mdsaml.settings.saml.sp.privateKey
Backend
plugin.tx_mdsaml.settings.be_users.saml.sp.entityId
Identifier of the backend (TYPO3) SP entity (must be a URI)
ATTENTION:baseurlwill be attached automatically
Default:/typo3/index.php?loginProvider=1648123062&mdsamlmetadataplugin.tx_mdsaml.settings.be_users.saml.sp.assertionConsumerService.url
Specifies info about where and how the message of a backend (TYPO3) login MUST be returned to the requester, in this case our SP.
Default:/typo3/index.php?loginProvider=1648123062&login-provider=md_saml&login_status=login&acs
Frontend
plugin.tx_mdsaml.settings.fe_users.saml.sp.entityId
Identifier of the frontend SP entity (must be a URI)
ATTENTION:baseurlwill be attached automatically
Example (just replace the speaking path ("/login/") according to your needs):/login/?loginProvider=1648123062&mdsamlmetadataplugin.tx_mdsaml.settings.fe_users.saml.sp.assertionConsumerService.url
Specifies info about where and how the message of a frontend login MUST be returned to the requester, in this case our SP.
Example (just replace the speaking path ("/login/") according to your needs):/login/?loginProvider=1648123062&login-provider=md_saml&login_status=login&acs&logintype=login
Note
All default settings, which are configured in plugin.tx_mdsaml.settings.saml can be overwritten for backend or
frontend needs with properties in plugin.tx_mdsaml.settings.be_users.saml... (backend) and
plugin.tx_mdsaml.settings.fe_users.saml... (frontend).
As underlying SAML toolkit the library of OneLogin is used (no account with OneLogin is needed!). See full documentation for details on the configuration.
You are able to create new users, if they are not present at the time of login.
- Backend
plugin.tx_mdsaml.settings.be_users.createIfNotExist...
Default = 1, so be_users will be created, if they do not exist. - Frontend
plugin.tx_mdsaml.settings.fe_users.createIfNotExist...
Default = 1, so fe_users will be created, if they do not exist.
Backend
plugin.tx_mdsaml.settings.be_users.createIfNotExist
Decide whether a new backend user should be created (Default = 1)plugin.tx_mdsaml.settings.be_users.databaseDefaults...
This section allows you to set defaults for a newly created backend user. You can add any fields of the database here.
Example:plugin.tx_mdsaml.settings.be_users.databaseDefaults.usergroup = 123will create a new user with usergroup 123 attached.
Frontend
plugin.tx_mdsaml.settings.fe_users.createIfNotExist
Decide whether a new frontend user should be created (Default = 1)plugin.tx_mdsaml.settings.fe_users.databaseDefaults...
This section allows you to set defaults for a newly created frontend user. You can add any fields of the database here.
Example:plugin.tx_mdsaml.settings.fe_users.databaseDefaults.usergroup = 123will create a new user with usergroup 123 attached.
ATTENTION:plugin.tx_mdsaml.settings.fe_users.databaseDefaults.pidwill be used as storage for newsly created fe_users.
The returned value of the SSO provider can be anything. With the following configuration set the names of the returned values to the ones needed in TYPO3:
Backend
plugin.tx_mdsaml.settings.be_users.transformationArr
Example:plugin.tx_mdsaml.be_users.settings.transformationArr.username = http://schemas.microsoft.com/ws/2008/06/identity/claims/windowsaccountname
The above example shows the returning value of an ADFS server, which contains the username for TYPO3.
Frontend
plugin.tx_mdsaml.settings.fe_users.transformationArr
Example:plugin.tx_mdsaml.settings.fe_users.transformationArr.username = http://schemas.microsoft.com/ws/2008/06/identity/claims/windowsaccountname
The above example shows the returning value of an ADFS server, which contains the username for a frontend user.
The following steps are an example on how to configure an ADFS server as IdP (Identity Provider).
Since I don't have the configuration in english, the following section is available in german only. I am sorry for that!
-
Get SP (Service Provider) meta data. Log into TYPO3 (important!) and call
/typo3/index.php?loginProvider=1648123062&mdsamlmetadata&loginType=backendfor the backend configuration and/typo3/index.php?loginProvider=1648123062&mdsamlmetadata&loginType=frontendfor the frontend configuration. -
Neue
Vertrauensstellung der vertrauenden Seiteerstellen-
Willkommen
- Modus
Ansprüche unterstützenauswählen - Knopf
Startklicken
- Modus
-
Datenquelle auswählen
- Option
Daten über vertrauende Seite aus einer Datei importierenauswählen - XML der Metadaten aus dem ersten Schritt auswählen
- Knopf
Weiterklicken
- Option
-
Anzeigennamen angeben
- Einen Wert für
Anzeige Nameeintragen Weiterklicken
- Einen Wert für
-
Zugriffssteuerungsrichtline auswählen
- Im Feld
Wählen Sie eine Zugriffssteuerungsrichtlinie aus, denZugriff-OTPauswählen Weiterklicken
- Im Feld
-
Bereit zum Hinzufügen der Vertrauensstellung
- Daten prüfen und
Weiterklicken
- Daten prüfen und
-
Fertig stellen
Schließenklicken
-
-
Die
Ansprucheaustellungsrichtlinie für diese Anwendung konfigurierenprüfen -
Neue Regel mit
Regel hinzufügen ...hinzufügen -
Im Feld
Anspruchsregelvorlagedie OptionAnsprüche mithilfe einer benutzerdefinierten Regel sendenauswählen undWeiterklicken -
Im Feld
Anspruchsregelnameden WertName Identifiereingeben -
Im Feld
Benutzerdefinierte Regelfolgendes eingeben:
c:[Type == "http://schemas.microsoft.com/ws/2008/06/identity/claims/windowsaccountname"] => issue(Type = "http://schemas.xmlsoap.org/ws/2005/05/identity/claims/nameidentifier", Issuer = c.Issuer, OriginalIssuer = c.OriginalIssuer, Value = c.Value, ValueType = c.ValueType, Properties["http://schemas.xmlsoap.org/ws/2005/05/identity/claimproperties/format"] = "urn:oasis:names:tc:SAML:1.1:nameid-format:WindowsDomainQualifiedName"); -
Knopf
Fertig stellenklicken -
Neue Regel hinzufügen mit klick auf
Regel hinzufügen ... -
Im Feld
Anspruchsregelvorlageden WertAnsprüche mithilfe einer benutzerdefinierten Regel sendenauswählen undWeiterklicken -
Im Feld
AnspruchsregelnamedenData Ruleeingeben -
Im Feld
Benutzerdefinierte Regelfolgendes eingeben:
c:[Type == "http://schemas.microsoft.com/ws/2008/06/identity/claims/windowsaccountname", Issuer == "AD AUTHORITY"] => issue(store = "Active Directory", types = ("http://schemas.xmlsoap.org/ws/2005/05/identity/claims/emailaddress", "http://schemas.xmlsoap.org/ws/2005/05/identity/claims/givenname", "http://schemas.xmlsoap.org/ws/2005/05/identity/claims/surname", "http://schemas.microsoft.com/ws/2008/06/identity/claims/windowsaccountname", "distinguishedName", "memberOf"), query = ";mail,displayName,sn,sAMAccountName,distinguishedName,memberOf;{0}", param = c.Value); -
Knopf
Fertig stellenklicken -
Die
AnsprucheaustellungsrichtliniemitOKverlassen
ACHTUNG:
Die Reihenfolge der Regeln ist wichtig! Die erste muss die Name Identifier Regel sein!
Als letztes muss noch im Reiter Bezeichner der Vertrauensstellung im Feld Bezeichner der vertrauenden Seite der
Wert, der in plugin.tx_mdsaml.settings.mdsamlSpBaseUrl eingegeben werden.
-
In `LocalConfiguration.php` or `AdditionalConfiguration.php` the `['BE']['cookieSameSite']` must be set to `lax`:
$GLOBALS['TYPO3_CONF_VARS']['BE']['cookieSameSite'] = 'lax' - In `Site Configuration` set the value of `Entry Point` (`base`) to a full qualified entry point. For example set `https://www.domain.tld/` instead of just using `/`.
- Is is possible, to remove the default login with username and password?
-
Yes, just add following line in the `ext_localconf.php` of your the extension:
unset($GLOBALS['TYPO3_CONF_VARS']['EXTCONF']['backend']['loginProviders'][1433416747]); - I get a `1648646492 RuntimeException, The site configuration could not be resolved.`
- Make sure, that the domain of your website is configured in the site configuration (`sites/identifier/config.yaml`) for `base`.
If your login fails with the parameter ?commandLI=setCookie (typo3/index.php?commandLI=setCookie), please make sure,
that you have set $GLOBALS['TYPO3_CONF_VARS']['BE']['cookieSameSite'] = 'lax'.
If you find a bug, it would be nice if you add an issue on Github.
Thanks a lot to all who make this outstanding TYPO3 project possible!
- Thanks to the guys at OneLogin who provide the SAML toolkit for PHP, which I use.
- Extension icon by Font Awesome.

