ESP12_4RelayBoard
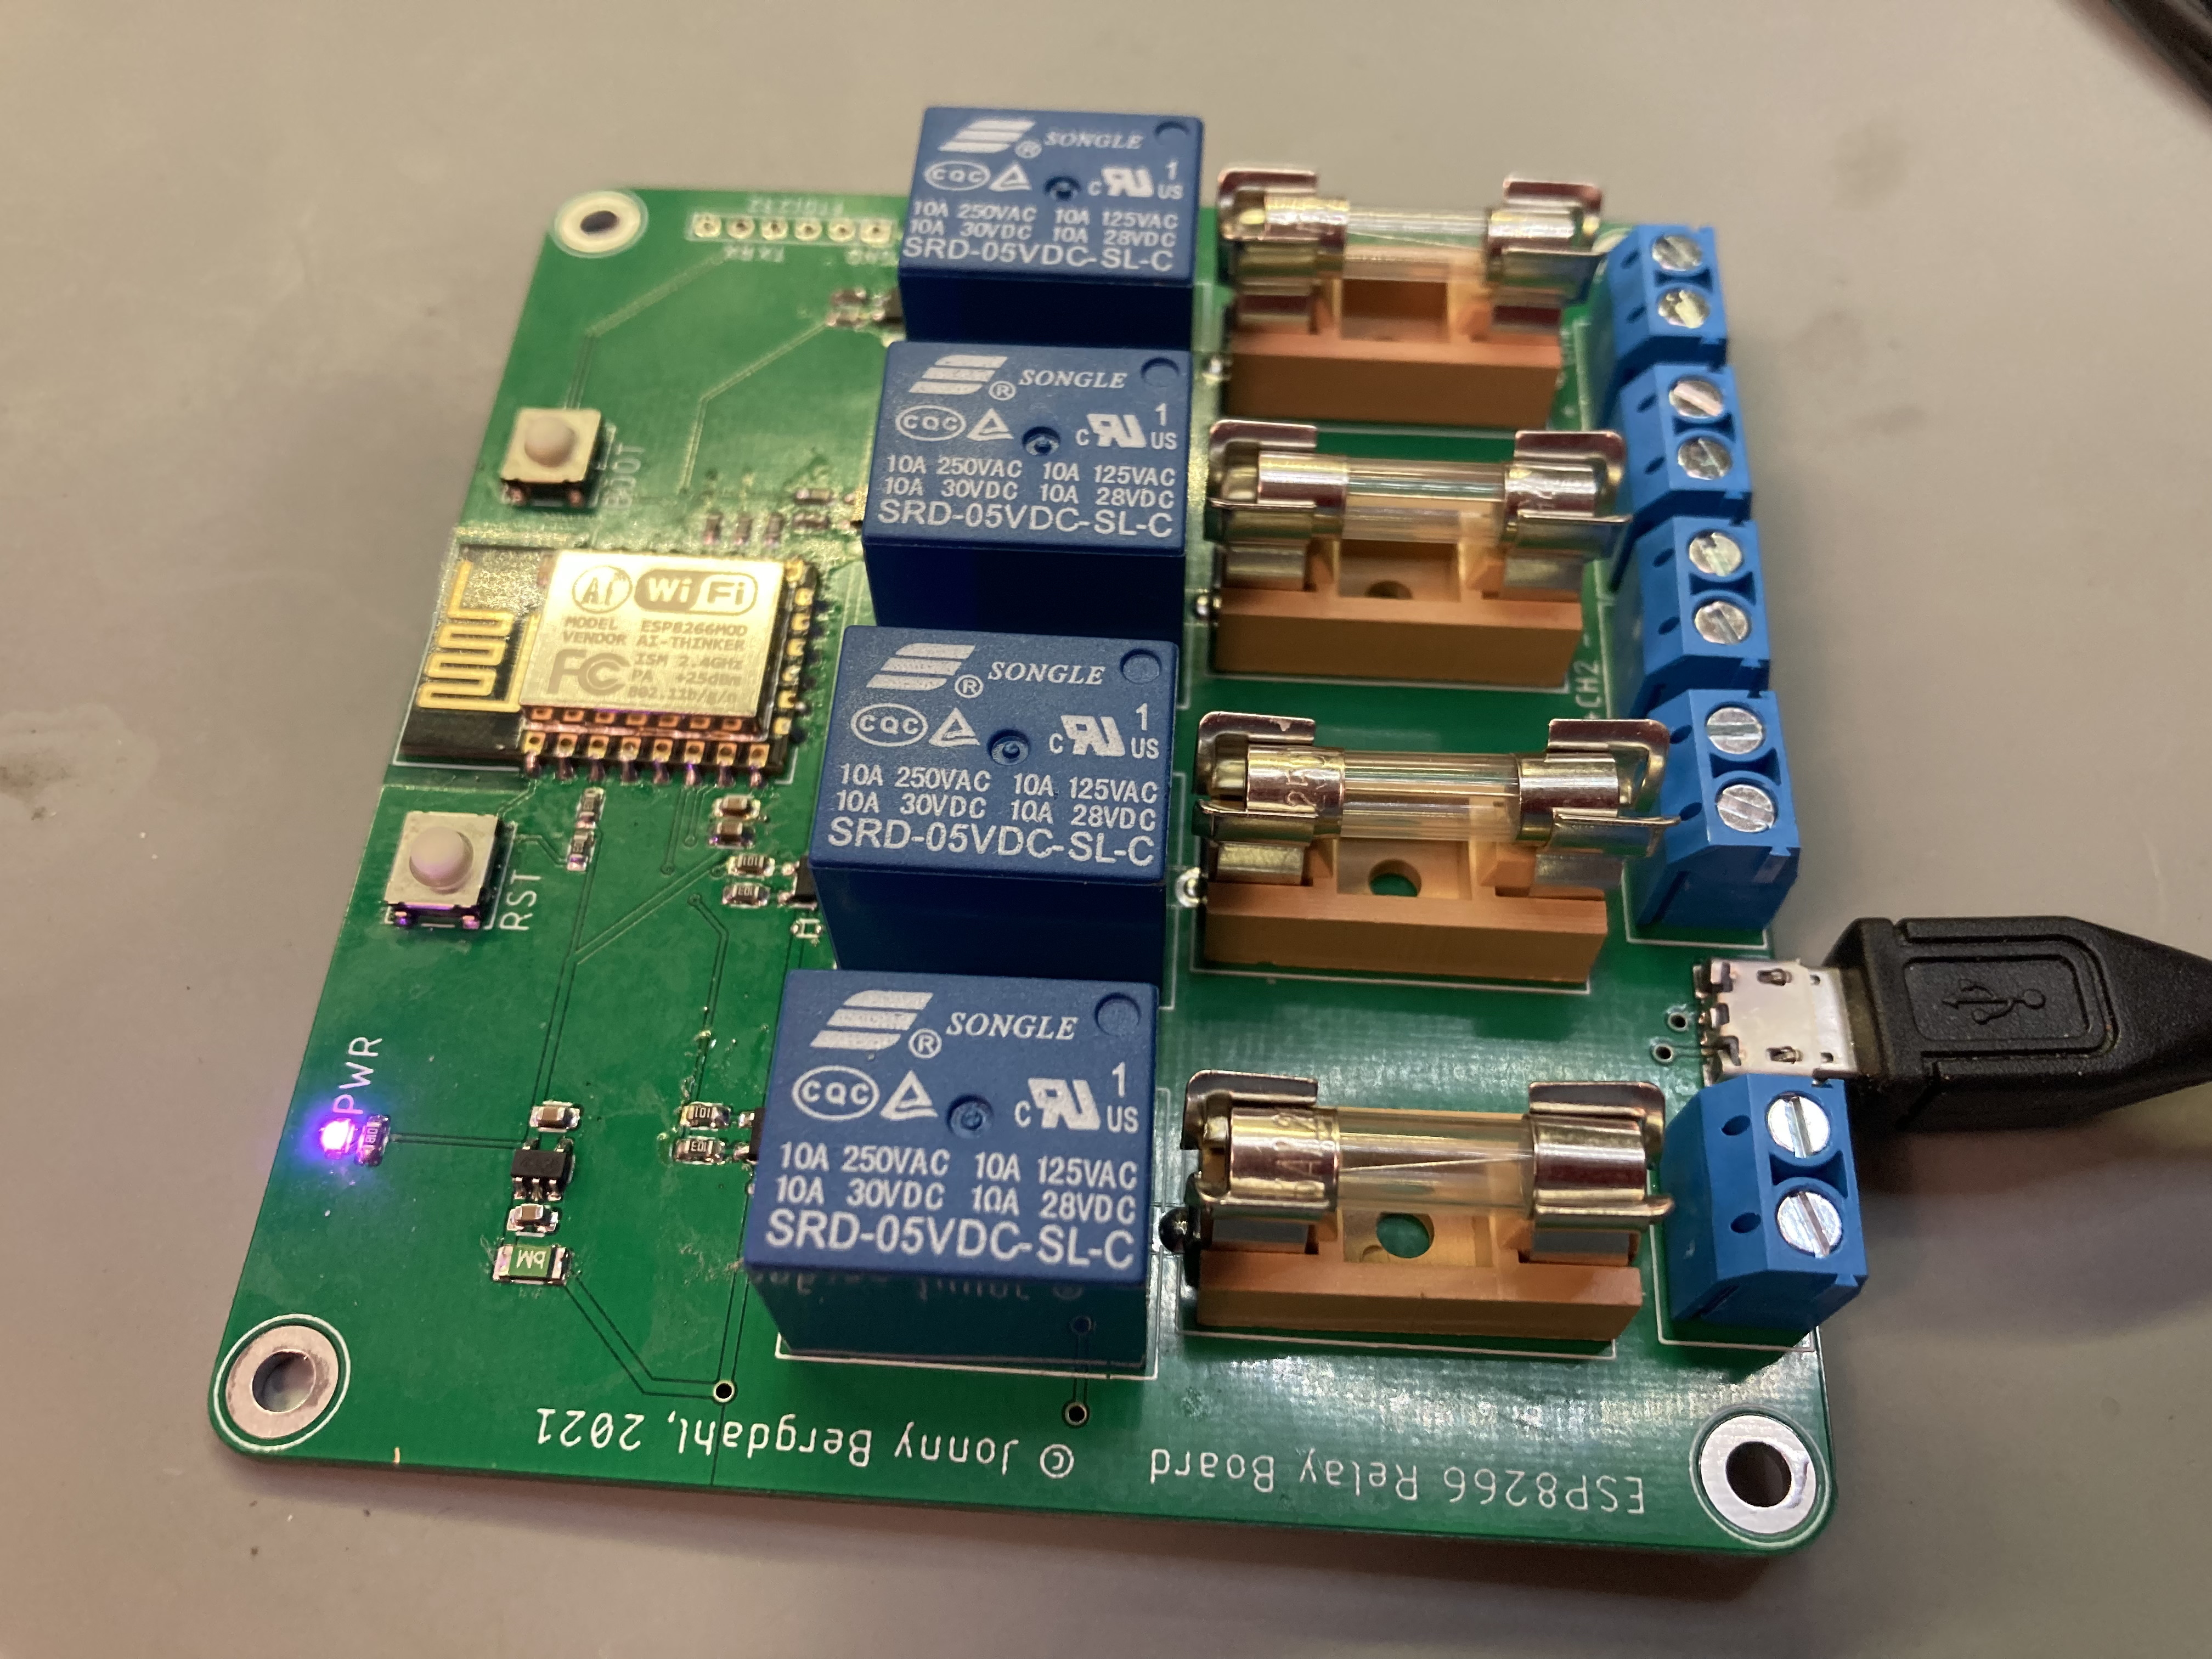
This is a simple ESP-12 based 4 relay board I designed to be used in Home Assistant. It is powered by 5V over a micro USB connector, and switches loads at up to the rated voltage of the relay - 28V/10A, although I recommend limiting the power to max 6 Amps per channel. Also, the screw connectors used are rated at maximum 15A, so you need to keep the total combined power usage under that limit.
NOTE: This PCB is NOT designed to be used for mains voltage!
PCB files
I have added the Gerber files in the PCB/Gerber folder, just zip and upload to your favorite PCB manufacturer.
I have also included the EAGLE design files if you need to modify the design for yoyr needs.
Firmware
I use ESPHome to set it up, which is the easiest way for it to show up in Home Assistant.
Change the esphome section to this:
esphome:
  name: relay1
  platform: ESP8266
  board: esp12e
Add the following section to add the relays as switches in Home Assistant.
switch:
  - platform: gpio
    name: "Relay1"
    pin: GPIO4
  - platform: gpio
    name: "Relay2"
    pin: GPIO5
  - platform: gpio
    name: "Relay3"
    pin: GPIO12
  - platform: gpio
    name: "Relay4"
    pin: GPIO13
Flashing the board
You will need a USB-Serial adapter for initial upload of the firmware, and use the ESPHome-Flasher flashing utility.
- Compile and download the firmware to your local machine.
- Connect the serial adapter to the board, the board is designed for the pinout of standard FT232RL adapters.
- Hold down the BOOT button, tap the RST button and then let go of RST. This puts the ESP-12 module in bootloader mode ready for firmware upload.
- Start ESPHome-Flasher, select the firmware file and the proper COM port and click Flash ESP.
Enclosure
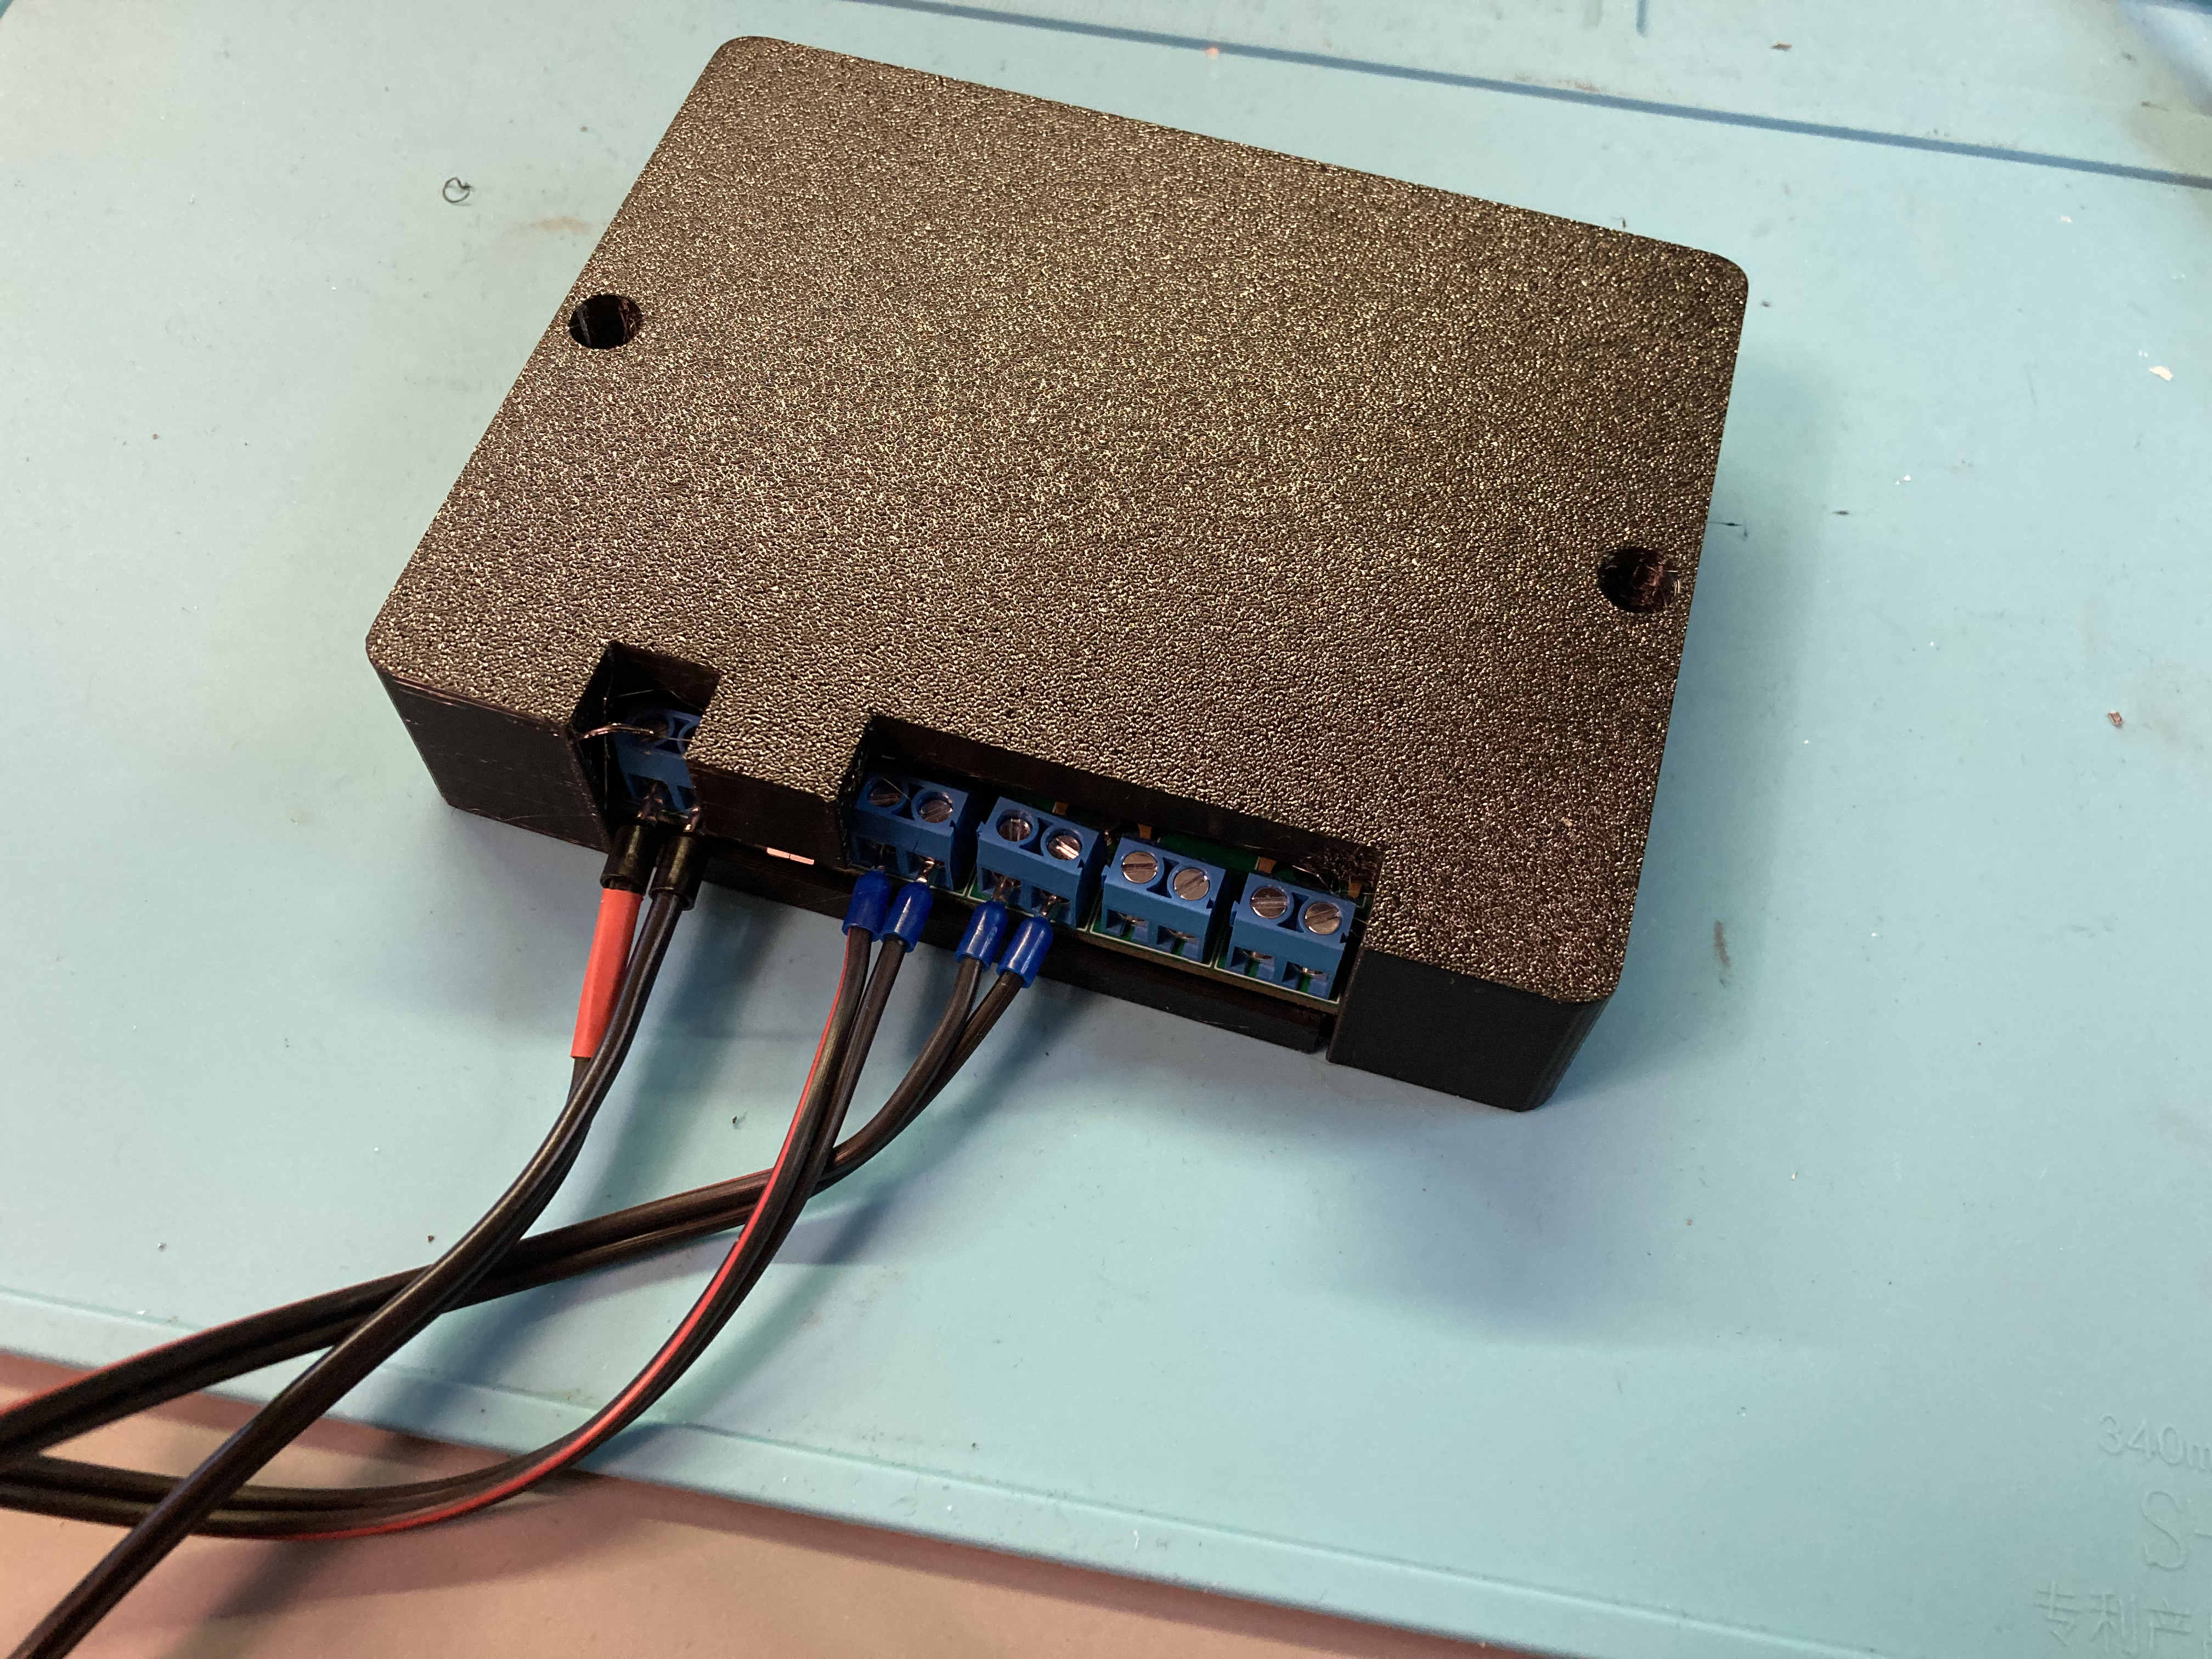
I designed a simple enclosure for 3D printing, available as STL files in the Enclosure folder.
I also included the Fusion360 design file if you need to modify the design for your usage.

