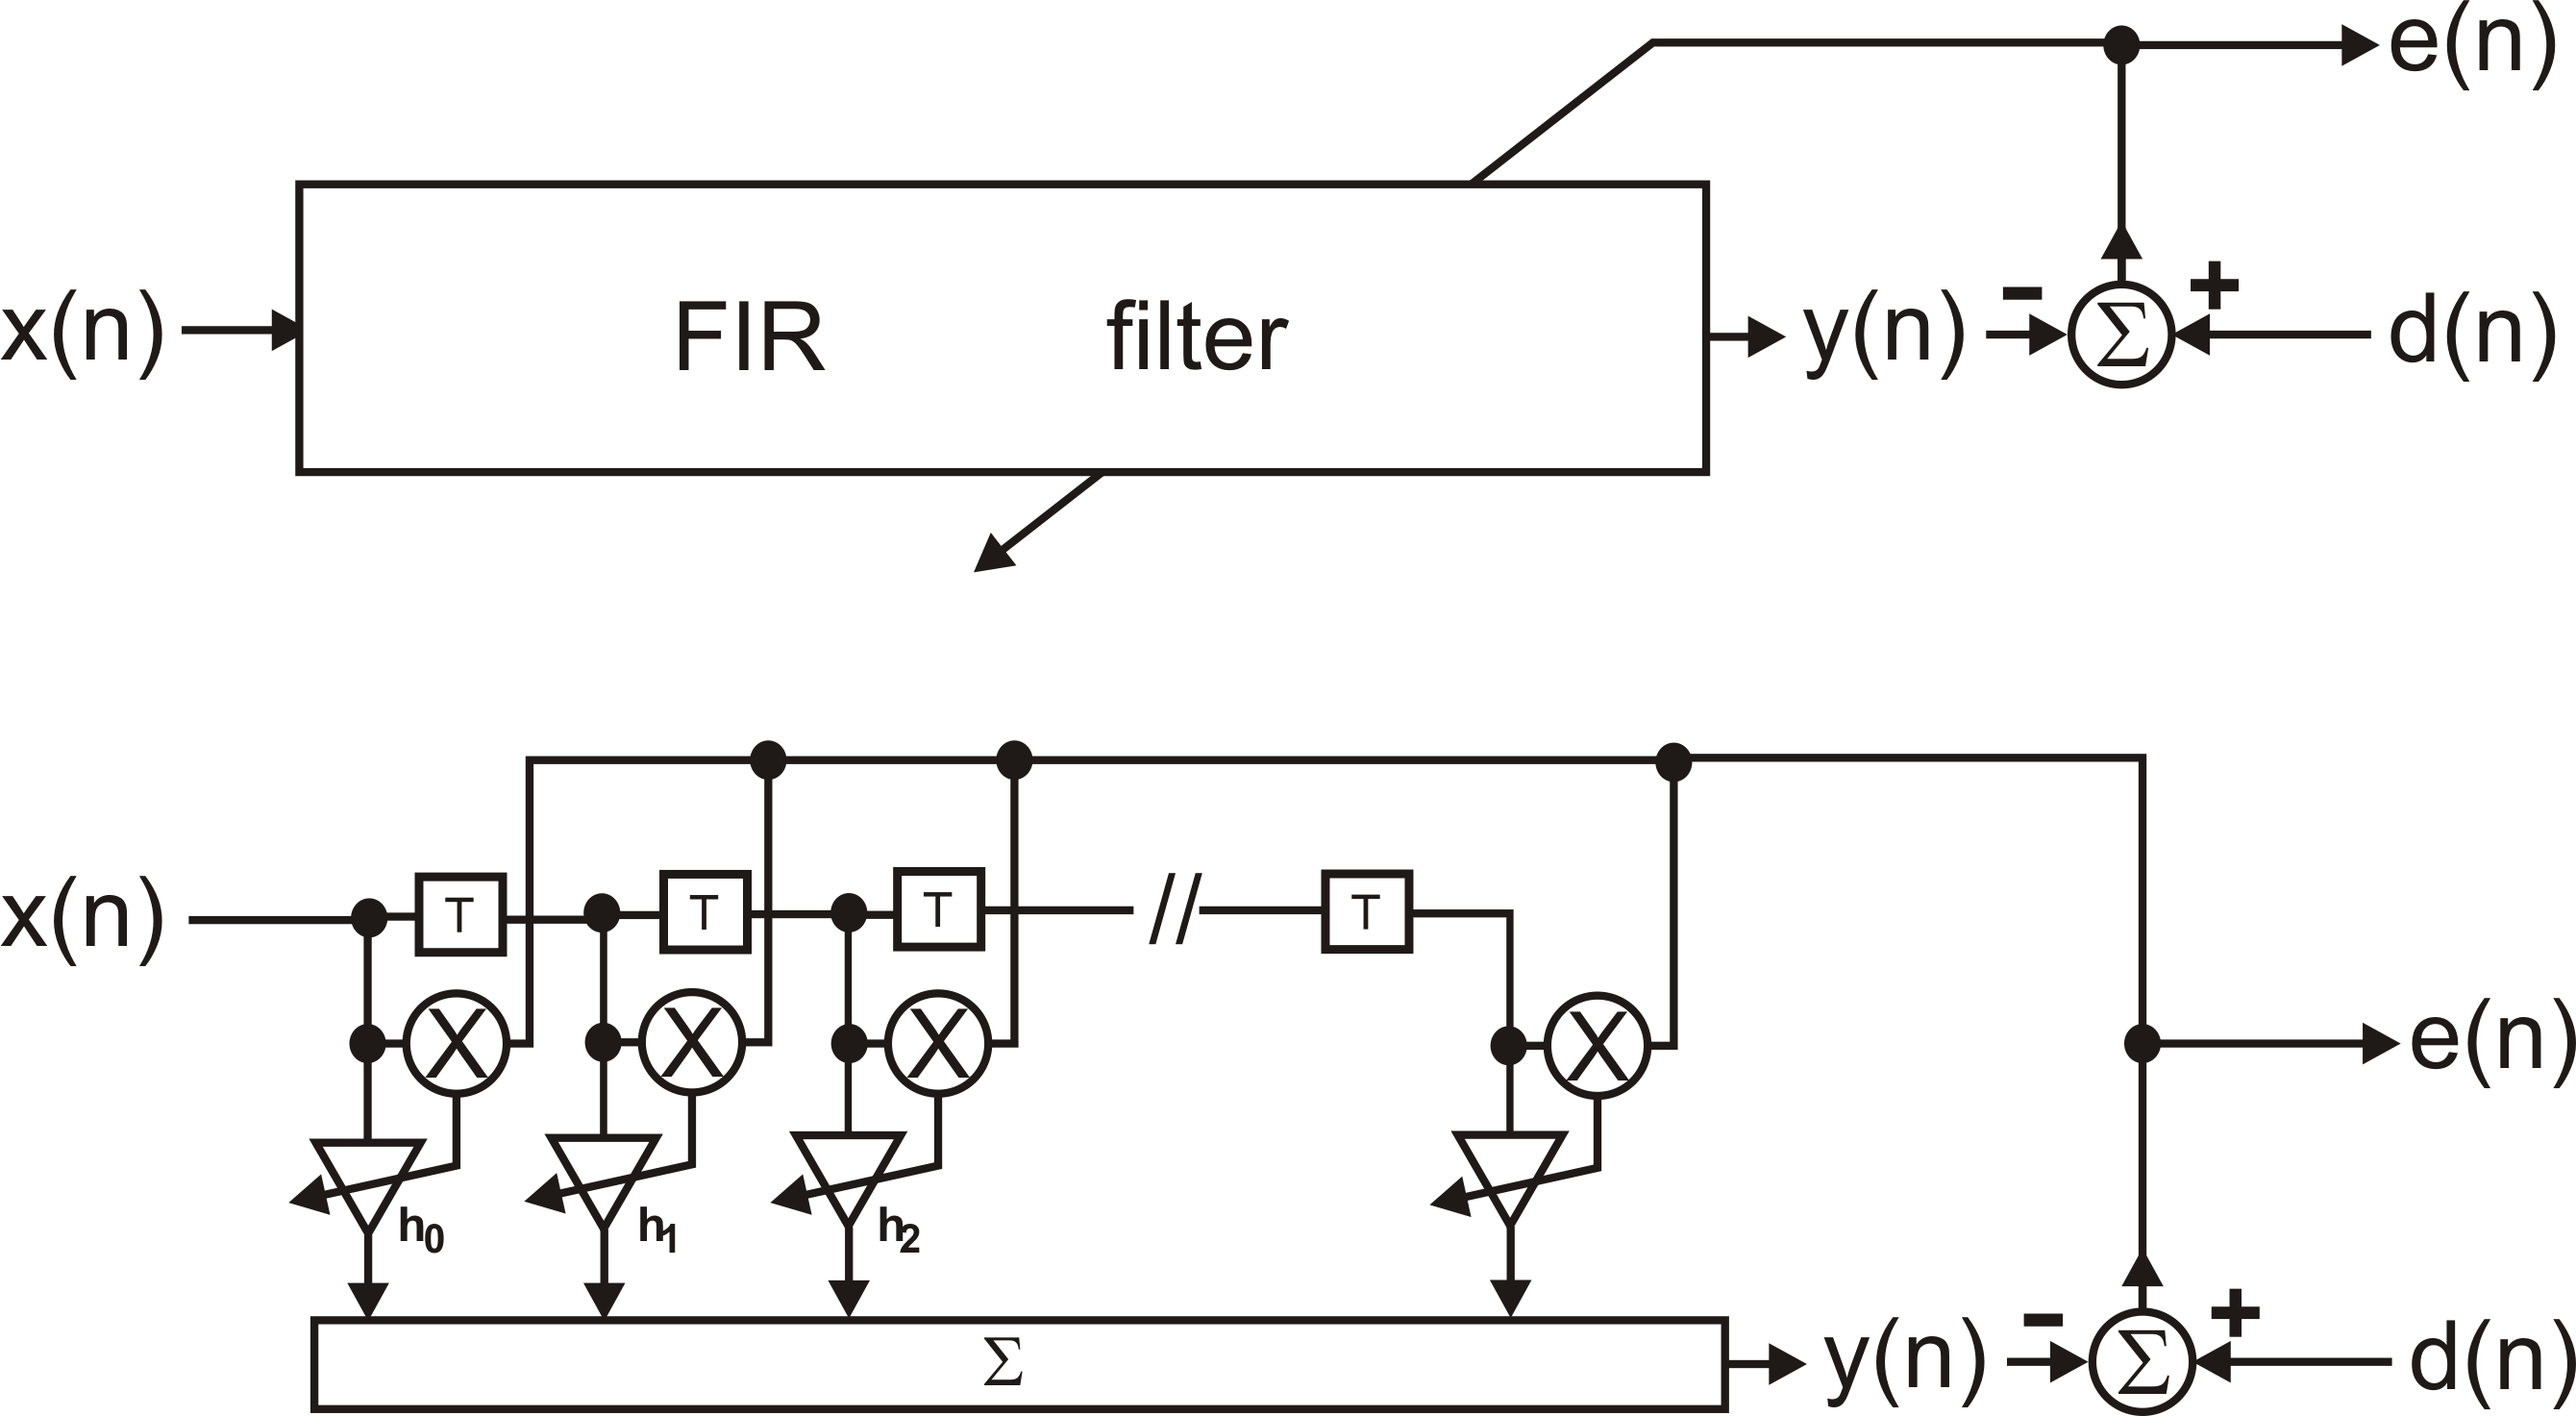
An efficient finite impulse response (FIR) filter class in C++ and Python wrapper.
The FIR filter class offers also adaptive filtering using the least mean square (LMS) or normalised least mean square (NLMS) algorithm.
Add this repository to your package manager:
sudo add-apt-repository ppa:berndporr/dsp
sudo apt-get update
sudo apt install fir1
sudo apt install fir1-dev
This adds fir1-dev and fir1 to your package list.
The demo files are in /usr/share/doc/fir1-dev. Copy them into a working
directory, type gunzip *.gz, cmake . and make.
The build system is cmake. Install the library with
the standard sequence:
cmake .
make
sudo make install
sudo ldconfig
or for debugging run cmake with:
cmake -DCMAKE_BUILD_TYPE="Debug" .
By default optimised release libraries are generated.
Under windows only the static library is generated which should be used for your code development.
For example for Visual Studio 2019 you write:
cmake -G "Visual Studio 16 2019" -A x64 .
and then start Visual C++ and compile it. Usually you want to compile both the release and debug libraries because they are not compatible to each other under Windows.
Windows / Linux / Mac
pip install fir1
under Windows it might be just pip for python3.
Windows / Linux / Mac: make sure that you have swig and a C++ compiler installed. Then type:
python setup.py install
Add to your CMakeLists.txt either
target_link_libraries(myexecutable fir)
for the dynamic library or
target_link_libraries(myexecutable fir_static)
for the statically linked library.
You can also use find_package(fir).
Set the coefficients either with a C floating point array or with a text file containing the coefficients. The text file or the floating point array with the coefficients can easily be generated by Python or OCTAVE/MATLAB:
Use the firwin command to generate the coefficients:
# Sampling rate
fs = 1000
# bandstop between 45 and 55 Hz:
f1 = 45
f2 = 55
b = signal.firwin(999,[f1/fs*2,f2/fs*2])
octave:1> h=fir1(100,0.1);
which creates the coefficients of a lowpass filter with 100 taps and normalised cutoff 0.1 to Nyquist.
Fir1 fir("h.dat");
or import the coefficients as a const double array:
Fir1 fir(coefficients)
there is also an option to import a non-const array (for example generated with the ifft) and using std::vector. You can also create a moving average filter by initialising all coefficients with a constant value:
Fir1 moving_average(100,1.0/100);
f = fir1.Fir1(coeff)
double b = fir.filter(a);
b = f.filter(a)
These functions are the same in C++ and Python:
getTaps()returns the length of the FIR filter kernel.reset()sets all delay lines to zero.zeroCoeff()sets all coefficients to zero.
Retreiving the coefficients/kernel from the FIR filter is different depending on the language used:
-
void getCoeff(double* target, unsigned length) constcopies the FIR kernel into the given C array ofdoubles with lengthlength.If
lengthexceeds the length of the filter kernel, the result is zero-padded to fill the given array.If
lengthis smaller than the filter kernel, astd::out_of_rangeexception is thrown. -
std::vector<double> getCoeffVector() constreturns a copy of the filter kernel.
getCoeff(n : int) -> numpy.arrayas per the C++ method, following the zero-padding and exception-throwing behaviour of the C++. The returned array will havenelements.getCoeff() -> numpy.arrayadditional to the C++ methods, this returns an numpy array which is a copy of the filter kernel. This is probably the default use case in Python.
The least mean square algorithm adjusts the FIR coefficients h_m with the help of an error signal e(n):
h_m(n+1) = h_m(n) + learning_rate * h_m(n) * e(n)
using the function lms_update(e) while performing
the filtering with filter().
- Construct the Fir filter with all coefficients set to zero:
Fir1(nCoeff) - Set the learning_rate with the method
setLearningRate(learning_rate). - Provide the input signal
xto the FIR filter and use its standardfiltermethod to filter it. - Define your error which needs to be minimised:
e = d - y - Feed the error back into the filter with the method
lms_update(e).
The lmsdemo in the demo directory makes this concept much clearer how to remove
artefacts with this method.
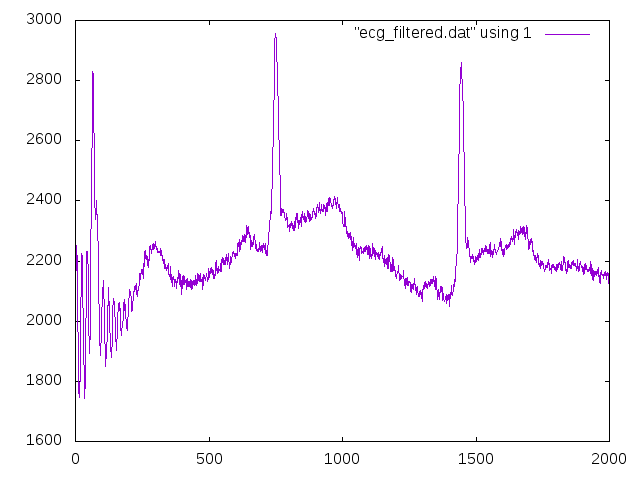
The above plot shows the filter in action which removes 50Hz noise with the adaptive filter. Learning is very fast and the learning rate here is deliberately kept low to show how it works.
The FIR filter itself is stable but the error signal changes the filter coefficients which in turn change the error and so on. There is a rule of thumb that the learning rate should be less than the "tap power" of the input signal which is just the sum of all squared values held in the different taps:
learning_rate < 1/getTapInputPower()
That allows an adaptive learning rate which is called "normalised LMS". From my experiments that works in theory but in practise the realtime value of getTapInputPower() can make the algorithm easily unstable because it might suggest infinite learning rates and can fluctuate wildly. A better approach is to keep the learning rate constant and rather control the power of the input signal by, for example, normalising the input signal or limiting it.
See the demo below which removes 50Hz from an ECG which uses a normalised 50Hz signal which guarantees stability by design.
The commands under JAVA and Python are identical to C++.
Demo programs are in the "demo" directory which show how to use the filter.
firdemosends an impulse into the filter and you should see the impulse response at its output.lmsdemofilters out 50Hz noise from an ECG with the help of adaptive filtering by using the 50Hz powerline frequency as the input to the filter. This can be replaced by any reference artefact signal or signal which is correlated with the artefact.- filter_ecg.py performs the filtering of an ECG in python using the fir1 python module which in turn calls internally the C++ functions.
The doxygen generated documentation can be found here:
- Online: http://berndporr.github.io/fir1/index.html
- PDF: https://github.com/berndporr/fir1/tree/master/docs/pdf
Under C++ just run make test or ctest.
This library has been adapted form Graeme Hattan's original C code.
Enjoy!
Bernd Porr & Nick Bailey


