Setup Kubernetes Lab on AWS for CKA, CKAD, CKS Exam or Kubernetes Practise
This is K8s Lab - CKA, CKAD, and CKS Exam
- 1 control plane
- 2 worker nodes
- 1 Kubectl Client
v1.28.2
Be sure to check for all package dependencies before changing the k8s version. E.g. Kubernetes v1.26.0 requires contained version 1.6.X and above.
- Update 1.XX.X-00 based on Kubernetes release version in
deployments/setup.sh - Update 1.XX.X-00 based on Kubernetes release version in
deployments/deployment.ymlfor the Kubectl Client
- All the provisioned instances run the same OS
ubuntu@ip-10-192-10-110:~$ cat /etc/os-release
NAME="Ubuntu"
VERSION="20.04.4 LTS (Focal Fossa)"
ID=ubuntu
ID_LIKE=debian
PRETTY_NAME="Ubuntu 20.04.4 LTS"
VERSION_ID="20.04"
HOME_URL="https://www.ubuntu.com/"
SUPPORT_URL="https://help.ubuntu.com/"
BUG_REPORT_URL="https://bugs.launchpad.net/ubuntu/"
PRIVACY_POLICY_URL="https://www.ubuntu.com/legal/terms-and-policies/privacy-policy"
VERSION_CODENAME=focal
UBUNTU_CODENAME=focalFollow any of the options below:
Option A: Deploy the Infrastructure with CloudFormation from AWS Console:
- Clone the repo
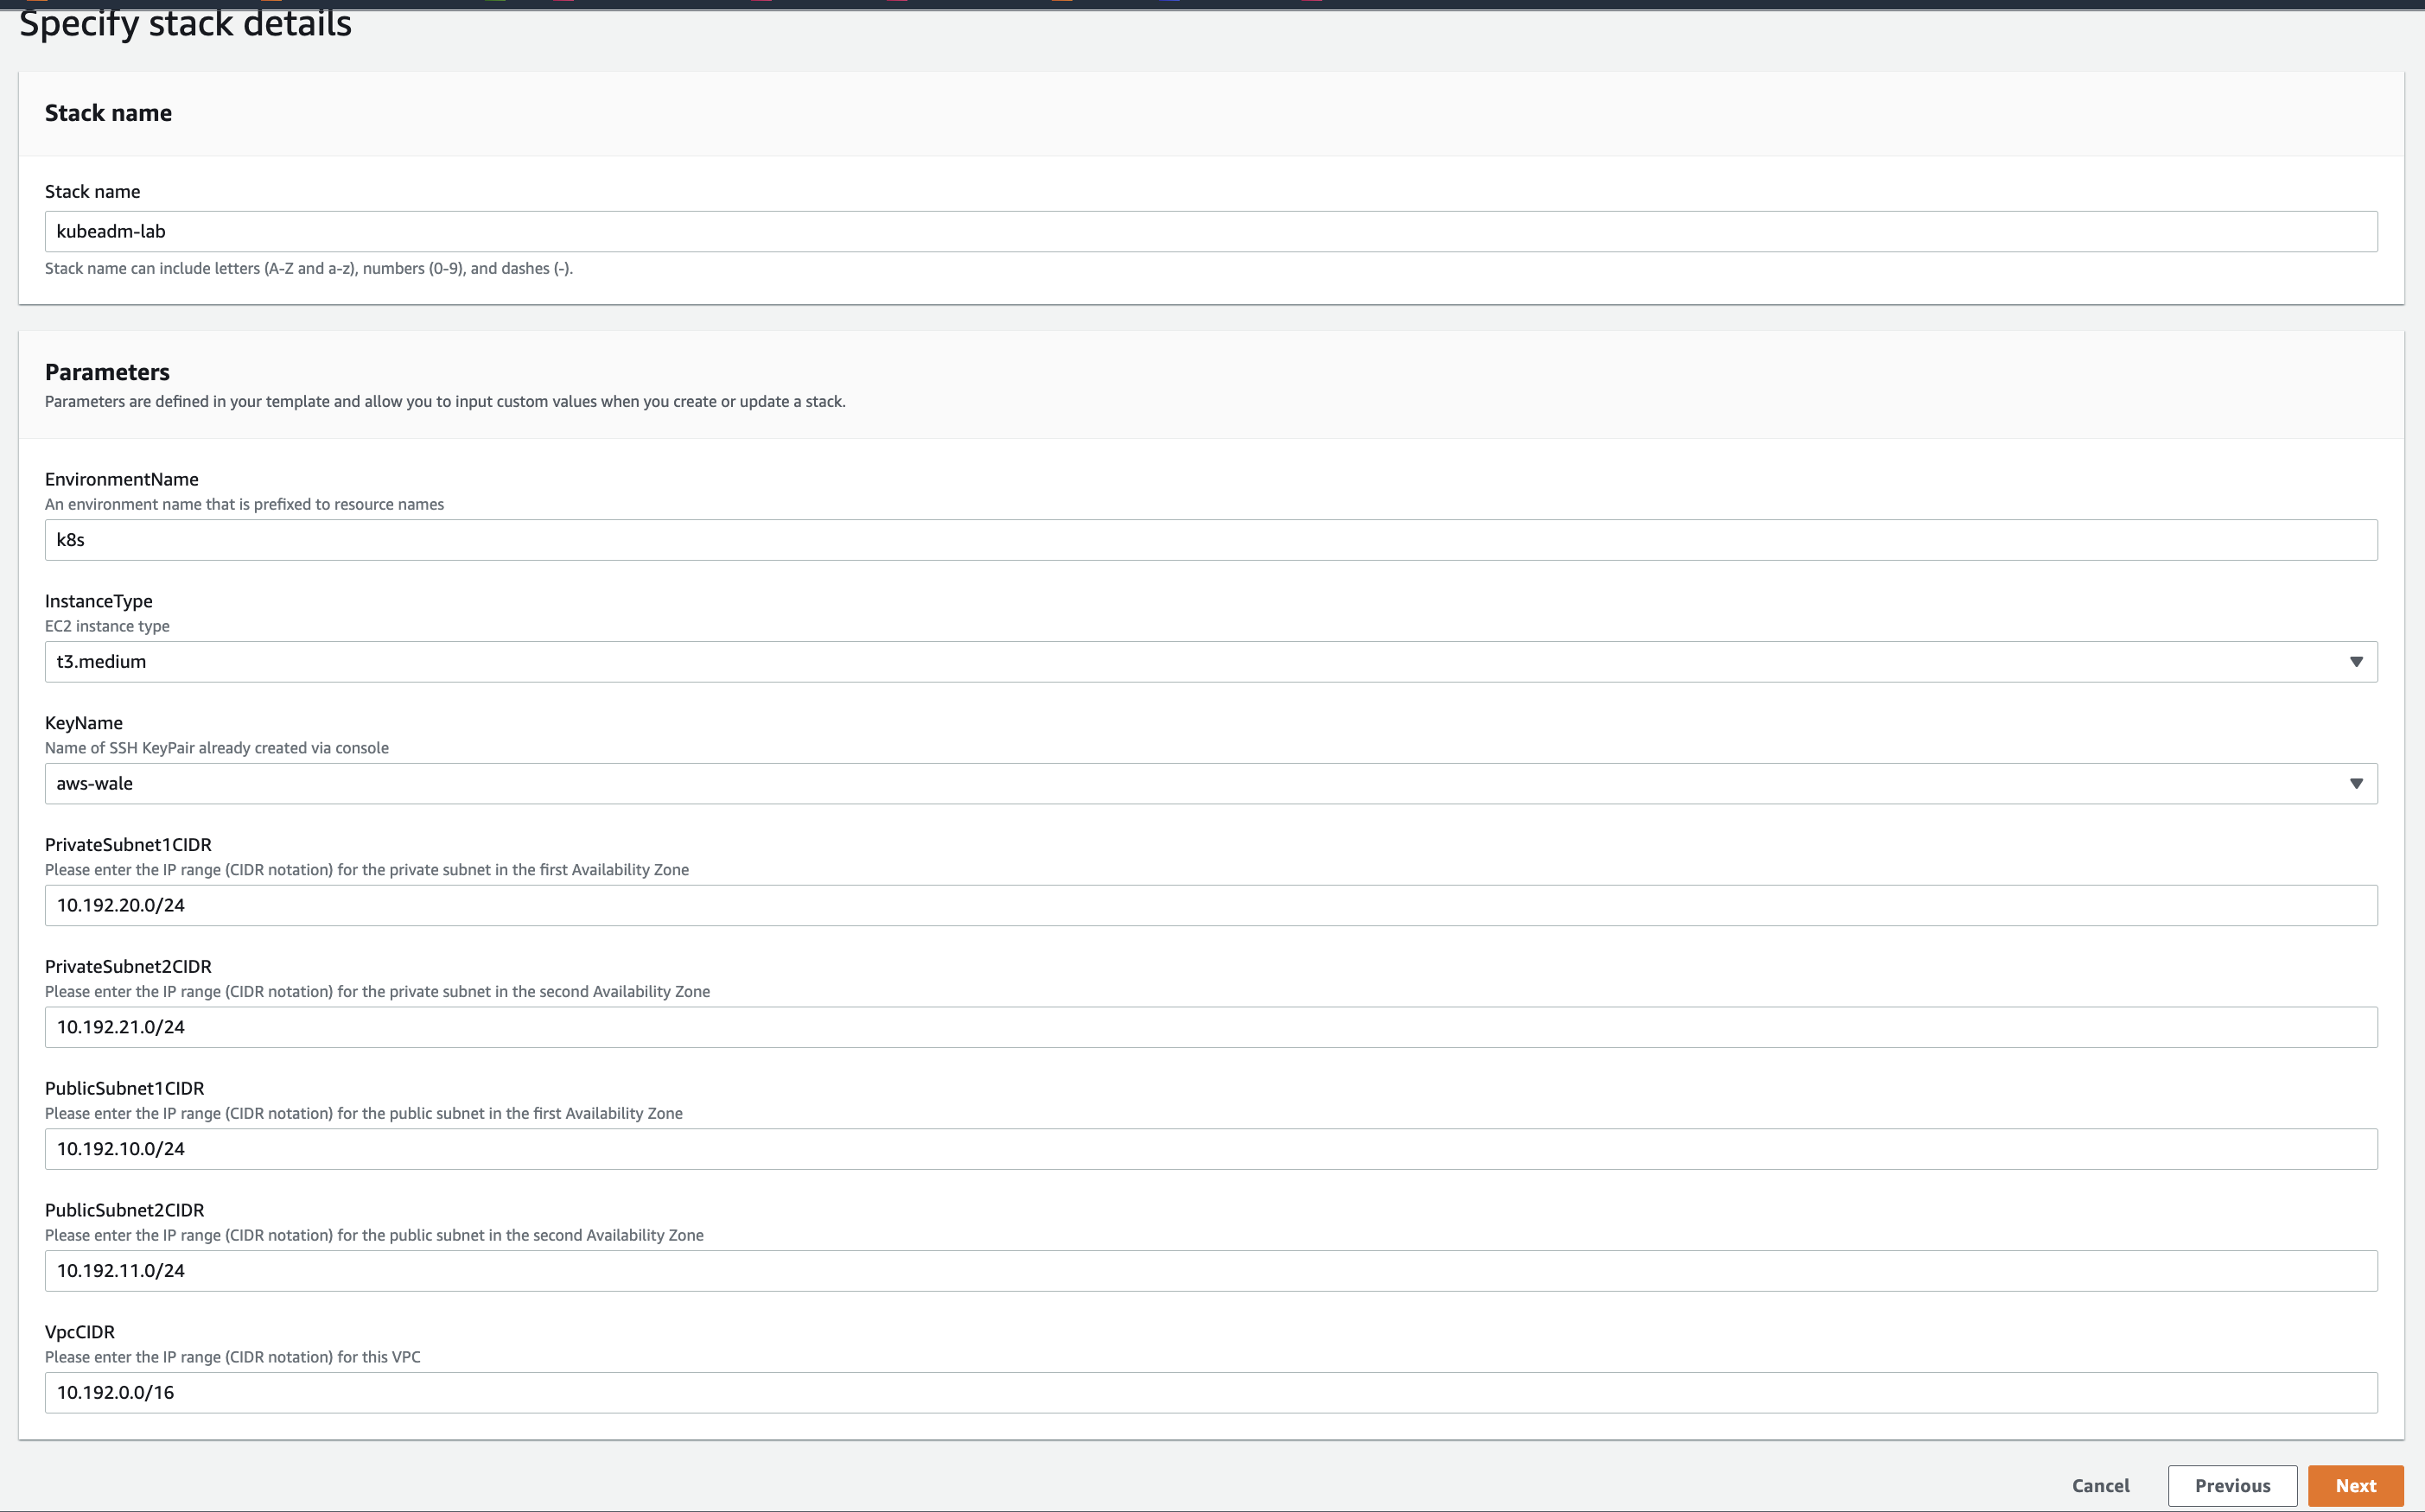
- Goto AWS Console > Choose Region (e.g. eu-west-1) > CloudFormation > Create Stack
- Use the CF Yaml template in
infrastructure/k8s_aws_instances.yml - See image below:
Option B: Deploy the Infrastructure with CloudFormation from AWS CLI:
- Clone the repo
git clone repo
cd kubeadm-lab-on-aws- Define your environment variables
export REGION="eu-west-1"
export key_pair="my-EC2-key-name"
Note: key_pair is your key pair and should already be created in AWS EC2.
- Create the infrastructure for your stack
aws cloudformation create-stack --stack-name kubeadm-lab --template-body file://infrastructure/k8s_aws_instances.yml --parameters ParameterKey=EnvironmentName,ParameterValue=k8s ParameterKey=KeyName,ParameterValue=${key_pair} --capabilities CAPABILITY_NAMED_IAM --region ${REGION}
- Check stack status for CREATE_COMPLETE. Takes about 3mins
aws cloudformation describe-stacks --stack-name kubeadm-lab --query 'Stacks[].StackStatus' --region ${REGION} --output text
aws cloudformation wait stack-create-complete --stack-name kubeadm-lab- Define your global variables
export LOCAL_SSH_KEY_FILE="~/.ssh/key.pem"
export REGION="eu-west-1"
export AWS_PROFILE="work"
Note: By default, the AWS CLI uses the settings found in the profile named default. To use alternate settings, you can create and reference additional profiles.
- Confirm the instances created and the Public IP of the Ansible controller server
aws ec2 describe-instances --filters "Name=tag:project,Values=k8s-kubeadm" "Name=instance-state-name,Values=running" --query 'Reservations[*].Instances[*].[Placement.AvailabilityZone, State.Name, InstanceId, PrivateIpAddress, PublicIpAddress, [Tags[?Key==`Name`].Value] [0][0]]' --output text --region ${REGION}- Define your Ansible server environment variable. if you are using AWS profile other than default, substitue it in the commands below:
export ANSIBLE_SERVER_PUBLIC_IP="$(aws ec2 describe-instances --filters "Name=tag-value,Values=ansible_controller_kubeadm_lab" "Name=instance-state-name,Values=running" --query 'Reservations[*].Instances[*].[PublicIpAddress]' --output text --region ${REGION} --profile ${AWS_PROFILE})"- Transfer your SSH key to the Ansible Server. This will be need in the Ansible Inventory file.
echo "scp -i ${LOCAL_SSH_KEY_FILE} ${LOCAL_SSH_KEY_FILE} ubuntu@${ANSIBLE_SERVER_PUBLIC_IP}:~/.ssh/" -
Inspect and execute the output of the command generated above.
-
To Create inventory file. Edit the inventory.sh and update the REGION if different from
eu-west-1. -
View the inventory file and update it according to your AWS environment setup
vi deployments/inventory.sh- Proceed with the commands below:
chmod +x deployments/inventory.sh
bash deployments/inventory.sh ${LOCAL_SSH_KEY_FILE} ${REGION}
chmod +x deployments/config.sh
bash deployments/config.sh ${LOCAL_SSH_KEY_FILE} ${REGION}- Transfer all playbooks in deployments/playbooks to the ansible server
cd deployments
scp -i ${LOCAL_SSH_KEY_FILE} deployment.yml setup.sh ../inventory ../config *.cfg ubuntu@${ANSIBLE_SERVER_PUBLIC_IP}:~
scp -i ${LOCAL_SSH_KEY_FILE} ../config ubuntu@${ANSIBLE_SERVER_PUBLIC_IP}:~/.ssh/config- Connect to the Ansible Server
ssh -i ${LOCAL_SSH_KEY_FILE} ubuntu@${ANSIBLE_SERVER_PUBLIC_IP}- Your ssh key copied to the Ansible server
chmod 400 ~/.ssh/key_name.pem - After building the inventory file, test if all hosts are reachable
- List all hosts to confirm that the inventory file is properly configured
ansible all --list-hosts -i inventoryExpected output:
  hosts (5):
    controller1
    worker1
worker2- Test ping on all the hosts
ansible -i inventory k8s -m ping ansible-playbook -i inventory -v deployment.ymlTASK [Ansible Host Kubectl Commands] **************************************************************************************************************************************************
ok: [localhost] => {
"msg": [
"NAME STATUS ROLES AGE VERSION",
"k8s-controller Ready control-plane 2m28s v1.28.2",
"k8s-worker1 Ready <none> 75s v1.28.2",
"k8s-worker2 Ready <none> 70s v1.28.2"
]
}
PLAY RECAP ****************************************************************************************************************************************************************************
localhost : ok=8 changed=4 unreachable=0 failed=0 skipped=0 rescued=0 ignored=0 ubuntu@ip-10-192-10-160:~$ kubectl get nodes
NAME STATUS ROLES AGE VERSION
k8s-controller Ready control-plane 4m3s v1.28.2
k8s-worker1 Ready <none> 2m50s v1.28.2
k8s-worker2 Ready <none> 2m45s v1.28.2ubuntu@ip-10-192-10-194:~$ ssh k8s-controller
ubuntu@k8s-controller:~$ kubectl get nodes
NAME STATUS ROLES AGE VERSION
k8s-controller Ready control-plane 4m3s v1.28.2
k8s-worker1 Ready <none> 2m50s v1.28.2
k8s-worker2 Ready <none> 2m45s v1.28.2To Delete the AWS CloudFormation Stack
aws cloudformation delete-stack --stack-name kubeadm-labCheck if the AWS CloudFormation Stack still exist to confirm deletion
aws cloudformation list-stacks --stack-status-filter DELETE_COMPLETE --region ${REGION} --query 'StackSummaries[*].{Name:StackName,Date:CreationTime,Status:StackStatus}' --output text | grep kubeadm