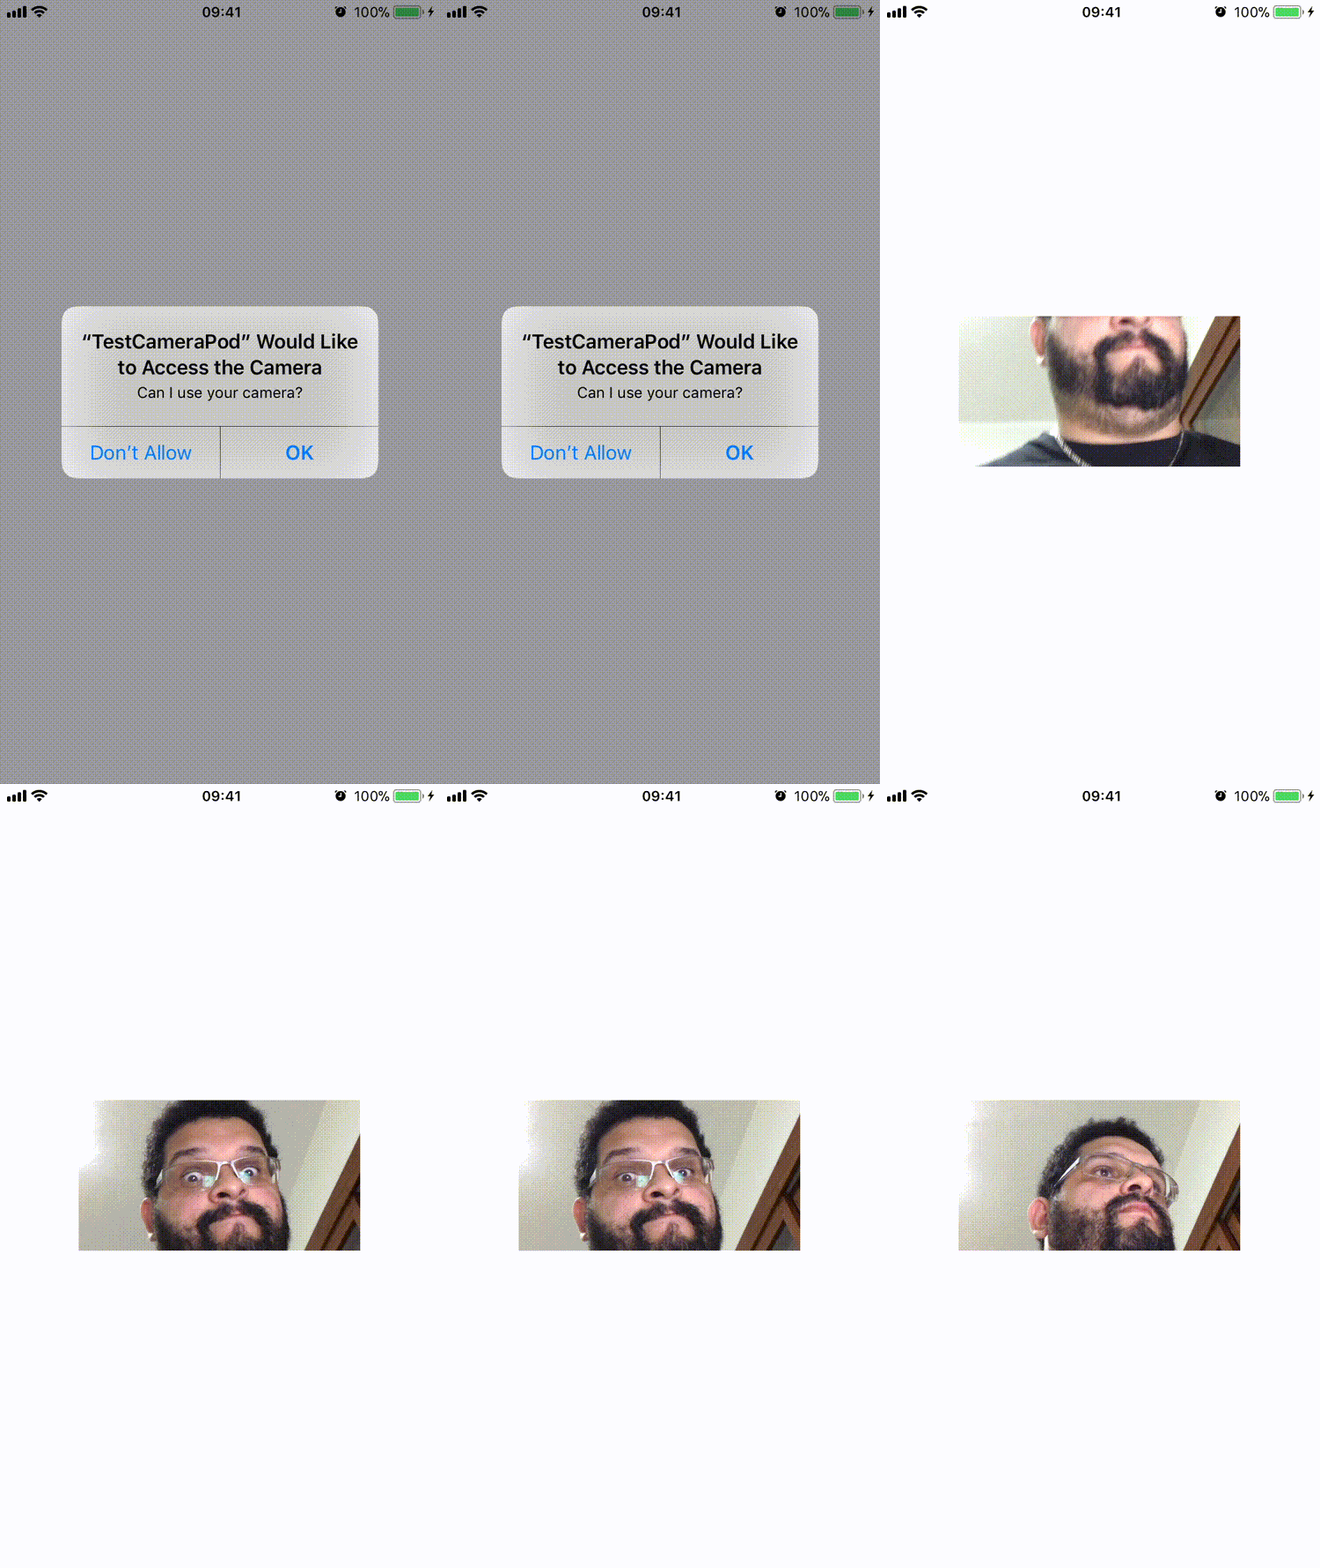
A ultra simple camera viewer for UIView
Requirements:
- Swift 4
- iOS 10.0+
- XCode 9+
Using cocoapods:
target 'YouProject' do
  # Comment the next line if you're not using Swift and don't want to use dynamic frameworks
  use_frameworks!

  # Pods for TestCameraPod
  # this is temporary due to cocoapods publish issue.
  pod 'BHPhotoView', :git => 'https://github.com/benhurott/BHPhotoView'

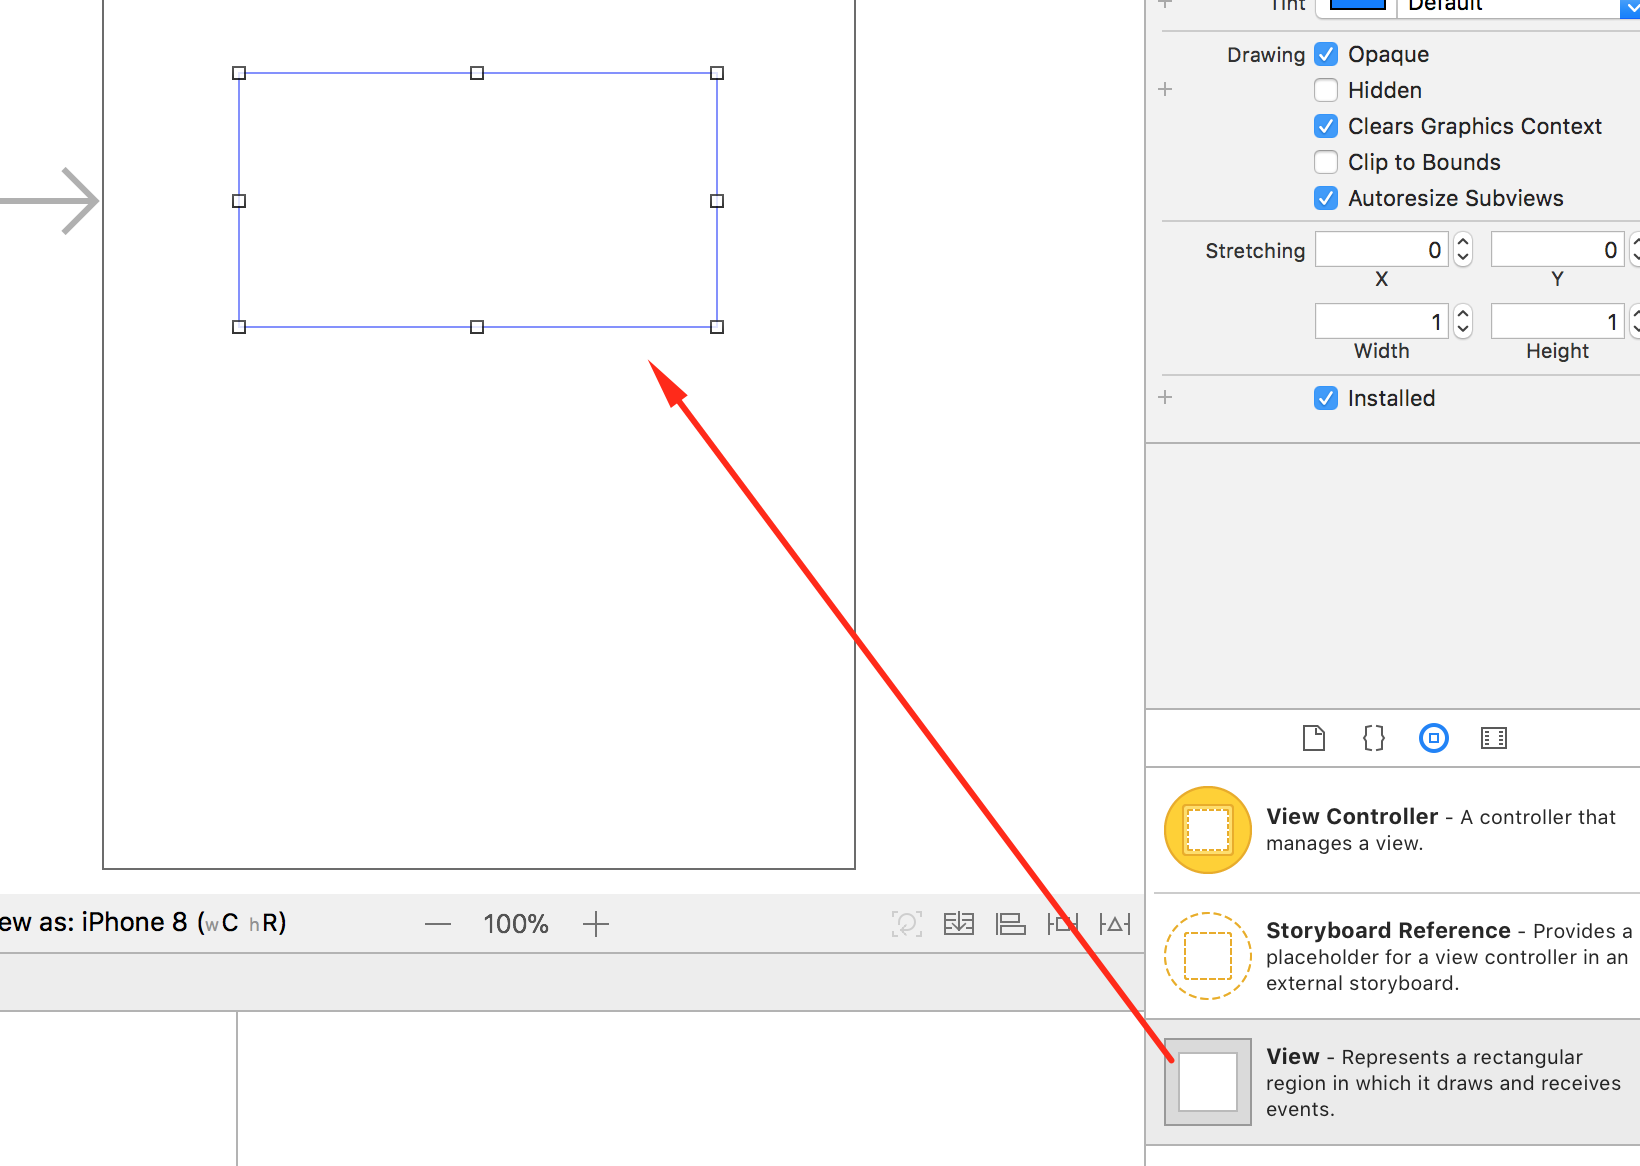
endAdd a UIView to your screen:
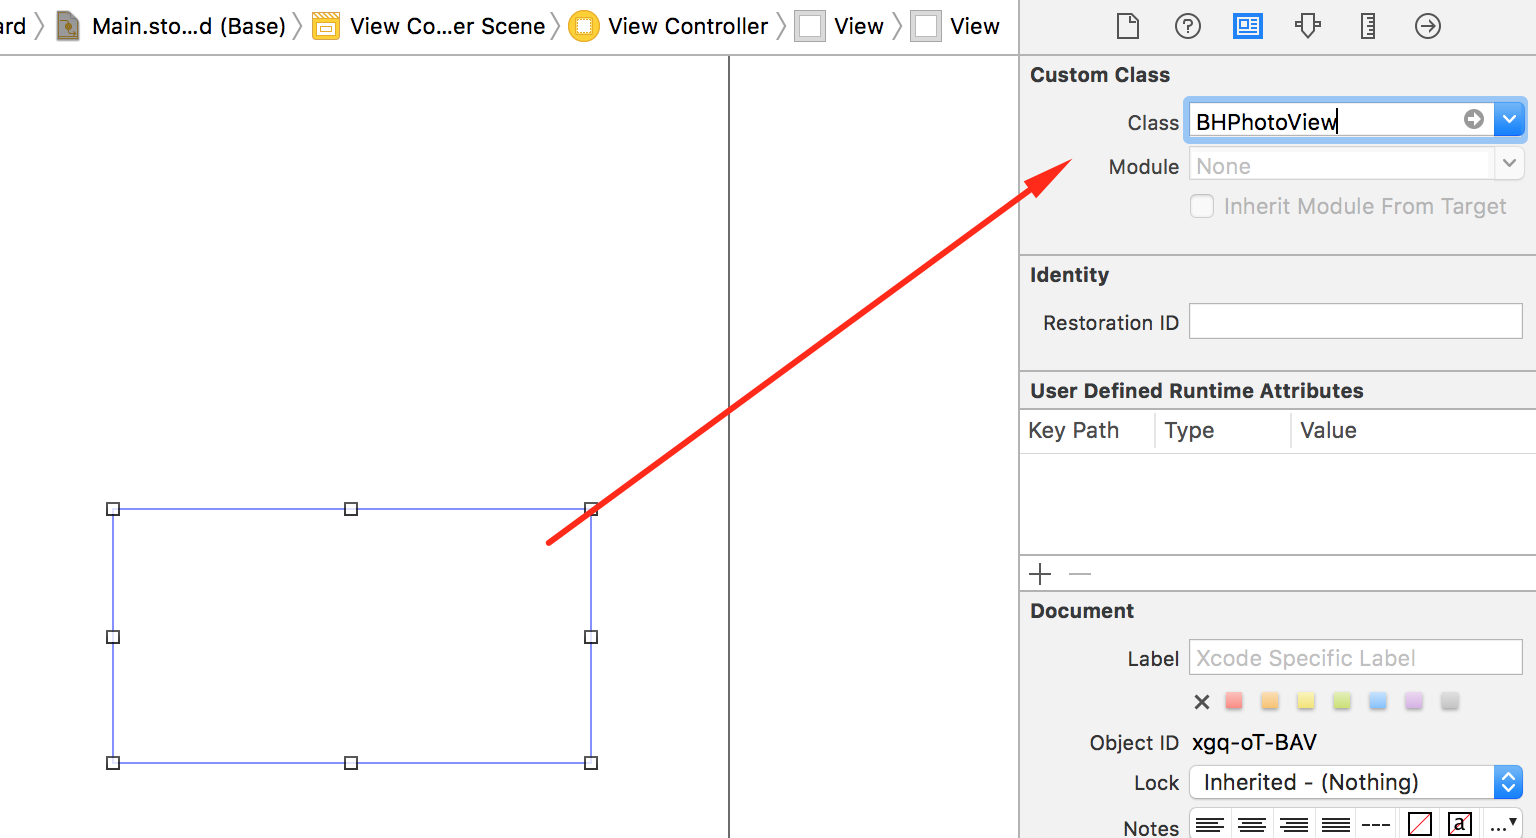
Set your uiview class to `BHPhotoView`:
In your `ViewController`:
Import the lib:
import UIKit
import BHPhotoView //<-- here

class ViewController: UIViewController {

}
Link a IBOutlet from your UIView:

In your Info.plist project, set the Privacy - Camera Usage Description with any text you want.
In your ViewController, add the BHPhotoViewDelegate:
extension ViewController: BHPhotoViewDelegate {
    func onPhotoCaptured(_ view: BHPhotoView, photo: UIImage) {
        // when photo has been taken, this method will be called.
    }

    func onPhotoCapturingError(_ view: BHPhotoView, error: BHPhotoViewError) {
        // if some error occurs, this method has been called.
    }
}
Set the delegate and camera position:
import UIKit
import BHPhotoView

class ViewController: UIViewController  {

    @IBOutlet weak var photoView: BHPhotoView!

    override func viewDidLoad() {
        super.viewDidLoad()

        self.photoView.delegate = self
        self.photoView.cameraPosition = .front
    }
}
(OPTIONAL) Set preview orientation:
import UIKit
import BHPhotoView

class ViewController: UIViewController  {

    @IBOutlet weak var photoView: BHPhotoView!

    override func viewDidLoad() {
        super.viewDidLoad()

        self.photoView.delegate = self
        self.photoView.cameraPosition = .front

        self.photoView.previewOrientation = AVCaptureVideoOrientation.landscapeLeft
    }
}To start camera, call the start method:
override func viewDidLoad() {
    super.viewDidLoad()

    self.photoView.delegate = self
    self.photoView.cameraPosition = .front

    self.photoView.start()
}
To capture photo, call the capturePhoto method:
@IBAction func onTouchMyButton(_ sender: Any) {
    // when you call this method and photo has been taken,
    // the delegate methods will be called.
    self.photoView.capturePhoto()
}
To stop streaming, use the stop method:
@IBAction func onTouchMyButton(_ sender: Any) {
    self.photoView.stop()
}If you want to use some "advanced" features, take a look at ADVANCED DOCS.
- Fix: reload configuration after didSet for camera position.
Breaking Change:
- Default camera position is now
.back
- Fix: exposing public
frame:contructor.
- Fix: fixing crash on re-use photo settings.
Breaking change:
- Not default flashMode is
off.
- Feat: exposed properties
- Now more properties are exposed =).
- Feat: customization
- Now you can access some internal props for advanced customization.
Breaking changes:
- The method
.start(cameraPosition: .front)is now.start() - The method
.capturePhoto(usingSettings: photoSettings)is removed. Set the.photoSettingsproperty instead.
- Feat: adding
stopmethod.
- Fix: cocoapods validation.


