node-red-contrib-azure-iot-hub is a Node-RED node that allows you to send messages and register devices with Azure IoT Hub. This is a fork from the original Node-RED example by the Azure IoT team found here.
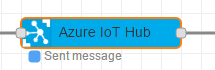
It contains two new Node-RED cloud nodes: Azure IoT Hub and Azure IoT Registry

This node allows you to send messages to your Azure IoT Hub. It has the following payload format:
{
  "deviceId": "testenode1",
  "key": "cw3nniq77BbjpOCDLqb7xEFTU509HeR6Ki1NwR20jj0=",
  "protocol": "amqp",
  "data": "{tem: 25, wind: 20}"
}
- deviceId is your device's unique id.
- key is your device's primary or secondary key.
- protocol options are: amqp, amqpws, mqtt or http.
- data can either be a plain string or string wrapped JSON.
This node allows you to registers devices with your Azure IoT Hub. It has the following payload format:
{
  "deviceId": "testenode1"
}
npm install -g node-red-contrib-azure-iot-hub
Follow the instructions here to get Node-RED setup locally.
-
Open Node-RED, usually: http://127.0.0.1:1880
-
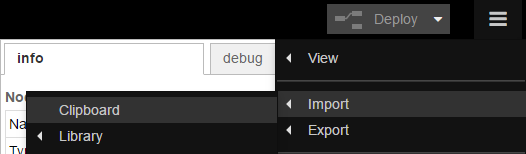
Go to Hamburger Menu -> Import -> Clipboard
-
Paste the following code into the "Import nodes" dialog

[{"id":"e092747f.d2fb08","type":"azureiothubregistry","z":"a625ca19.b34ce8","name":"Azure IoT Hub Registry","x":370,"y":120,"wires":[["4c1b62c2.1681bc"]]},{"id":"8877c5f0.e15828","type":"inject","z":"a625ca19.b34ce8","name":"Register Payload","topic":"","payload":"{\"deviceId\": \"device146\"}","payloadType":"json","repeat":"","crontab":"","once":false,"x":140,"y":120,"wires":[["e092747f.d2fb08"]]},{"id":"4c1b62c2.1681bc","type":"debug","z":"a625ca19.b34ce8","name":"Log","active":true,"console":"false","complete":"true","x":650,"y":120,"wires":[]},{"id":"a3b3f737.a7a428","type":"debug","z":"a625ca19.b34ce8","name":"Log","active":true,"console":"false","complete":"true","x":650,"y":60,"wires":[]},{"id":"2be1c658.c9bbea","type":"azureiothub","z":"a625ca19.b34ce8","name":"Azure IoT Hub","protocol":"amqp","x":340,"y":60,"wires":[["a3b3f737.a7a428"]]},{"id":"600a3eb0.2b238","type":"inject","z":"a625ca19.b34ce8","name":"Send Payload","topic":"","payload":"{ \"deviceId\": \"device145\", \"key\": \"Qmq2SSe4CzuB5N0v2FvfV3LAE8OKf2rWj6IQPx+AU3w=\", \"protocol\": \"amqp\", \"data\": \"{tem: 25, wind: 20}\" }","payloadType":"json","repeat":"","crontab":"","once":false,"x":130,"y":60,"wires":[["2be1c658.c9bbea"]]}] -
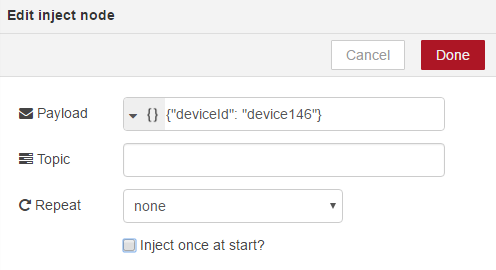
Double-click the Register Payload node

-
Enter your desired deviceId into the Payload field and click Done. Check "Inject once at start?" to register this device when you click Deploy.
-
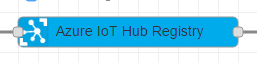
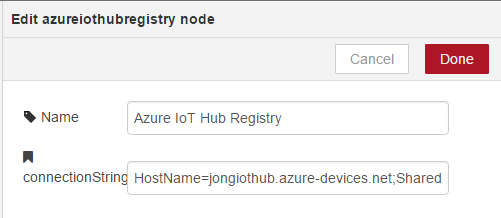
Double-click the Azure IoT Hub Registry node, enter your IoT Hub connection string and click Done.
-
Click Deploy

-
Click the square button on the left side of the Register Payload node.
-
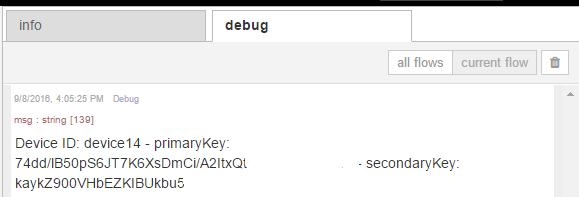
Click on the debug tab to your right and you'll see the device's primary and secondary keys.


-
Double-click on the Send Payload node and modify the JSON in the Payload field to contain your deviceId, key, protocol and data.


-
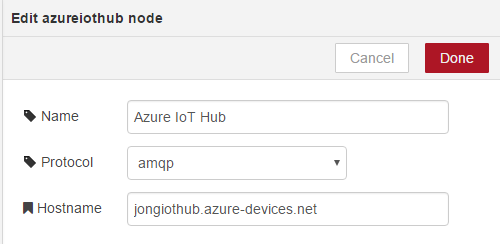
Double-click the Azure IoT Hub node and enter your hostname and click Done.
-
Click Deploy
-
Click the square button on the left side of the Send Payload node.
-
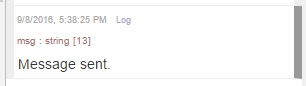
You should then see a Message sent debug message in the debug pane.


You can read more about Azure IoT Hub here.