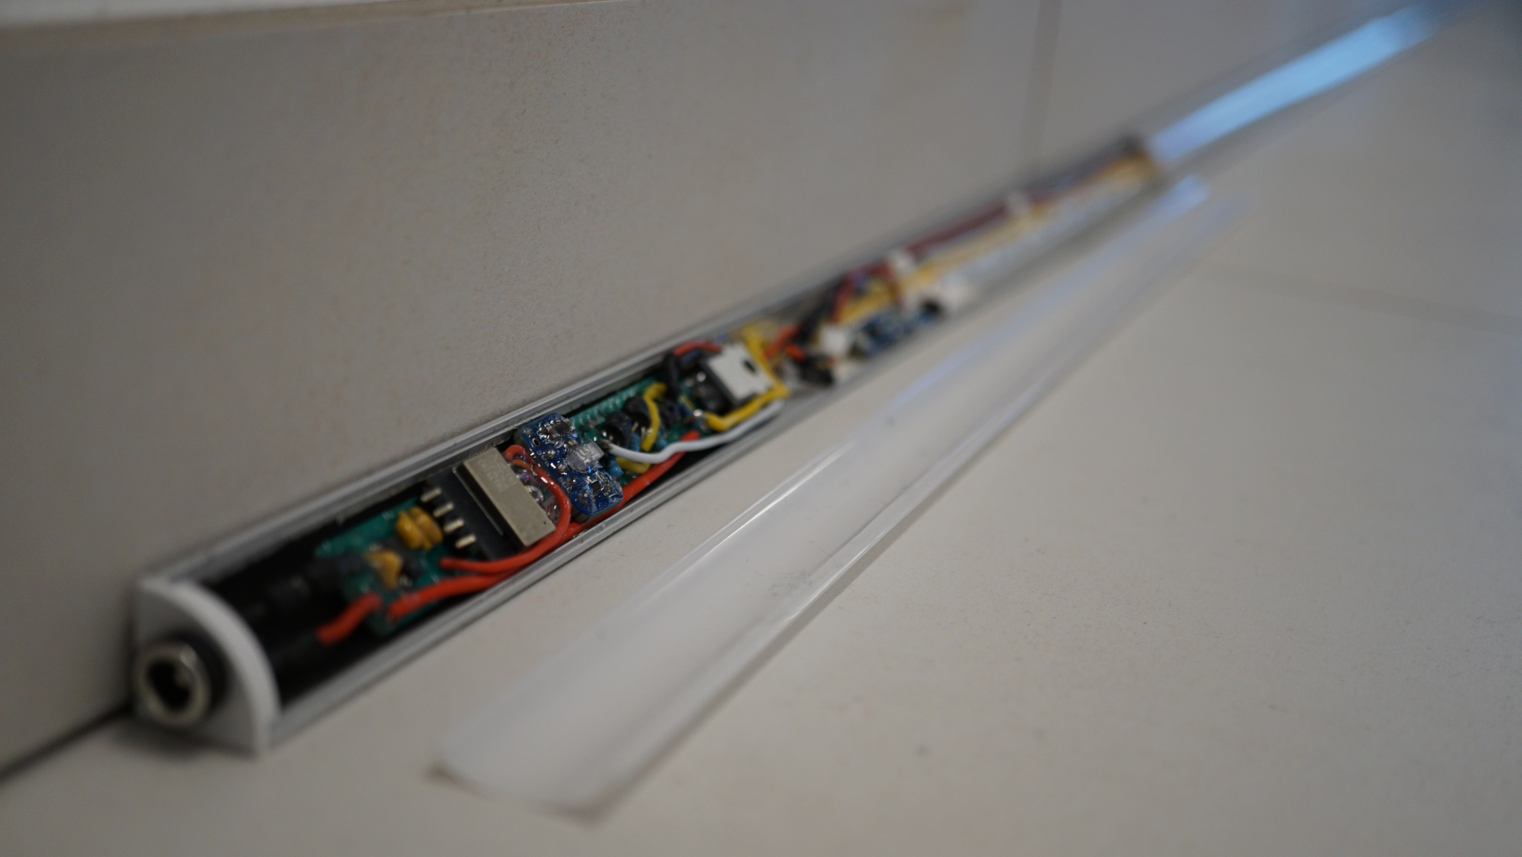
A smart light bar — illuminates dark places on-demand by gently dimming up/down a LED stripe depending on the ambient light level and a detected human presence.
This automatic light is completely self-contained – just needs a suitable 12V power supply.
An advanced (and quite cheap) presence sensor is used here, which works to my satisfaction. However, it should be fine-tuned using the manufacturers app at the final location to get the best out of it.
The circuit and software is designed to save power where possible.
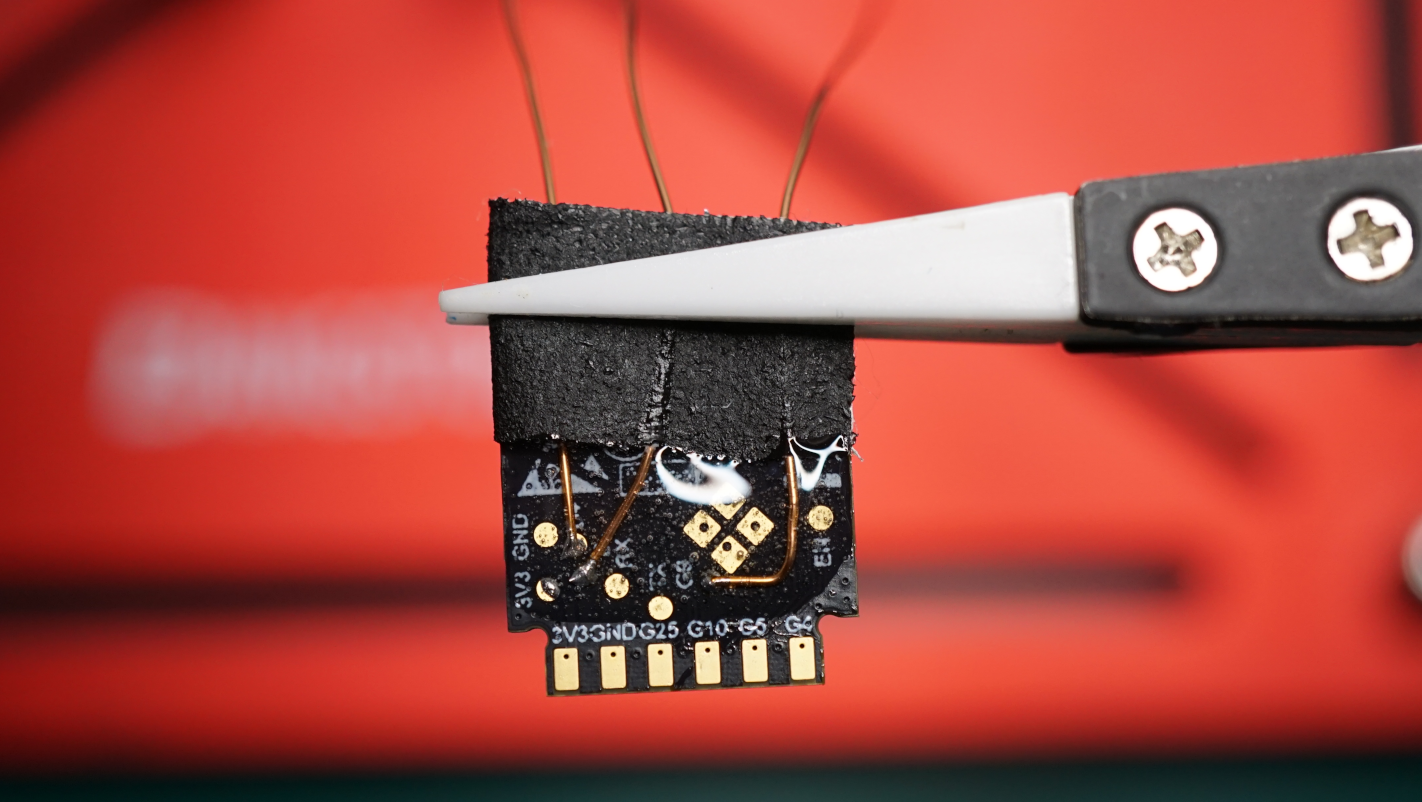
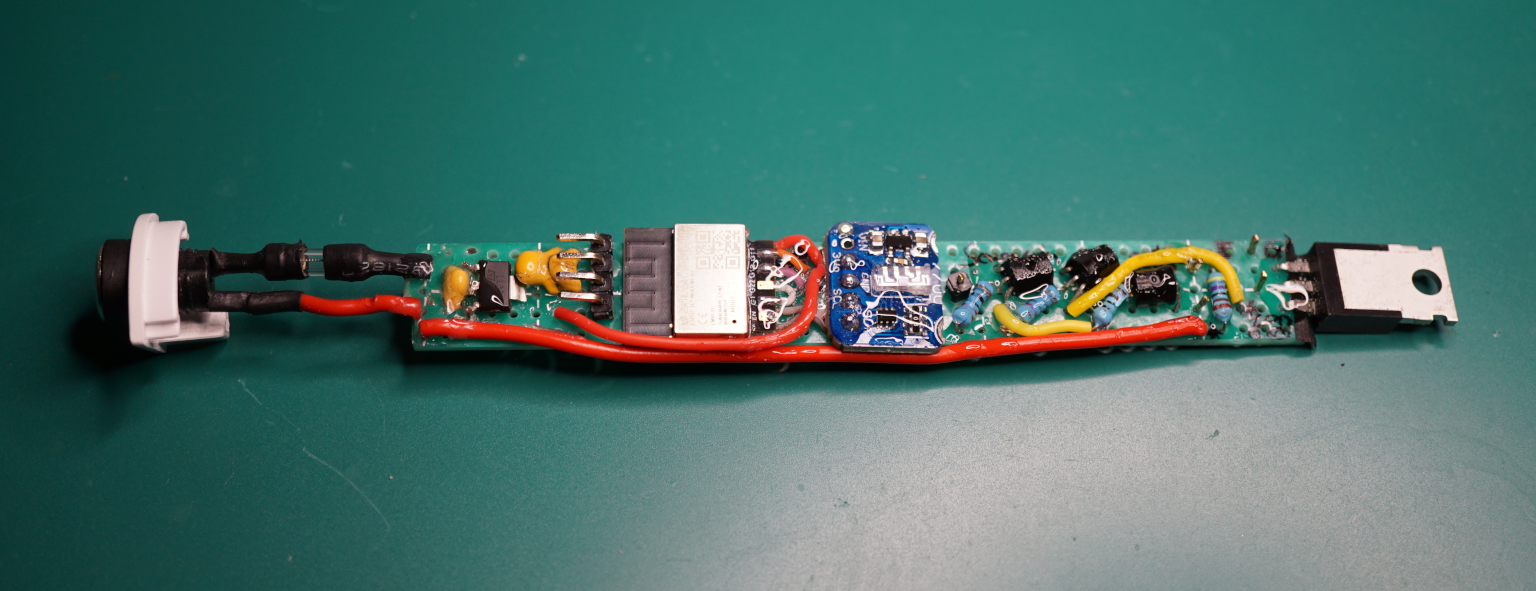
An ESP32-H2 SoC low power processor serves for the logic. It is connected to a VEML7700 ambient light sensor and the mentioned small but effective LD2410 radar based presence sensor.
It does NOT need nor use any Wifi / Zigbee / Matter features of the ESP32-H2 SoC. One may feel free to add some sort of Smart Home connector on his own.
Status: Hardware and Software is feature complete, tested and ready to Roll 'n' Roll.
The wiring diagram includes a separate flash adapter (on the left side), which is can be connected to the main unit via a 4-pin connector. It's required to flash the ESP32-H2 once it's soldered. The programming board connects to a computer or any other suitable programming environment via a standard USB-C connector. Please note:
- This programming board is not strictly required in a scenario, when one has its own way of initial flashing the SoC before soldering and don't wish to update the firmware later
- While flashing / monitoring the chip via the flash adapter, we still need power supply through the 12V socket
Designed for 12V and (up to) 35W LED Stripe.
- ESP32-H2-WROOM-03 (the 2MB flash model is sufficient)
- VEML7700 Ambient Light Sensor
- HLK-LD2410 Radar presence sensor (2x)
- BC337-40 TO92 NPN Transistor (2x)
- BC327-40 TO92 PNP Transistor
- IRLB8721PbF N-Channel MOSFET (TO-220)
- Resistor 1kΩ
- Resistor 10kΩ (2x)
- Resistor 4.7kΩ
- Capacitor 0.1µF (2x)
- Capacitor 10µF
- 3.3V LDO voltage regulator LD1117V33 (SOT-223)
- Diode (any, working at 3.3 V and 150mA max.)
- 5m LED Stripe (12V, 3000-3200k, COB, 8mm wide, power: 5-7 W/m)
- 12V DC Connector
- 12V, 5A Power Supply (look for a good one to avoid flickering)
- Wiring Board
- 4 Pin Connector Mini Socket
- Cables
- LED Housing (5m)
- USB-C Plug Female
- 4 Pin Connector Plug + Cable
- On/Off Switch
Complete program code is included under /code
We are going to use an ESP32-H2 SoC with Rust embedded Toolchain with the [std] lib.
Here is an overview of what's needed to build and run the software:
- Rust compiler (see www.rust-lang.org)
- Rust embedded toolchain for ESP32-H2 for projects using std lib
- Follow the instructions for
[std]projects in this book chapter: The Rust on ESP Book - Setting Up a Development Environment - Notes:
- ignore sections for
[no_std] - When it comes to the step
espup install, you should consider usingespup install --targets esp32h2instead, to avoid installing lots of unnecessary dependencies for unused Espressif targets.
- ignore sections for
- Follow the instructions for
cargo build
After connecting the ESP32-H2 via a flash adapter to a USB computer port:
cargo run --release(flashes the chip)espflash monitor(optional – see ESP32 console output)
 |
 |
|---|
Feel free to use anything here for learning, building your own version or make a product out of it and sell it.
Have fun!
Pull requests are welcome.
bitmagier, September 2024
In case you find this work useful and like to support me, I would appreciate a donation in Solana to: FTMfeKYhpVAouuwXjpJXhnT13fkeNJqQsRGMBxBo1GML
