To start the DSL lab we have provided a DevWorkStation.json blueprint to quickly get you started. The included DevWorkstation.json builds a CentOS VM with all the necessary tools. This blueprint can be launched directly from Calm, but we recommend publishing it to the Calm Marketpkace for Self Service. Also, included is software-developer.png which can be used as an icon

- Important: Select the Credentials tab and enter desired User/Pass

- Enter the name of Application "DevWorkstation-<INITIALS> and fill out the form with the requested information

-
Press Create
-
While waiting review the audit log to see packages being deployed. The blueprint automatically installs several utilities along with Calm DSL
- The IP address of the DevWorkstation is listed under the application overview. The SSH user/pass is what was set under the credentials tab

-
cd to the "calm-dsl" directory from home
-
Run
source venv/bin/activateto switch to the virtual environment. This will enable the virtual environment for Calm DSL -
Optional: This has already been done through the blueprint launch. Once you SSH into the DevWorkstation we can setup the connection to Prism Central by running
calm init dsl -
Verify the current config settings by running
calm show config

- Run
calm get bpsand we see all the blueprints in Calm with their UUID, description, application count, project, and state

- Run
calm get bps -qto display quiet output with only the BP names

-
Change to the "HelloBlueprint" directory and run
ls- This directory and it's contents were automatically created during the blueprint launch. As part of the DevWorkstation blueprint launch we ran
calm init bpwhich creates a sample blueprint configured to the connected Calm instance
- This directory and it's contents were automatically created during the blueprint launch. As part of the DevWorkstation blueprint launch we ran
-
There is a file called "blueprint.py" which is a python version of a blueprint
-
There is a "scripts" directory. This is where the bash/powershell/python scripts are stored that are referenced within the blueprint

-
Run
vi blueprint.py -
Review the blueprint for familiar constructs. To skip directly to a line enter
:<linenumber>-
Credentials (line 54-60)
-
OS Image (line 62-66)
-
Under class HelloPackage(Package) you will see references to the pkg_install_task.sh script in the scripts directory (line 139)
-
Basic VM spec information (vCPU/memory/disks/nics) (line 153-159)
-
Guest Customization contains cloud-init (line 161-171)
-
-
In the blueprint.py modify the number of vCPU
- Change the vCPU from 2 to 4 (line 154)

-
Add a unique VM name using a macro (line 185)
provider_spec.name = "<Initials>-@@{calm_unique}@@"

- Write/quit
:wqthe .py blueprint file to save and close
-
Change to the scripts directory and run
ls. We will see 2 scripts that are being referenced inside blueprint.py -
Run
cat pkg_install_task.shto view the current contents of the install script. What does the script do?

-
Run
curl -Sks https://raw.githubusercontent.com/bmp-ntnx/prep/master/nginx > pkg_install_task.shto replace the existing install script -
Run
cat pkg_install_task.shto view the changed script. What does the script do now?

-
Return to the "HelloBlueprint" directory
-
Run
calm create bp --file blueprint.py --name FromDSL-<Initials>- This converts the .py file to json and pushes it to Calm

-
Optional: Run
calm compile bp -f blueprint.pyto view the python blueprint in json format from DSL -
Verify your new blueprint by running
calm get bps -q | grep FromDSL-<Initials>

-
Run
calm get appsto verify all the current applications before launching your new app- We can also run
calm get apps -qto quiet the details like we did with blueprints earlier
- We can also run
-
Launch your newly uploaded blueprint into an application
-
Run
calm launch bp FromDSL-<Initials> --app_name AppFromDSL-<Initials> -i

-
Run
calm describe app AppFromDSL-<Initials>to see the application summary -
Once the app status changes to "running" we will have a nginx server deployed from Calm DSL!

-
Now we need to get the VM/Application IP address. To get this we will pull the "address" from the application json output using jq by running the following:
-
calm describe app AppFromDSL-<Initials> --out json | jq '.status.resources.deployment_list[].substrate_configuration.element_list[].address'

- Enter the IP in a web browser and this will take you to the nginx "Welcome to DSL" web page

-
Check the blueprint created from DSL
-
Check the application launched from DSL
As we went through this module not only we you use Calm DSL, but we also used several native Linux tools such as vi, curl, grep, cat, pipe, and redirects. Calm DSL allows extended felxibily by combining it with these powerful tools. Think about how we can add git to this workflow to track changes or modify blueprints with sed
Speaking of git lets contiue on and push our blueprint to git. We will need a github.com account before you can get started
-
Logon to git and create new repo "dsl-blueprints"
-
From the "HelloBlueprint" directory run:
-
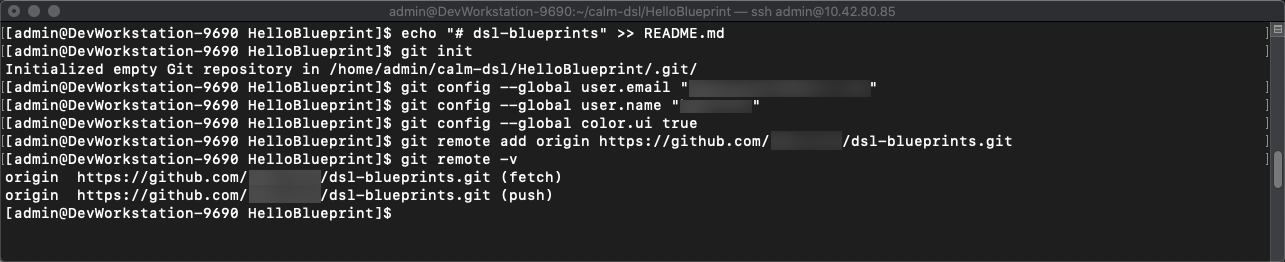
echo "# dsl-blueprints" >> README.mdto create a README -
git initinitialize git in your working directory -
git config --global user.email "<youremail>@example.com"identify yourself -
git config --global user.name "<GitUserName>"identify yourself -
git config --global color.ui truebecause colors are cool -
git remote add origin https://github.com/<GitUserName>/dsl-blueprints.gitto add your new github repo -
git remote -vto verify your remote origin
-
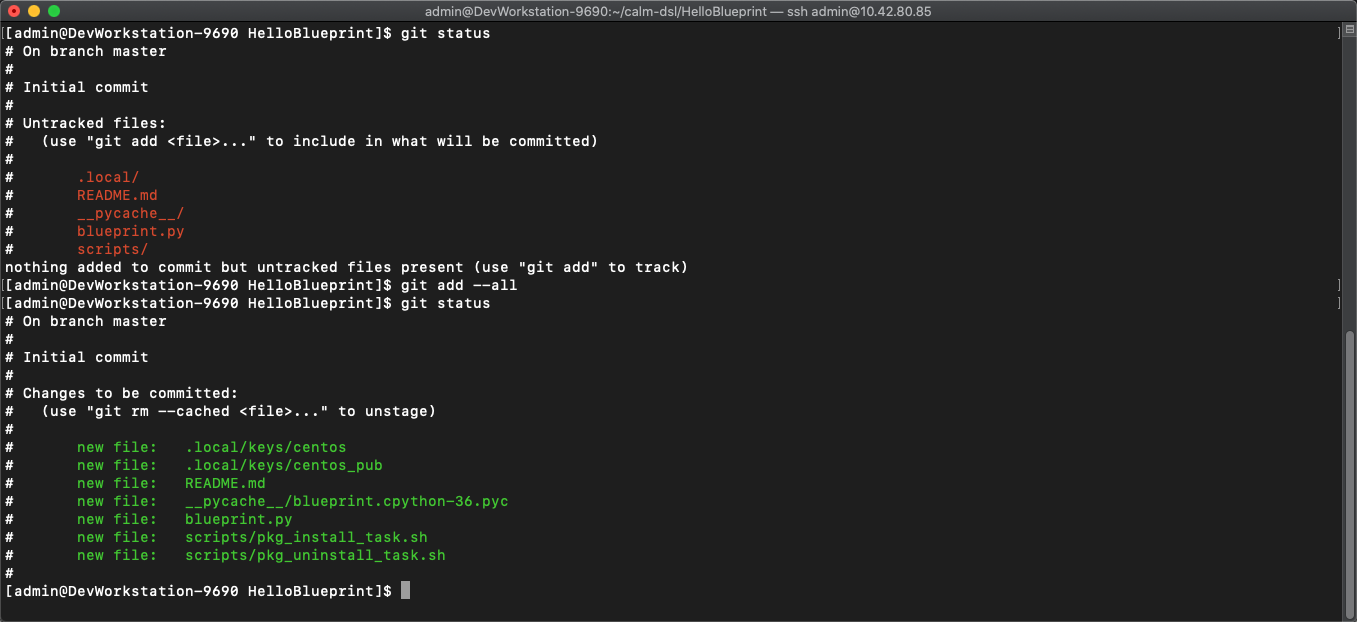
git statusto see whats being tracked -
git add --alladds all files in the current directory into staging -
git statusto see the change after adding the files
-
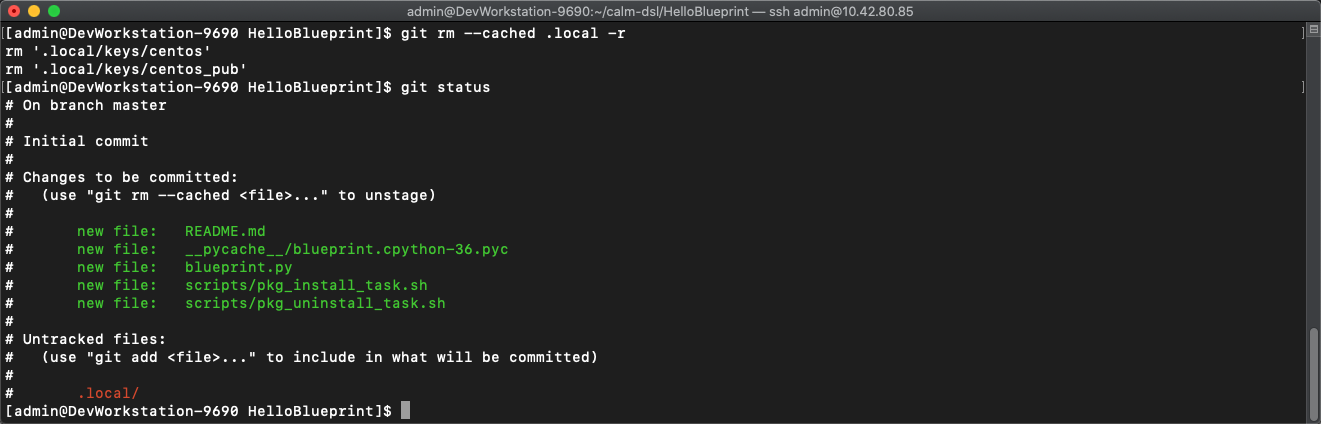
From the above output we can see there are some keys so lets remove those since this is being pushed to a public repo
-
git rm --cached .local -r -
git statusto verify they were removed
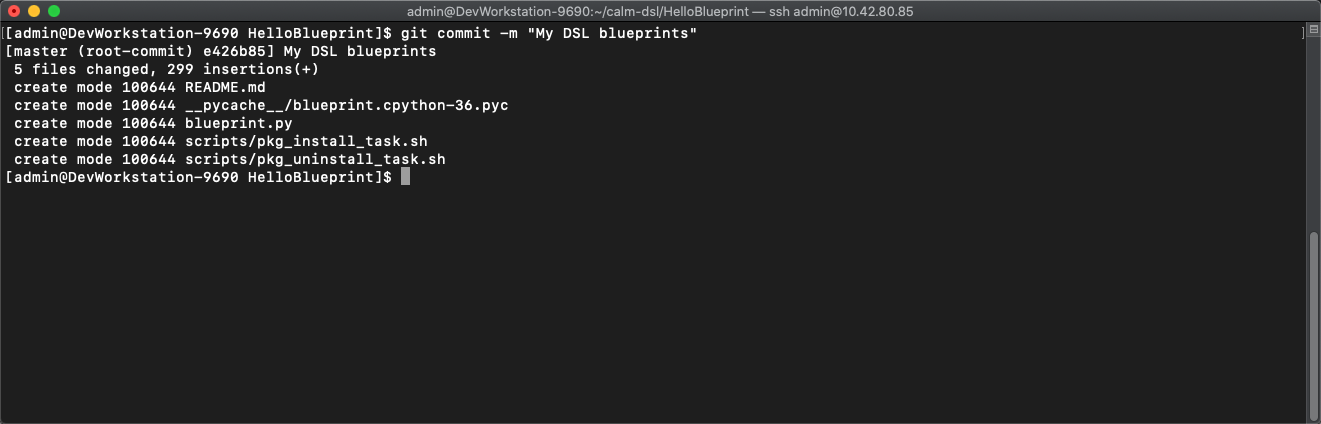
git commit -m "My DSL blueprints"to commit the files
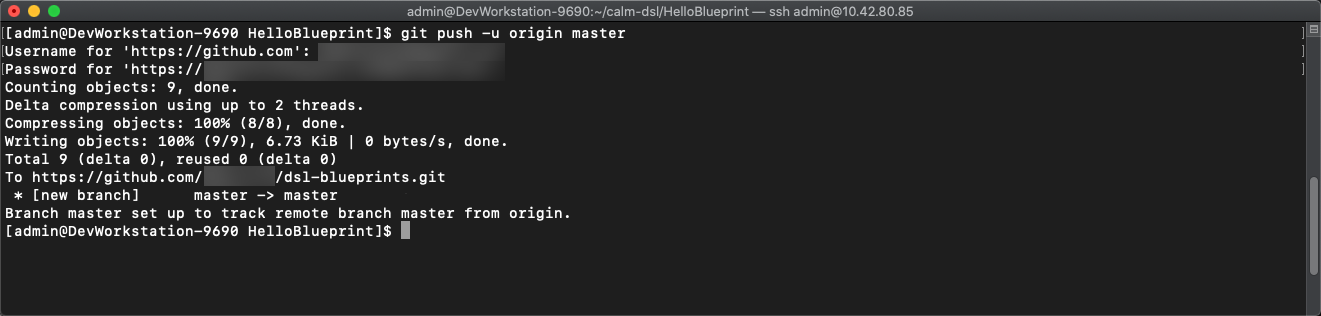
git push -u origin masterto push to git. You will be prompted for your user/pass unless you setup key access to github
-
Check your github repo and verify your files were pushed. Now that your blueprints exists in both Calm and github lets increase the memory to 8 in the blueprint by running:
-
sed -i 's/memory = 4/memory = 8/g' blueprint.pyuse the linux sed tool to change the memory config -
git add blueprint.py -
git commit -m "change memory" -
git push -u origin master
-
-
Back in github there is a new verion under the "history" of blueprint.py with the changed memory

As you went through this module we pushed our original blueprint to Git and we made edits to that blueprint using sed. Then we pushed the blueprint back to Git where we started mainitaing different versions.
-


