Uchiwa is a simple dashboard for the Sensu monitoring framework, built with Node.js and AngularJS.
The dashboard is under active development, and major changes are not uncommon.


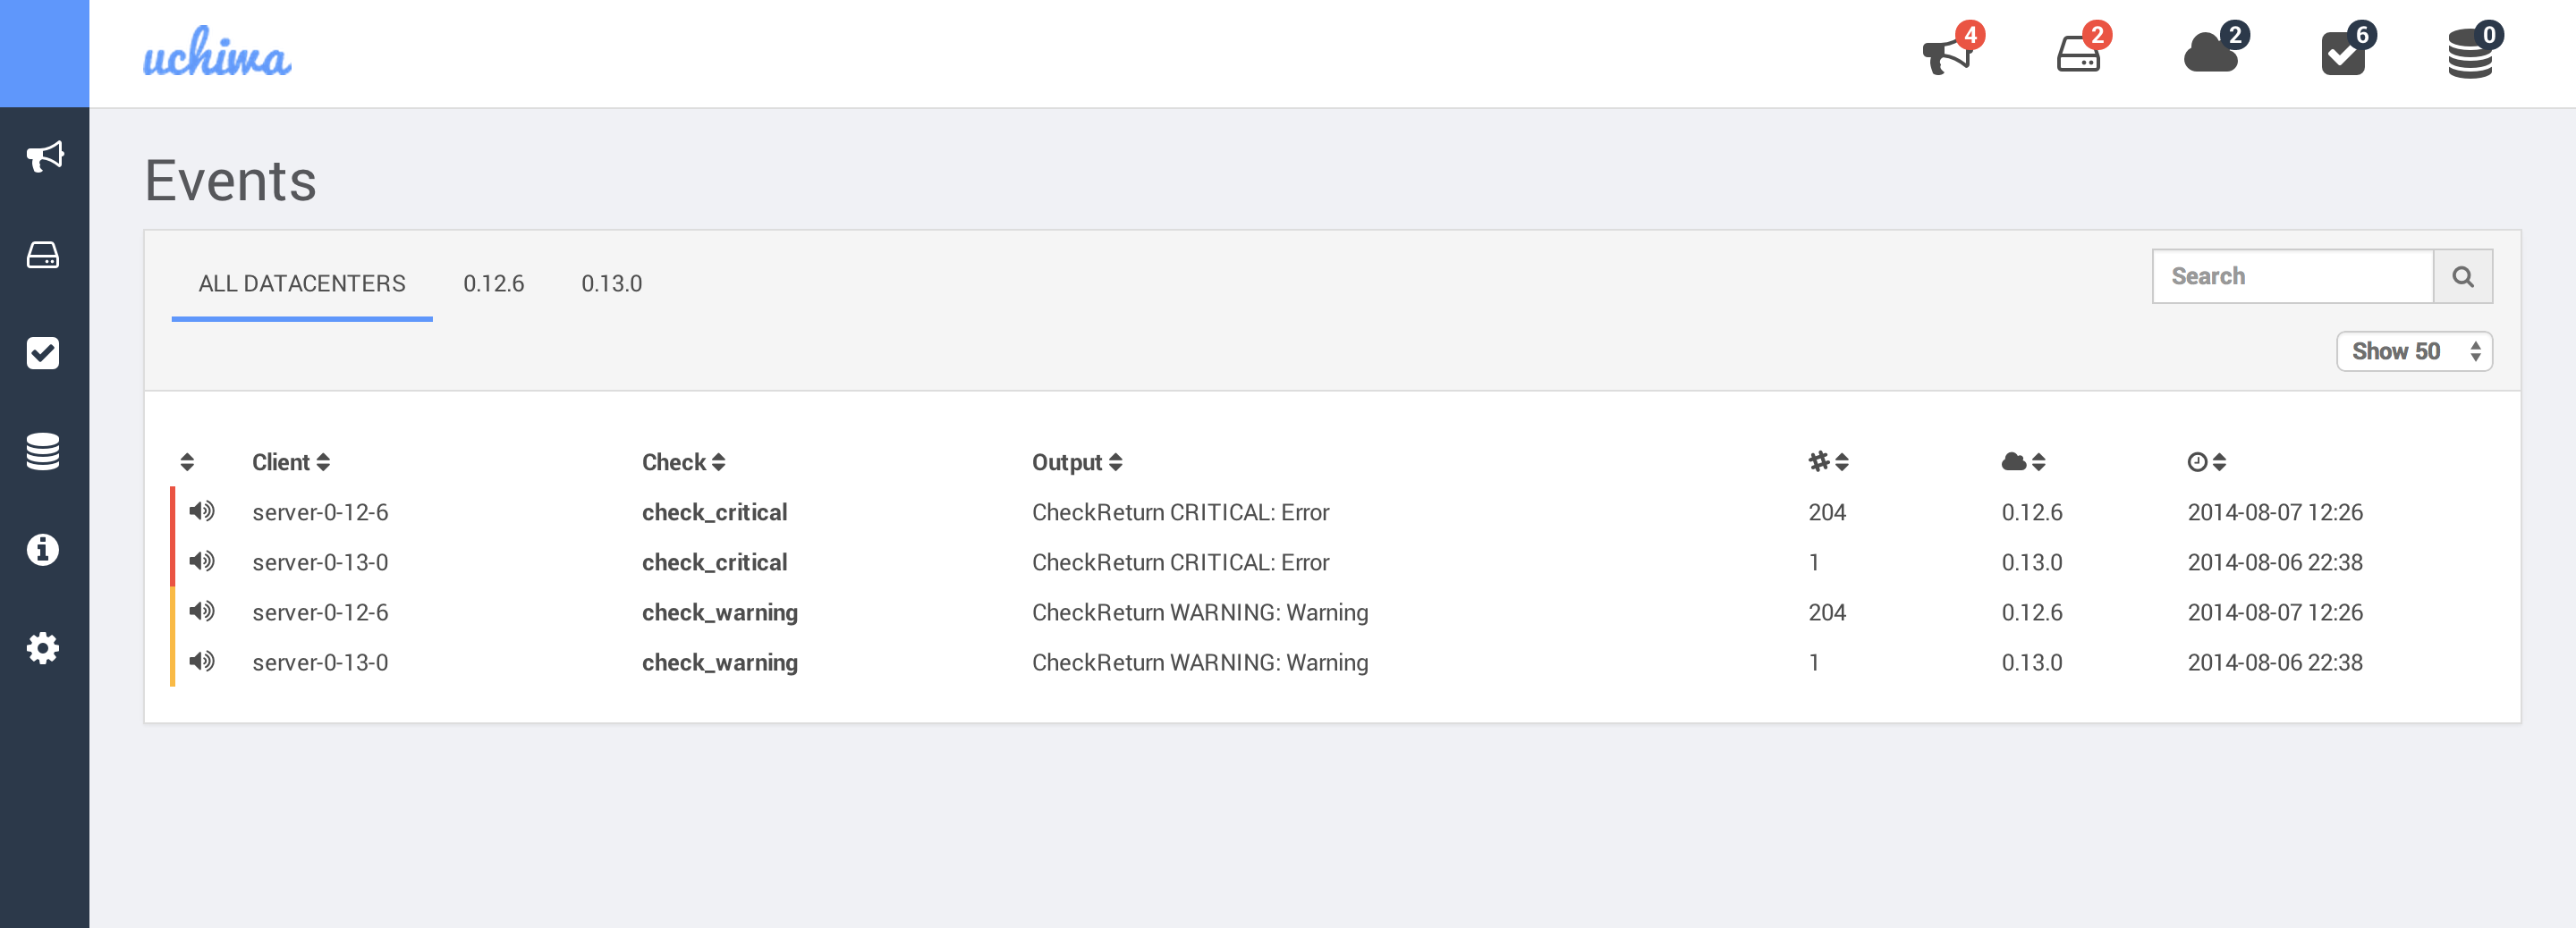
- Support of multiple Sensu APIs
- Real-time updates with Socket.IO
- Client and checks stashes management
- Easily filter events, clients, stashes and events
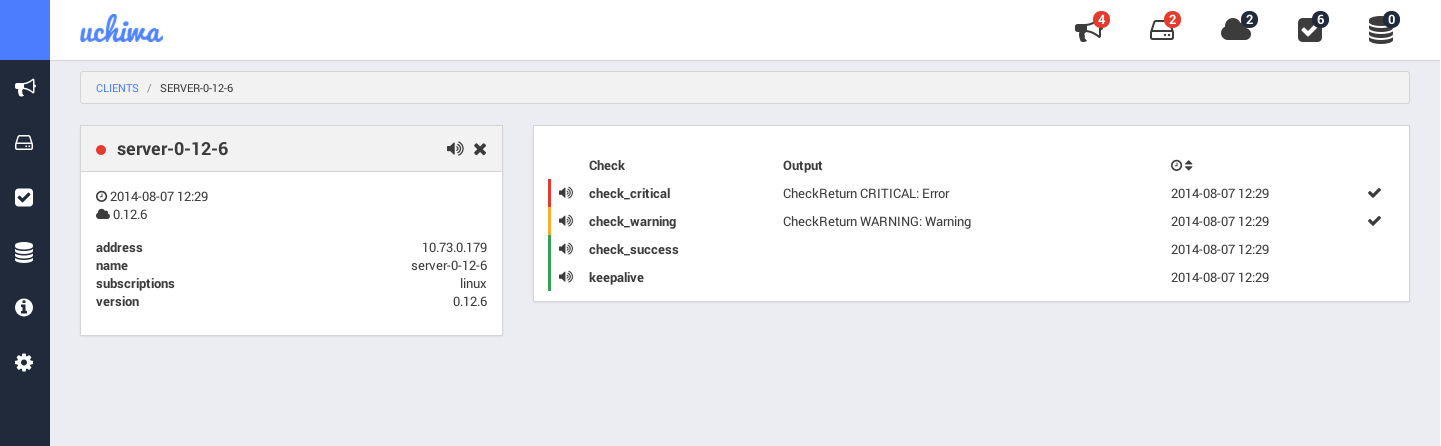
- Simple client details view
- Easy installation
- Checkout the source:
git clone https://github.com/sensu/uchiwa.git - Install bower on your system:
npm install -g bower - Install the dependencies:
- With root user:
npm install --production --unsafe-perm - With normal user:
npm install --production
- With root user:
- Copy config.json.example to config.json - modify your Sensu API information. See configuration section below
- Start the dashboard:
node app.js - Open your browser:
http://localhost:3000/
host- String: The address of the Sensu API.ssl- Boolean: Determines whether or not the API use a SSL certificate.port- Integer: The port of the Sensu API. The default value is 4567.user- String: The username of the Sensu API. Leave empty for none.pass- String: The password of the Sensu API. Leave empty for none.path- String: The path of the Sensu API. Leave empty in case of doubt.timeout- Integer: Timeout for the Sensu API, in milliseconds. The default value is 5000.
user- String: The username of the Uchiwa dashboard. Leave empty for none.pass- String: The password of the Uchiwa dashboard. Leave empty for none.stats- Integer: Determines the retention, in minutes, of graphics data. The default value is 10.refresh- Integer: Determines the interval to pull the Sensu API, in milliseconds. The default value is 10000.
This application comes pre-packaged in a docker container for easy deployment.
There are two ways of running this container:
Make a config.json file for the application, and then launch the uchiwa container with the config mounted as a volume.
# Create a folder that will be mount as a volume to the Docker container
mkdir ~/uchiwa-config
# Copy your uchiwa config into this last folder
cp ~/uchiwa/config.json ~/uchiwa-config/config.json
# Start Docker container. It will listen on port 3000 by default
docker run -v ~/uchiwa-config:/config uchiwa/uchiwa
You can instead use environment variables to configure the application. Host is fixed to 0.0.0.0 and port to 3000, but the other settings can be set:
UCHIWA_USERUCHIWA_PASSUCHIWA_REFRESH
And configuring an API is done with other environment variables which are designed to fit into Docker's container links (allowing you to point uchiwa at an API just be --linking it to that container)
You can link multiple APIs by providing multiple sets of environment variables with different prefixes.
These variables are mandatory.
API1_PORT_4567_TCP_PORT- The port for the API, usually 4567API1_PORT_4567_TCP_ADDR- The hostname or IP for the API
These variables are optional
API1_UCHIWA_NAMEAPI1_UCHIWA_SSLAPI1_UCHIWA_USERAPI1_UCHIWA_PASSAPI1_UCHIWA_PATHAPI1_UCHIWA_TIMEOUT
An example of starting the container with the minimum set of environment needed would be:
docker run -i -t -p 3000 -e API1_PORT_4567_TCP_PORT=3000 -e API1_PORT_4567_TCP_ADDR="1.1.1.1" uchiwa/uchiwa
You may start the dashboard with the following command in order to enable verbose mode: NODE_ENV="development" node app.js
You may easily monitor Uchiwa and the Sensu API endpoints with the /health page.
Returns Uchiwa and Sensu API status.
- success: 200
- content:
{"uchiwa":"ok","sensu":{"0.12.6":{"output":"ok"},"0.13.0":{"output":"ok"}}}
- content:
- error: 503
- content:
{"uchiwa":"ok","sensu":{"0.12.6":{"output":"connect ECONNREFUSED"},"0.13.0":{"output":"ok"}}}
- content:
Returns Uchiwa status.
- success: 200
- content:
{"uchiwa":"ok"}
- content:
- error: 503
- content:
{"uchiwa":"error"}
- content:
Returns Sensu API status.
- success: 200
- content:
{"sensu":{"0.12.6":{"output":"ok"},"0.13.0":{"output":"ok"}}}
- content:
- error: 503
- content:
{"sensu":{"0.12.6":{"output":"connect ECONNREFUSED"},"0.13.0":{"output":"ok"}}}
- content:
Everyone is welcome to submit patches. Whether your pull request is a bug fix or introduces new classes or functions to the project, we kindly ask that you include tests for your changes. Even if it's just a small improvement, a test is necessary to ensure the bug is never re-introduced.
You should always run npm test before submitting a Pull Request.
- Clone this cookbook (
git clone git@github.com:palourde/uchiwa-sensu.git) - Boot the virtual machines (
vagrant up) - Copy the configuration file (config.json) found on the uchiwa-sensu repo into the uchiwa repo
- Install all dependencies (
npm install) - Run E2E tests (
npm run protractor)
- Author: Simon Plourde (simon.plourde@gmail.com)
- Contributor: Ethan Hann (ethanhann@gmail.com)
MIT (see LICENSE)