Pastabilities, Next.js e-commerce store
The e-commerce store is a full-stack application that simulates a real webshop page that sells pasta products.
Desktop version : this shop is optimised to be used in resolutions with a width bigger than 1680px.
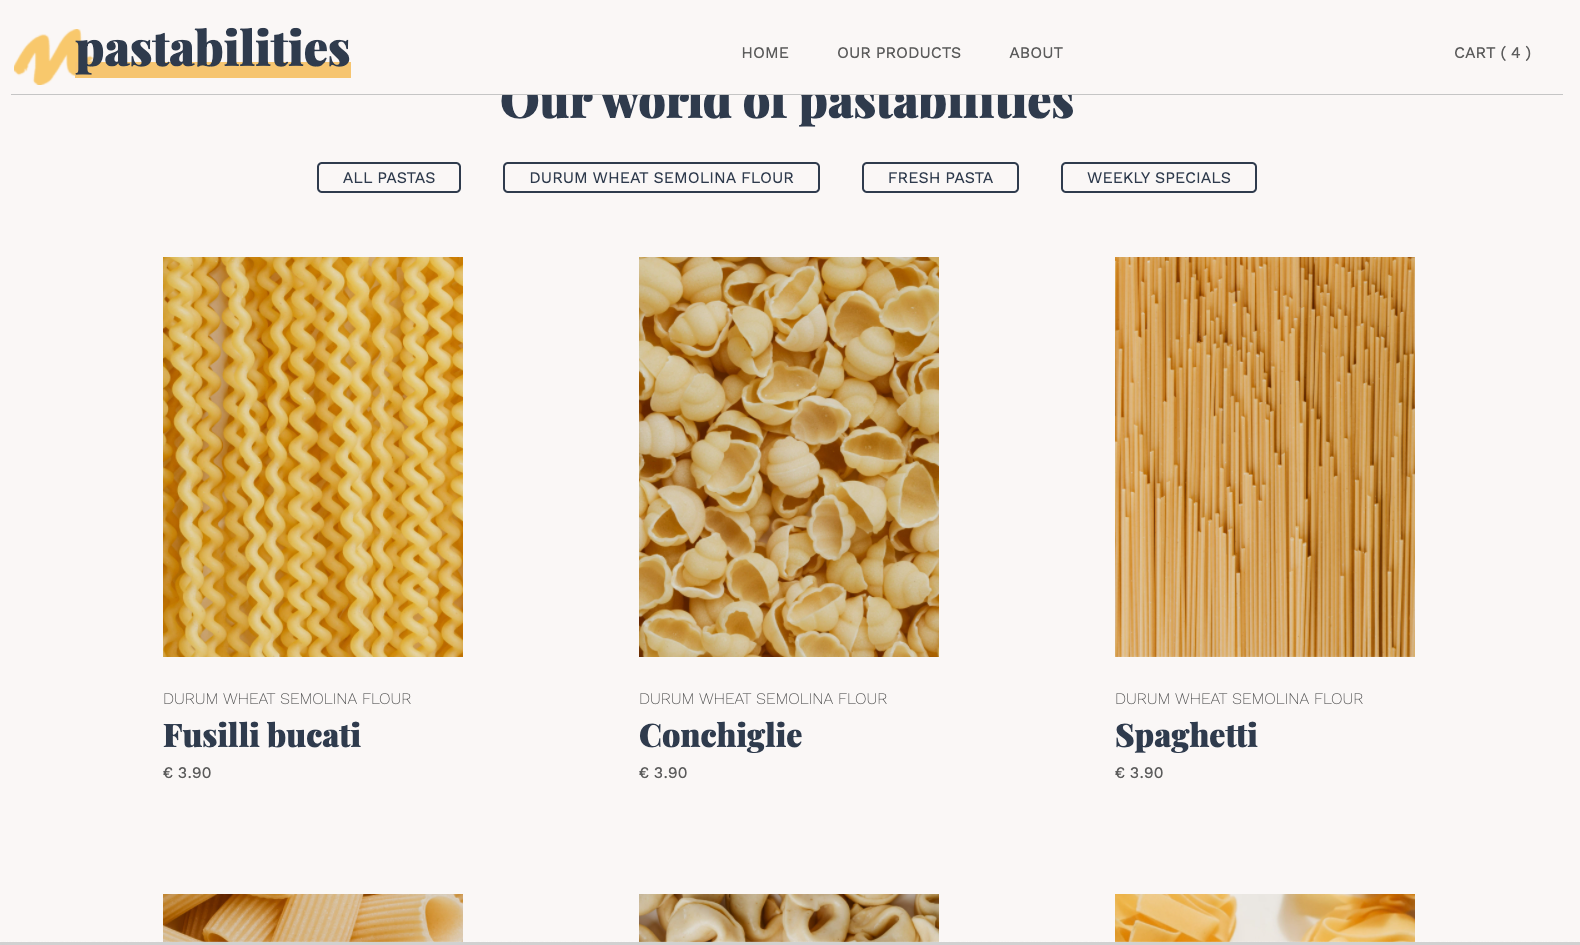
The shop displays a products page where all items are listed. The main features are:
- The user can browse through different pasta products and filter by pasta category (e.g. fresh pasta).
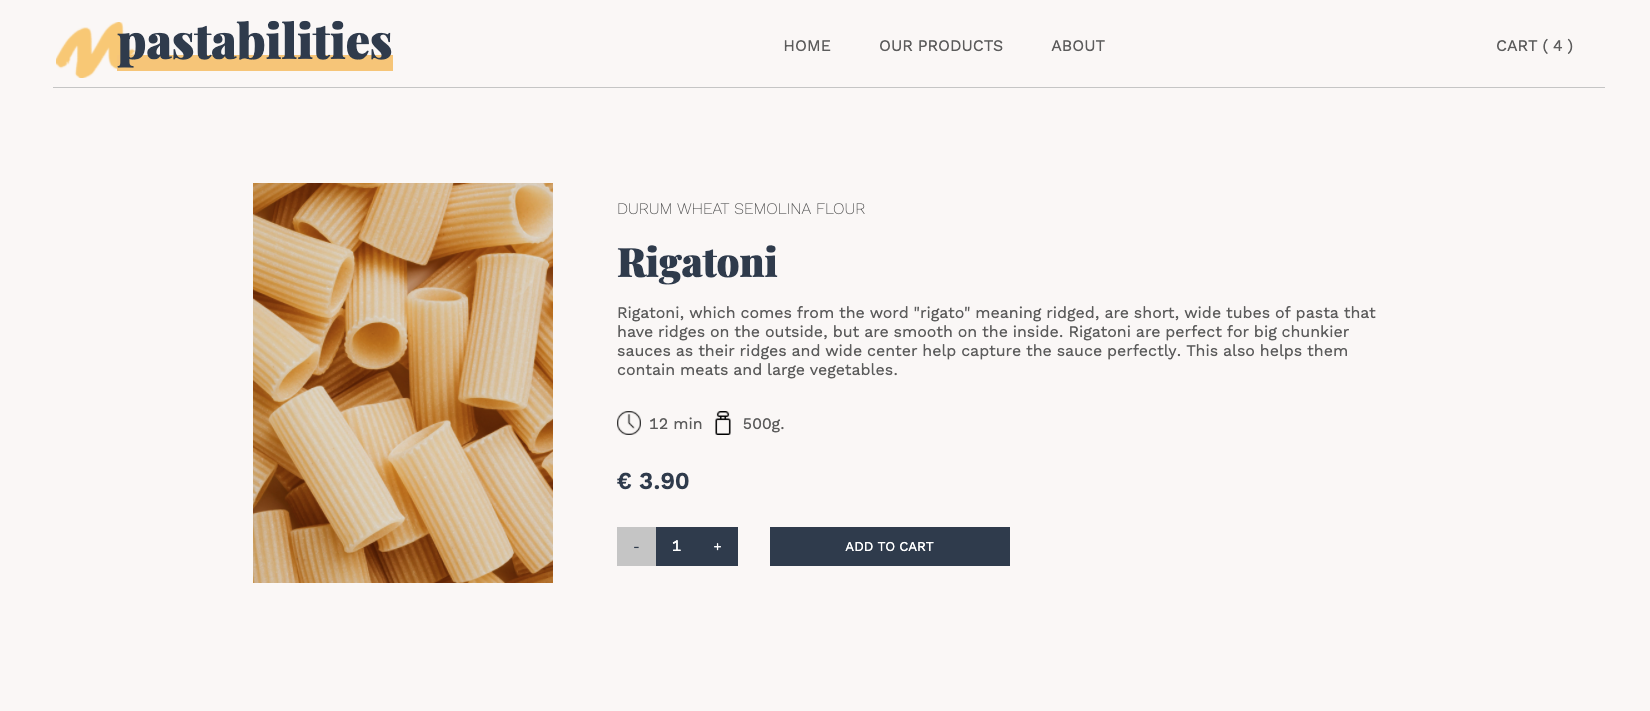
- The user can select and order an amount of pasta packages and is able to add them to the shopping cart.
- The user can always check how many items are in the shopping cart by looking at the header.
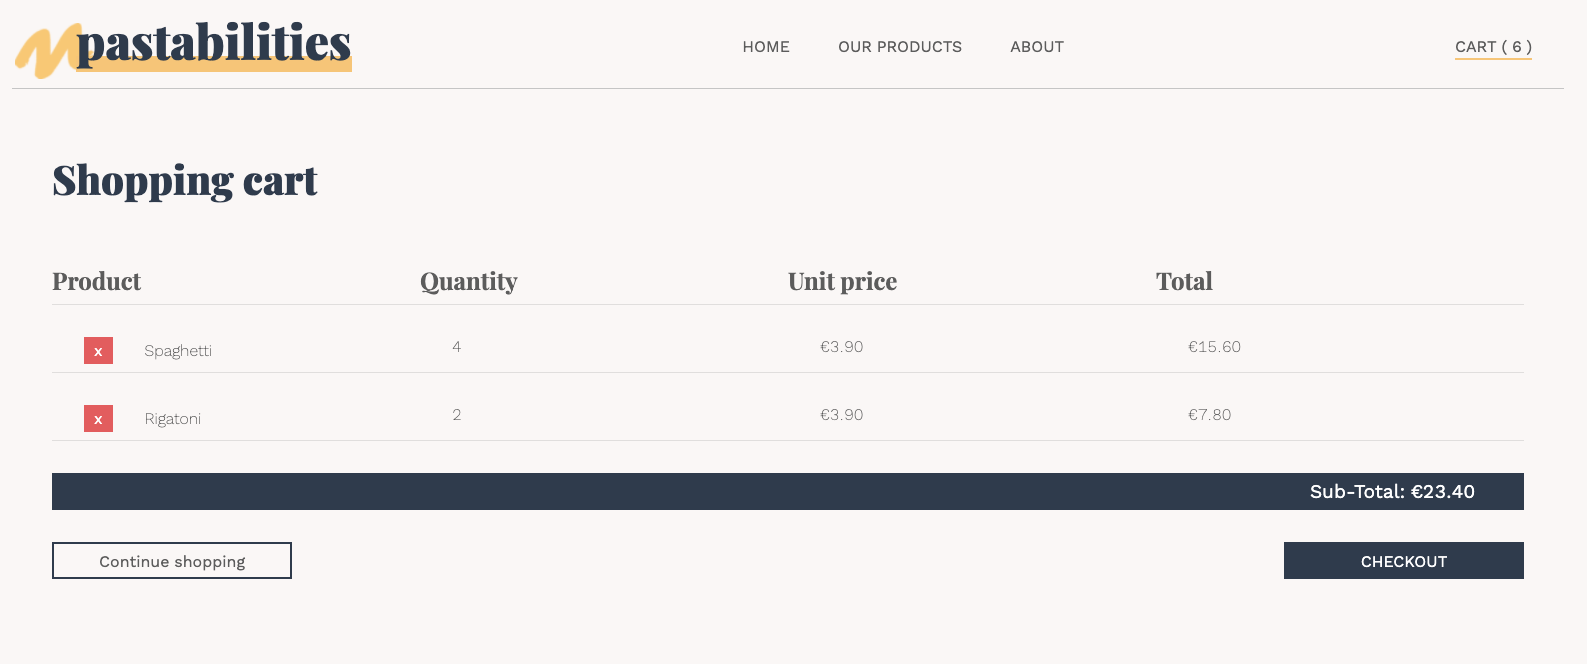
- From the shopping cart, products can be removed or the user can proceed to the checkout page and finalise the order.
Technologies used
Client: Next.js, React, TypeScript, Styled Components, Jest
Server: Node.js, PostgreSQL
Screenshots
Landing page
Products overview page
Product description page
Shopping cart page
Setup guide
To run this project locally, the following steps are needed:
-
Clone this repo on your local machine and connect to your GitHub account
-
Download and install PostgreSQL (if not installed yet).
-
Create a User and a Database for the project.
-
Create a copy of the .env-example on the root of the project and modify it with your credentials. The file should include these four environment variables:
- PGHOST=localhost
- PGDATABASE=<nameOfYourDatabase>
- PGUSERNAME=<nameOfYourUsername>
- PGPASSWORD=<nameOfYourPassword>
- Rename this file to .env .
- On the command Line go to the project directory and install the required dependencies with:
yarn- Install the dotenv-cli globally with:
yarn global add dotenv-cli- Run the migrations for your local database with:
yarn migrate up- Start the server with:
yarn devDeployment instructions
The following instructions can be used to deploy the application online using Heroku:
- Create a repository with your version of the app.
- Sign up on Heroku: https://signup.heroku.com/ and create an account
- Create a new App with your preferred name
- Choose a name and select your region
- On "deploxment method", go to "Connect to GitHub" and select your repository
- Click on the "Enable Automatic Deploys" button
- Go back to the Overview tab and click on "Configure Add-On". Search for "Postgres" and select "Heroku Postgres" from the results
- Trigger the deployment by pushing into your github repository


