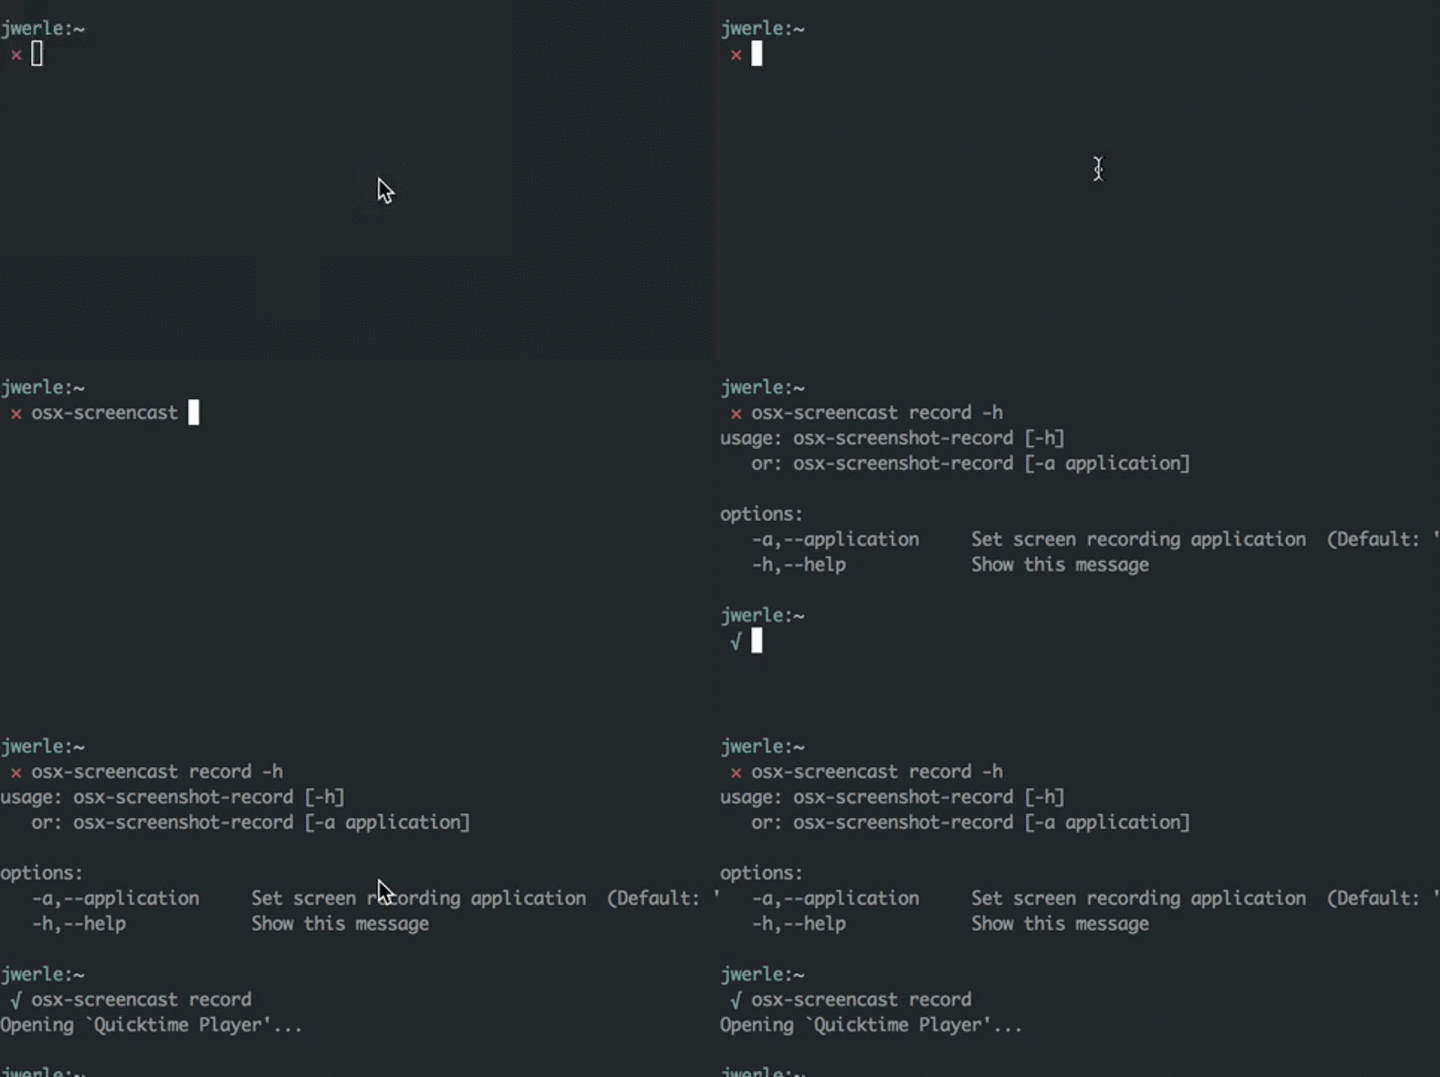
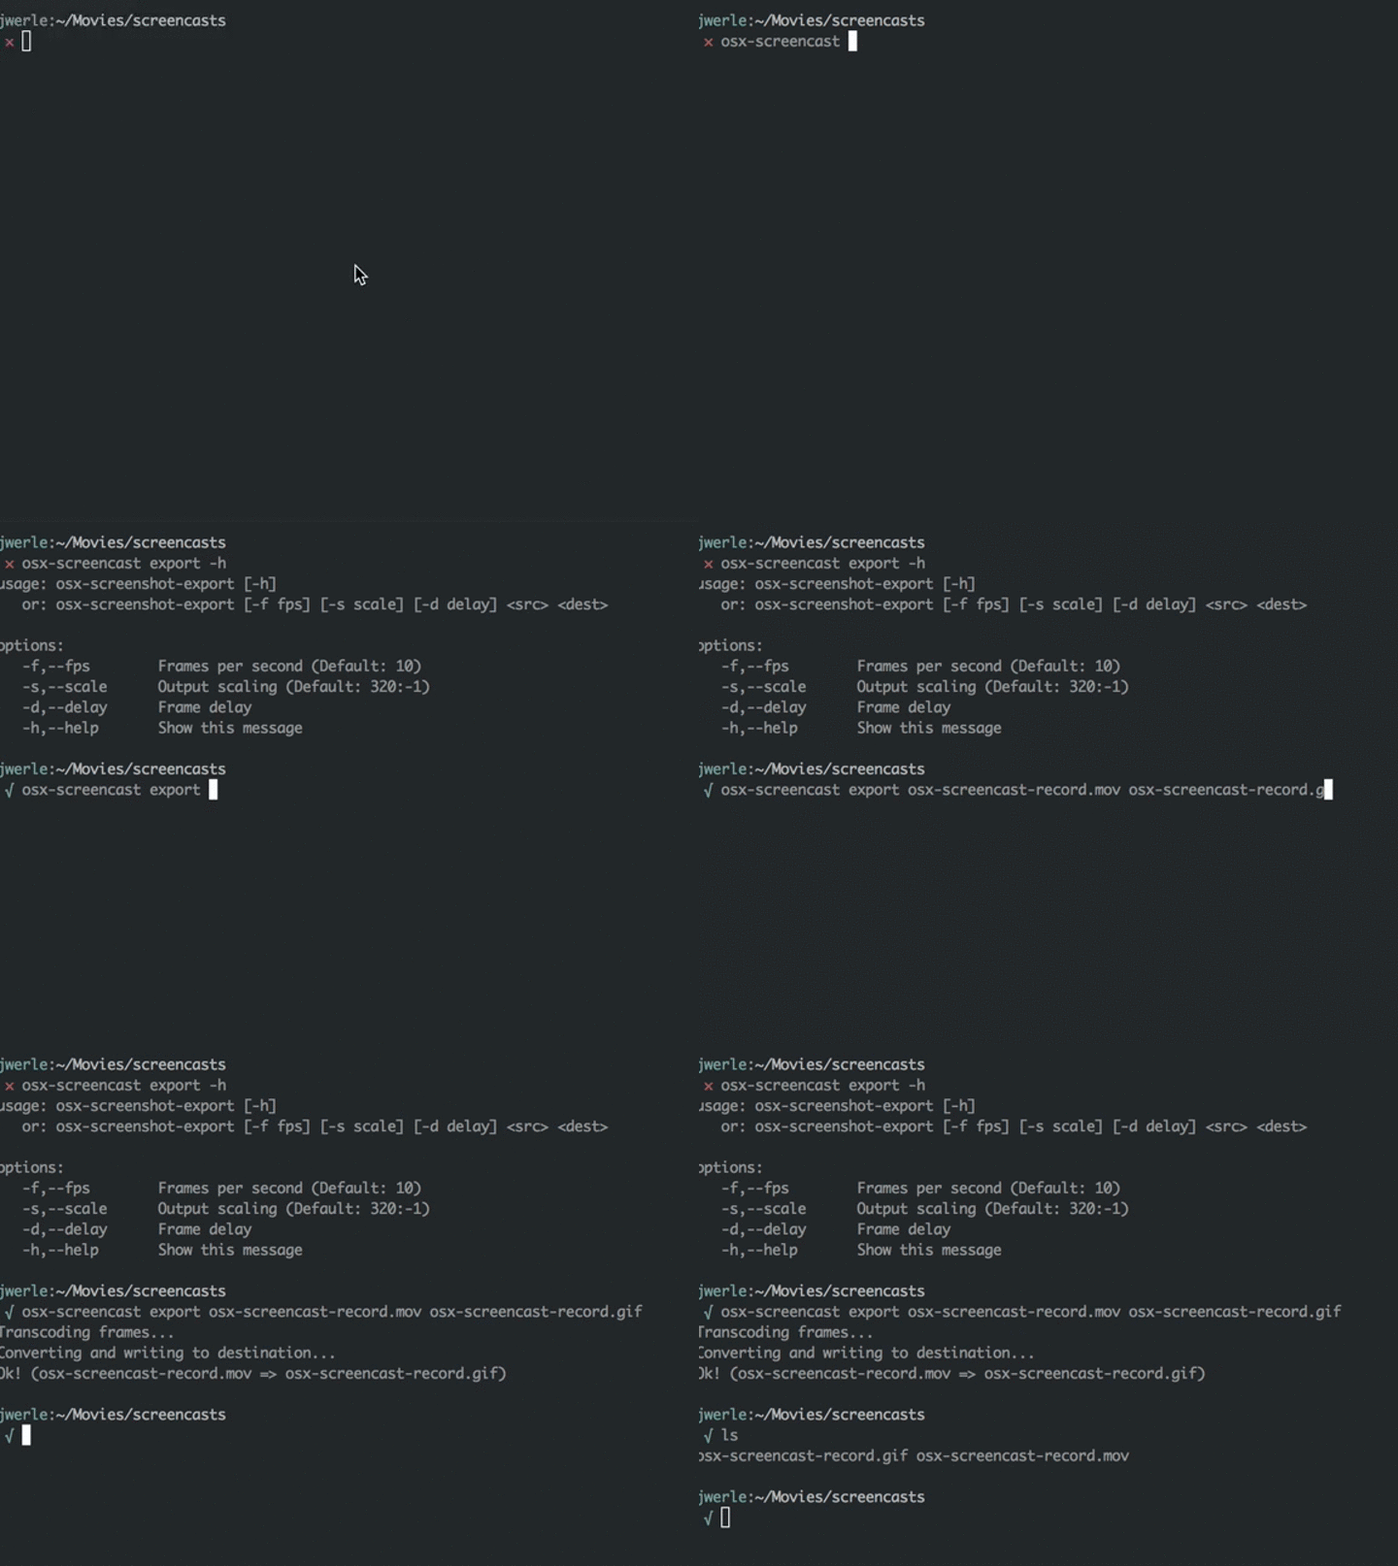
Easily create a screencast on OS X in a few commands. Inspired from this gist
$ bpkg install osx-screencastrecord
export
The osx-screencast-record command basically just opens up an
application with open -a defaulting to Quicktime Player as the
application that gets opened. The -a or --application can be used to
override this values.
$ osx-screencast record
Opening `Quicktime Player'...
Record your screen in the application you've chosen and save the file.
You will need to know the path to the file you've saved because it will
be the source of the osx-screencast-export command.
The osx-screencast-export command wraps the use of ffmpeg and
convert with default arguments. You can define the output fps for a video
with the -f or --fps option. The default is 10. The delay between
each frame in the output can be defined in milliseconds with the -d or
--delay option. The default is 5. The output scale can be defined
with the -s or --scale option. The default is 320:-1. See this
link
for more information on ffmpeg scaling.
$ osx-screencast export screencast.mov screencast.gif -s '720:-1'
Transcoding frames...
Converting and writing to destination...
Ok! (screencast.mov => screencast.gif)usage: osx-screenshot [-hV]
or: osx-screenshot record [-h] [-a application]
or: osx-screenshot export [-h] [-f fps] [-s scale] [-d delay] <src> <dest>
usage: osx-screenshot-record [-h]
   or: osx-screenshot-record [-a application]

options:
   -a,--application     Set screen recording application  (Default: 'Quicktime Player')
   -h,--help            Show this message
usage: osx-screenshot-export [-h]
   or: osx-screenshot-export [-f fps] [-s scale] [-d delay] <src> <dest>

options:
   -f,--fps        Frames per second (Default: 10)
   -s,--scale      Output scaling (Default: 320:-1)
   -d,--delay      Frame delay
   -h,--help       Show this message
MIT

