This repository provides an easy-to-deploy pipeline for the development, testing, building and deployment of applications written in Go. Although this example is tailored to Go, it can be easily modified to deploy applications written in other languages too.
Services Used:
- AWS CodePipeline for pipeline creation.
- AWS CodeBuild for testing and building your Go application(s).
- AWS CloudFormation for deploying infrastructure (Infrastructure-as-Code).
- AWS CodeDeploy for zero downtime deployments of your application(s).
This pipeline allows you easily apply continuous delivery or continuous deployment principles to your development lifecycle.
- What's in the box?
- Source Control
- Build / Test
- Infrastructure-as-Code
- Zero Downtime Application Deployment
- Per Environment Configuration
- Optional manual gate for Production
- How do I deploy this?
- Fork the repository
- Deploy the pipeline to your AWS account
- Develop, deploy, iterate!
- How does this work?
- Stage: Source
- Stage: Test & Build
- Stage: Deploy to Staging
- Stage: Manual Approvals (optional)
- Stage: Deploy to Production
- Contributing
- License
A pipeline will be configured in AWS CodePipeline. It will automatically monitor a GitHub repository for modifications to applications or infrastructure and push them through the delivery pipeline.
AWS CodeBuild will be used to:
- Run any tests included in the project (using
go test). - Check for code lint errors (using
golint). - Build your Go application.
- Archive all build artifacts to S3.
To read or modify the AWS CodeBuild configuration, see buildspec.yml.
AWS CloudFormation will be used to deploy a staging and production environment suitable for hosting Go applications on AWS. This is incorporated into the same pipeline as the application development. Infrastructure for the staging and production environments will be automatically deployed as required.
By default, this will configure:
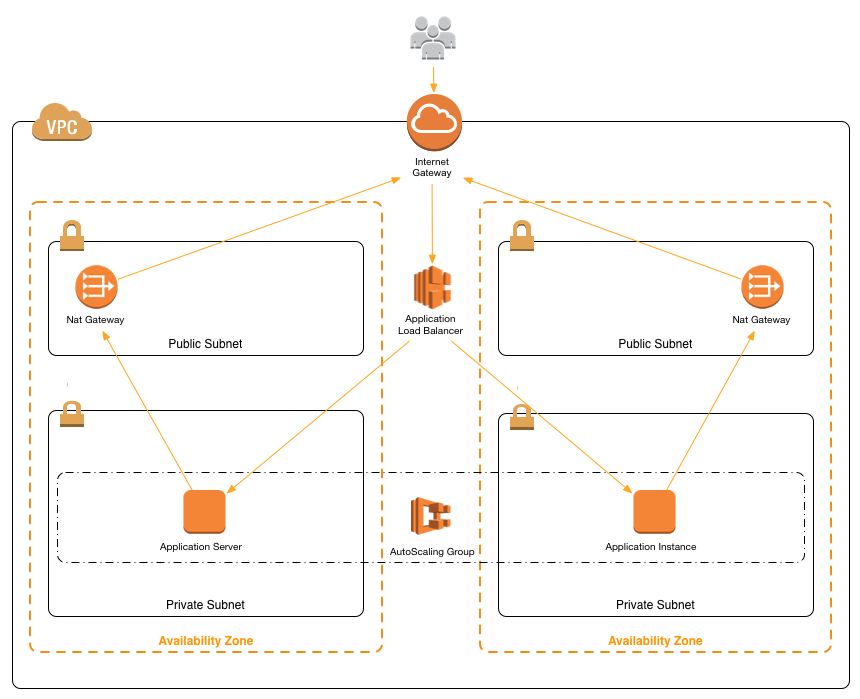
- A VPC, with public and private subnets across multiple Availability Zones (AZs).
- An Application load balancer in the public subnets.
- An Auto Scaling group of EC2 instances in private subnets.
- NAT gateways to allow outbound internet access from the private subnets.
The following diagram shows an overview of the infrastructure deployed for each environment (staging and production):
You can read or modify the infrastructure deployed in cloudformation/infrastructure.yml.
A sample Go application is included (see main.go) that acts as a simple webserver.
When changes are made to the Go application, AWS CodePipeline will automatically take the changes through the deployment pipeline.
AWS CodeBuild will run all tests, build the application, and then archive successful builds to Amazon S3.
AWS CodeDeploy will deploy the new application version to the Auto Scaling group of Amazon EC2 instances. By default, AWS CodeDeploy will use the CodeDeployDefault.OneAtATime deployment strategy. However you can modify the per-environment configuration to use any of the strategies listed here.
In the config/ directory you will find a configuration file for each environment that you can use to override key settings, such as the AWS CodeDeploy deployment strategy, instance types, and Auto Scaling group sizes.
Here is an example:
{
    "Parameters": {
        "InstanceType": "t2.micro",
        "InstanceCount": "2",
        "DeploymentStrategy": "CodeDeployDefault.OneAtATime",
        "VpcCIDR": "10.193.0.0/16",
        "PublicSubnet1CIDR": "10.193.10.0/24",
        "PublicSubnet2CIDR": "10.193.11.0/24",
        "PrivateSubnet1CIDR": "10.193.20.0/24",
        "PrivateSubnet2CIDR": "10.193.21.0/24"
    }
}
See:
Any changes made and committed back to your repository will be run through the pipeline and applied to your infrastructure/application automatically.
This pipeline includes an (optional) manual approval stage between the staging and production environments. This can be useful if you are not yet at the stage where you can move to fully automated continuous deployment.
This new repository will be used for developing your application, infrastructure, and pipeline (through AWS CloudFormation). Click the following button to initiate the fork:
The pipeline is available as a AWS CloudFormation template, and included in this repository (see cloudformation/pipeline.yml). Click the following button to deploy it to your AWS account in the us-east-1 region:
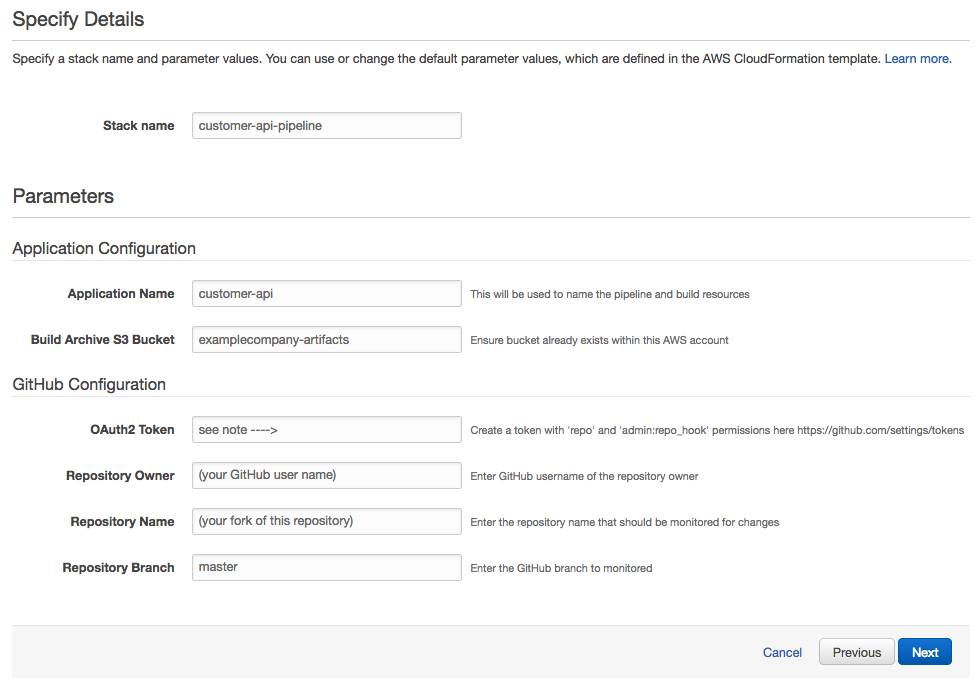
You will need to provide some parameters to point AWS CodePipeline to the repository you forked in your account. For example:
After the AWS CloudFormation stack has been created, you will find your new pipeline in the AWS CodePipeline console.
Now that your pipeline is setup, you can start the fun part: developing your application! Make some changes to the example Go application in main.go, and then commit the changes to your GitHub repository.
In the AWS CodePipeline console, you should see the changes you've made flow through the pipeline.
To find the URL of your staging and production environments, go to AWS CloudFormation console, find the staging or production stack and look at the stack output. You will see a link to your load-balanced URL. For convenience, you will probably want to create a more convenient CNAME in your DNS to point to this URL. (Or just bookmark it!) It will remain constant across application deployments.
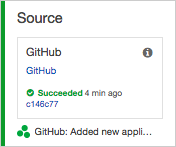
A hook is used to notify AWS CodePipeline of any updates to your GitHub repository. This will trigger the Source stage of your pipeline automatically.
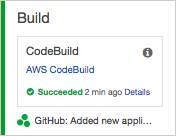
AWS CodeBuild will then run your application tests, check code linting and build your application. After a successful build, it will archive the build artifact(s) to the Amazon S3 bucket provided when you deployed your pipeline.
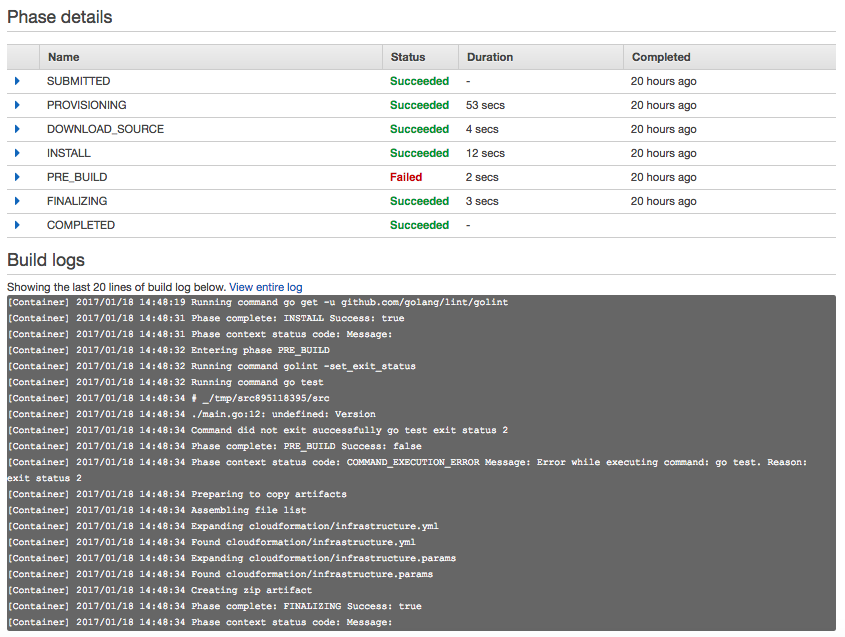
If there are any failures in your test or build process, they will be displayed in the AWS CodePipeline console. Click on the Detail link in the pipeline stage to see the full build log. This will help you identify the reason for the failure.
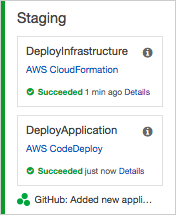
This stage uses AWS CodePipeline's ability to deploy with AWS CloudFormation.
It will deploy the infrastructure for the staging environment (as defined in cloudformation/infrastructure.yml).
The first time the pipeline stage runs, it will create the environment from scratch. On future runs, it will apply any updates through a CloudFormation stack update.
It will also use AWS CodeDeploy to deploy and validate the application. You can see the AWS CodeDeploy configuration in appspec.yml
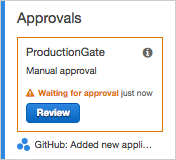
This pipeline includes an (optional) manual approval stage between the staging and production environments. This can be useful if you are not yet at the stage where you can move to fully automated continuous deployment.
If you want to remove this from your pipeline, just edit the pipeline definition in cloudformation/pipeline.yml and update your pipeline AWS CloudFormation stack with the new template.
The approval can be configured to trigger an Amazon Simple Notification Service (SNS) notification. This allows you to notify approvers of pending actions through Email, SMS or a custom AWS Lambda function.
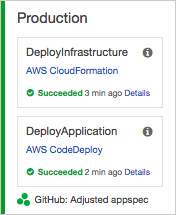
This stage deploys a whole new environment (everything in the architecture diagram) for your production environment. This ensures an identical configuration between environments, reducing false positives in your testing.
The first time the pipeline stage runs, it will create the environment from scratch. On future runs of the pipeline, it will apply any updates via a CloudFormation stack update.
You can create a GitHub issue for any feature requests, bugs, or documentation improvements.
Where possible, please submit a pull request for the change.


