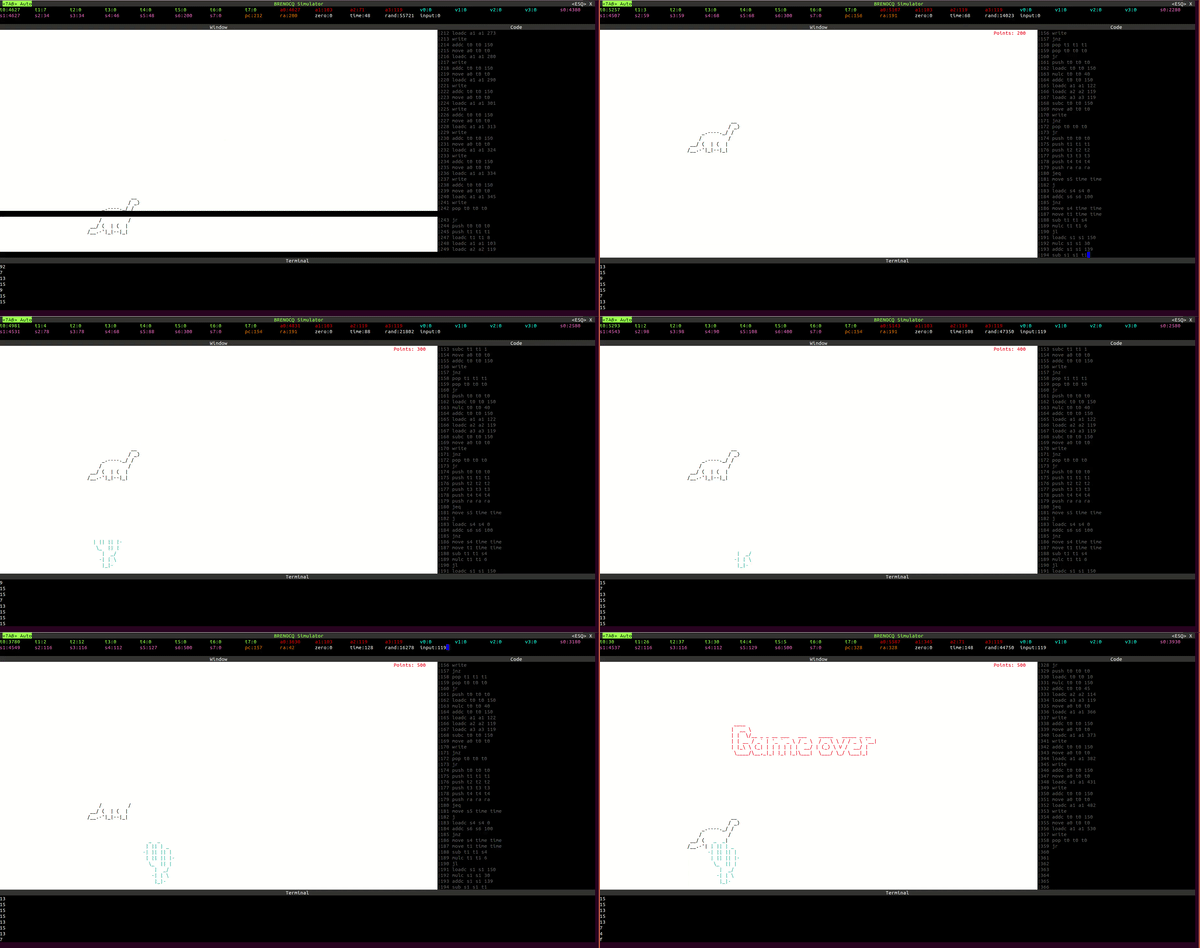
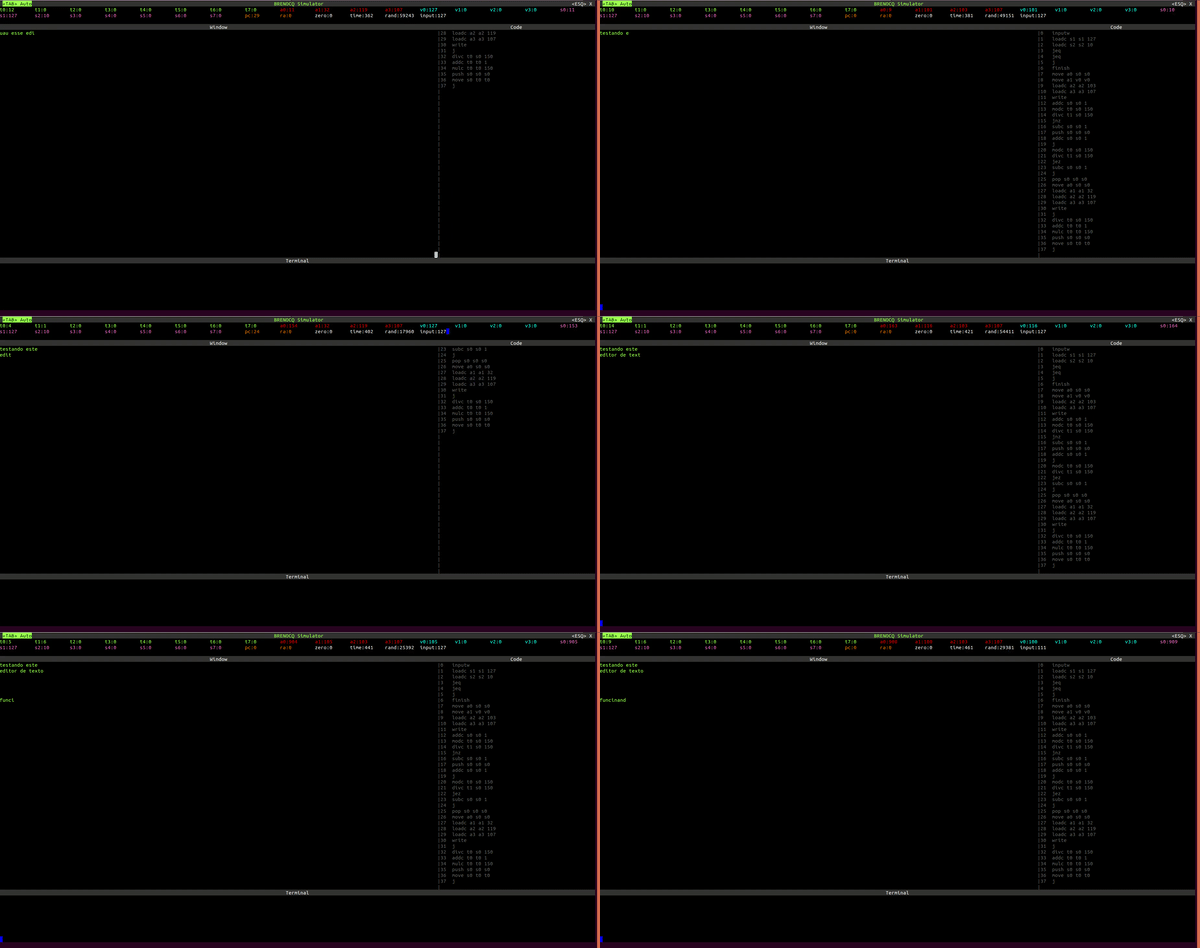
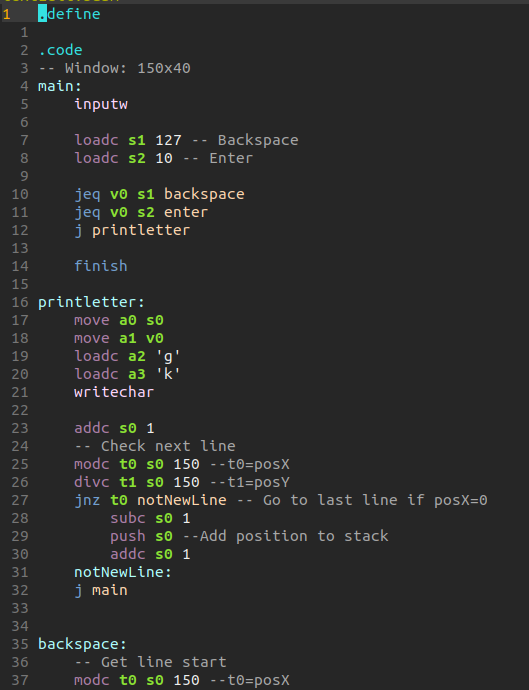
This processor was based on the processor developed by the ICMC. This project is divided into two parts: the assembler and processor simulator.
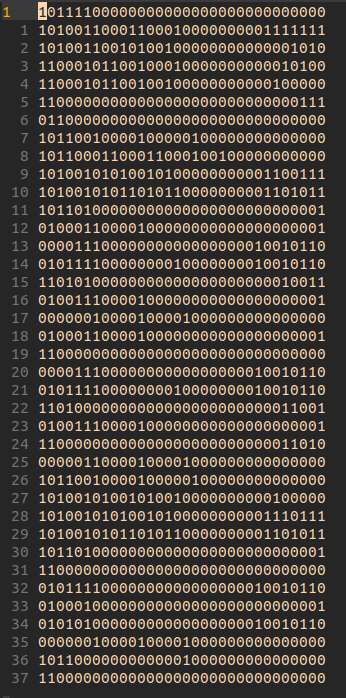
The assembler, which is a program developed in C++ to read a .basm file (assembly) and transform it into a .bbin file (binary). The structure of these two types of extensions were also developed in this project and will be explained later.
The simulator consists of a program that reads the instructions from the .bbin file line by line and executes them. The simulator is using ncurses to create a terminal interface. The architecture being simulated, as well as the different parts of the simulator will be explained later.
sudo apt-get install ncurses-dev
git clone https://github.com/Brenocq/MyMachine.git
cd MyMachine/assembler
make
cd ../simulator
make
./assembler/bin/assembler <.bbam file>
# or
./assembler/bin/assembler <.bbam file> <.bbin file>
If you pass just one file, the generated .bbin file will have the same name and will be stored in the same directory.
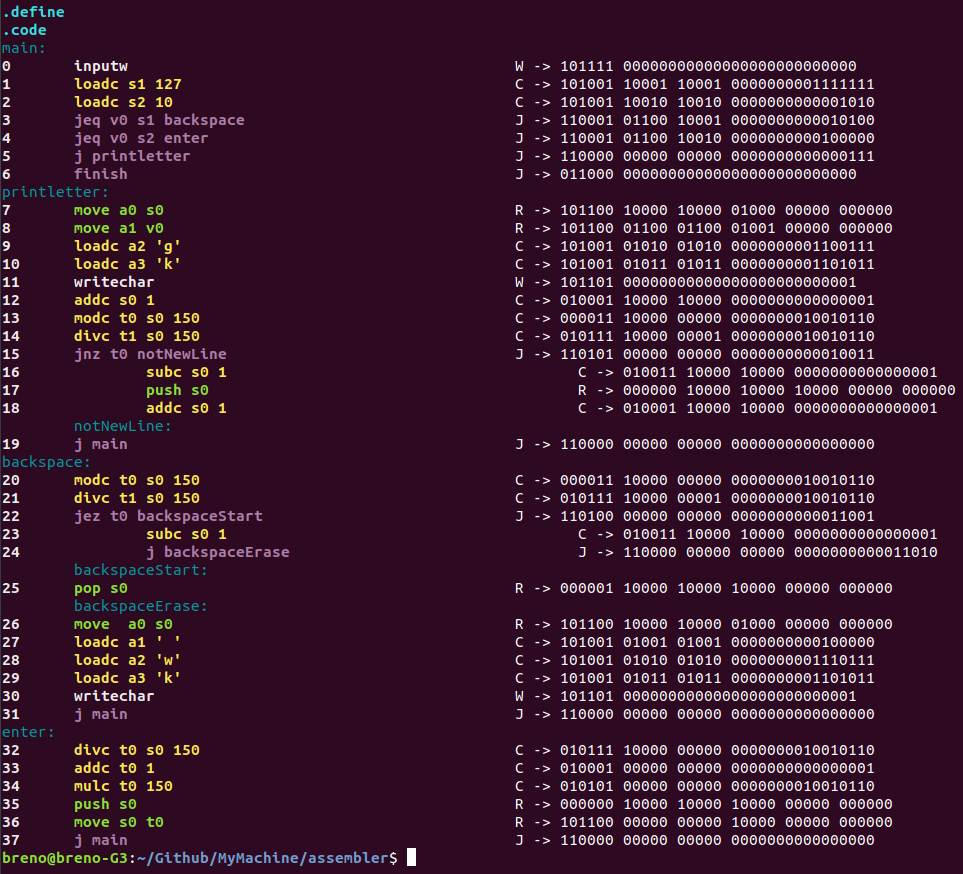
When you run the assembler, it shows in the terminal how each line was converted (image above), you can use this output to debug if any lines were converted incorrectly.
When running the simulator, you must pass the .bbin file you want to run as an argument.
./simulator/bin/simulator <.bbin file>
You can quit the simulator pressing . You can control the simulator mode with .
- Manual mode: Executes the code line by line each time a key is pressed.
- Auto mode: Executes the code until it finds a finish command.
The simulator interface is divided into 4 parts: Top bar, window, code, terminal.
In the topbar the value of each register is displayed.
The assembly code being executed and the next lines are shown on the right.
In the middle, the window that can be manipulated in the assembler is displayed. Its size is 150 x 40.
At the bottom, the terminal that can be used to display some values from the assembler is shown.
cd MyMachine
./assembler/bin/assembler examples/textEditor/textEditor.basm
./simulator/bin/simulator examples/textEditor/textEditor.bbin
cd MyMachine
./assembler/bin/assembler examples/dinosaur/dinosaur.basm
./simulator/bin/simulator examples/dinosaur/dinosaur.bbin
Types of registers:
- t (0-7): Should be used to perform temporary operations
- a (0-3): Should be used to send parameters to a functions
- v (0-3): Should be used to send the result of a function
- s (0-7): Should be used to store a value used throughout the program
- rand: At each cycle, this register is changed to a value between 0-65535
- time: This counter is added every 100ms
- input: Whenever a key is pressed on the keyboard, its ascii value is sent to this register.
- zero: Always zero, used to compare whether a value is zero
Obs: Negative values are not yet supported
| Special registers | Temporary registers | Argument registers | Function result | Saved temporary |
|---|---|---|---|---|
| pc | t0 | a0 | v0 | s0 |
| ra | t1 | a1 | v1 | s1 |
| rand | t2 | a2 | v2 | s2 |
| time | t3 | a3 | v3 | s3 |
| input | t4 | s4 | ||
| zero | t5 | s5 | ||
| t6 | s6 | |||
| t7 | s7 |
Arithmetic Instructions:
- add reg0 reg1 reg2 -------- reg0 = reg1+reg2
- addc reg0 reg1 const -------- reg0 = reg1+cosnt
- sub reg0 reg1 reg2 -------- reg0 = reg1-reg2
- subc reg0 reg1 const -------- reg0 = reg1-cosnt
- mul reg0 reg1 reg2 -------- reg0 = reg1*reg2
- mulc reg0 reg1 const -------- reg0 = reg1*cosnt
- div reg0 reg1 reg2 -------- reg0 = reg1/reg2
- divc reg0 reg1 const -------- reg0 = reg1/cosnt
- mod reg0 reg1 reg2 -------- reg0 = reg1%reg2
- modc reg0 reg1 const -------- reg0 = reg1%cosnt
- shiftl reg0 reg1 reg2 -------- reg0 = reg1<<reg2
- shiftlc reg0 reg1 const -------- reg0 = reg1<<cosnt
- shiftr reg0 reg1 reg2 -------- reg0 = reg1>>reg2
- shiftrc reg0 reg1 const -------- reg0 = reg1>>cosnt
Logical Instructions:
- and reg0 reg1 reg2 -------- reg0 = reg1 && reg2
- or reg0 reg1 reg2 -------- reg0 = reg1 || reg2
- xor reg0 reg1 reg2 -------- reg0 = reg1 != reg2
- not reg0 reg1 -------- reg0 = !reg1
Jump Instructions:
- j -------- jump
- jeq reg0 reg1 -------- jump if reg0 == reg1
- jne reg0 reg1 -------- jump if reg0 != reg1
- jez reg0 -------- jump if reg0 == 0
- jnz reg0 -------- jump if reg0 != 0
- jgt reg0 reg1 -------- jump if reg0 > reg1
- jge reg0 reg1 -------- jump if reg0 >= reg1
- jlt reg0 reg1 -------- jump if reg0 < reg1
- jle reg0 reg1 -------- jump if reg0 <= reg1
Jump and link Instructions:
Like jump instructions, but saves the current pc in the ra register. It can be used later to return to the line where it was called using the command jr.
- jl -------- jump and link
- jeql reg0 reg1 -------- jump if reg0 == reg1 and link
- jnel reg0 reg1 -------- jump if reg0 != reg1 and link
- jezl reg0 -------- jump if reg0 == 0 and link
- jnzl reg0 -------- jump if reg0 != 0 and link
- jgtl reg0 reg1 -------- jump if reg0 > reg1 and link
- jgel reg0 reg1 -------- jump if reg0 >= reg1 and link
- jltl reg0 reg1 -------- jump if reg0 < reg1 and link
- jlel reg0 reg1 -------- jump if reg0 <= reg1 and link
Memory Access Instructions:
- loadc reg0 const -------- reg0 = const
Data Movement Instructions:
- move reg0 reg1 -------- reg0 = reg1
Stack Instructions:
- push reg0 -------- push reg0 to the stack
- pop reg0 -------- pop from the stack to reg0
Exception and Interrupt Instructions:
- finish -------- stop the program
Terminal Instructions:
- printbool -------- prints a boolean value to the terminal
- printchar -------- prints a char value to the terminal
- printint -------- prints a integer value to the terminal
- printstr -------- prints a string to the terminal
- printnl -------- prints a new line in the terminal
Before printing a value to the terminal, you must send this value to the a0 register.Example:
move a0 t0
printint
Window Instructions:
- writebool -------- write a boolean value to the window
- writechar -------- write a char value to the window
- writeint -------- write a integer value to the window
- writestr -------- write a string to the window
- read -------- read a window position
Before sending a write command, you must populate a0 (position), a1 (char), a2 (foreground color), a3 (background color). Example:
loadc a0 0 -- write to position 0
loadc a1 'B' -- write character B
loadc a2 'r' -- red foreground color
loadc a3 'b' -- black background color
writechar
The result from the read command will be return by the v0, v1, v2 registers. Example:
loadc a0 10 -- read from position 10
read
-- v0: char
-- v1: foreground color
-- v2: background color=
This project is licensed under the MIT License - see the LICENSE file for details.
