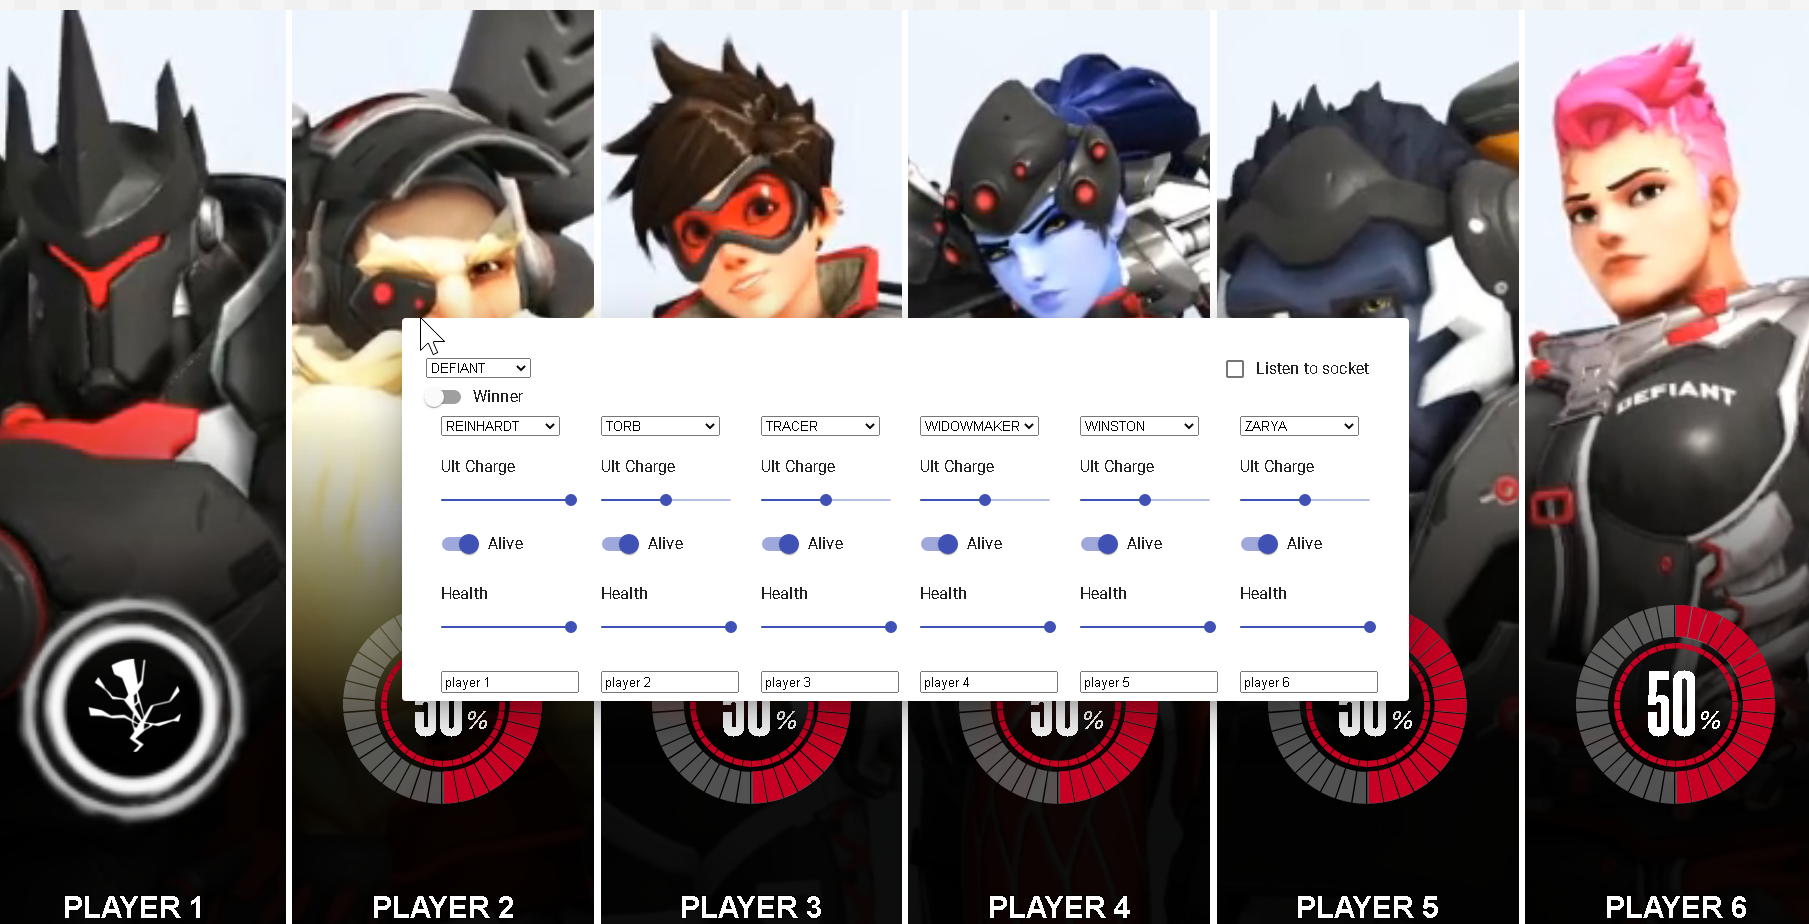
The Overwatch League Arena is a fan-made project meant to imitate the displays which can be seen during in-person matches from Blizzard Entertainment's professional esports league: The Overwatch League.
The displays consist of in-game footage, as well as additional panels showing each competitors' state within the game such as health, ultimate charge, and whether or not they have been eliminated.
By utilizing some basic computer vision technologies, these displays can be imitated by first detecting the game's state from recordings of past gameplay from Twitch clips and then displaying/animating them on a frontend.
- Frontend: React, Typescript, GreenSocket, MaterialUI
- Backend: Node, SocketIO, Express
- Computer Vision: Python, OpenCV, Tensorflow
You will need npm for the frontend and backend, and conda for the computer vision portion of the project.
The video assets of this project, which include the hero idle animations with skins for each team, are not included in this repo due to file size.
You can download them here: Google Drive
Import them into the client/public/videos directory.
You can do so by launching Overwatch and previewing the Overwatch League skins. You can then hit Alt + X to remove the HUD. Additionally, a script has been included in vision/loopFinder to aid in finding animation loops.
Cd into /client directory and run npm install
Cd into /server directory and run npm install
Enable the Conda Environment
a. cd vision
b. conda env create --file conda.yml
c. conda activate owl_vision
Ideally, you should be running 3 separate consoles, one for the frontend, backend, and vision scripts.
The general overview of this project is as follows:
- Generate a
JSON Vision Filewhich analyzes some Overwath League footage - Pass the
JSON Vision Fileinto thePython Playerwhich shows the footage in OpenCV and the state animations to theReact Appfrontend.
The Vision File stores information about how the video file should be played and an array of the game states captured.
Here is an example for the Shanghai Dragons.
python fileGen.py --video ./videos/dragons.mp4 --heros ZENYATTA,LUCIO,SOMBRA,REINHARDT,ZARYA,BRIGITTE,BRIGITTE,WINSTON,ZARYA,D.VA,LUCIO,ZENYATTA --usernames luffy,coma,dding,gamsu,diem,youngjin,blase,axxiom,colourhex,note,kellex,aimgod --away DRAGONS --home UPRISING --winner AWAY --everyNFrames 60 --startFrame 0 --endFrame 1320 --dest . --name dragons_frames
- The current repo does not support automatic hero and username detection
fileGen.py will detect states like health, ult-charge, and if the hero is alive or not.
Cd into /client and run npm run start.
Navigate to localhost:3000/home and localhost:3000/away in 2 seperate browser windows.
You should be greeted by this (provided you have added video assets of all hero skins).
- You can play around with the sliders to see animations for when the ultimate charge reaches 100, when players lose health, and when a player gets elminated
To listen to the backend simply check the Listen to socket option, and click on anywhere to remove the popup window.
You can reopen the popup window by hovering your cursor in the top left corner where a button should appear and prompt you to OPEN CONTROLS.
Cd into /server and run npm run start.
The server will now listen to changes in server/state-file.json via polling and will emit them to the Frontend browser windows if the Listen to socket` option on the frontend is checked.
The state file consists of the information to be rendered on the frontend and consists of the following typing:
interface Column{
    hero: Heros,
    ultCharge: number;
    isAlive: boolean;
    health: number;
    username: string;
}

TeamTypes{
    home = "HOME",
    away = "AWAY",
}

type Winner= TeamTypes | '';

interface Input{
    winner: Winner;
    away: {
        team: Teams;
        players: [Column, Column, Column, Column, Column, Column];
    }
    home: {
        team: Teams;
        players: [Column, Column, Column, Column, Column, Column];
    }
}- The
vision fileis essentially an array ofstate files with some additional information on how the video should be played
Now that you have a vision file and the server listening to file changes, vision/player.py will set everything in motion.
Here's an example with the vision file for the Shanghai Dragons generated earlier
python player.py --visionFile dragons_frames.json --stateFile ../server/state-file.json
The project lacks practical use as a vision file has to be generated before it can be displayed in the browser. This design decision was chosen based on the speed of CNNs involved in generating these vision files and the lack of general knowledge of AI technologies/alternative approaches from the author of this repo.
At a real live event, the game's state would be connected directly to that of the display, and would not have to rely on the accuracy of the computer vision models used.
With an estimate, around 5% of the states generated by the vision scripts include incorrect values from the information generated. This is observed to be caused by noise from particle effects and the quality of the footage used. For the video, these frames were corrected by hand.
Additionally, the player's playback speed can fluctuate as it uses OpenCV's cv2.imshow(), which is not ideal for playback purposes.
The Frontend utilizes the browser to display 12 videos at once, which is known to cause performance issues with React.


