napari is a fast, interactive, multi-dimensional image viewer for Python. It's designed for browsing, annotating, and analyzing large multi-dimensional images. It's built on top of PyQt (for the GUI), vispy (for performant GPU-based rendering), and the scientific Python stack (numpy, scipy).
We're developing napari in the open! But the project is in a pre-alpha stage. You can follow progress on this repository, test out new versions as we release them, and contribute ideas and code. Expect breaking changes from patch to patch.
napari can be installed on most Mac OS X and Linux systems with Python 3.6 or 3.7 by calling
$ pip install napari(We're working on adding Windows support.)
To install from the master branch on Github use
$ pip install git+https://github.com/napari/napariTo clone the repository locally and install in editable mode use
$ git clone https://github.com/napari/napari.git
$ cd napari
$ pip install -e .
Note that many of our examples use data from skimage but skimage is otherwise not a dependnecy, so to run all the examples you should call
$ pip install scikit-imageFrom inside an IPython shell or Jupyter notebook you can open up an interactive viewer by calling
%gui qt5
from skimage import data
from napari import ViewerApp
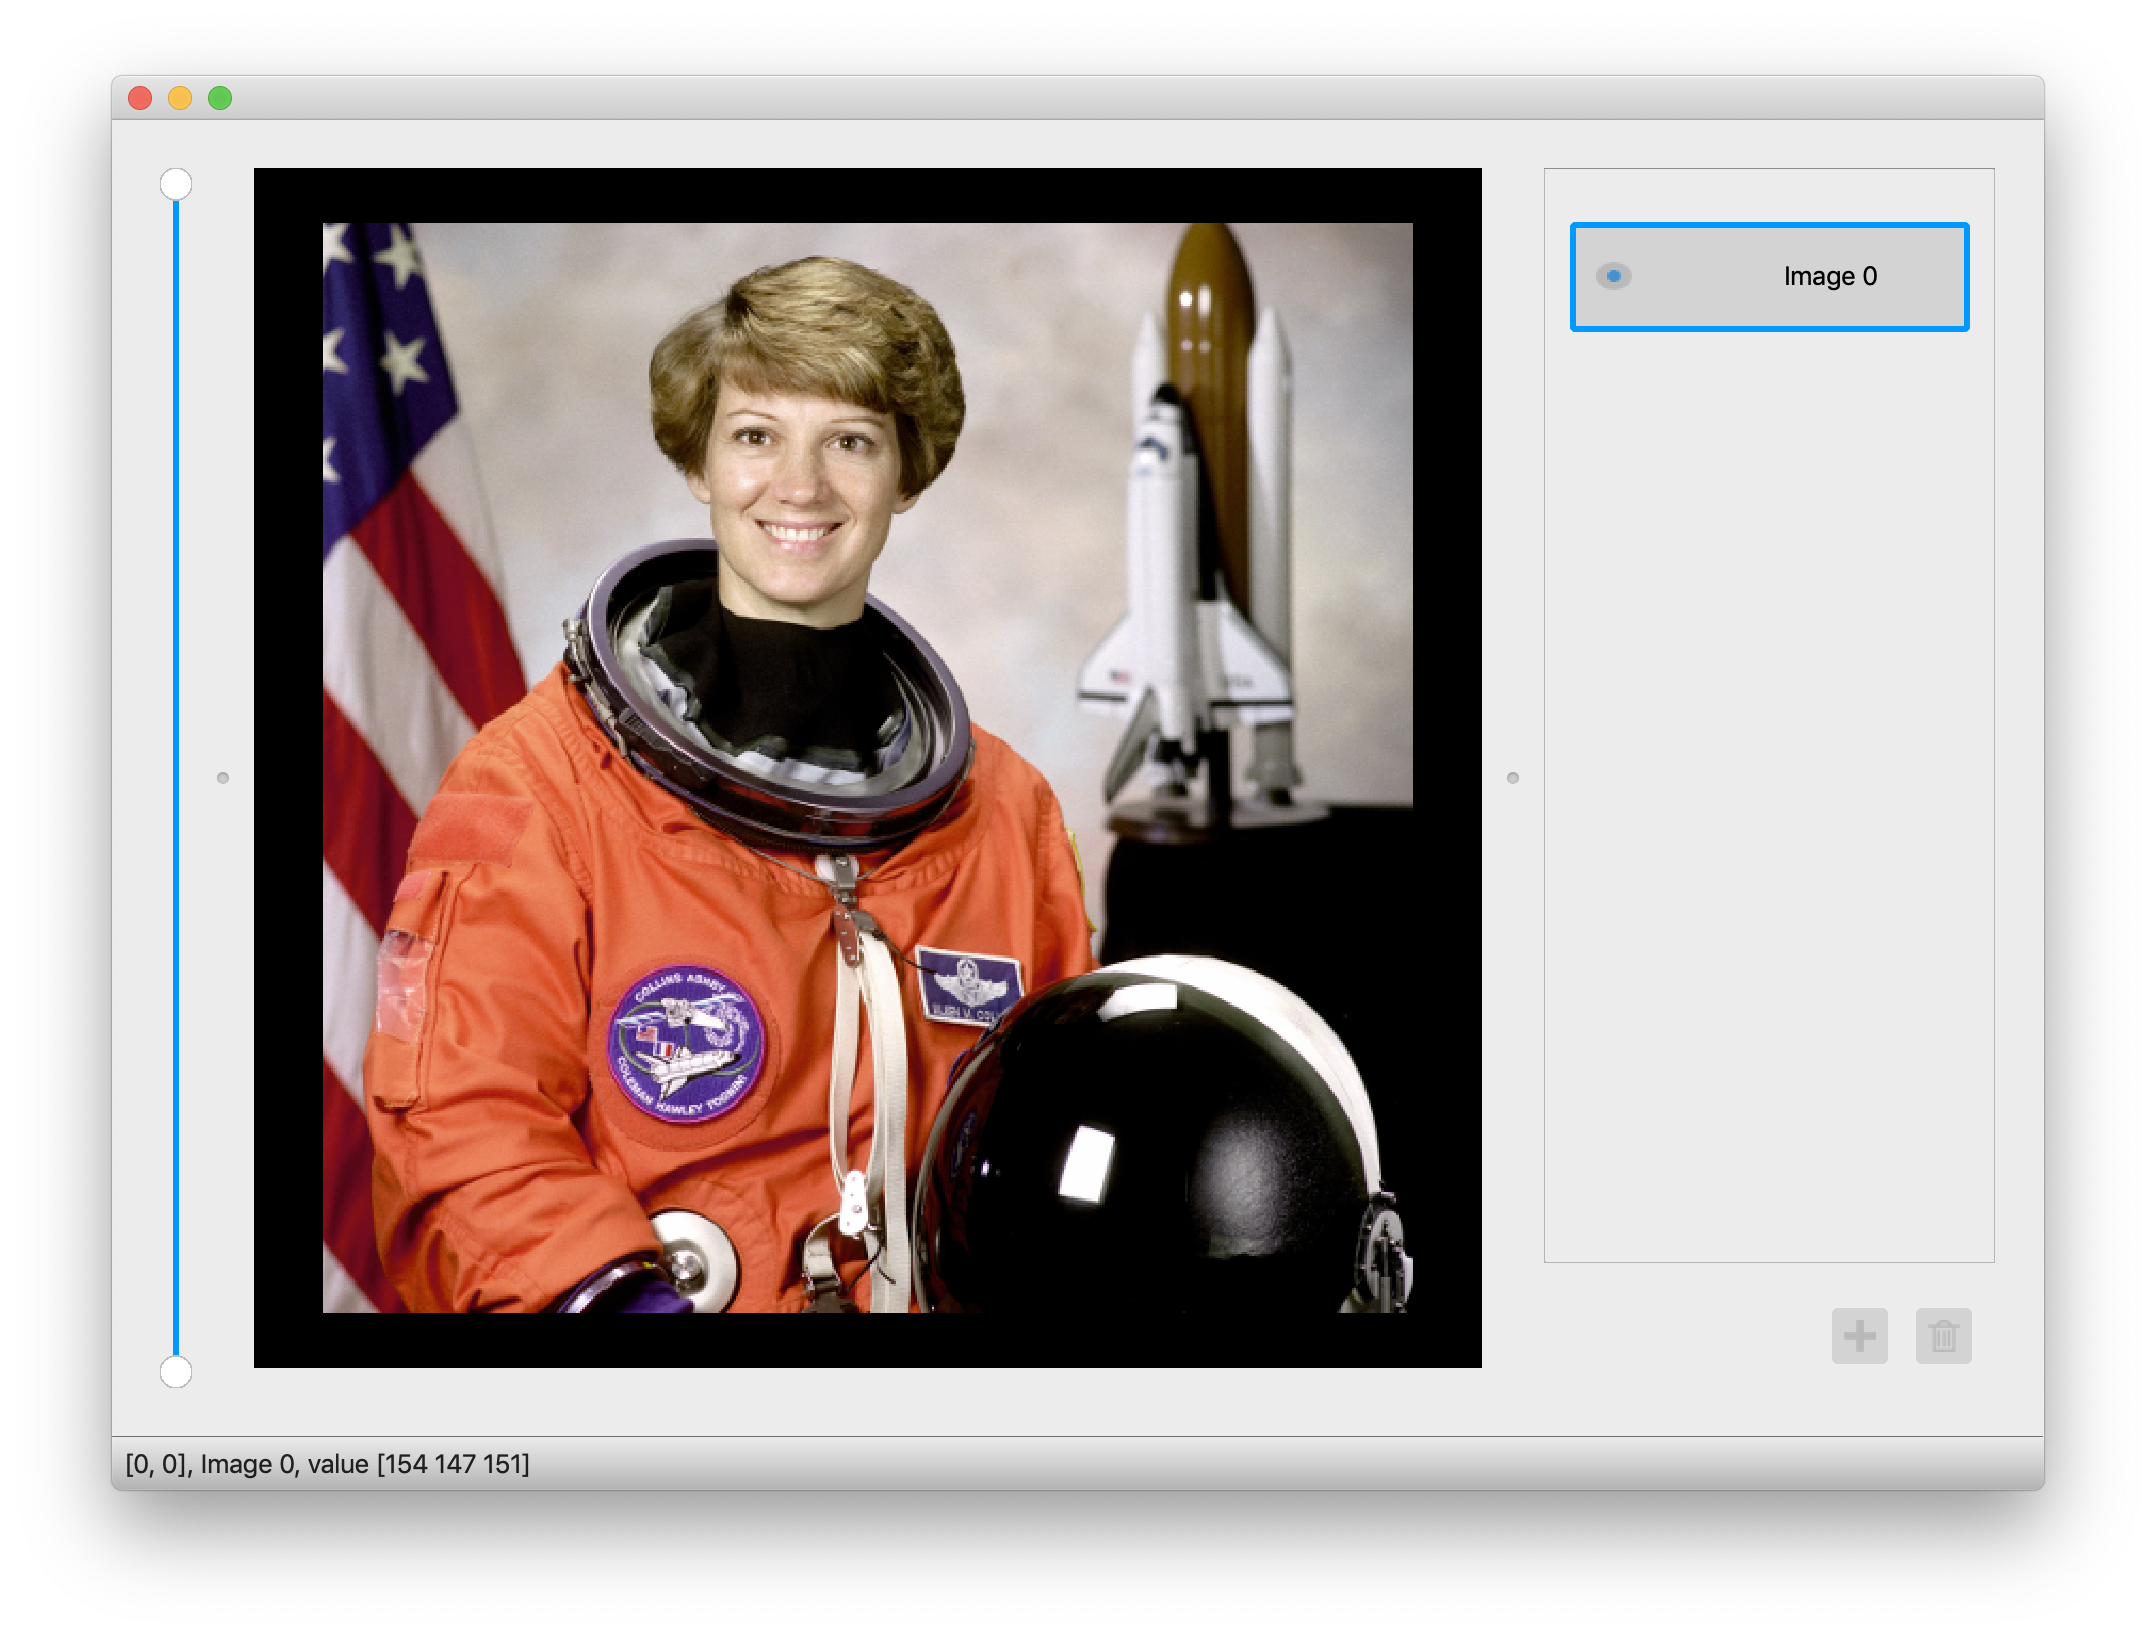
viewer = ViewerApp(data.astronaut())
To do the same thing inside a script call
from skimage import data
from napari import ViewerApp
from napari.util import app_context

with app_context():
viewer = ViewerApp(data.astronaut())Check out the scripts in the examples folder to see some of the functionality we're developing!
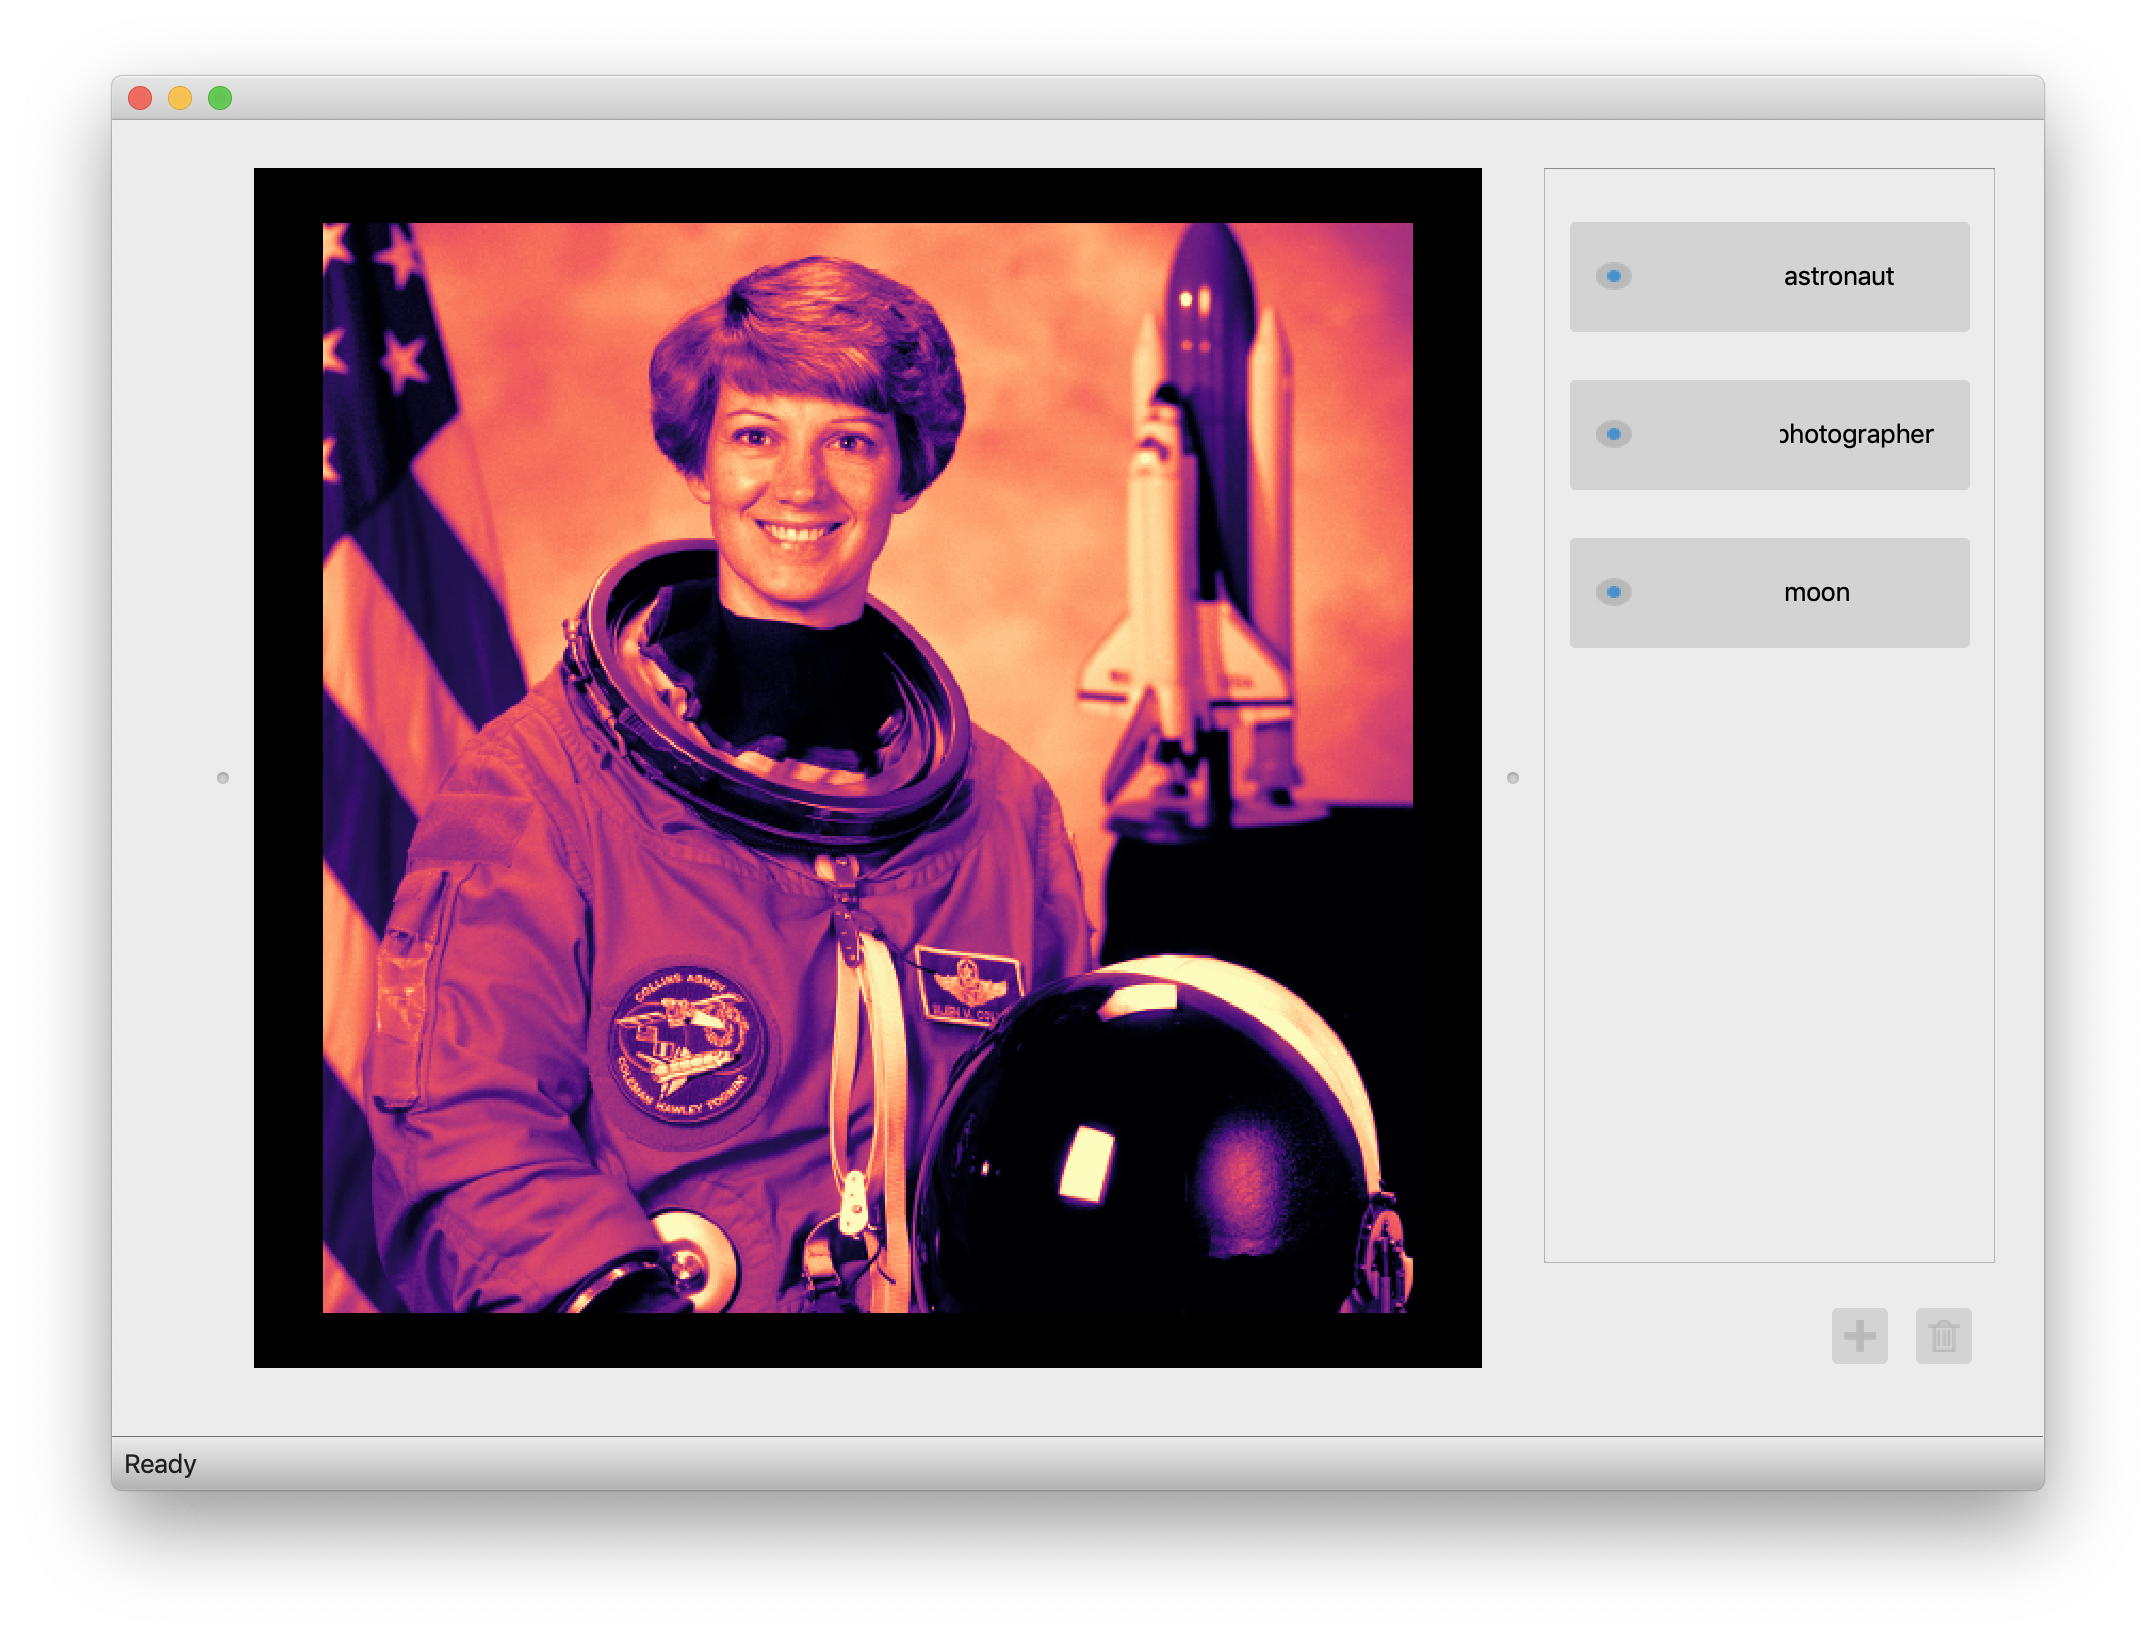
For example, you can add multiple images in different layers and adjust them
from skimage import data
from skimage.color import rgb2gray
from napari import ViewerApp
from napari.util import app_context

with app_context():
    # create the viewer with four layers
    viewer = ViewerApp(astronaut=rgb2gray(data.astronaut()),
                       photographer=data.camera(),
                       coins=data.coins(),
                       moon=data.moon())
    # remove a layer
    viewer.layers.remove('coins')
    # swap layer order
    viewer.layers['astronaut', 'moon'] = viewer.layers['moon', 'astronaut']
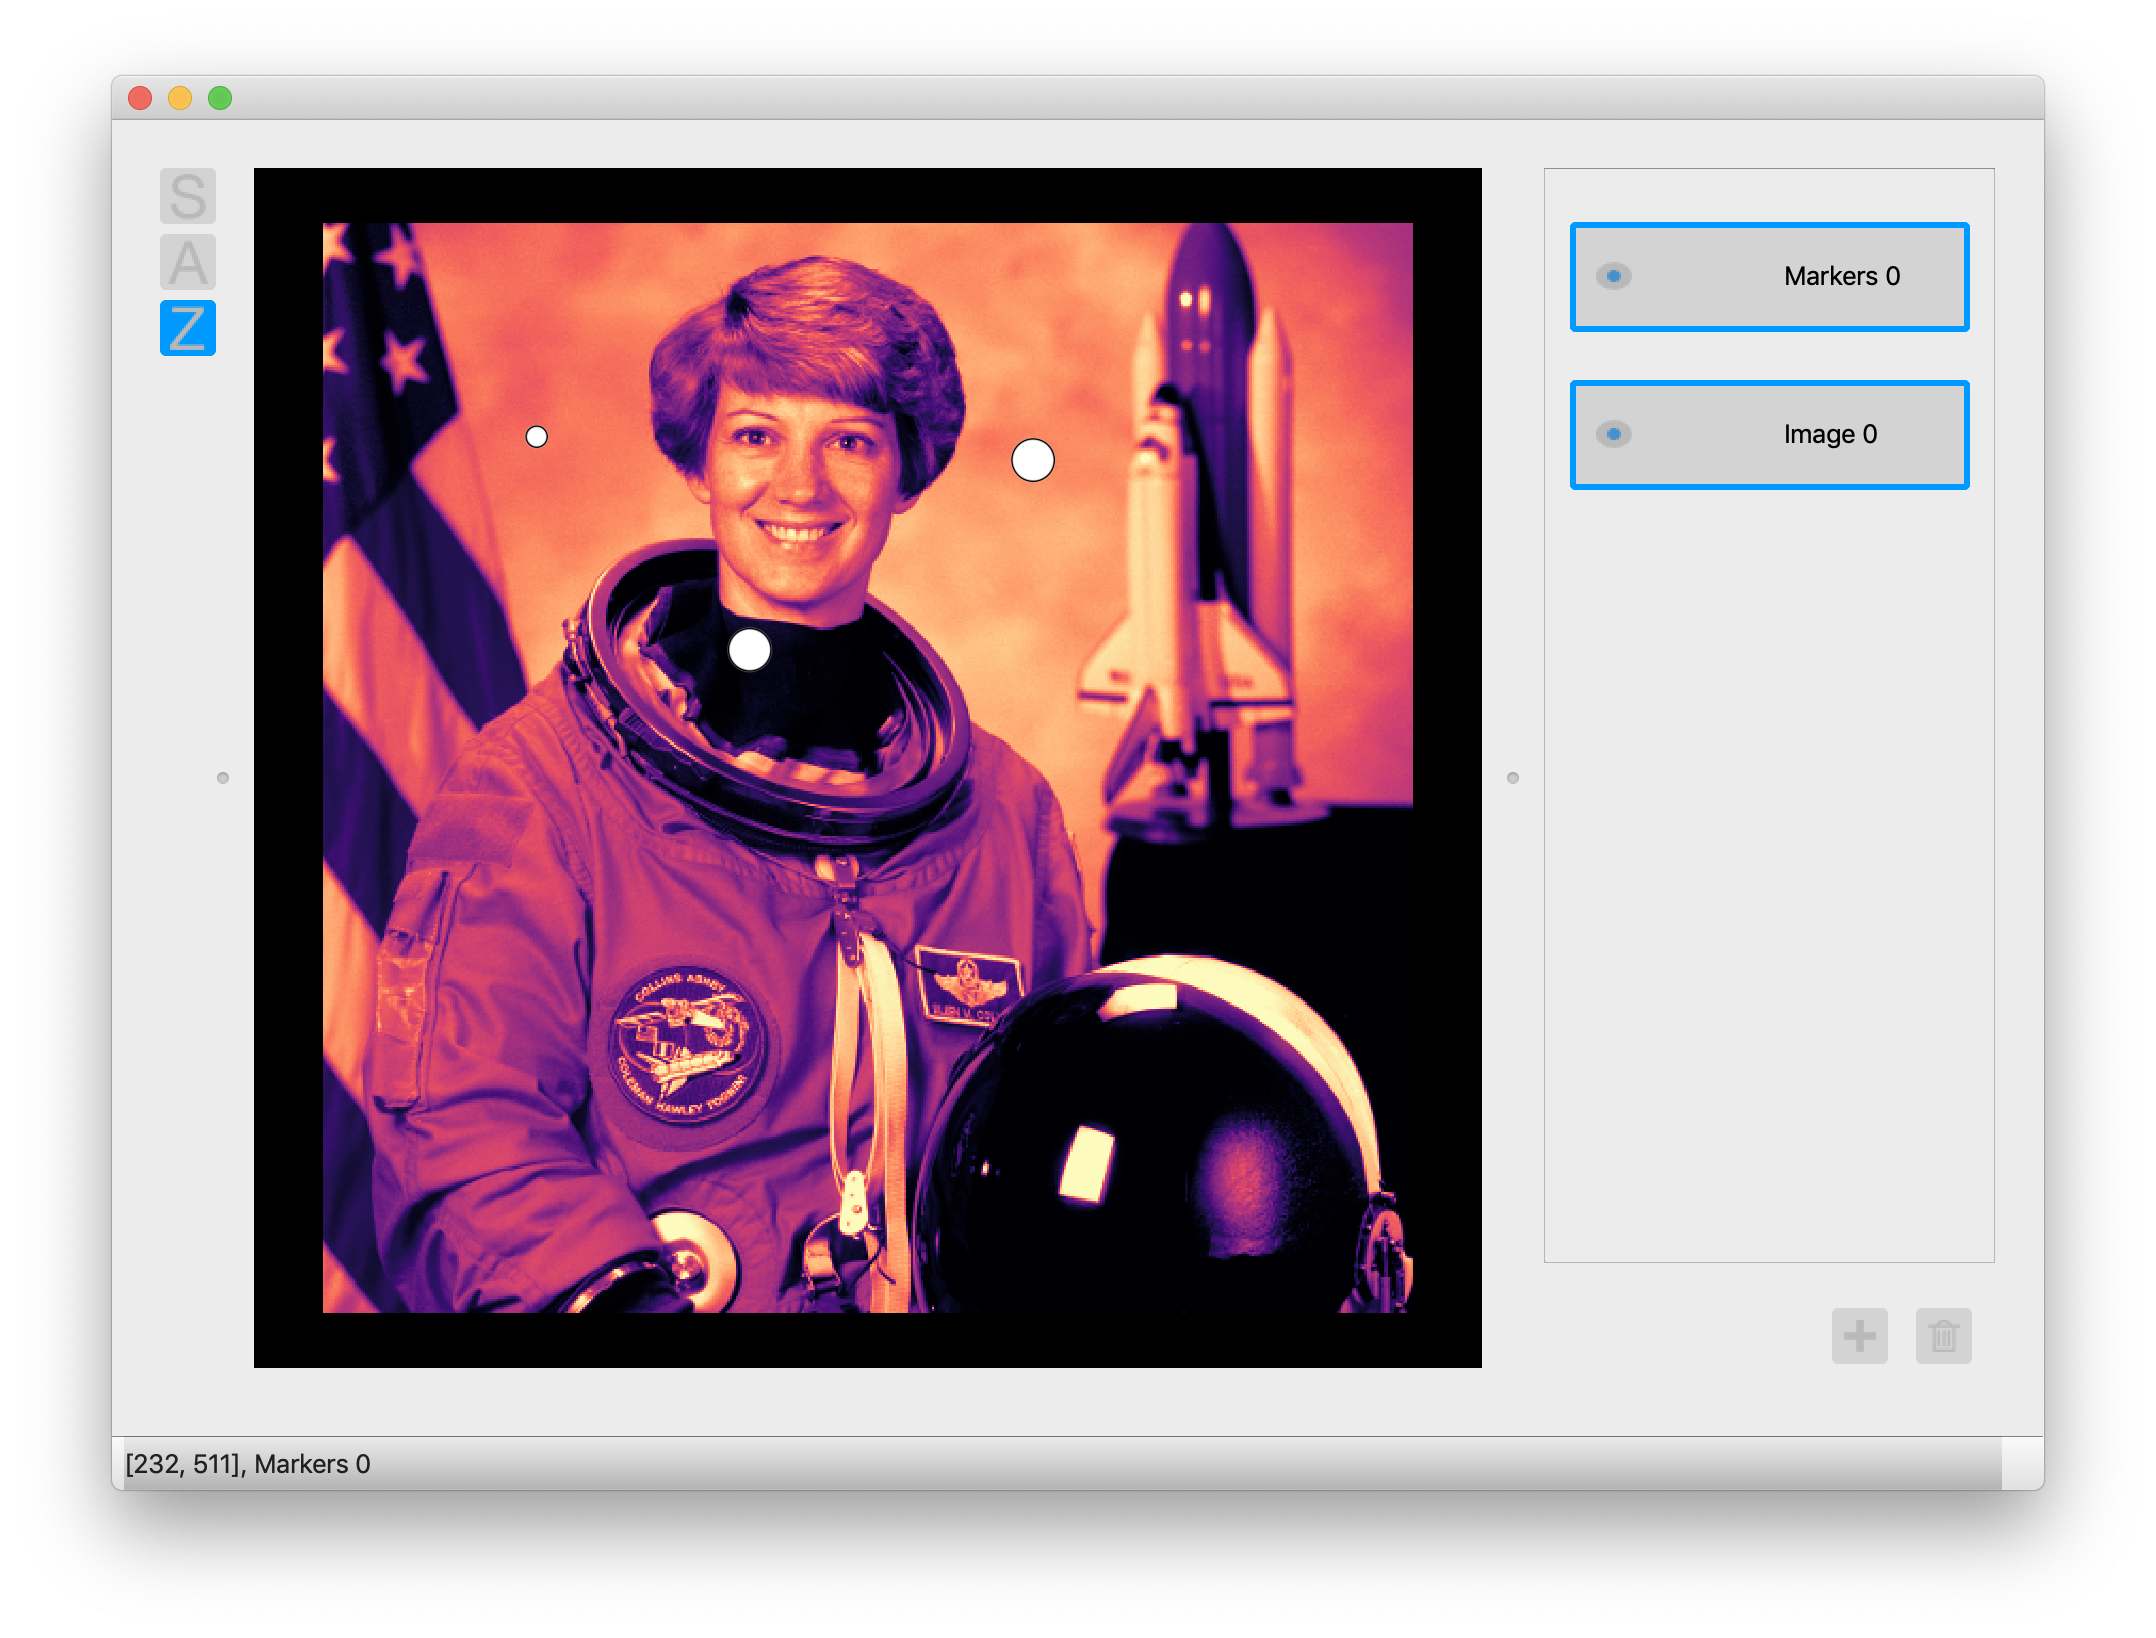
You can add markers on top of an image
from skimage import data
from skimage.color import rgb2gray
from napari import ViewerApp
from napari.util import app_context

with app_context():
    # setup viewer
    viewer = ViewerApp()
    viewer.add_image(rgb2gray(data.astronaut()))
    # create three xy coordinates
    points = np.array([[100, 100], [200, 200], [333, 111]])
    # specify three sizes
    size = np.array([10, 20, 20])
    # add them to the viewer
    markers = viewer.add_markers(points, size=size)
napari supports bidirectional communication between the viewer and the Python kernel, which is especially useful in Jupyter notebooks -- in the example above you can retrieve the locations of the markers, including any additional ones you have drawn, by calling
>>> markers.coords
[[100, 100],
 [200, 200],
 [333, 111]]
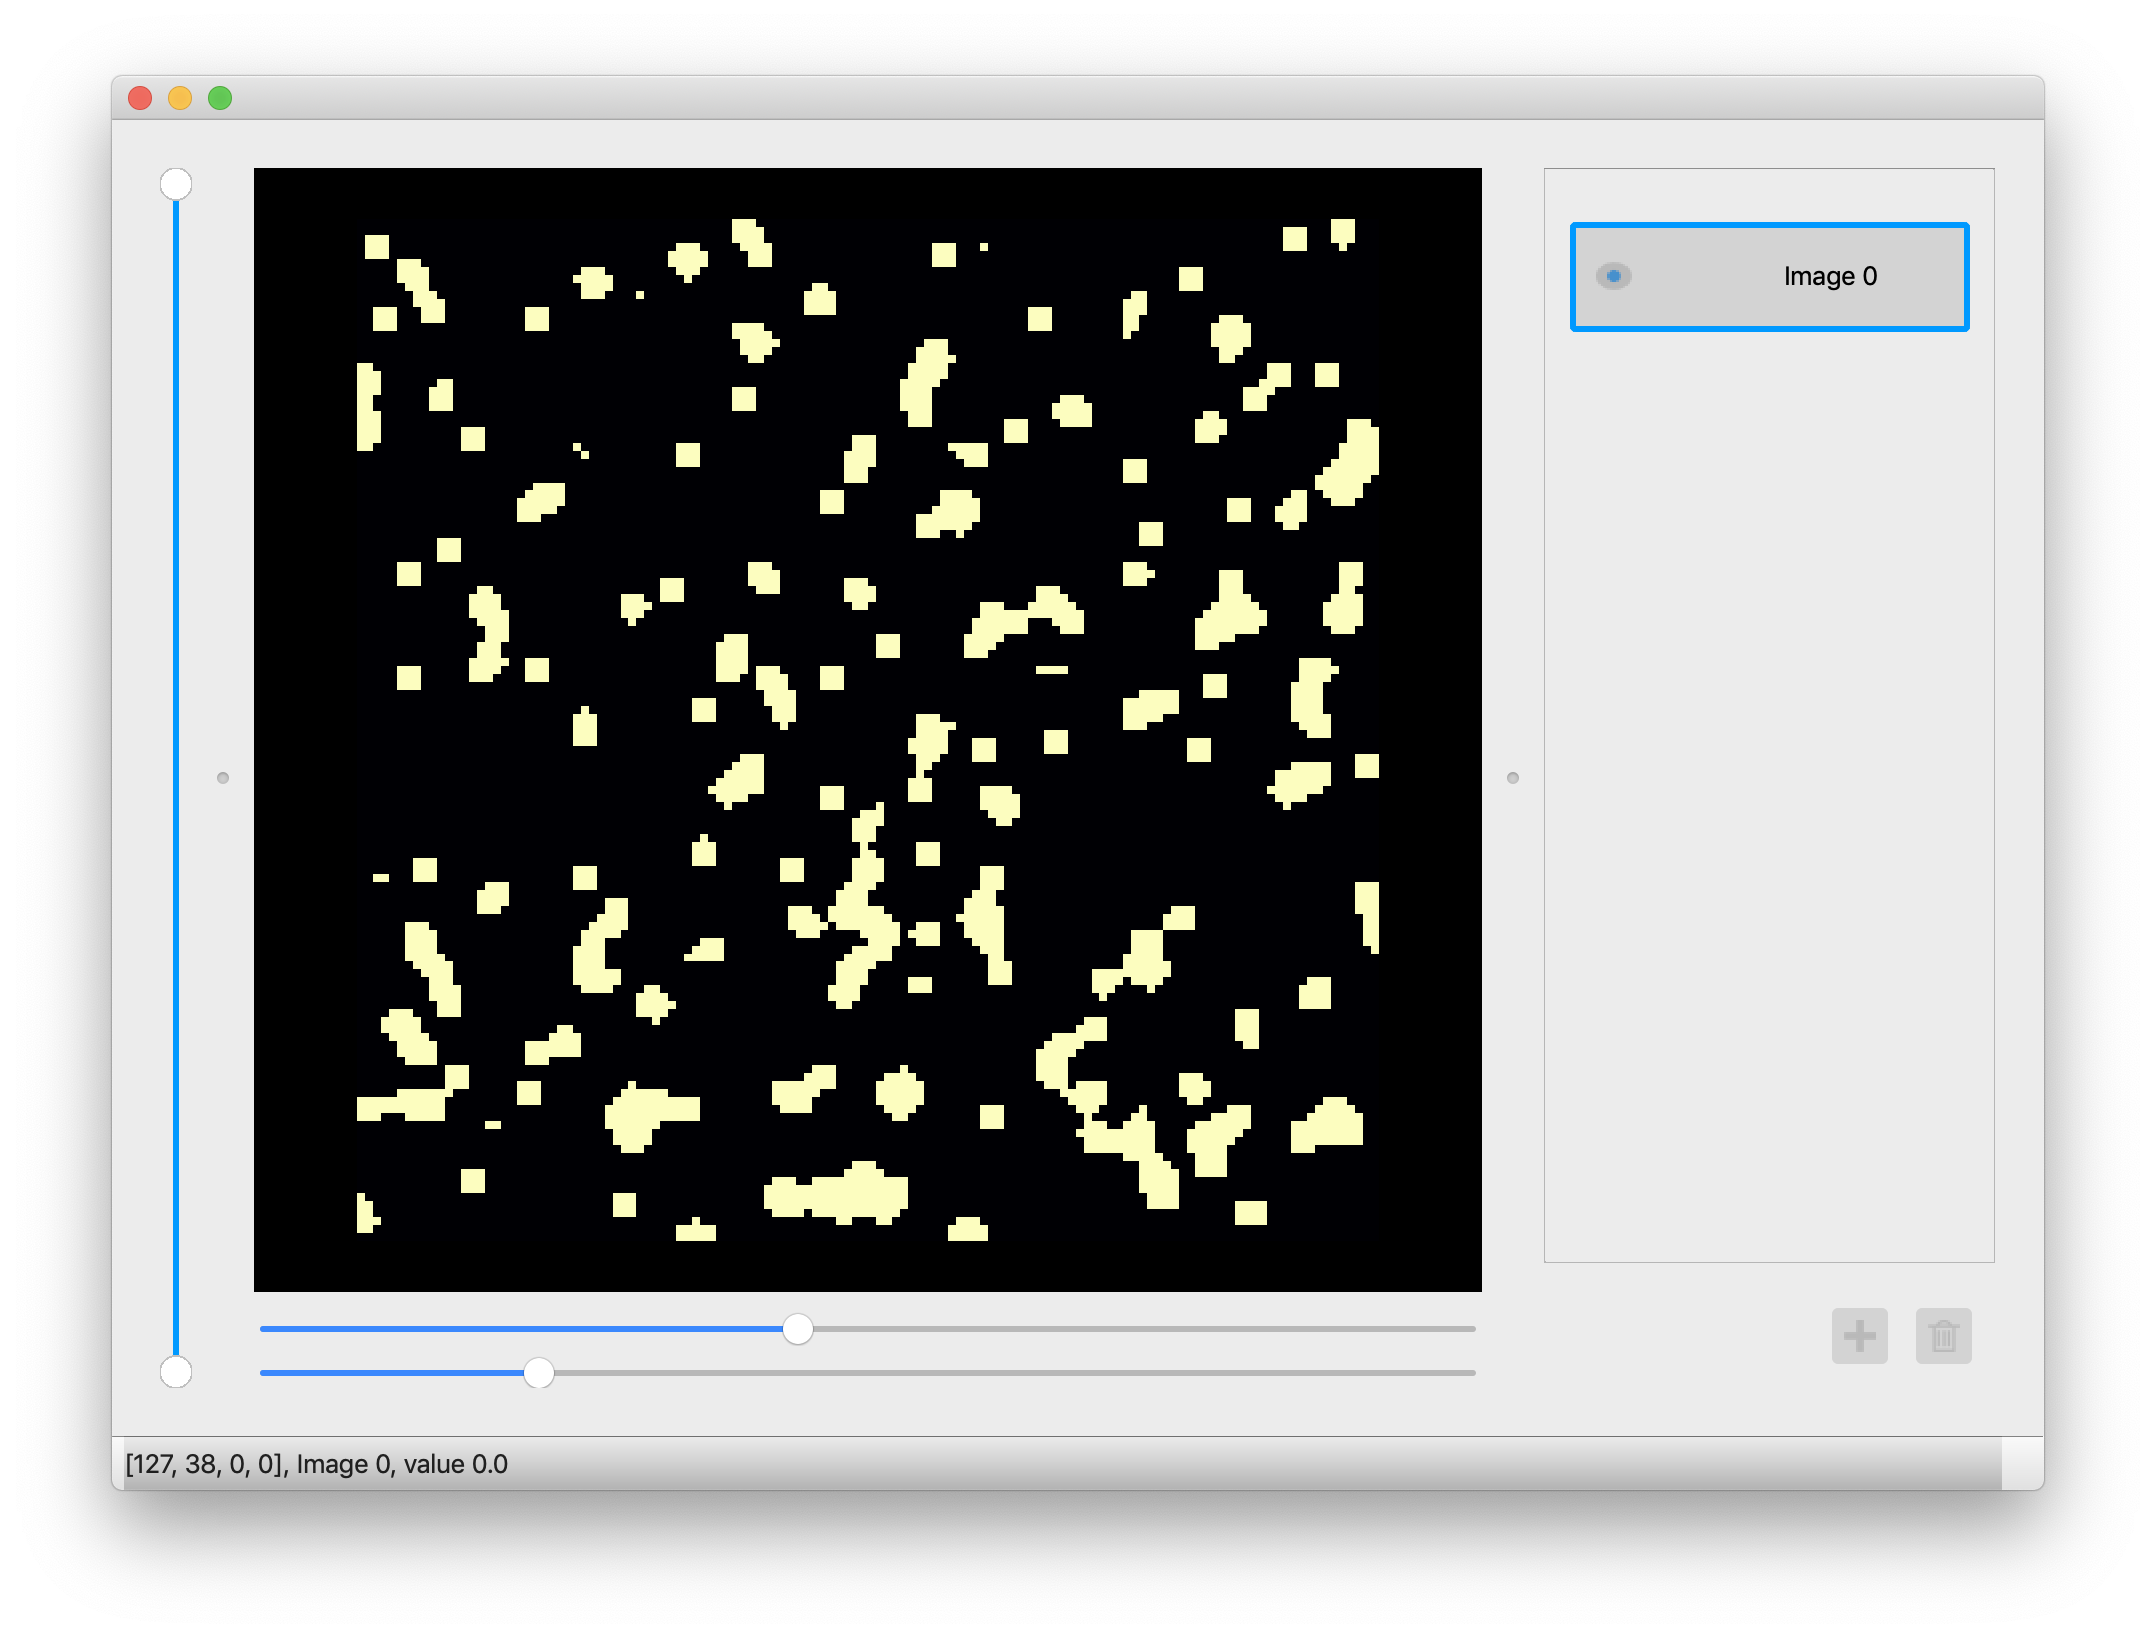
Finally, you can render and quickly browse slices of multi-dimensional arrays
import numpy as np
from skimage import data
from napari import ViewerApp
from napari.util import app_context

with app_context():
    # create fake 3d data
    blobs = np.stack([data.binary_blobs(length=128, blob_size_fraction=0.05,
                                        n_dim=3, volume_fraction=f)
                     for f in np.linspace(0.05, 0.5, 10)], axis=-1)
    # add data to the viewer
viewer = ViewerApp(blobs.astype(float))We're working on several features, including
- shape-based annotation (for drawing polygons and bounding boxes)
- region labeling (for defining segmentation)
- 3D volumetric rendering
- support for a plugin ecosystem (for integrating image processing and machine learning tools)
See this issue for some of the key use cases we're trying to enable, and feel free to add comments or ideas!
Contributions are encouraged! Please read our guide to get started. Given that we're in an early stage, you may want to reach out on Github Issues before jumping in.


