[](https://travis-ci.org/Bart van Kuik/DVITutorialView)


This tutorial view is meant to be added to a single ViewController, to explain its user elements. While swiping through the tutorial, each page exposes an element in your user interface, and displays an explanation.
AutoLayout is required. Works for all devices.
Either add the four classes to your project or better yet, use CocoaPods and add the following line to your Podfile:
pod 'DVITutorialView'
To run the example project, clone the repo, and run pod install from the Example directory first.
Here's a short snippet to add the tutorial to your view controller. First, include the headerfile like so:
#import <DVITutorialView/DVITutorialView.h>
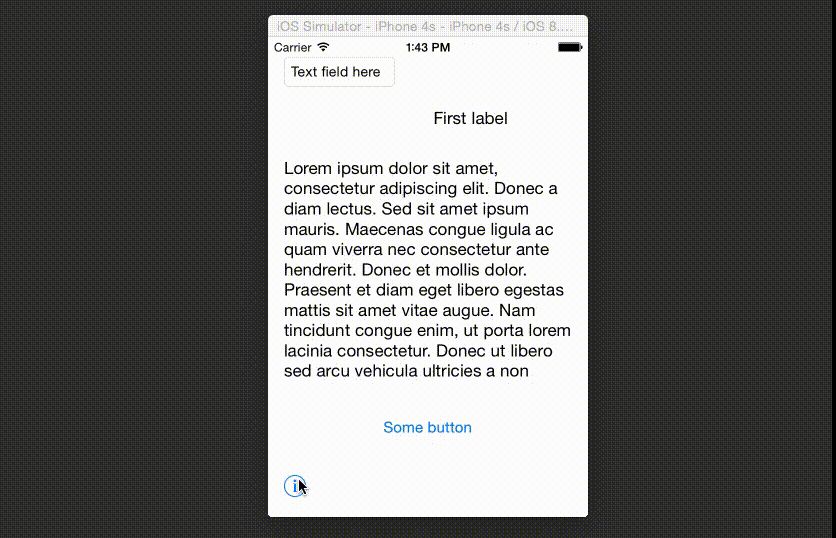
Supposing you have a help button somewhere on your screen, put the following code in the action method in your viewcontroller.
- (IBAction)tutorialButtonTapped:(id)sender
{
    DVITutorialView *tutorialView = [[DVITutorialView alloc] init];
    [tutorialView addToView:self.view];

    tutorialView.tutorialStrings = @[
                                     @"Explanation on button",
                                     @"Explanation on this nice label",
                                     @"Some text on the text field",
                                     @"and finally, what this label is about",
                                     @"And a thank you on a blank screen",
                                     ];
    tutorialView.tutorialViews = @[
                                   self.button1,
                                   self.label1,
                                   self.textField1,
                                   self.label2
                                   [UIView new],  // No exposed UI elements
                                   ];
    [tutorialView start];

    // Or alternatively:
    // [tutorialView startWithCompletion:^(){
    //     NSLog(@"The End!");
    // }];

}
Sometimes, you have custom views of which you only want to expose a certain portion. Put this in the header file of your custom view:
@property (readonly) CGRect visibleFrame;
- (NSValue*)visibleFrameAsValue;
And put this in the body of your custom view:
- (NSValue*)visibleFrameAsValue
{
    NSValue *value = [NSValue valueWithCGRect:self.visibleFrame];
    return value;
}

-(void)layoutSubviews
{
    float margin = 50.0;
    _visibleFrame = CGRectInset(self.frame, margin, margin);

    [super layoutSubviews];
}
Then the tutorial class will not expose the frame of the view, but instead call the visibleFrameAsValue and (in the example above) expose the frame minus a margin of 50 points.
Your project will need to use Auto Layout. I've only tested on iOS 8.
DVITutorialView is available through CocoaPods. To install it, simply add the following line to your Podfile:
pod "DVITutorialView"
Demo made with QuickTime screen recording, converted the resulting .mov file to an animated gif with:
ffmpeg -i demo.mov -r 15 demo.gif
Inspired by ATTutorialController from Afonso Tsukamoto.
Bart van Kuik, bart@dutchvirtual.nl
DVITutorialView is available under the MIT license. See the LICENSE file for more info.