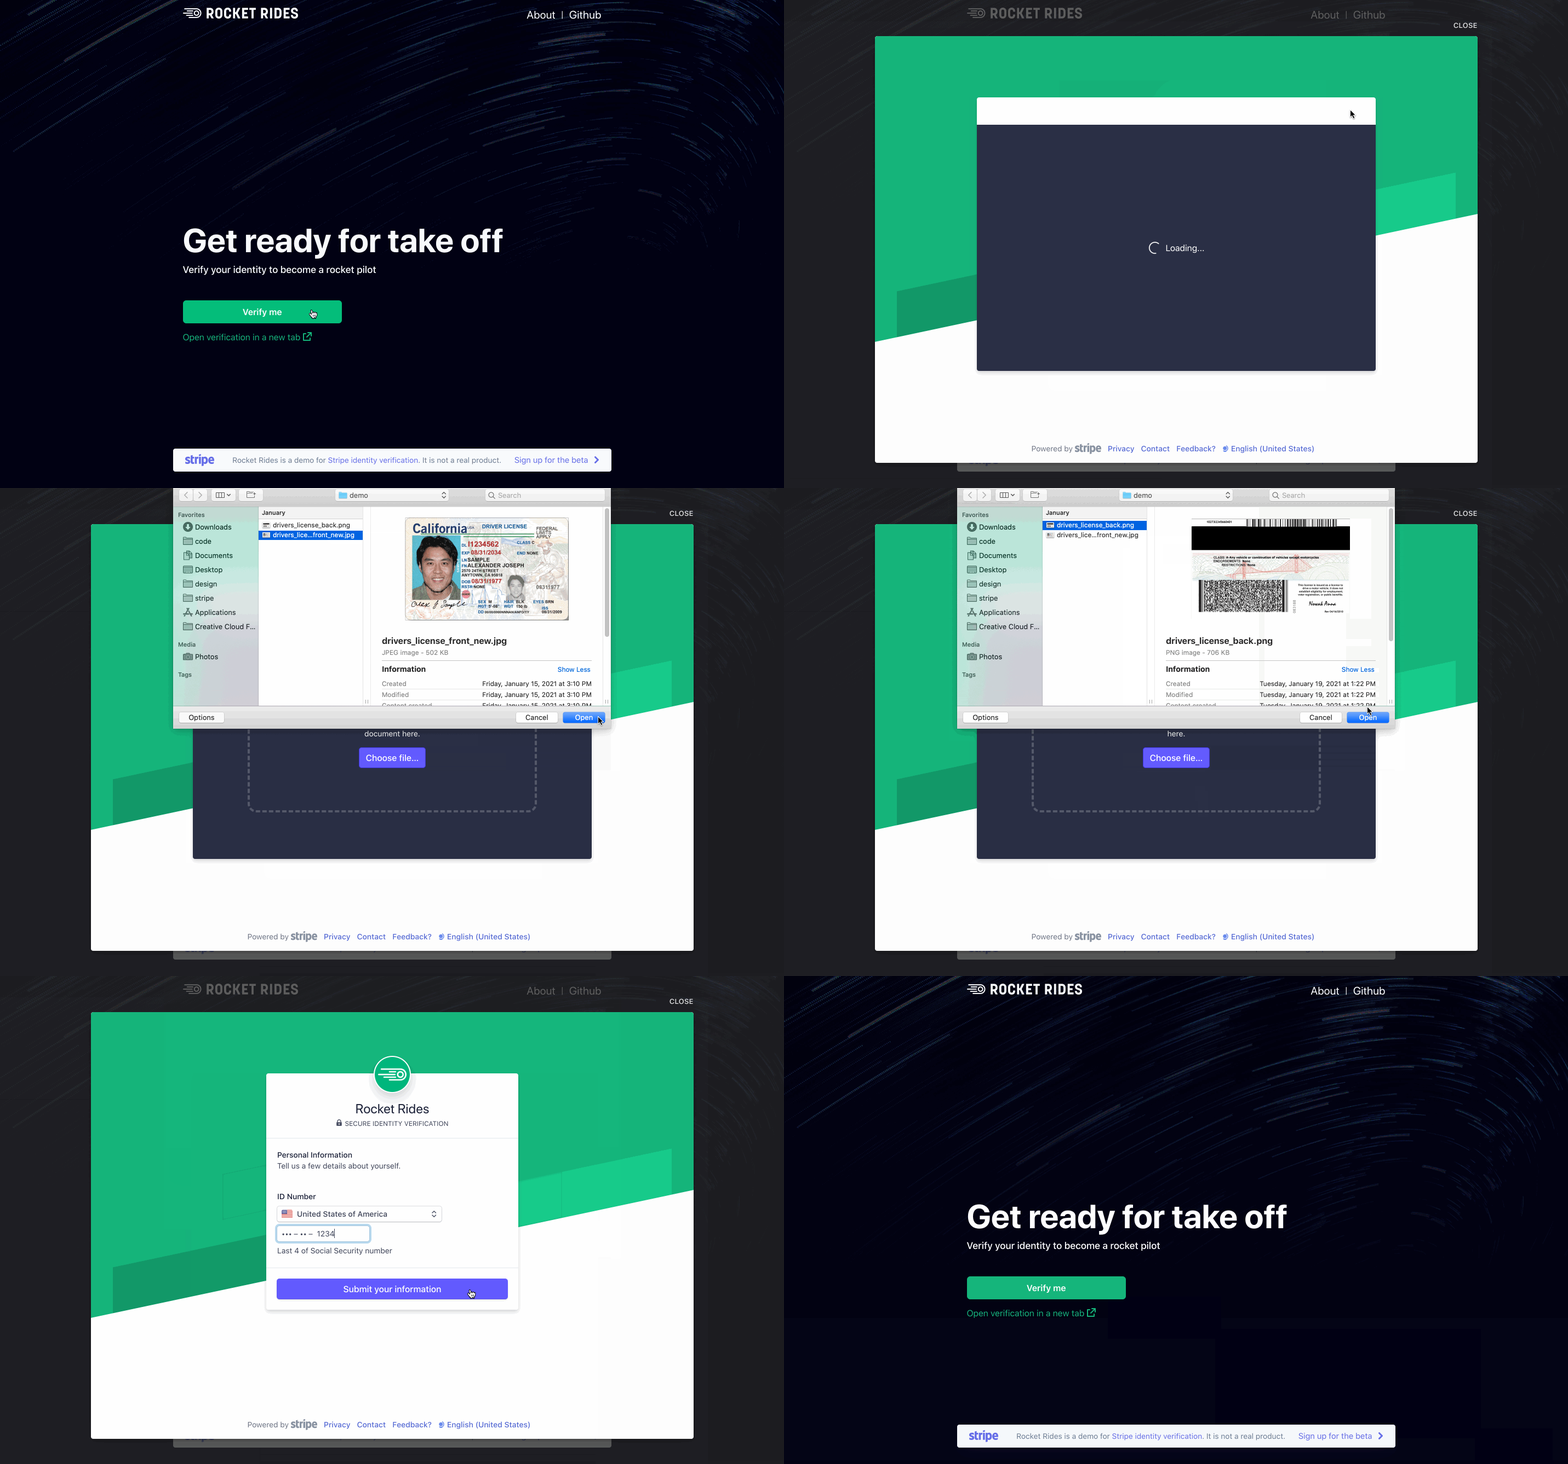
Demo
See a hosted version of the demo or fork a copy on codesandbox.io
This sample includes a Node server implementation.
Follow the steps below to run locally.
1. Clone the repository:
git clone https://github.com/bz-stripe/identity-verification-sample
2. Copy the env.example to a .env file:
Copy the env.example file into a file named .env in the project root folder. For example:
cp env.example .env
You will need a Stripe account in order to run the demo. Once you set up your account, go to the Stripe developer dashboard to find your API keys and update your .env file with the keys.
STRIPE_SECRET_KEY=<replace-with-your-test-secret-key>
STRIPE_PUBLISHABLE_KEY=<replace-with-your-test-publishable-key>
STRIPE_WEBHOOK_SECRET=<replace-with-your-test-webhook-secret>
CLIENT_DIR tells the server where to the client files are located and does not need to be modified unless you move the server files.
3. Install and run:
npm install
npm start
4. [Optional] Run a webhook locally:
If you want to test the integration with a local webhook on your machine, you can use the Stripe CLI to easily spin one up.
First install the CLI and link your Stripe account.
stripe listen --forward-to localhost:4242/webhook
The CLI will print a webhook secret key to the console. Set STRIPE_WEBHOOK_SECRET to this value in your .env file.
You should see events logged in the console where the CLI is running.
When you are ready to create a live webhook endpoint, follow our guide in the docs on configuring a webhook endpoint in the dashboard.
Q: Why did you pick these frameworks?
A: We chose the most minimal framework to convey the key Stripe calls and concepts you need to understand. These demos are meant as an educational tool that helps you roadmap how to integrate Stripe within your own system independent of the framework.
Q: Can you show me how to build X?
A: We are always looking for new sample ideas, please email dev-samples@stripe.com with your suggestion!
