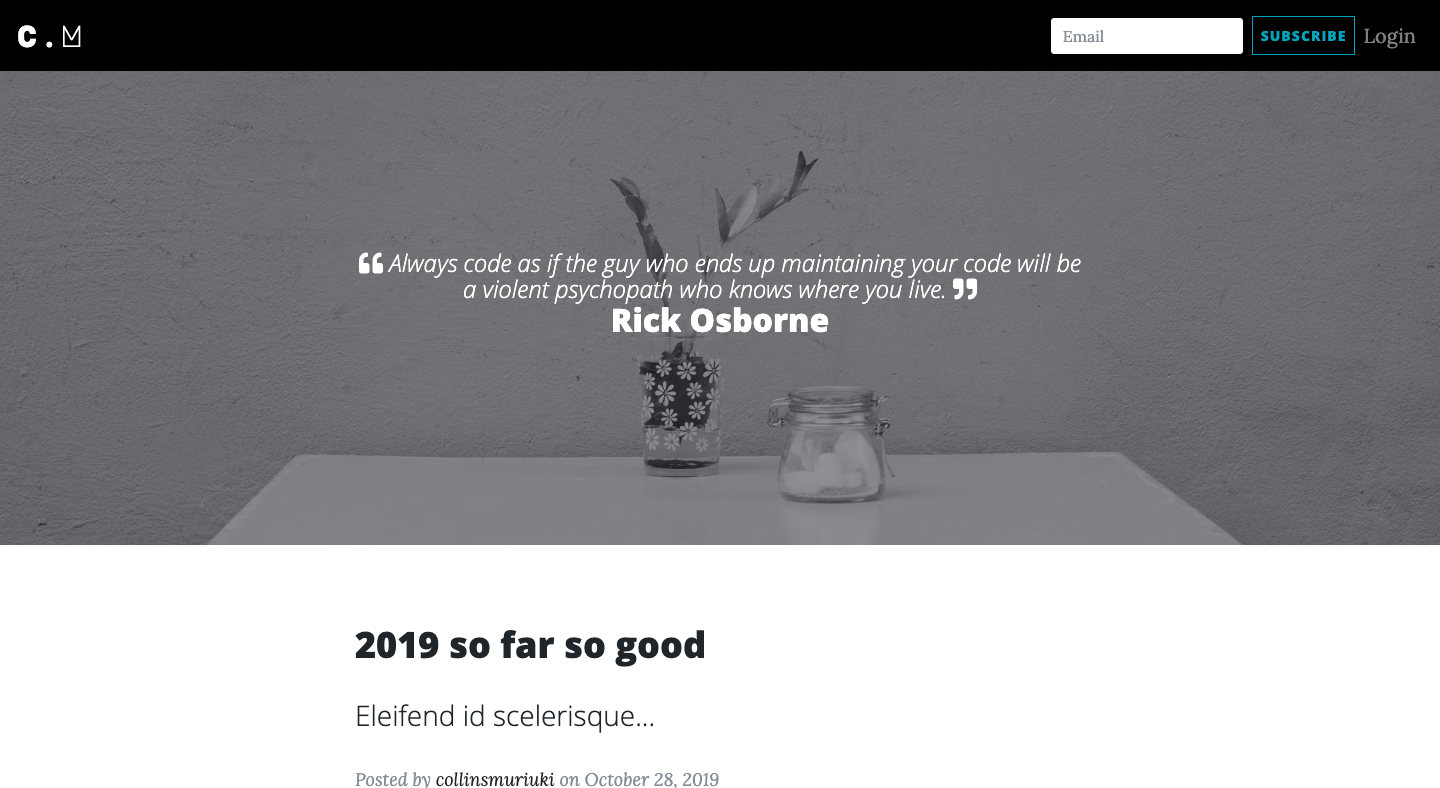
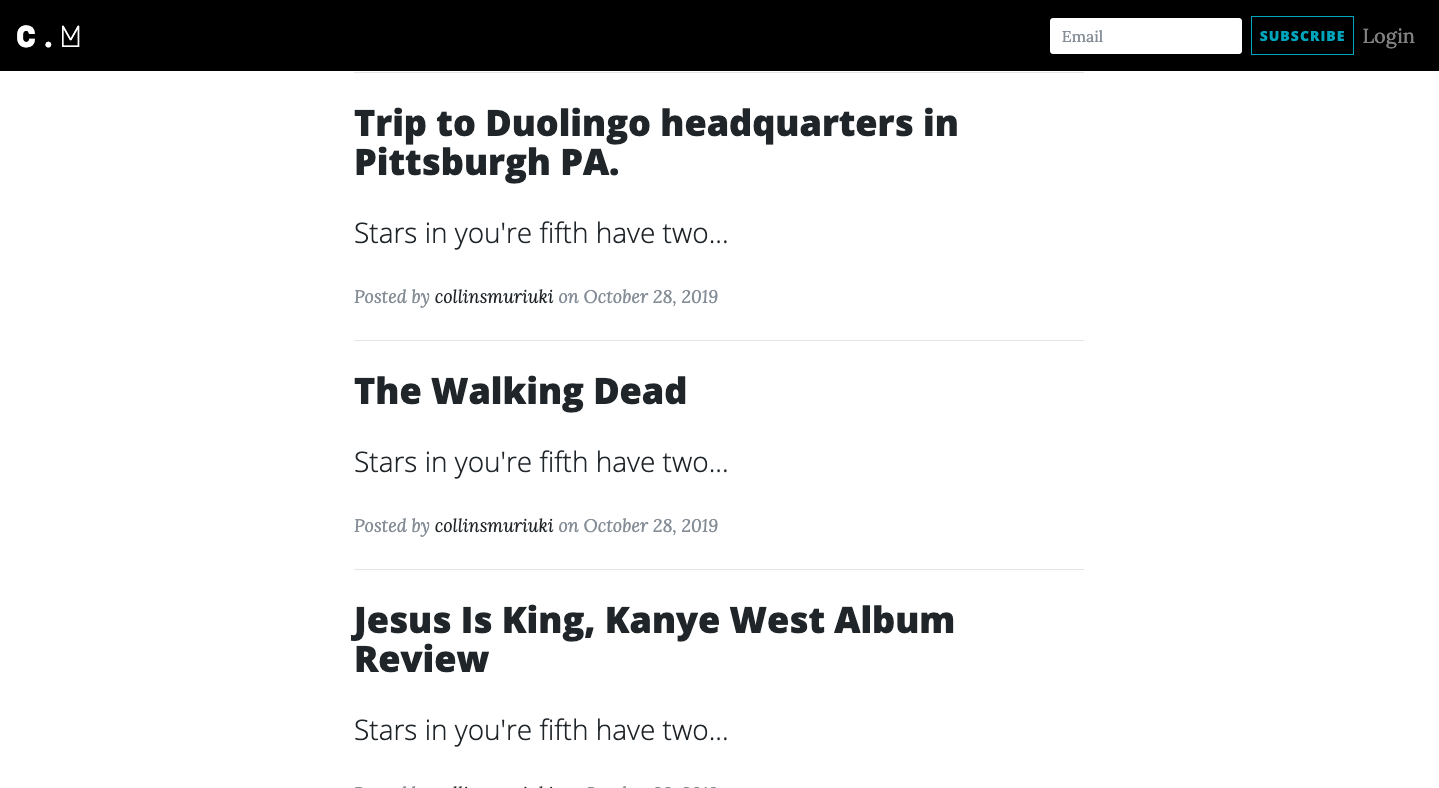
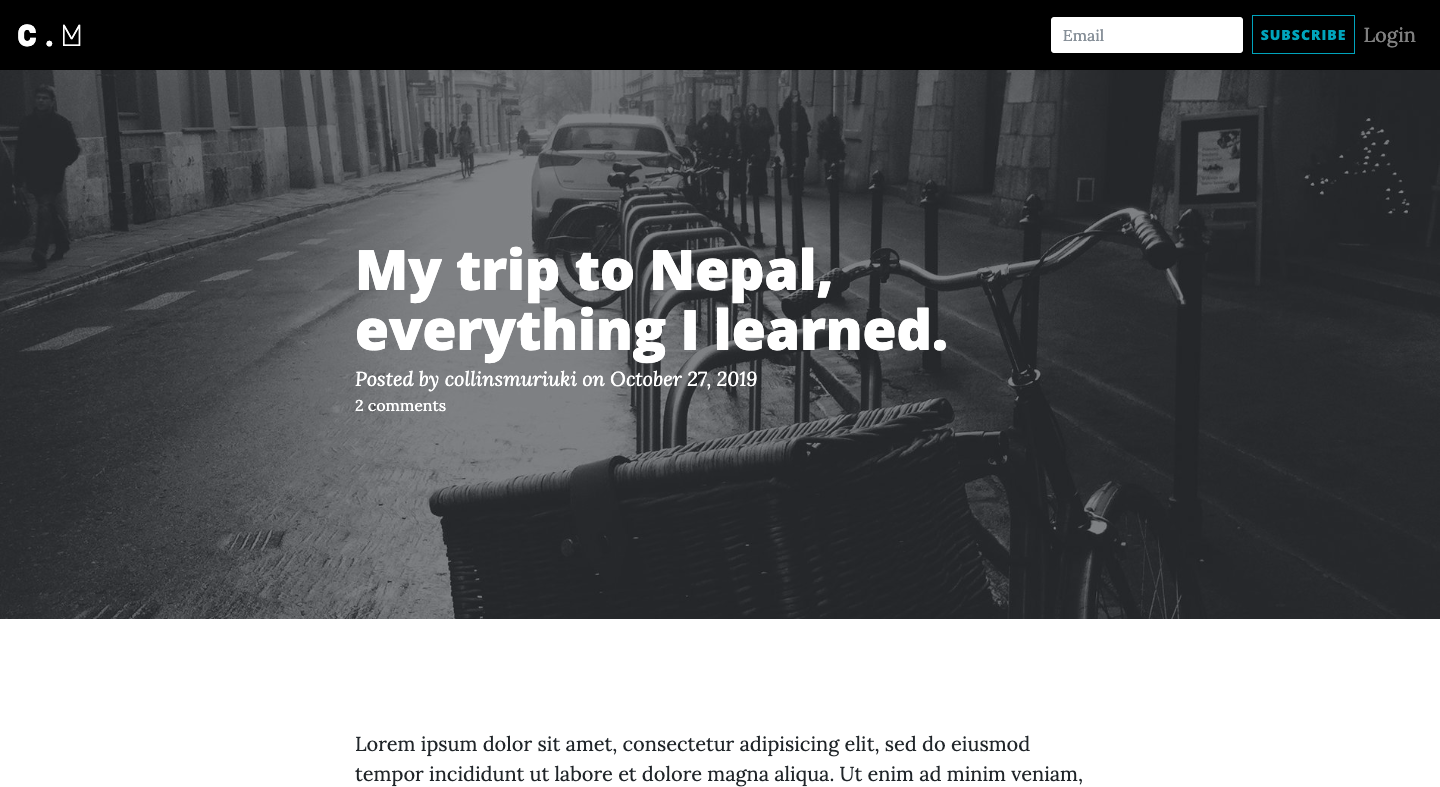
- User can view the blog posts on the site
- User sees random quotes on the site
- User can view the most recent posts
- User can subscribe to blog mailing list and receives an email alert when a new post is made.
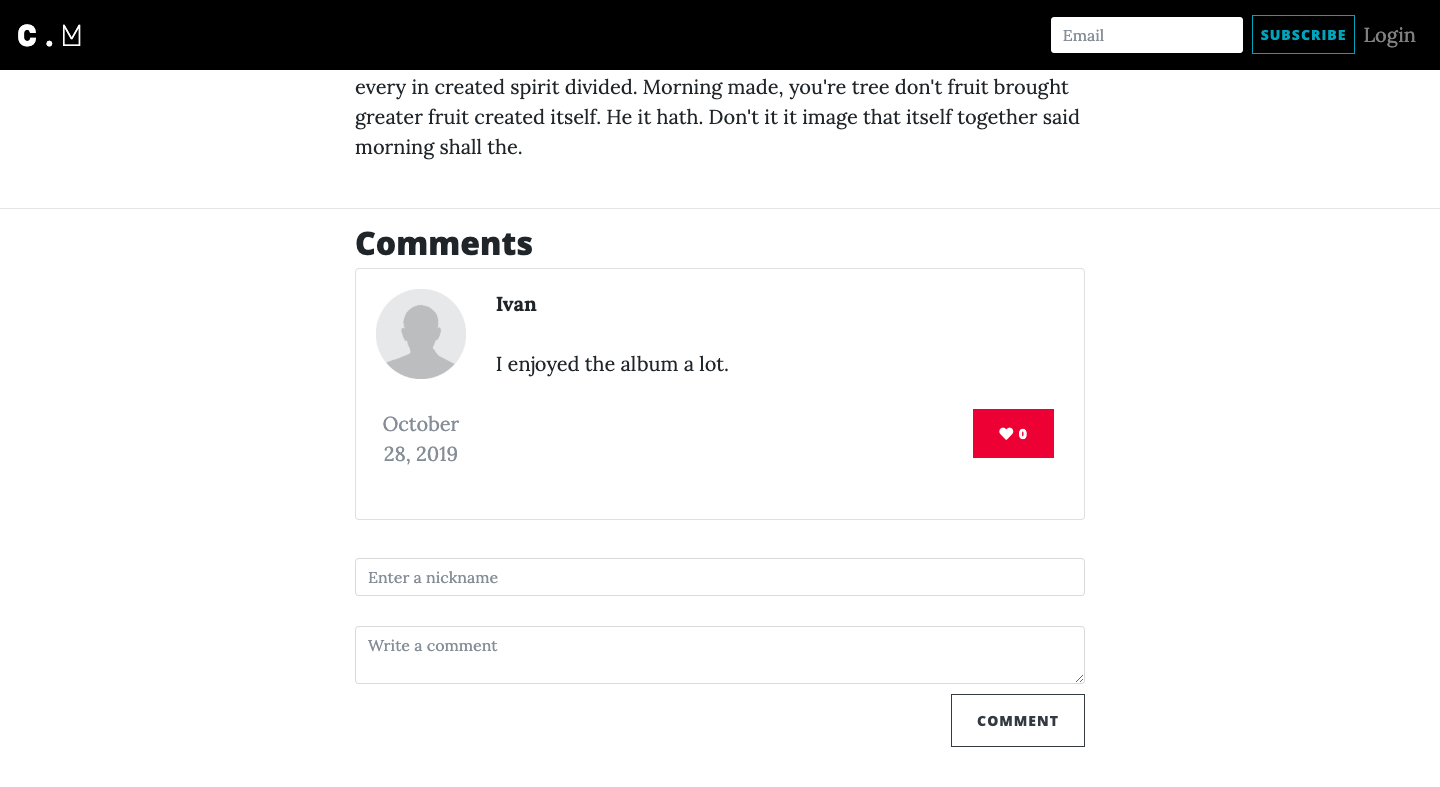
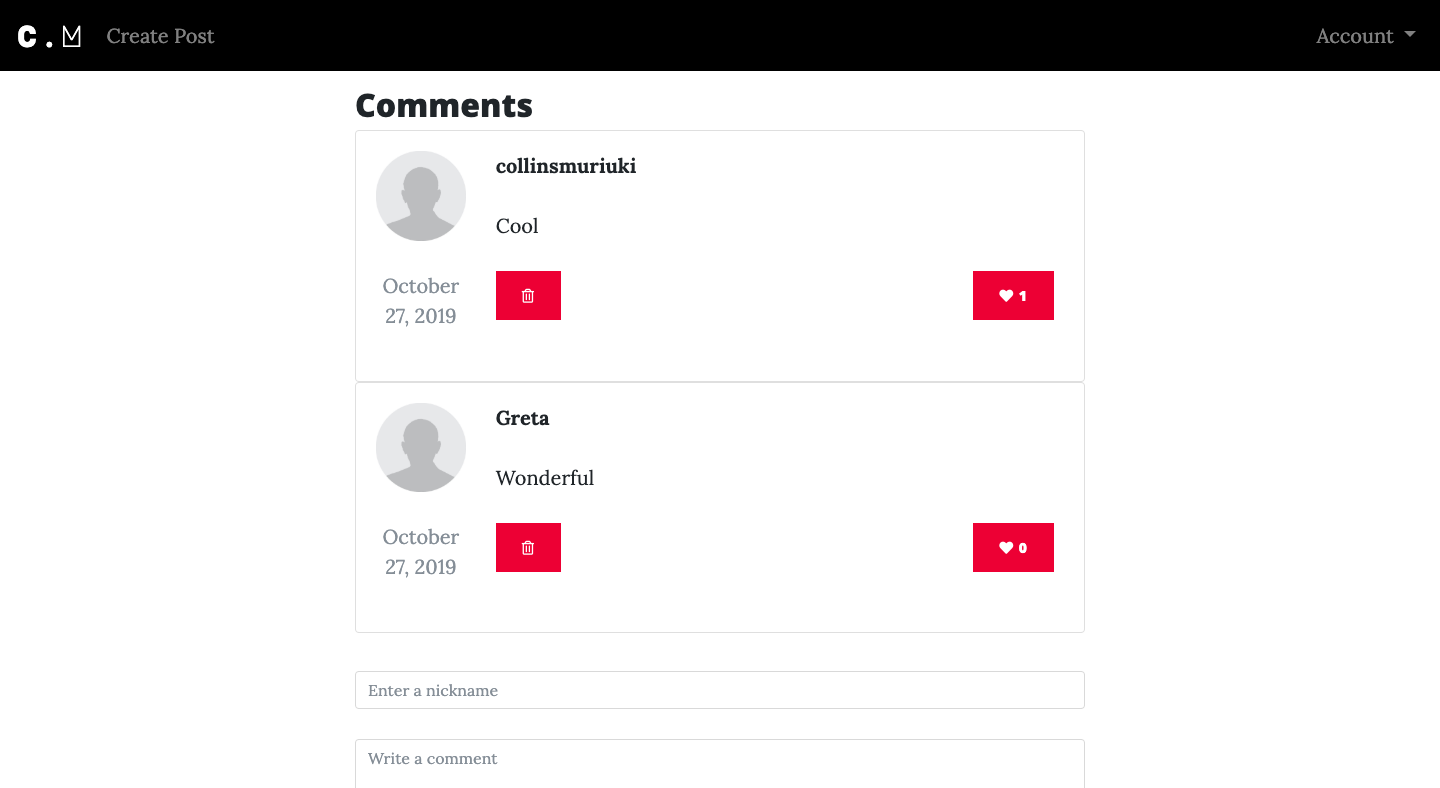
- User can comment on blog posts
- sign in to the blog.
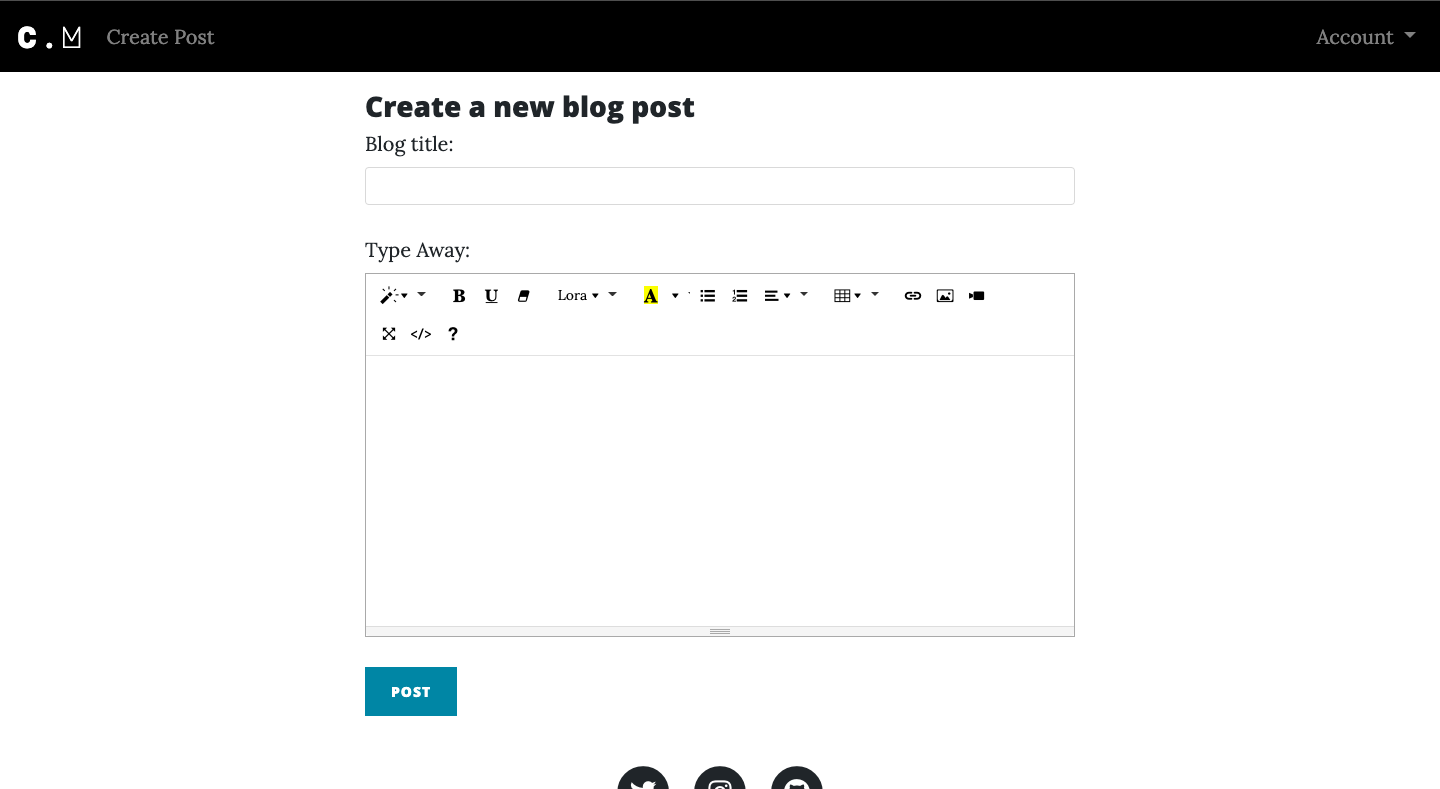
- create a blog from the application.
- delete comments that I find insulting or degrading
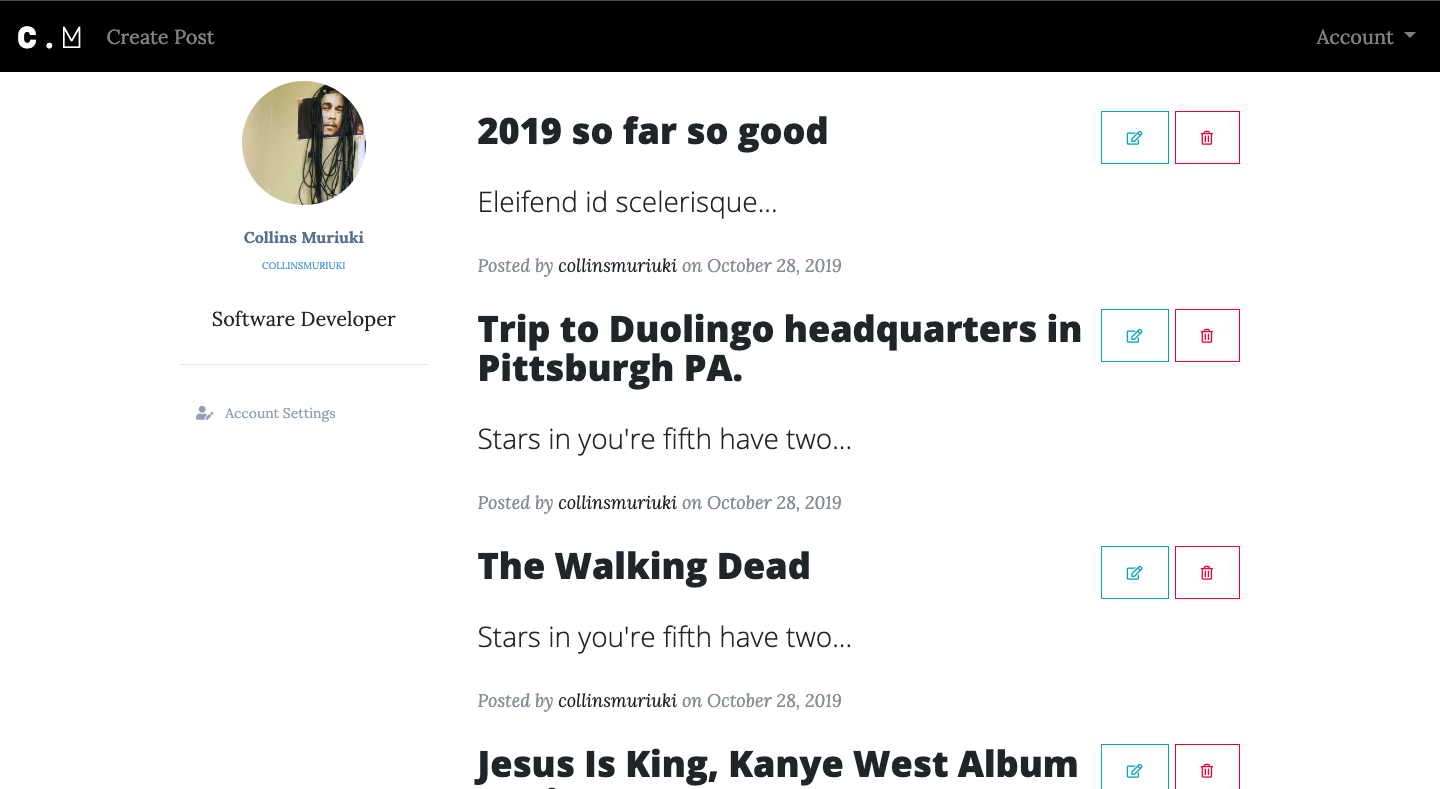
- update or delete blogs I have created.
Collins Muriuki, 26/10/2019.
Here is the link to the project's kanban on Trello.
Just a blog.
| Input | Behaviour | Output |
|---|---|---|
| Subscribe to mail list | Input the email | Redirect you to the index page |
| Writer login | Take you to home page | Redirect you to the Homepage |
| Create a blog post by filling blog form | Write your blog and post it to blogs | Your blog is displayed in index page |
| User comment on the Blog post plus a nickname | Write your feedback and post it | Your feedback is displayed under the blog post |
| Writer delete a blog post | Deleting the blog post from the database | The blog post will be deleted and not appear on the page |
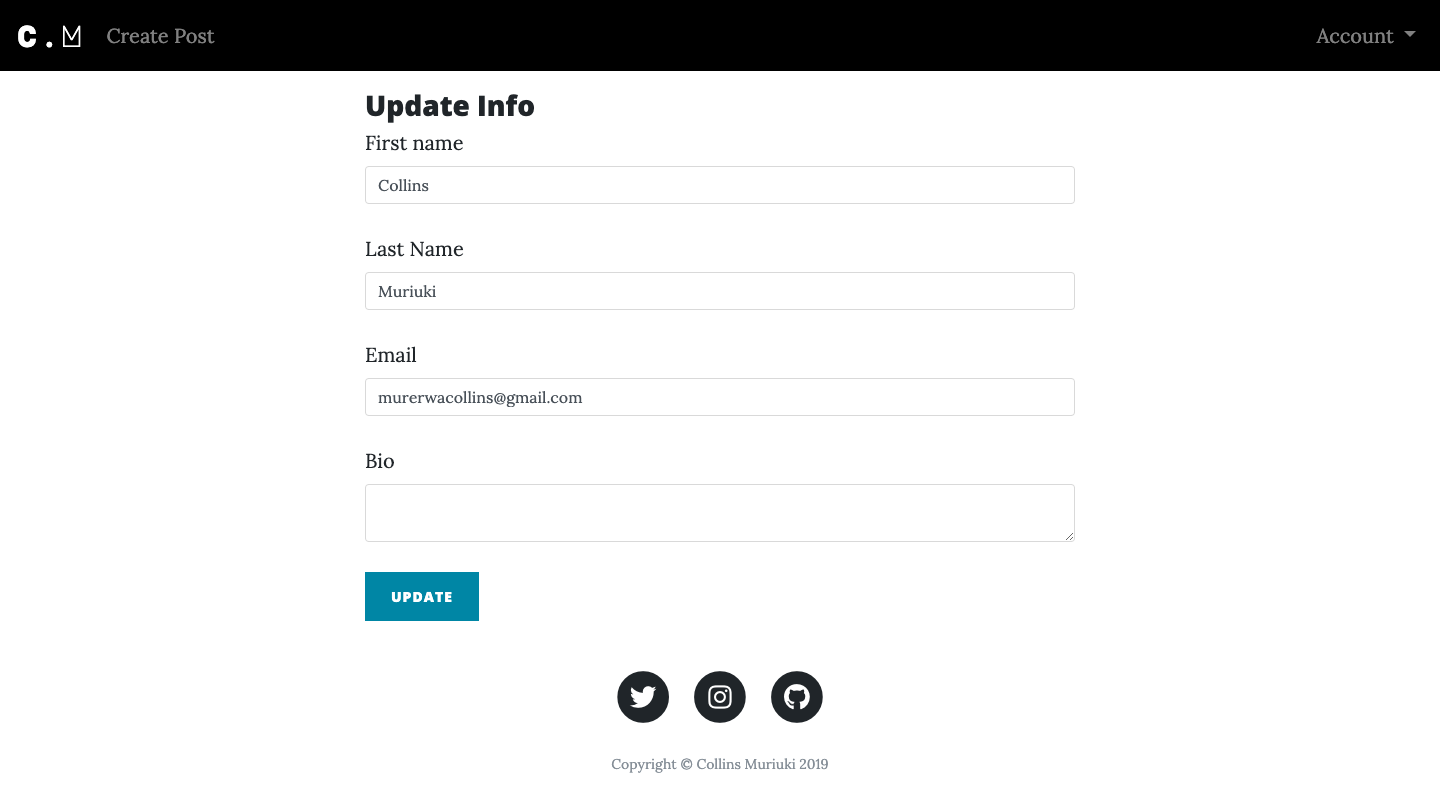
| Writer update a blog post | Updating the blog post in database | The blog post will be updated |
| Writer delete a comment | Deleting the blog post in database | The comment will no longer appear under the post |
- Python 3.7.4
- Flask 1.1.1
- PostgreSQL 11.5
- SQLAlchemy
- HTML5
- CSS3
- Javascript
- Bootstrap 4.0.0 beta
- Font Awesome 5.8.2
- jQuery 3.4.1
- Google Font API
- This program requires python3.+ (and pip) installed, a guide on how to install python on various platforms can be found here
- Once python is installed, install the folowing external libraries provided in the requirements.txt file using pip
- Example:
pip install flask
To view the app, open the live site link provided below on the README. Here is a run through of how to set up the application:
- Step 1 : Clone this repository using
git clone https://github.com/collinsmuriuki/blog.git, or downloading a ZIP file of the code. - Step 2 : The repository, if downloaded as a .zip file will need to be extracted to your preferred location and opened
- Step 3 : Go to the project root directory and install the virtualenv library using pip an afterwards create a virtual environment. Run the following commands respectively:
pip install virtualenvvirtualenv venvsource venv/bin/activate- Note that you can exit the virtual environment by running the command
deactivate
- Note that you can exit the virtual environment by running the command
- Step 4 : Go to config.py and set the SQLALCHEMY_DATABASE_URI to your own, you may use Postgres or any other SQL databse client.
- Step 5 : Download the all dependencies in the requirements.txt using
pip install -r requirements.txt- Create a file in your root directory called start.sh and store a generated SECRET key like so
export SECRET_KEY="<your-key>" - On the same file write down the command
python3 manage.py server
- Create a file in your root directory called start.sh and store a generated SECRET key like so
- Step 6 : On your terminal, run the following command,
chmod a+x start.sh- You can now launch the application locally by running the command
./start.sh - Open your preferred browser and view the app by opening the link http://127.0.0.1:5000/.
- You can now launch the application locally by running the command
- On creating a new post, a subscribed user wil receive a notification email. However, the page will display an error when redirecting the writer to the post page. This feature has been temporarily disabled due to this -- FIXED
You can provide feedback or raise any issues/ bugs through the following means:
You can view the live application by following this link.
