10 minutes, Beginner
This is an example React To-Do application using a DataStax Astra free tier database.

Contributor(s): Sebastián Estévez, based on the work of Jake Luciani
![]()
- Provide a fullstack development example using Astra as the storage backend
Once the Astra credentials are provided, the necessary tables are created in the database. The webservice will be available on port 8080 once the application has been deployed.
JAMstack is a big leap forward in how we can write web applications that are easy to write, deploy, scale, and also maintain. Using this approach means that newly created content is rendered from a content API, while a static render of it is being built into the site for future.
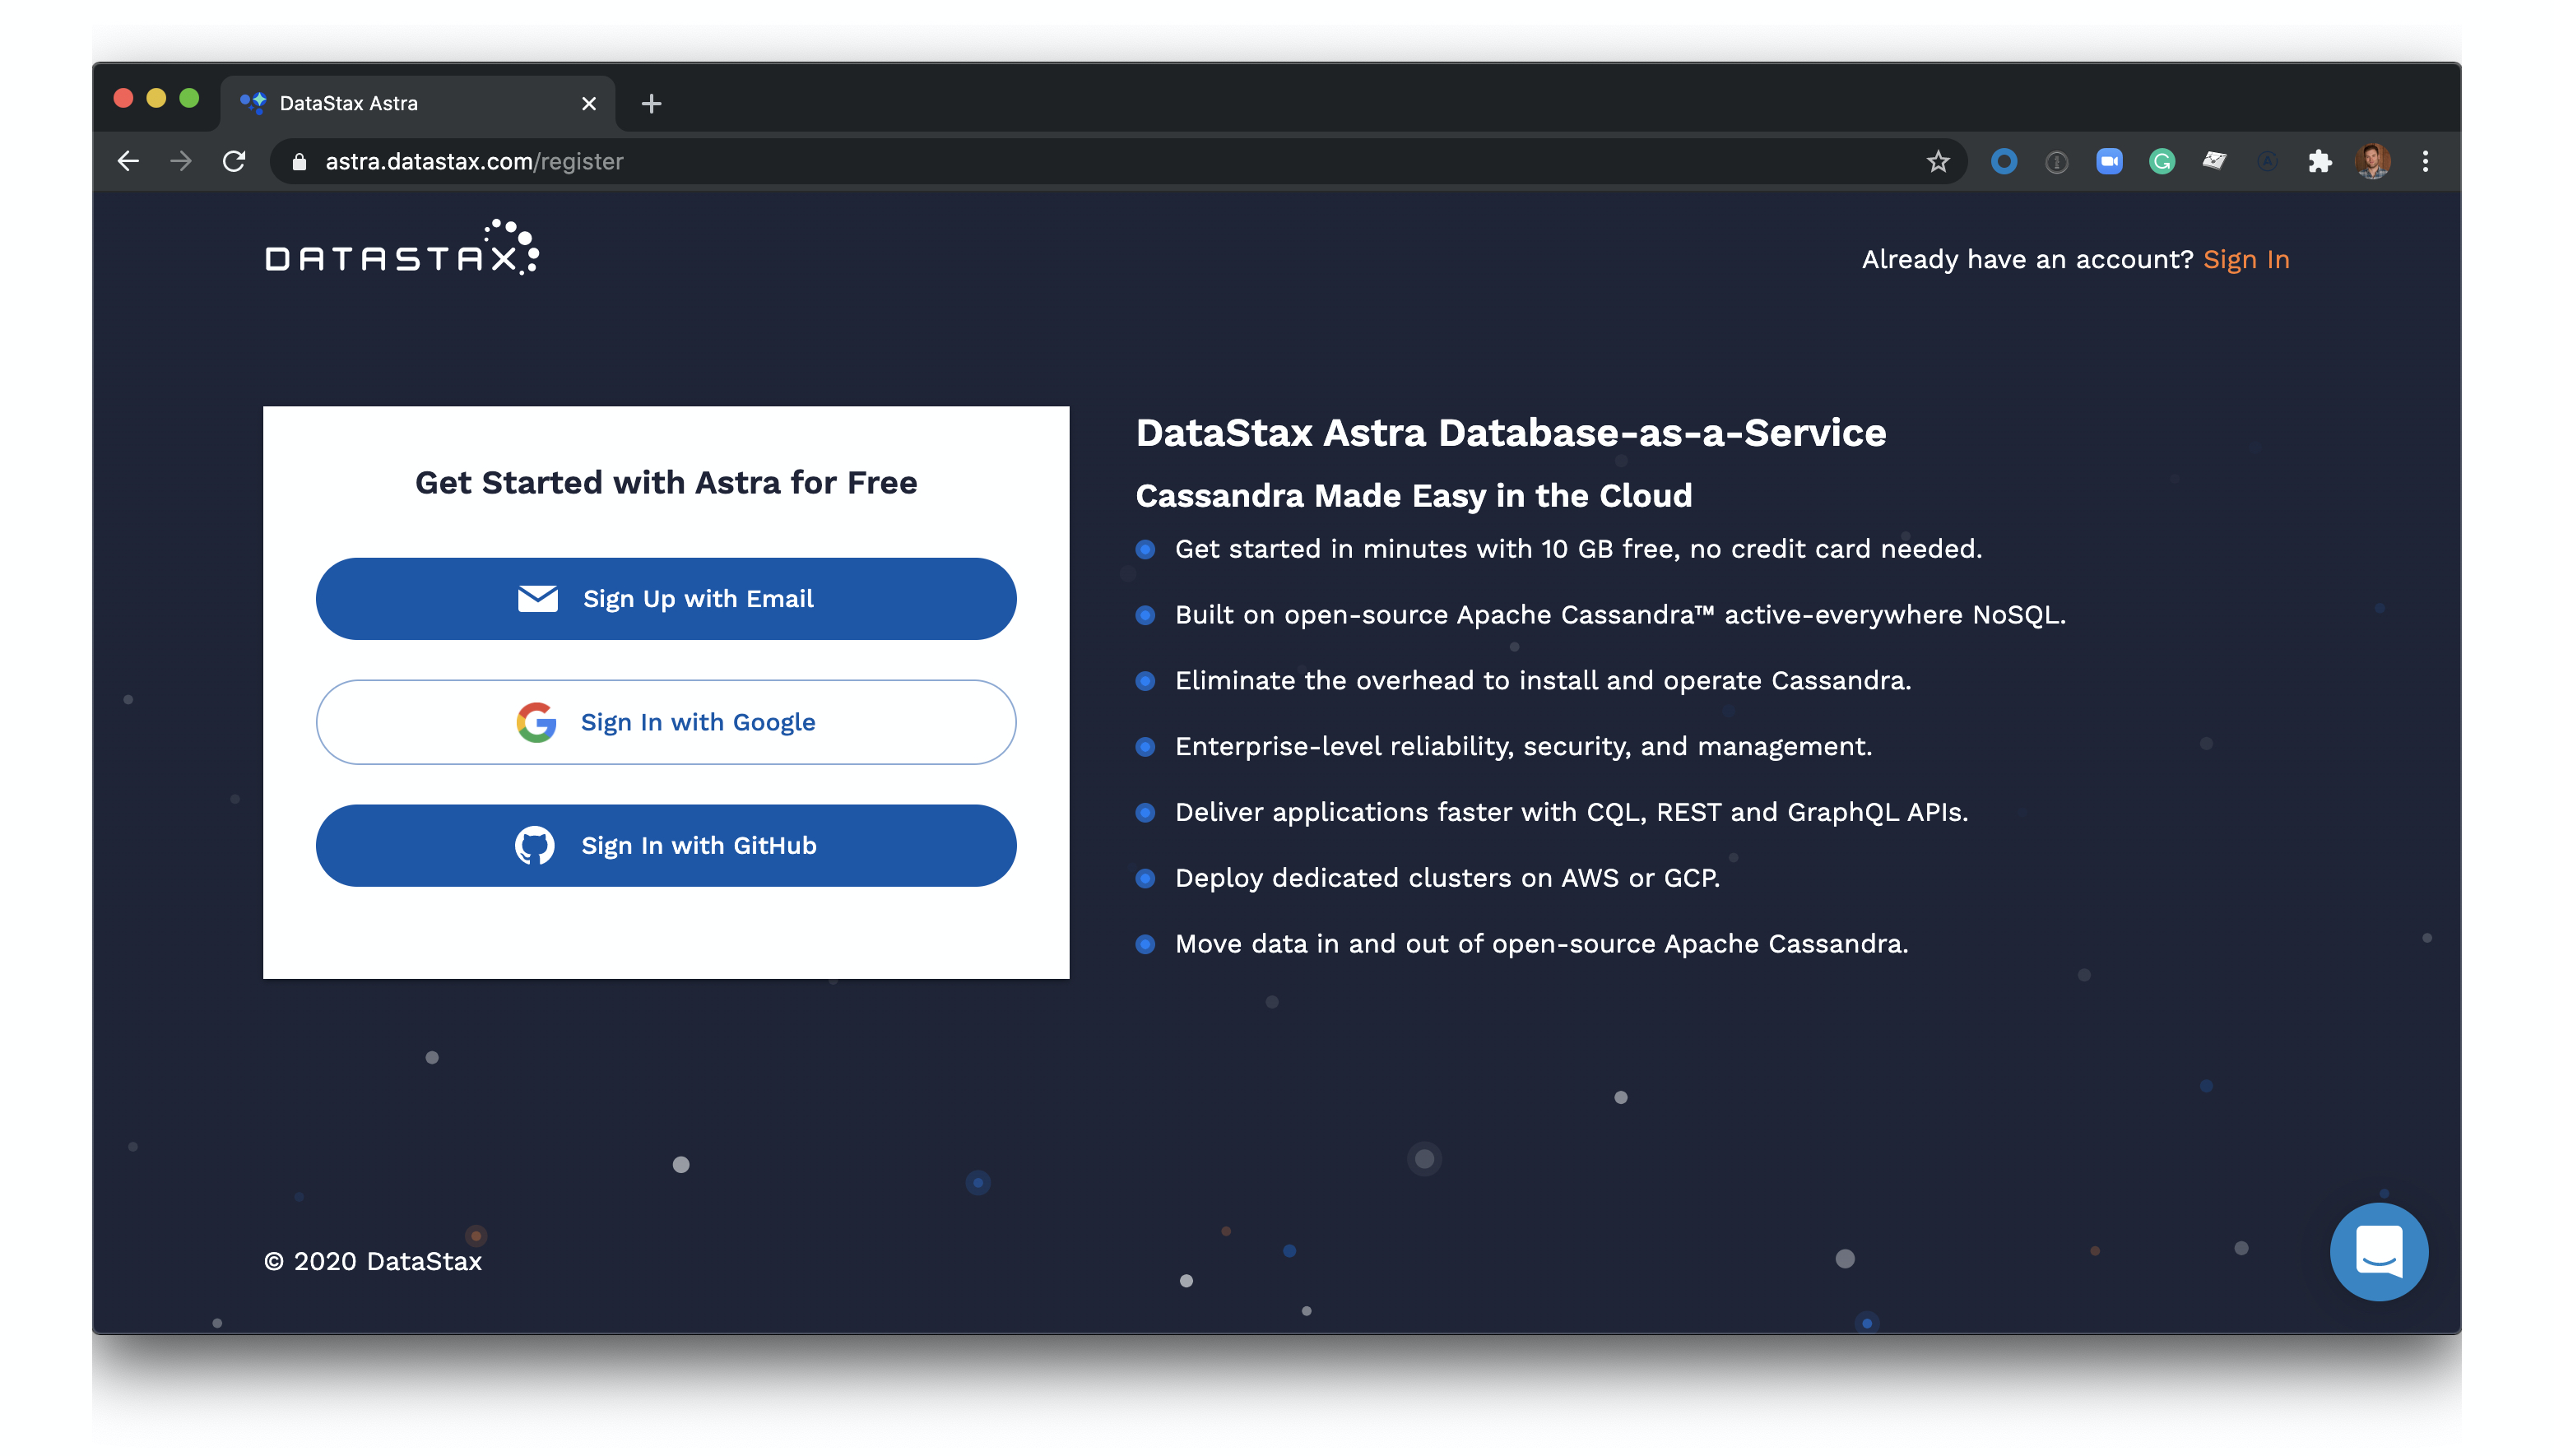
- Create a DataStax Astra account and free-tier Cassandra database:
- Click 'Use this template' at the top of the README:

- Enter a repository name and click 'Create repository from template':

- Clone the repository on your local machine:

-
cdto the cloned repository, and install Node dependencies:npm install. -
Populate your environment variables into a .env file
cp .env-template .env
and modify .env to include your database specific values (you can find these in the database detail screen in the Astra UI).
ASTRA_DB_ID=REPLACE-ME
ASTRA_DB_REGION=REPLACE-ME
ASTRA_DB_KEYSPACE=REPLACE-ME
ASTRA_DB_PASSWORD=REPLACE-ME
ASTRA_DB_USERNAME=REPLACE-ME
-
In the cloned repository, build the app:
npm start. -
Open http://localhost:8080 to view your application:

- Create a DataStax Astra account and free-tier Cassandra database:
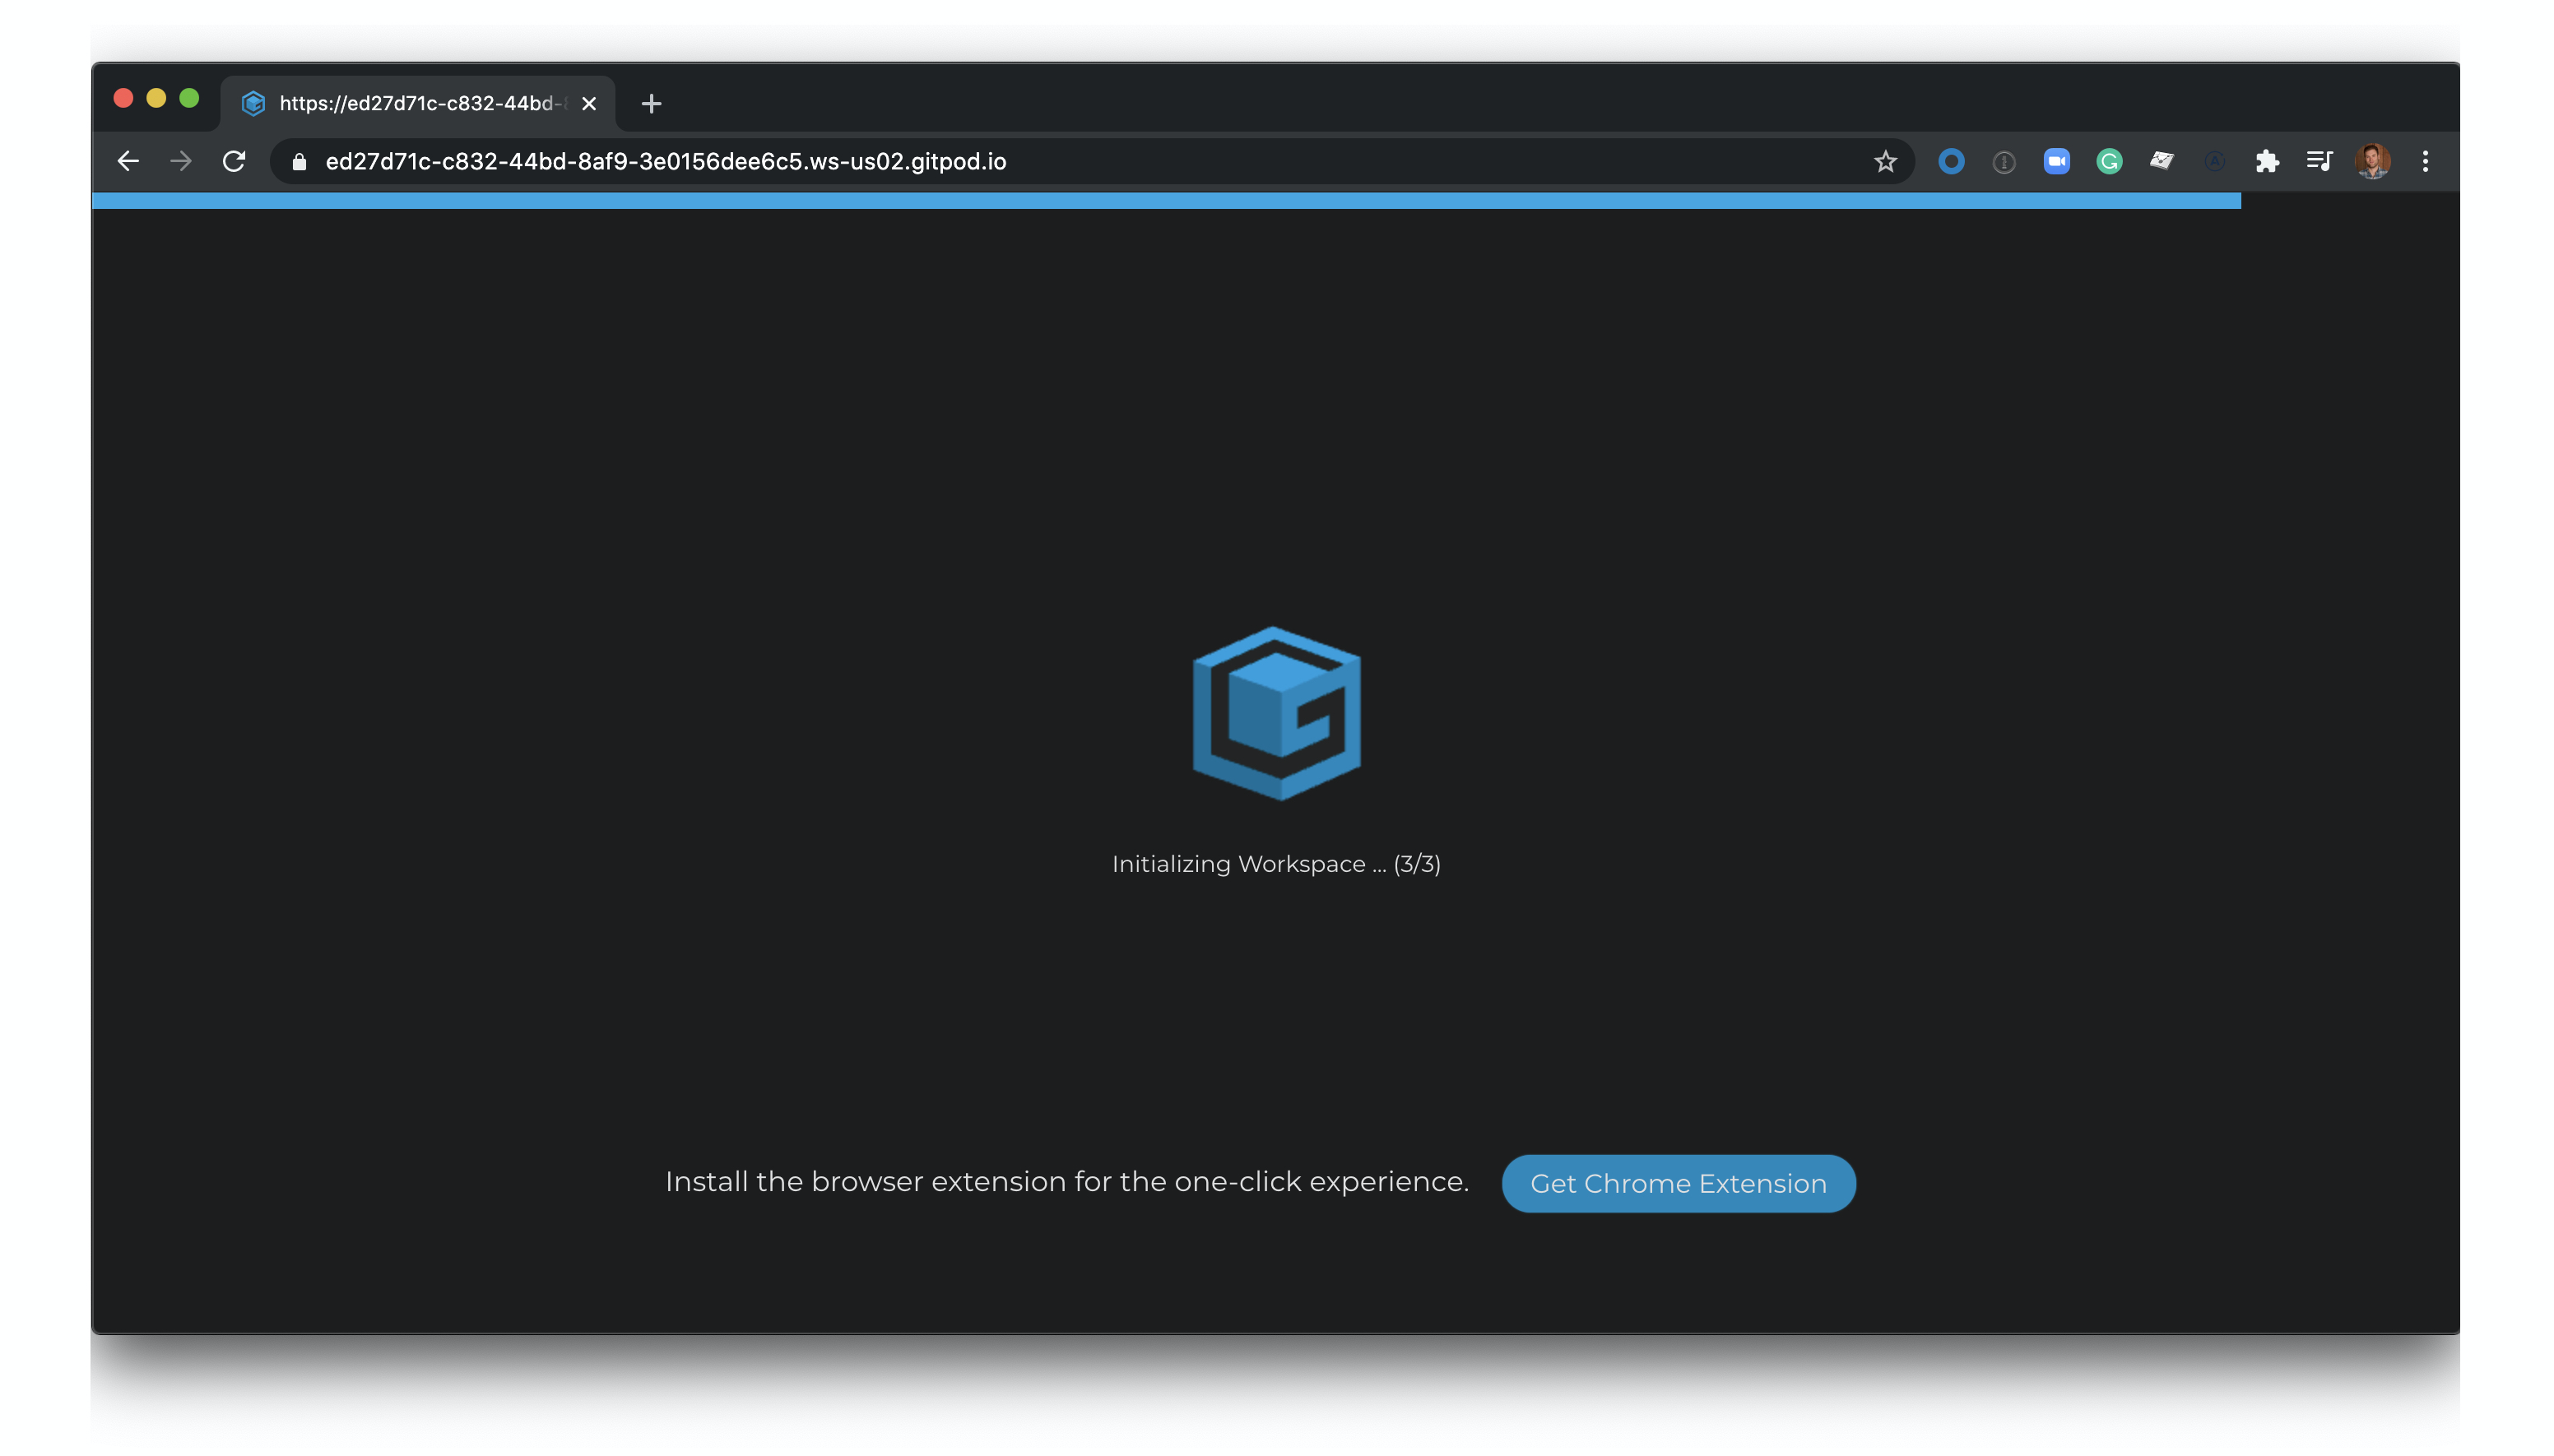
- Once you have created both an Astra account and database, click the 'Open in Gitpod' link:

- Wait for your Gitpod workspace to start:
- Set your Astra database details in the Gitpod terminal at the bottom of the screen:

You can find your database id in the Astra user-interface here:

- Click the 'Open browser' button in the bottom right of the screen:

- View your application:

- Create a DataStax Astra account and free-tier Cassandra database:
- Once you have created both an Astra account and database, click the 'Deploy to Netlify' button:

- Connect your GitHub account:

- Fill in the Netlify environment variables with information on your Astra database:

You can find your database id here in the Astra user-interface here:
- Click 'Save and Deploy':

- Wait for your app to deploy (this will take a minute or two, the screen will auto-refresh when the deployment is complete):

- Click your Netlify app link to view your live app:

- You've deployed your app to Netlify!

- The contents of this repo are based on Jake's port of the TodoMVC code originally written by Pete Hunt.
- The example is modified from https://github.com/huksley/todo-react-ssr-serverless.