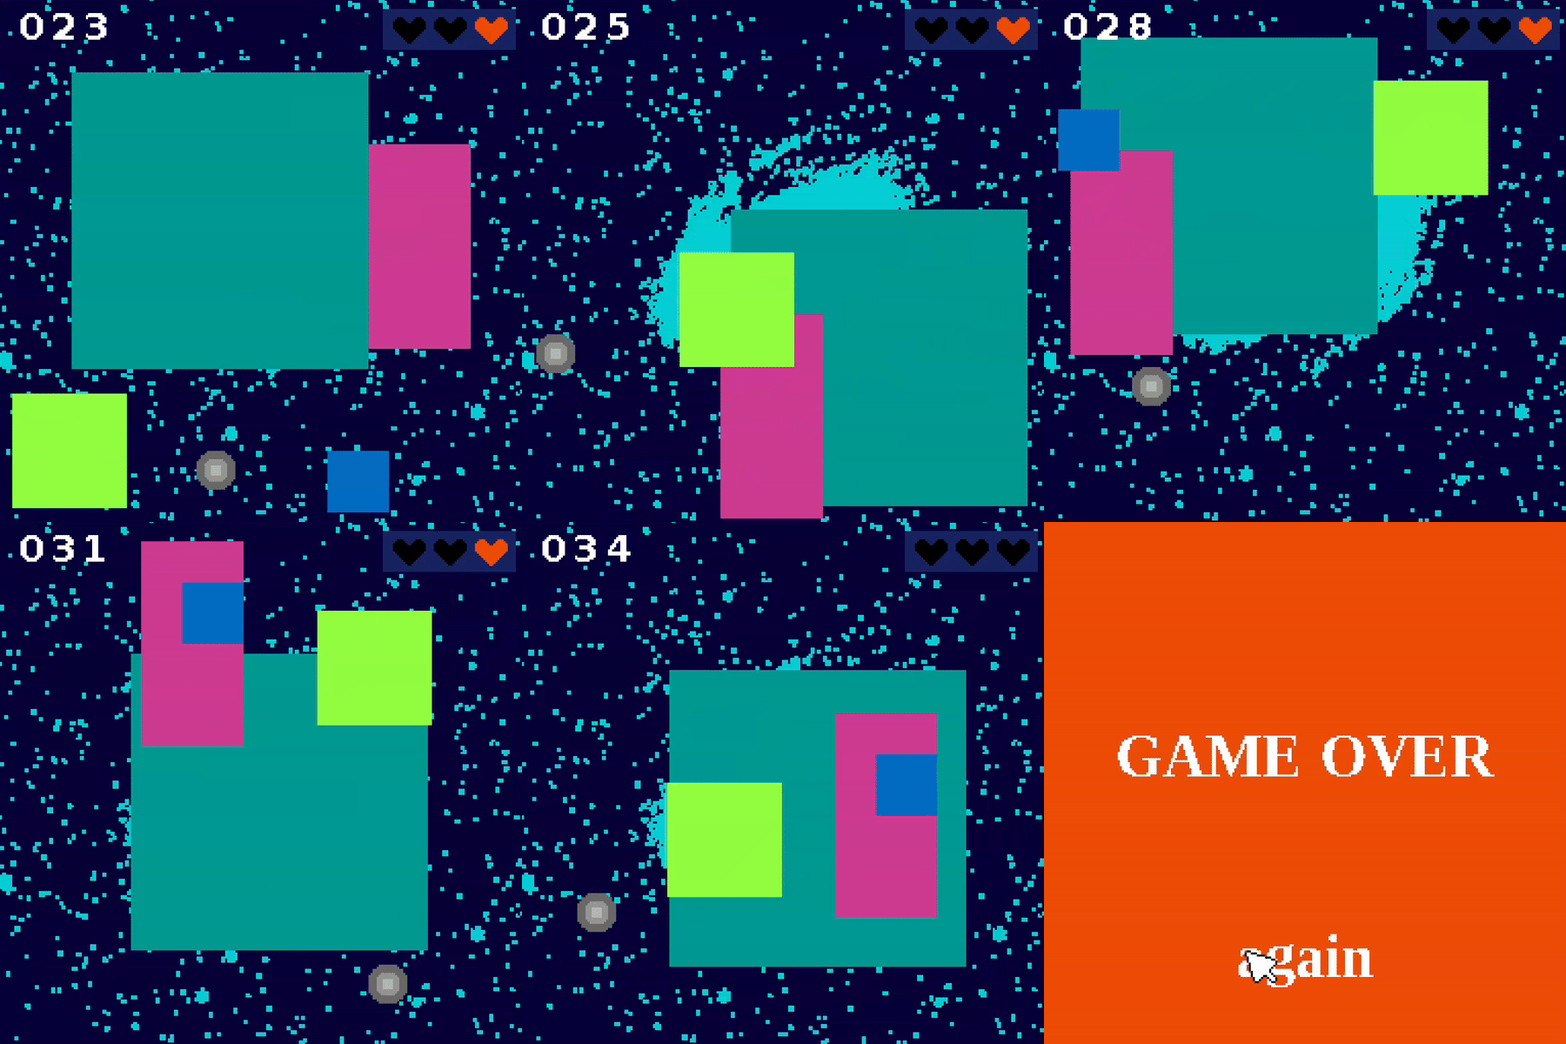
The goal in one word is simplicity. It should be simple to understand every instruction, to write machine code that runs on it, and to write a compiler for it. That does not mean that it is as simple and elegant as it could possibly be, just that it is easy to understand how the system should behave.
The instruction set and the design in general are in no way meant to resemble something that would make sense in real hardware.
This repo contains an emulator to run games or programs. It can be installed with cargo:
cargo install --git https://github.com/JanNeuendorf/SVC16Note
For controller support, compile with --features="gamepad". Support varies by platform and it might require additional libraries to be installed.
You can then run a program from the cli:
svc16 /path/to/my_rom.svc16Use --help to get a list of available subcommands.
I do not want to provide an assembler, any kind of compiler or even any ideas about things like call conventions. The idea is that you have to build that yourself. You can play a game from the example folder to get an idea of what can be built.
Warning
Until there are specifications with version 1.0, there could be breaking changes.
There are no CPU registers, just one chunk of memory. Values can be loaded from every memory address and written to every memory address.
Everything is represented as a (little endian) unsigned 16-bit integer. That includes numbers, addresses, colors, the instruction pointer and the input. Booleans are represented as u16 values as well: 0 for false and >0 for true. (1 when written as a boolean.)
All numerical operations that will appear in the instructions are wrapping operations. Division by zero crashes the program.
The main memory contains one valid address for every u16. The screen-buffer is the same size as the memory and there is one pixel for every u16.
There are as few features as possible. That means limited input, no sound, no variable display size etc. It also means that there are no accelerators or tricks to help with performance.
Here is a sketch of all components of the virtual computer:
The shaded section indicates what is visible to the virtual machine while the parts outside are handled by the emulation.
The instruction pointer represents an address in main memory. It starts as zero. Then, it is manipulated by the instructions. All operations performed on the instruction pointer are wrapping.
The screen has a resolution of
The coordinate
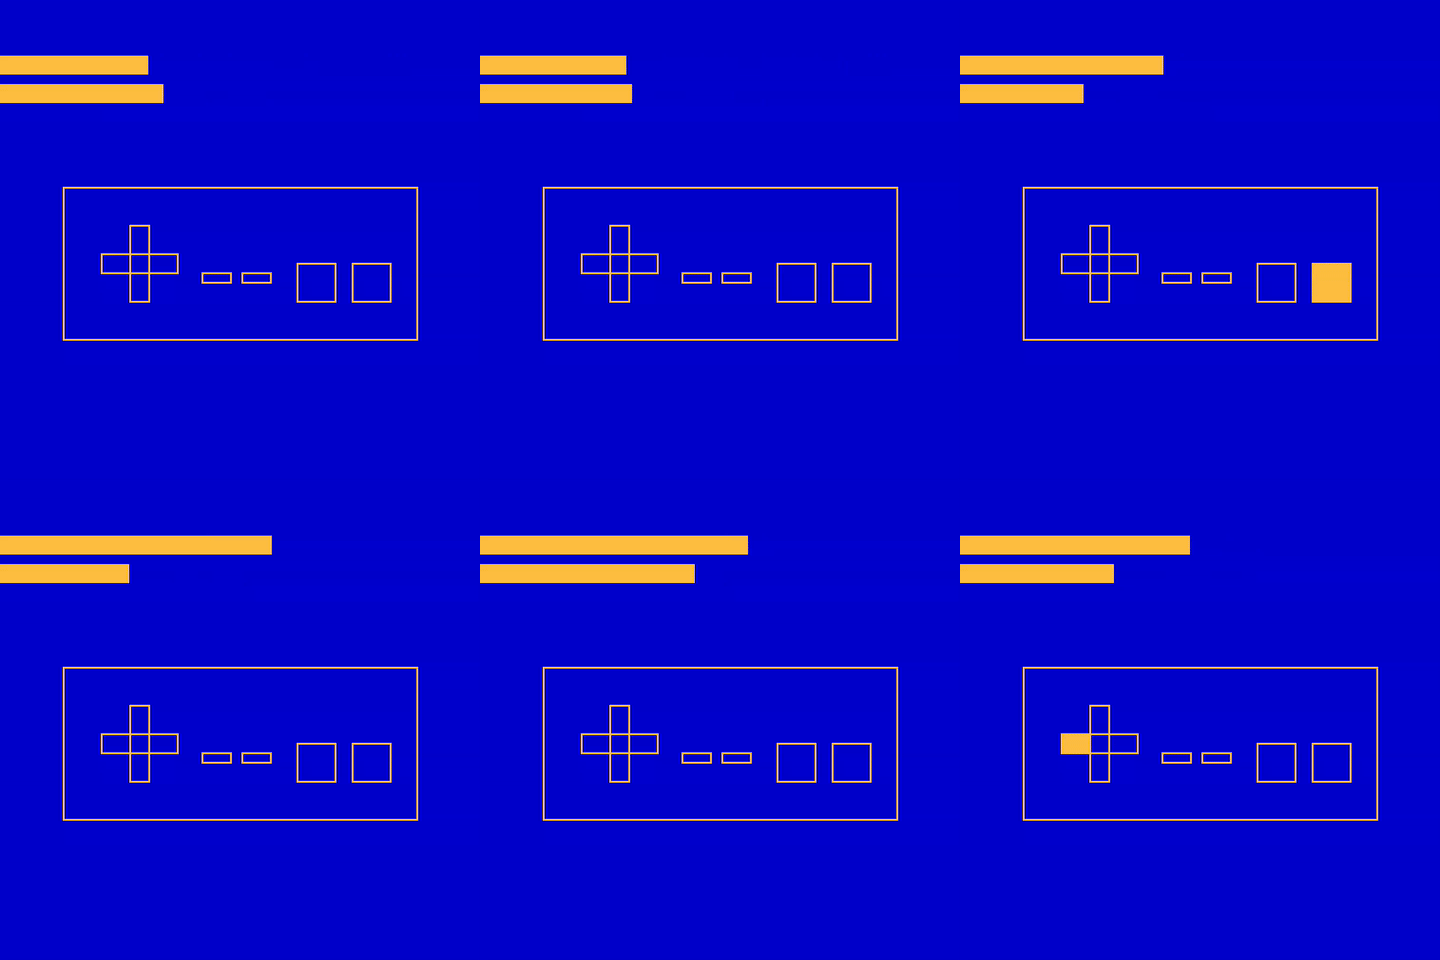
The only supported inputs are the mouse position and a list of eight keys. These keys are supposed to represent the face buttons of an NES controller. The codes for the A and B keys also represent the left and right mouse buttons.
On synchronization the new input is loaded into the input-buffer.
The position code is the index of the pixel, the mouse is currently on. The key code uses bitflags. We count from the least significant bit.
| Bit | Input Name | Mapping in reference emulator |
|---|---|---|
| 0 | A / Mouse Left | Space / Mouse Left |
| 1 | B / Mouse Right | B / Mouse Right |
| 2 | Up | Up / W |
| 3 | Down | Down / S |
| 4 | Left | Left / A |
| 5 | Right | Right / D |
| 6 | Select | N |
| 7 | Start | M |
When the console executes the Sync instruction, the screen-buffer is drawn to the screen. It is not cleared. The input-buffer is updated. The system will be put to sleep until the beginning of the next frame. The targeted timing is 30fps. There is a hard limit of 3000000 instructions per frame. This means that if the Sync command has not be called for 3000000 instructions, it will be performed automatically.
All instructions are 4 values long. A value is, of course, a u16.
The instructions have the form opcode arg1 arg2 arg3.
In the following table, all instructions are listed. @arg1 refers to the value at the memory address arg1.
If the opcode is greater than 15, and the code is run, the system will abort.
Note
You can have data blobs in the binary that does not correspond with the opcodes. This is fine until and unless you explicitly try to run this blob of data as code.
If one of the three arguments is not used, it can be set to any value, but it can not be omitted.
When the instruction pointer advances, it does so by four positions.
| Opcode | Name | Advances | Effect |
|---|---|---|---|
| 0 | Set | yes | @arg1=arg2 |
| 1 | GoTo | if skipped | if(not @arg3){inst_ptr=@arg1+arg2} |
| 2 | Skip | if skipped | if(not @arg3){inst_ptr=inst_ptr+4*arg1-4*arg2} |
| 3 | Add | yes | @arg3=(@arg1+@arg2) |
| 4 | Sub | yes | @arg3=(@arg1-@arg2) |
| 5 | Mul | yes | @arg3=(@arg1*@arg2) |
| 6 | Div | yes | @arg3=(@arg1/@arg2) |
| 7 | Cmp | yes | @arg3=(@arg1<@arg2) as unsigned |
| 8 | Deref | yes | @arg2=@(@arg1+arg3) |
| 9 | Ref | yes | @(@arg1+arg3)=@arg2 |
| 10 | Inst | yes | @arg1=inst_ptr |
| 11 | yes | Writes value=@arg1 to index=@arg2 of buffer arg3 |
|
| 12 | Read | yes | Copies index=@arg1 of buffer arg3 to @arg2 |
| 13 | Band | yes | @arg3=@arg1&@arg2 |
| 14 | Xor | yes | @arg3=@arg1^@arg2 |
| 15 | Sync | yes | Puts @arg1=position_code, @arg2=key_code and synchronizes in that order. If arg3!=0, it triggers the expansion port mechanism. |
When an argument refers to the name of a buffer, it means the screen buffer if it is 0 and the utility buffer otherwise.
The utility buffer behaves a lot like the screen buffer with the obvious difference that it is not drawn to the screen. This can be used for intermediate storage at runtime, but it always starts at zero.
Its second function is to communicate with the expansion port. You can find more information in the specifications.
A program is really just the initial state of the main memory.
There is no distinction between memory that contains instructions and memory that contains some other asset.
The initial state is loaded from a binary file that is read as containing the (le) u16 values in order. The maximum size is
A simple example would be to print all
Set 501 1 0       // Write the value 1 to address 501
Set 502 65535 0   // Write the largest possible value to 502
Print 500 500 0   // Display color=@500 at screen-index=@500
Add 500 501 500   // Increment the color/screen-index
Cmp 500 502 503   // See if we are not at the max number
Xor 503 501 503   // Negate it
Skip 0 4 503      // Unless we are at the max number, go back 4 instructions
Sync 0 0 0        // Sync
GoTo 0 0 0        // Repeat to keep the window open
We could rely on the fact that the value at index 500 starts at zero and we did not have to initialize it.
To build a program that we can execute, we could use python:
import struct

code = [
    0, 501, 1, 0, #Opcodes replaced with numbers
    0, 502, 65535, 0,
    11, 500, 500, 0,
    # ...
]
with open("all_colors.svc16", "wb") as f:
    for value in code:
        f.write(struct.pack("<H", value))
Inspecting the file, we should see:
➜ hexyl examples/all_colors.svc16 -pv --panels 1

  00 00 f5 01 01 00 00 00
  00 00 f6 01 ff ff 00 00
  0b 00 f4 01 f4 01 00 00
  03 00 f4 01 f5 01 f4 01
  07 00 f4 01 f6 01 f7 01
  0e 00 f7 01 f5 01 f7 01
  02 00 00 00 04 00 f7 01
  0f 00 00 00 00 00 00 00
  01 00 00 00 00 00 00 00
When we run this, we get the following output:
First of all, if you managed to build a cool game or program for the system, please share it!
If you find a discrepancy between this README and the behavior of the emulator or some other problem or bug, feel free to open an issue.
- Write a very detailed specification document
- In progress (see specification directory)
- Create a more advanced example program
- Test the reference emulator on different platforms


