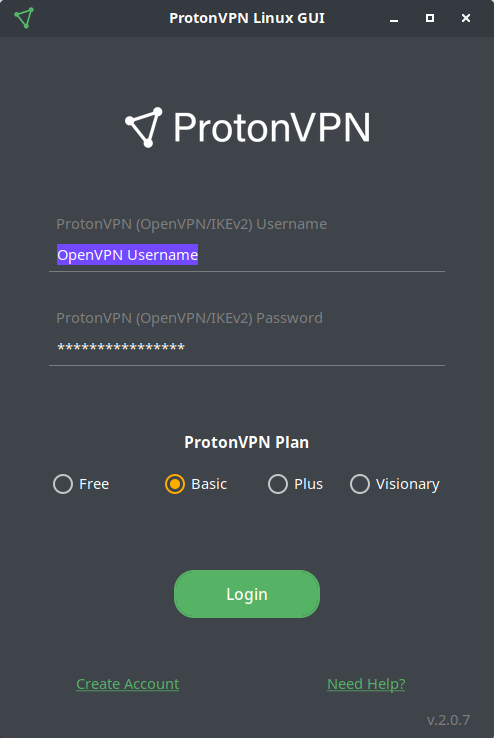
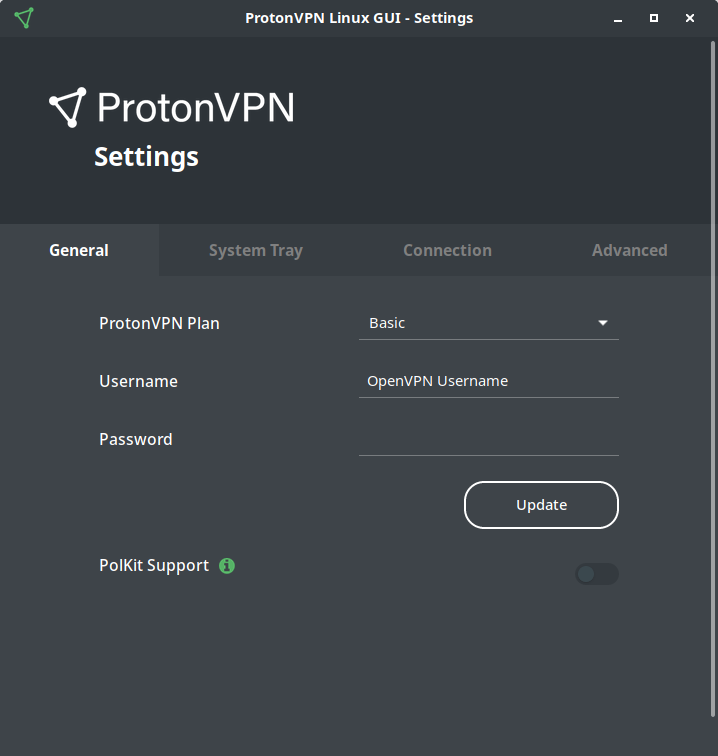
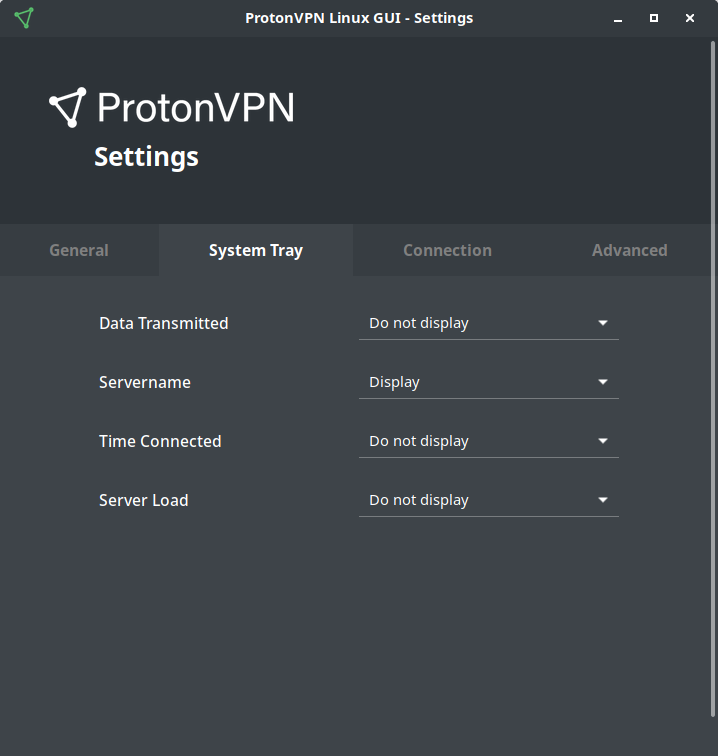
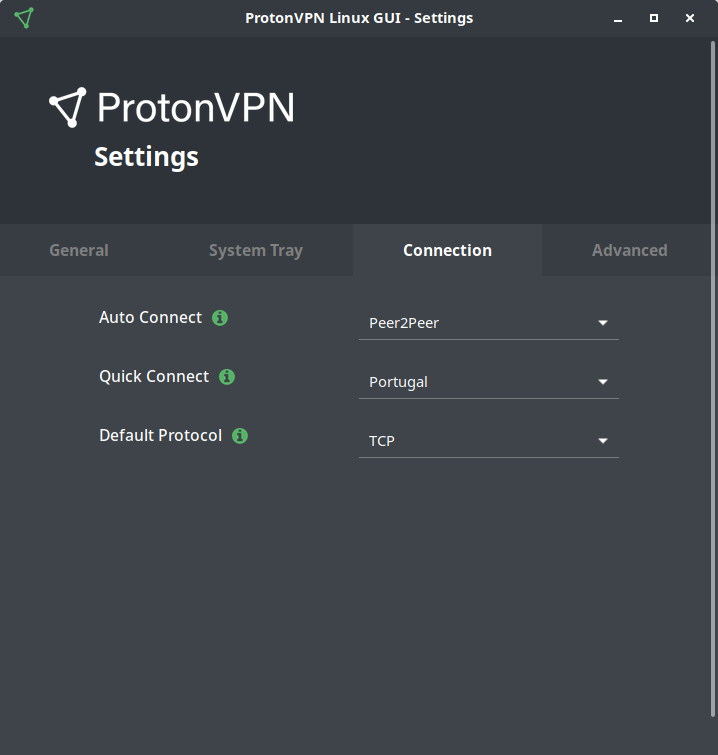
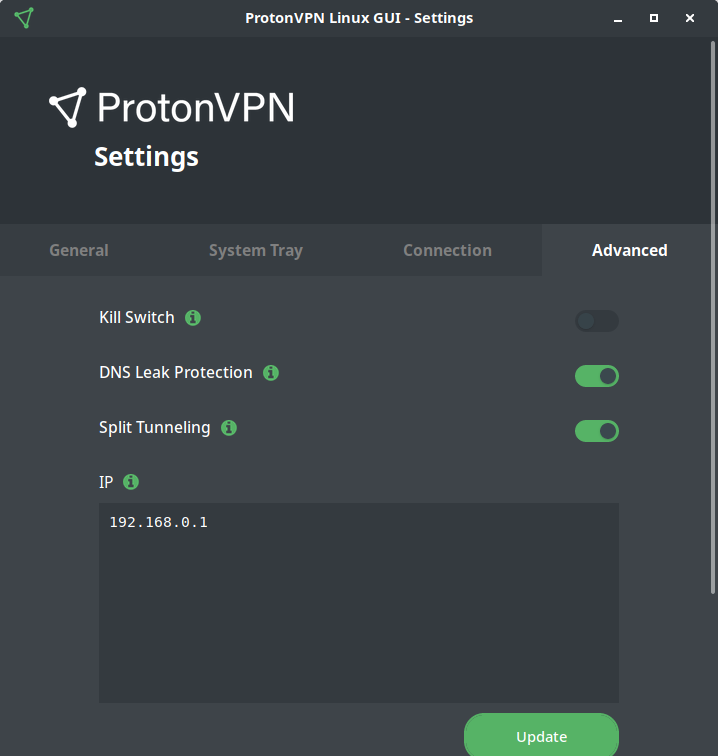
The linux-gui works on top of linux-cli, making it a dependency. All local configurations are managed by the GUI (such as updating protocol, split tunneling, manage killswitch) while the connections are managed by the CLI. This way, you will be able to use the latest version of the CLI, while also being able to use the GUI.
Disclaimer: The ProtonVPN GUI is currently still an experimental interface. It requires escalated privileges and might be somehow unstable. In the near future we plan to refactor the ProtonVPN CLI and GUI so that the part of the client that really requires being executed as root user is kept to a minimum.
- python >= 3.5
- linux-cli >= 2.2.2
- requests >= 2.23.0
- configparse >= 4.0.2
- pip for python3 (pip3)
- setuptools for python3 (python3-setuptools)
| Distro | Command |
|---|---|
| Fedora/CentOS/RHEL | sudo dnf install -y python3-gobject gtk3 |
| Ubuntu/Linux Mint/Debian and derivatives | sudo apt install -y python3-gi python3-gi-cairo gir1.2-gtk-3.0 |
| OpenSUSE/SLES | sudo zypper install python3-gobject python3-gobject-Gdk typelib-1_0-Gtk-3_0 libgtk-3-0 |
| Arch Linux/Manjaro | sudo pacman -S python-gobject gtk3 |
| Distro | Command |
|---|---|
| Fedora/CentOS/RHEL | sudo dnf install -y libappindicator-gtk3 libnotify |
| Ubuntu/Linux Mint/Debian and derivatives | sudo apt install -y gir1.2-appindicator3 libnotify-bin |
| OpenSUSE/SLES | sudo zypper install libappindicator-gtk3 libnotify |
| Arch Linux/Manjaro | sudo pacman -S libappindicator-gtk3 libnotify |
NOTE: Gnome users will need to install an additional extension for this to work: KStatusNotifierItem/AppIndicator Support
There is a known issue when user attempts to start the systray/appindicator. This might throw an error that is similar to this one: (<app-name>:<pid>) LIBDBUSMENU-GLIB-WARNING **: Unable to get session bus: Failed to execute child process "dbus-launch" (No such file or directory) if a user does not have a specific package installed. If you are unable to use the systray/appindicator and have a similar error, then a solution is provided below.
Solution:
Install dbus-x11 package for your distribution, more information can be found on this stackoverflow post.
If you would like to use pkexec instead of the terminal (or alter visudo), then you will also need to install the following packages (unsure ? Look here):
| Distro | Command |
|---|---|
| Fedora/CentOS/RHEL | sudo dnf install -y polkit |
| Ubuntu/Linux Mint/Debian and derivatives | sudo apt install -y libpolkit-agent-1-0 |
| OpenSUSE/SLES | sudo zypper install polkit |
| Arch Linux/Manjaro | sudo pacman -S polkit |
- Fedora/CentOS/RHEL: To-do
- Ubuntu derivatives: To-do
- OpenSUSE/SLES: To-do
- Arch Linux/Manjaro: Available at AUR
Note: Make sure to run pip with sudo
sudo pip3 install protonvpn-gui
sudo pip3 install protonvpn-gui --upgrade
Note: Before installing the GUI, make sure that you have previously installed the CLI, otherwise an error will be thrown.
-
Clone this repository
git clone https://github.com/ProtonVPN/linux-gui -
Step into the directory
cd linux-gui -
Install
sudo pip3 install -e .
If you have installed the GUI via PIP or by cloning this repo, then to uninstall it type in the following command:
sudo pip3 uninstall protonvpn-gui
If you would like to run the the GUI within a virtual environment (for either development purposes or other), then you can easily do that with the help of pipenv. Make sure to install pipenv and additional packages before. Note: PolKit does not work within virtual environments.
| Distro | Command |
|---|---|
| Fedora/CentOS/RHEL | sudo dnf install cairo-devel cairo-gobject-devel gobject-introspection-devel pkg-config |
| Ubuntu/Linux Mint/Debian and derivatives | sudo apt install libcairo2-dev libgirepository1.0-dev pkg-config |
| OpenSUSE/SLES | sudo zypper install cairo-devel gobject-introspection-devel python3-cairo-devel pkg-config |
| Arch Linux/Manjaro | sudo pacman -S cairo base-devel gobject-introspection pkgconf |
git clone https://github.com/ProtonVPN/linux-guicd linux-guipipenv installinstalls the virtual environment and all necessary dependencies fromPipfile.pipenv shellenters the virtual environment.sudo pip install -e .installs the GUI in your virtual environment.protonvpn-guistarts the GUI from within the virtual environment.
protonvpn-gui
protonvpn-tray
To create at desktop launcher with a .desktop file, follow the instructions below.
-
Find the path to the package with
pip3 show protonvpn-guiYou should get something like
Location: /usr/local/lib/<YOUR_PYTHON_VERSION>/dist-packages, this is where your Python packages reside. Note: Based on your distro, yourLocationpath may not look exactly like this one, so make sure to use your own andLocationpath. -
Based on previous information, the path to your icon should be
<PATH_DISPLAYED_IN_STEP_1>/linux_gui/resources/img/logo/protonvpn_logo.png -
Create a
protonvpn-gui.desktopfile in.local/share/applications/, and paste in the following code. Remember to change theIconpath to your own path.[Desktop Entry] Name=ProtonVPN GenericName=ProtonVPN GUI Exec=protonvpn-gui Icon=<YOUR_ICON_PATH> Type=Application Terminal=False Categories=Utility;GUI;Network;VPN
To create at tray icon launcher with a .desktop file, follow the instructions below.
-
Find the path to the package with
pip3 show protonvpn-guiYou should get something like
Location: /usr/local/lib/<YOUR_PYTHON_VERSION>/dist-packages, this is where your Python packages reside. Note: Based on your distro, yourLocationpath may not look exactly like this one, so make sure to use your own andLocationpath. -
Based on previous information, the path to your icon should be
<PATH_DISPLAYED_IN_STEP_1>/linux_gui/resources/img/logo/protonvpn_logo.png -
Create a
protonvpn-tray.desktopfile in.local/share/applications/, and paste in the following code. Remember to change theIconpath to your own path.[Desktop Entry] Name=ProtonVPN Tray GenericName=ProtonVPN Tray Exec=protonvpn-tray Icon=<YOUR_ICON_PATH> Type=Application Terminal=False Categories=Utility;GUI;Network;VPN
At the moment, since the CLI protects certain files using sudo and also manages killswitch and split tunneling, the GUI will also need to have access to these sudo protected files. Thus, as it is at the moment, the GUI needs to have certain root privileges. This though is subject to change.
Nonetheless, if you would like to launch the GUI without having to type in your sudo password everytime, then you could add the executable file to visudo.
Another alternative is enable PolKit Support from within the settings (pkexec command). This displays a window for the user to type the sudo password, this way, a user won't have to type the password into the terminal. Whenever you want to connect/disconnect or make some important changes to files, a window prompt will appear for you to enter the sudo password.
Note: This feature needs to be enabled from within the GUI settings for it to be able to work. If you have not installed the necessary packages, then the this feature will not work.
The instructions for seting up visudo are described below.
- First you will need the path to the GUI. This can be found by typing
which protonvpn-gui. You should get something like this:/usr/bin/protonvpn-gui. Save it since you will need it later. Note: As previously mentioned, the path may look different for you, based on your distro. - Identify your username by typing
whoami. Save it (or memorize it). - In another terminal, type in
sudo visudo, and a window should pop-up, scroll to the very bottom of it. - Once you are at the botton, type:
<YOUR_USERNAME_FROM_STEP2> ALL = (root) NOPASSWD: <YOUR_PATH_FROM_STEP1> - Exit and save! Have fun :)
