This code allows a Raspberry Pi Pico to control a Nintendo Switch using button and joystick inputs from an original N64 or Gamecube controller. This is a spiritual successor to my N64-Arduino-Switch project.
It's been a year since I published the N64-Arduino-Switch project. Since then, the wireless N64 Nintendo Switch controllers have still been largely out of stock and scalped. One of the pieces of feedback from the last project is that it looked intimidating to setup. I've since discovered the Raspberry Pi Pico and decided to redo this project for the Pico. This has 2 advantages over the Arduino project:
- Programming involves plugging in a Micro USB cable while holding a button, dragging and dropping a file, and you're done! No more installing a Device Firmware Update (DFU) programmer, installing extra libraries, or shorting pins to get the device into a DFU mode.
- The Pico only costs $4 instead of $10 for an off-brand, slower Arduino!
Also, when playing through The Legend of Zelda: Ocarina of Time last year on the Arduino version, it was annoying not having a way to go to the Switch's Home screen using the N64 controller. Since I didn't rely on a library to handle N64 controller communication this time, I found out that there is a special 'Reset' bit that's set when L + R + Start are held at the same time. This project maps that input to the Home button on the Switch!
This project no longer only supports the N64 controller, but now supports Gamecube controllers too! I've created two button mappings for the Gamecube controller - a one-to-one mapping, and a mapping that makes the controls as close as possible to the original Super Mario Sunshine mappings. For example, the Switch port has dives mapped to Y, but this maps it back to B. Unfortunately, since the Switch doesn't support analog triggers, a light trigger press maps to ZL/ZR, and full trigger presses map to ZL/R button presses. The Z button on the Gamecube controller maps to L.
Both N64 and Gamecube versions have L + R + Start mapped to the Switch home button. They also both have dynamic scaling on each axis of each analog joystick to account for reduced joystick range on old controllers.
To program the Raspberry Pi Pico
- Hold down the boot sel button on the Pico, and while holding, plug it into your PC via Micro USB cable.
- Open the Pico in your File Explorer.
- Download the .uf2 file from this repository's most recent release.
- Drag and drop the .uf2 file to the Pico folder from step 2.
- Done!
Once these steps are done, wire up your N64 controller or your Gamecube controller. The pre-built .uf2 file assumes the data pin is on the Pico's GP18 pin.
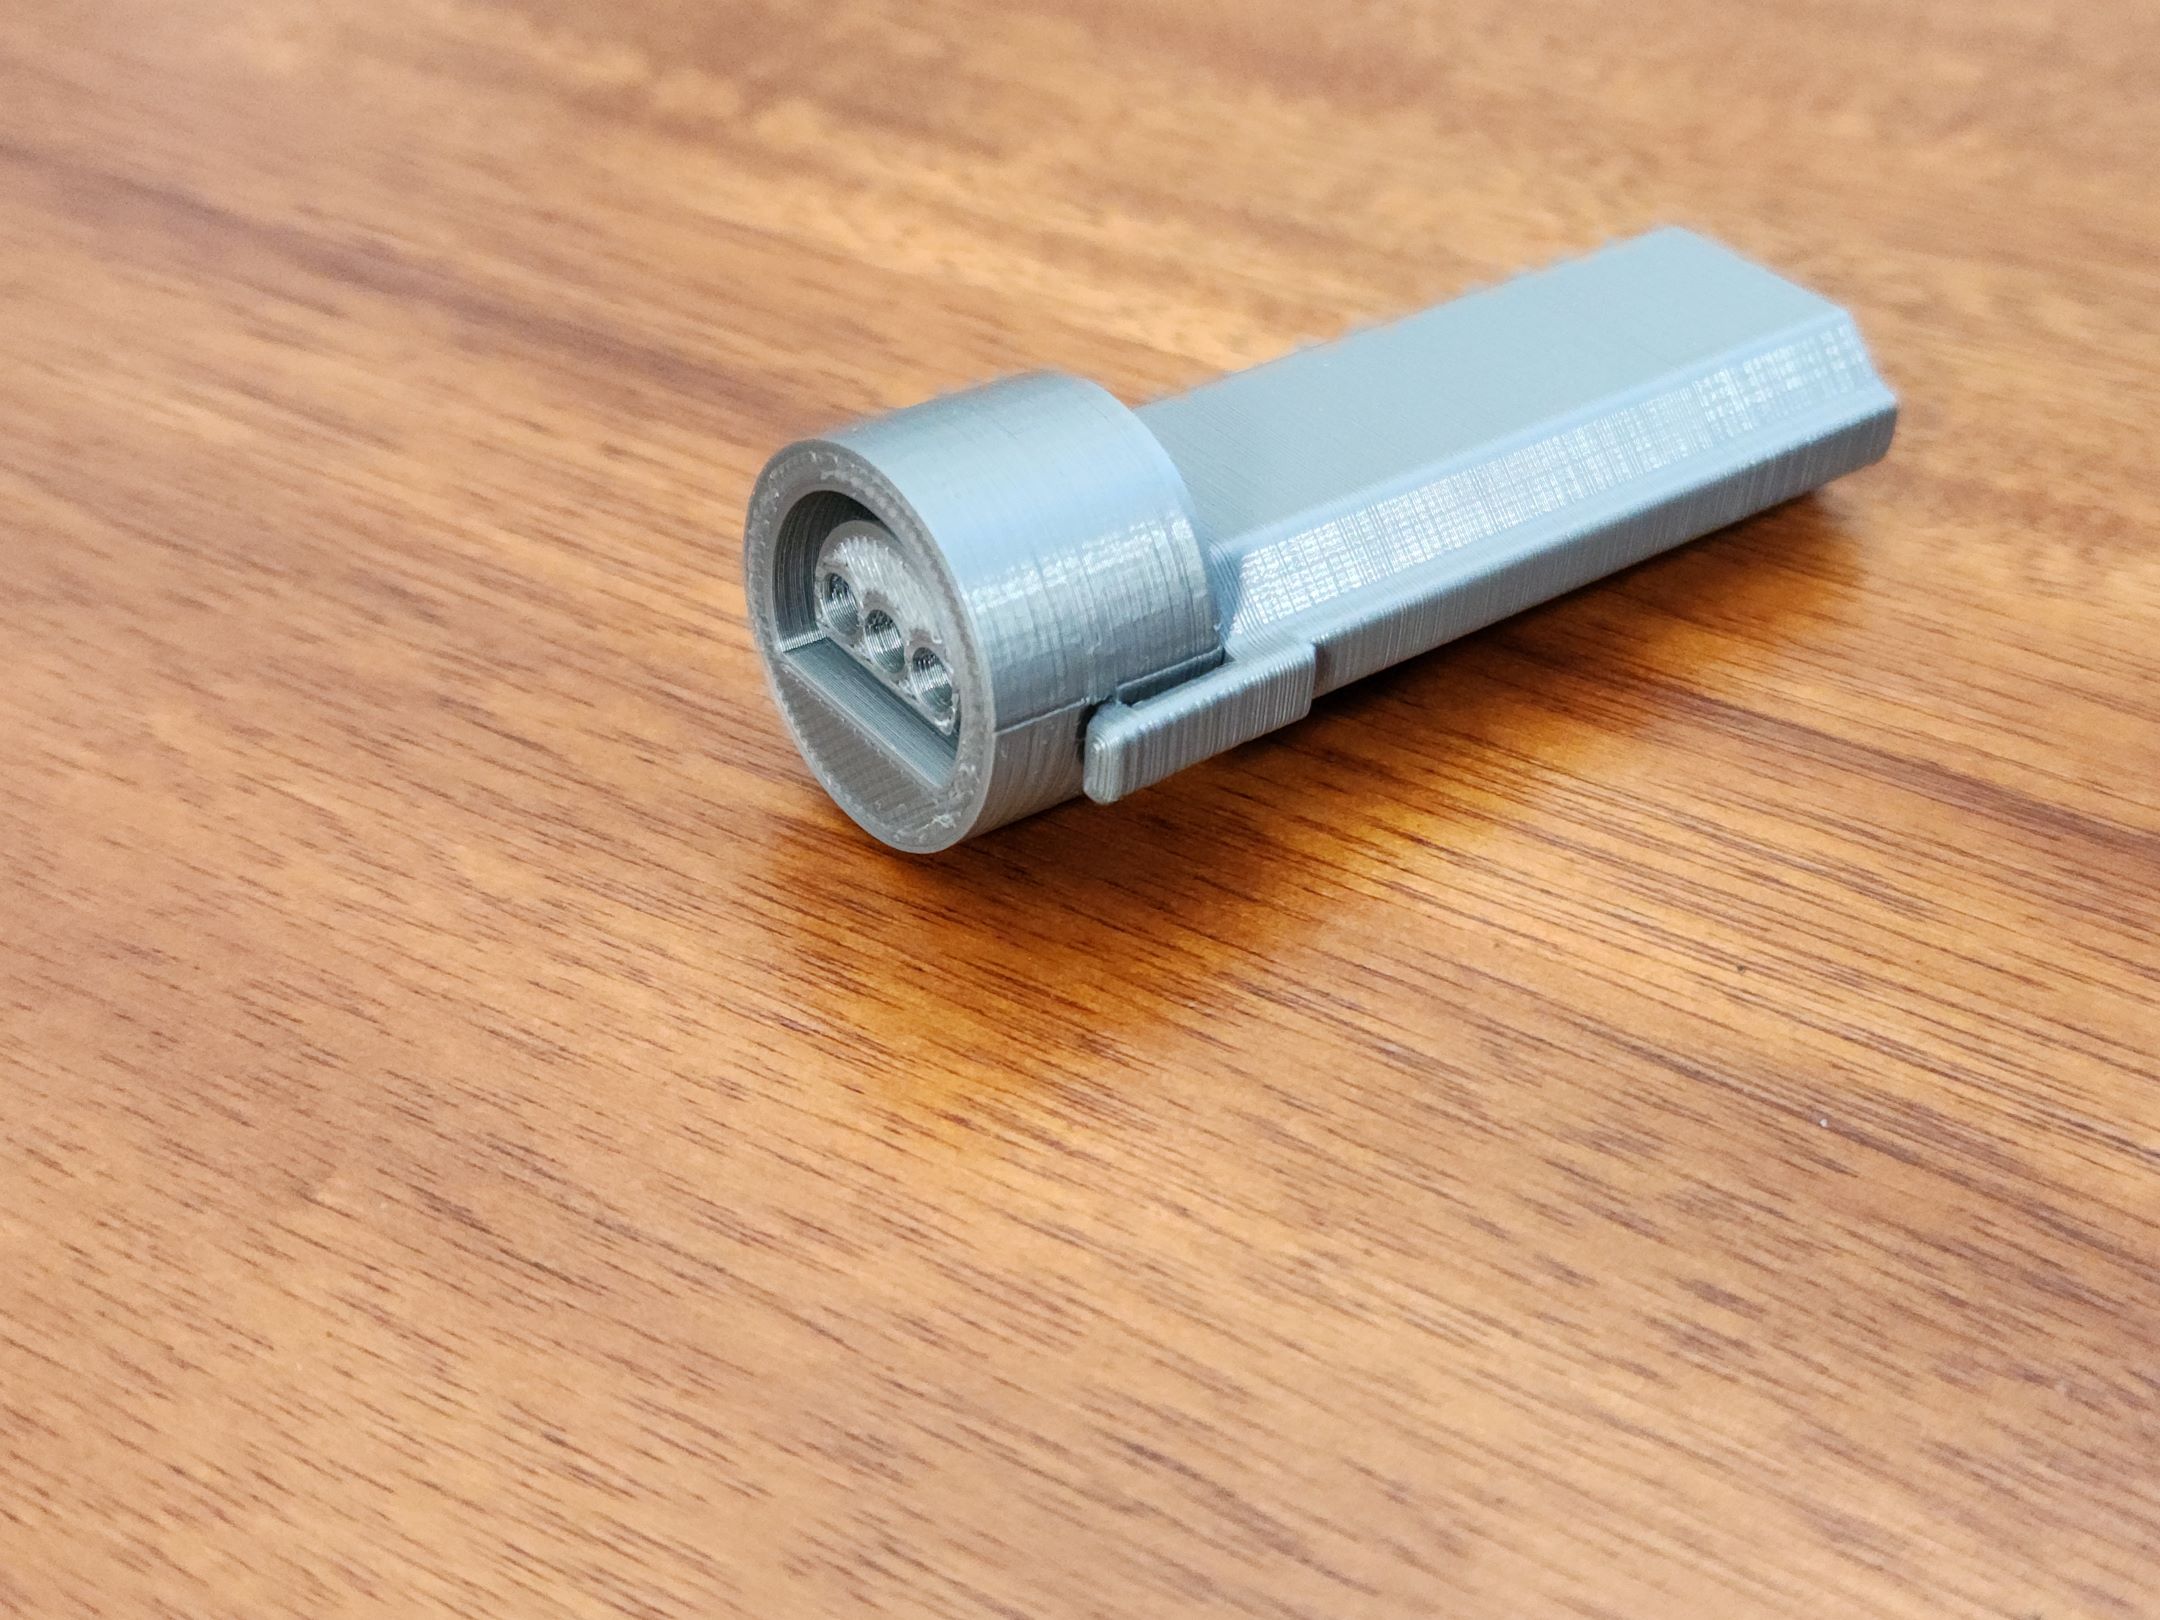
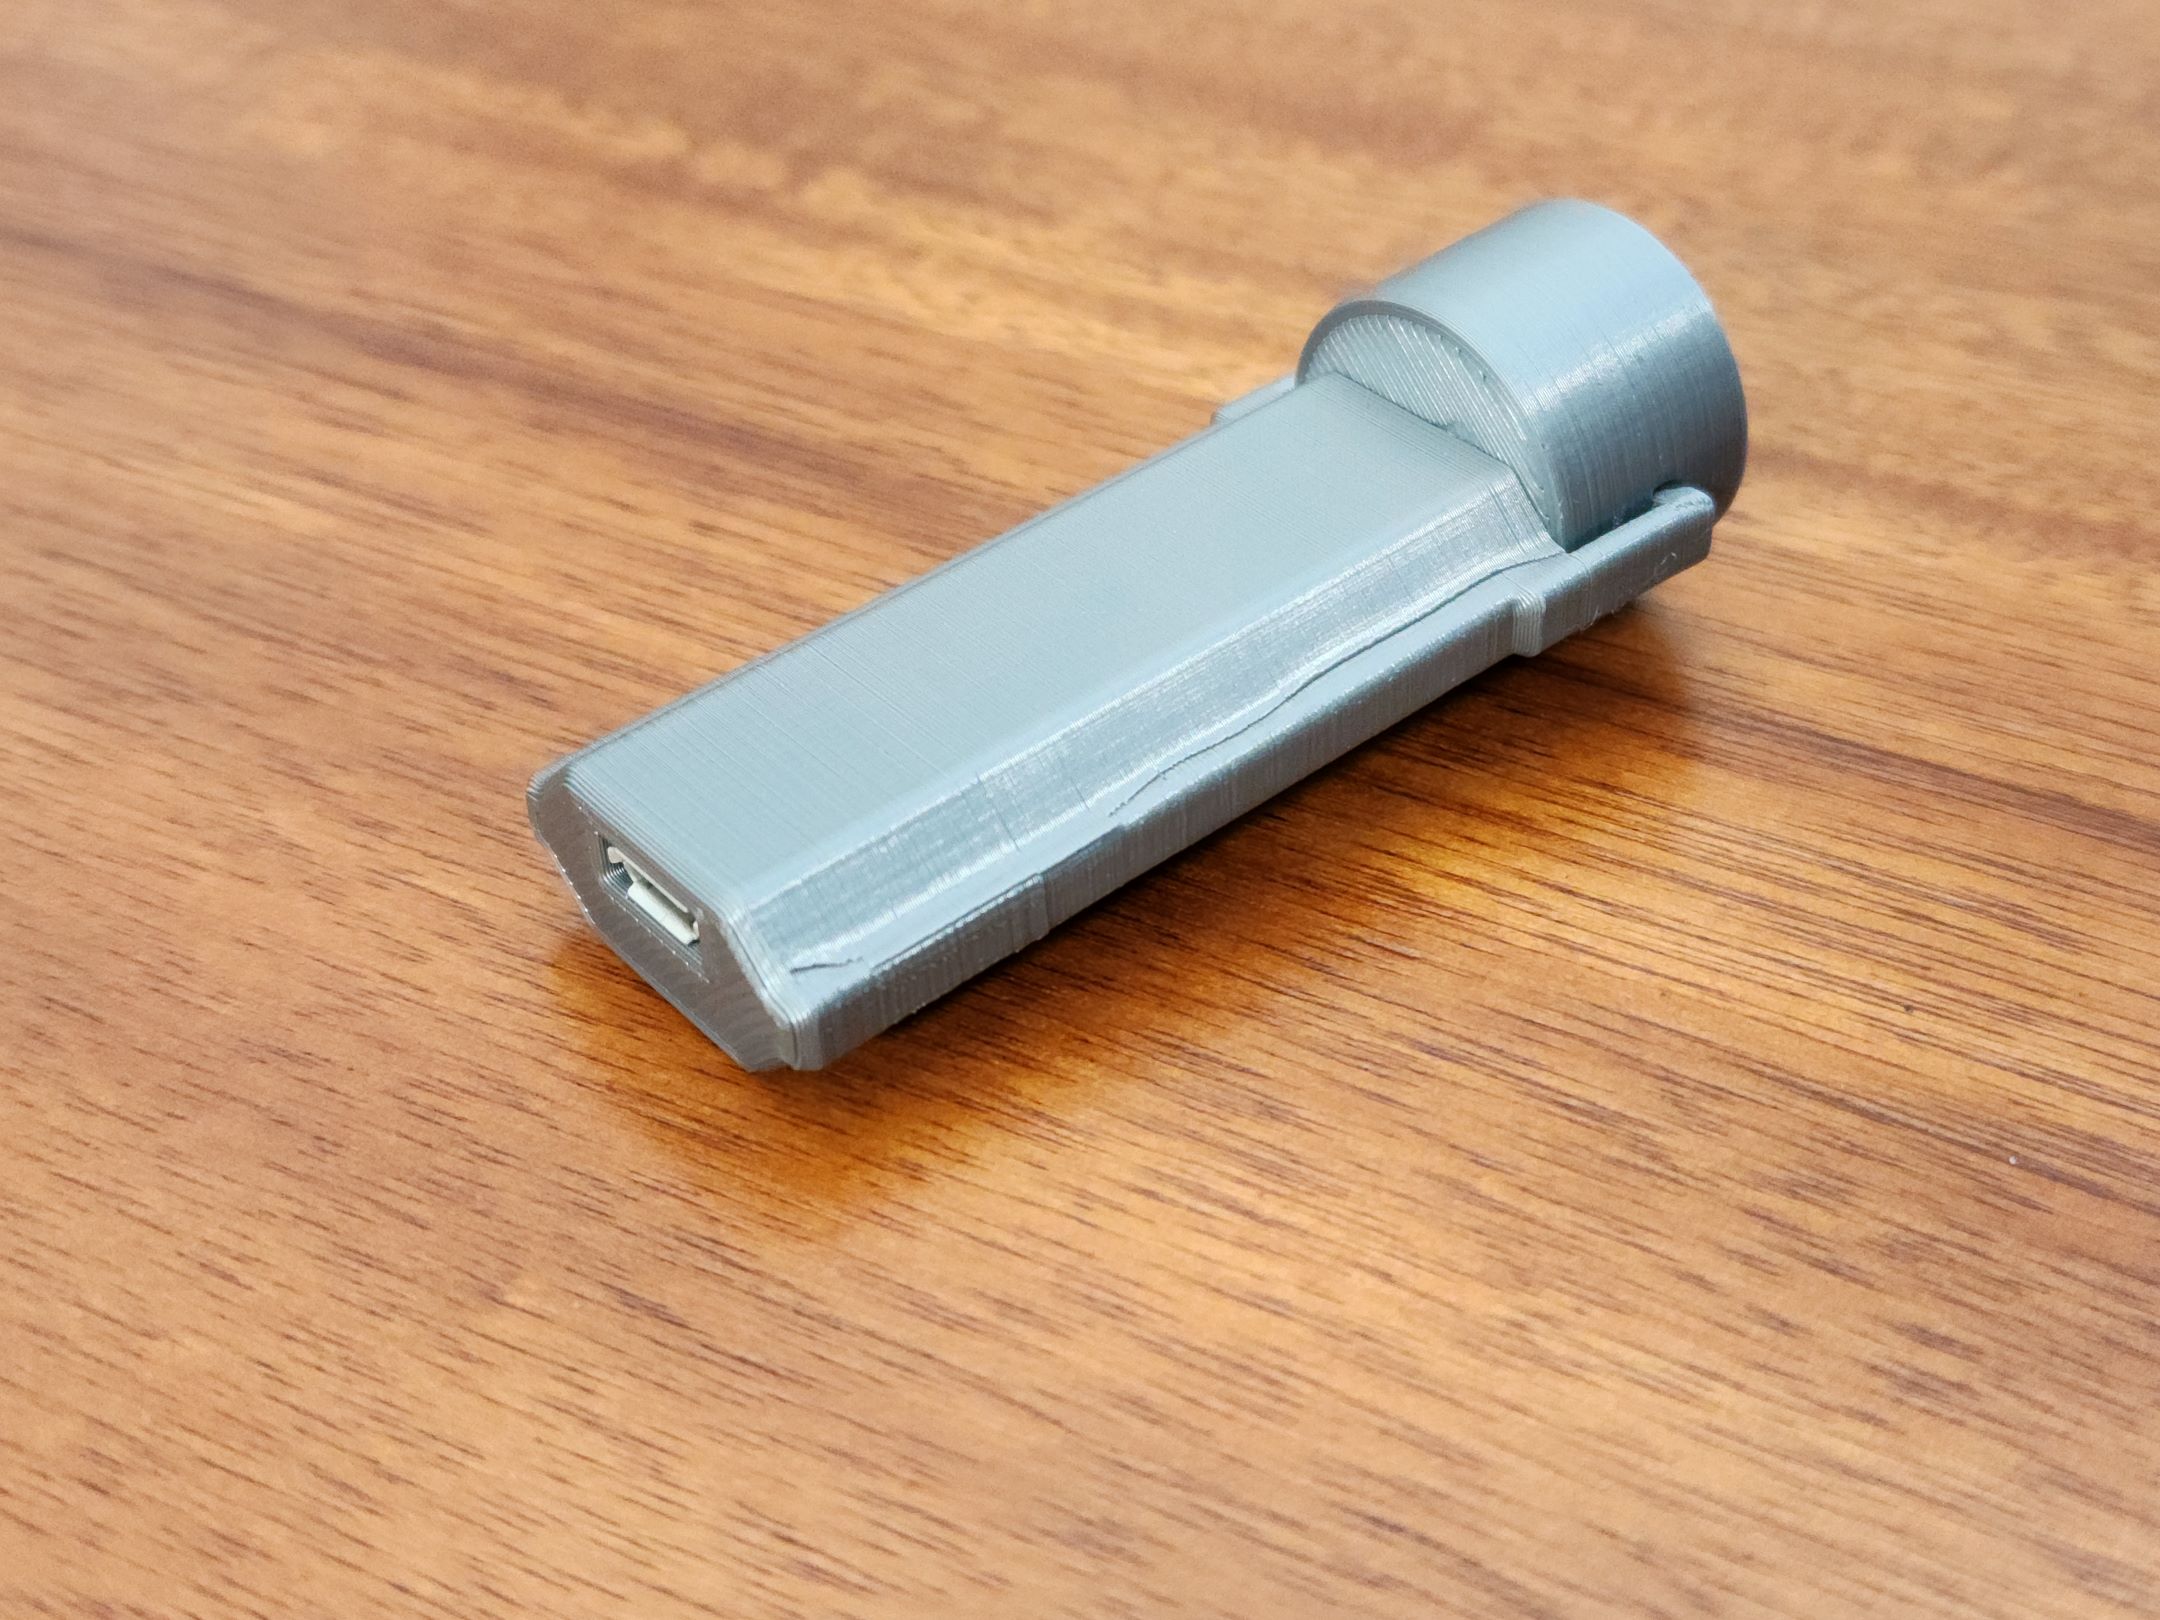
I've also designed a small enclosure to house the Pico and act as a plug for a switch controller! More details and files are available here


This project would have taken a lot longer without the work done by everyone credited in the original N64-Arduino-Switch project along with the creators and contributors of TinyUsb, the GP2040-CE project, and the MPG project. If you're into developing this sort of stuff, definitely check their stuff out!