Head to https://www.digitalocean.com/go/app-platform and sign up for the 60 day free trial.
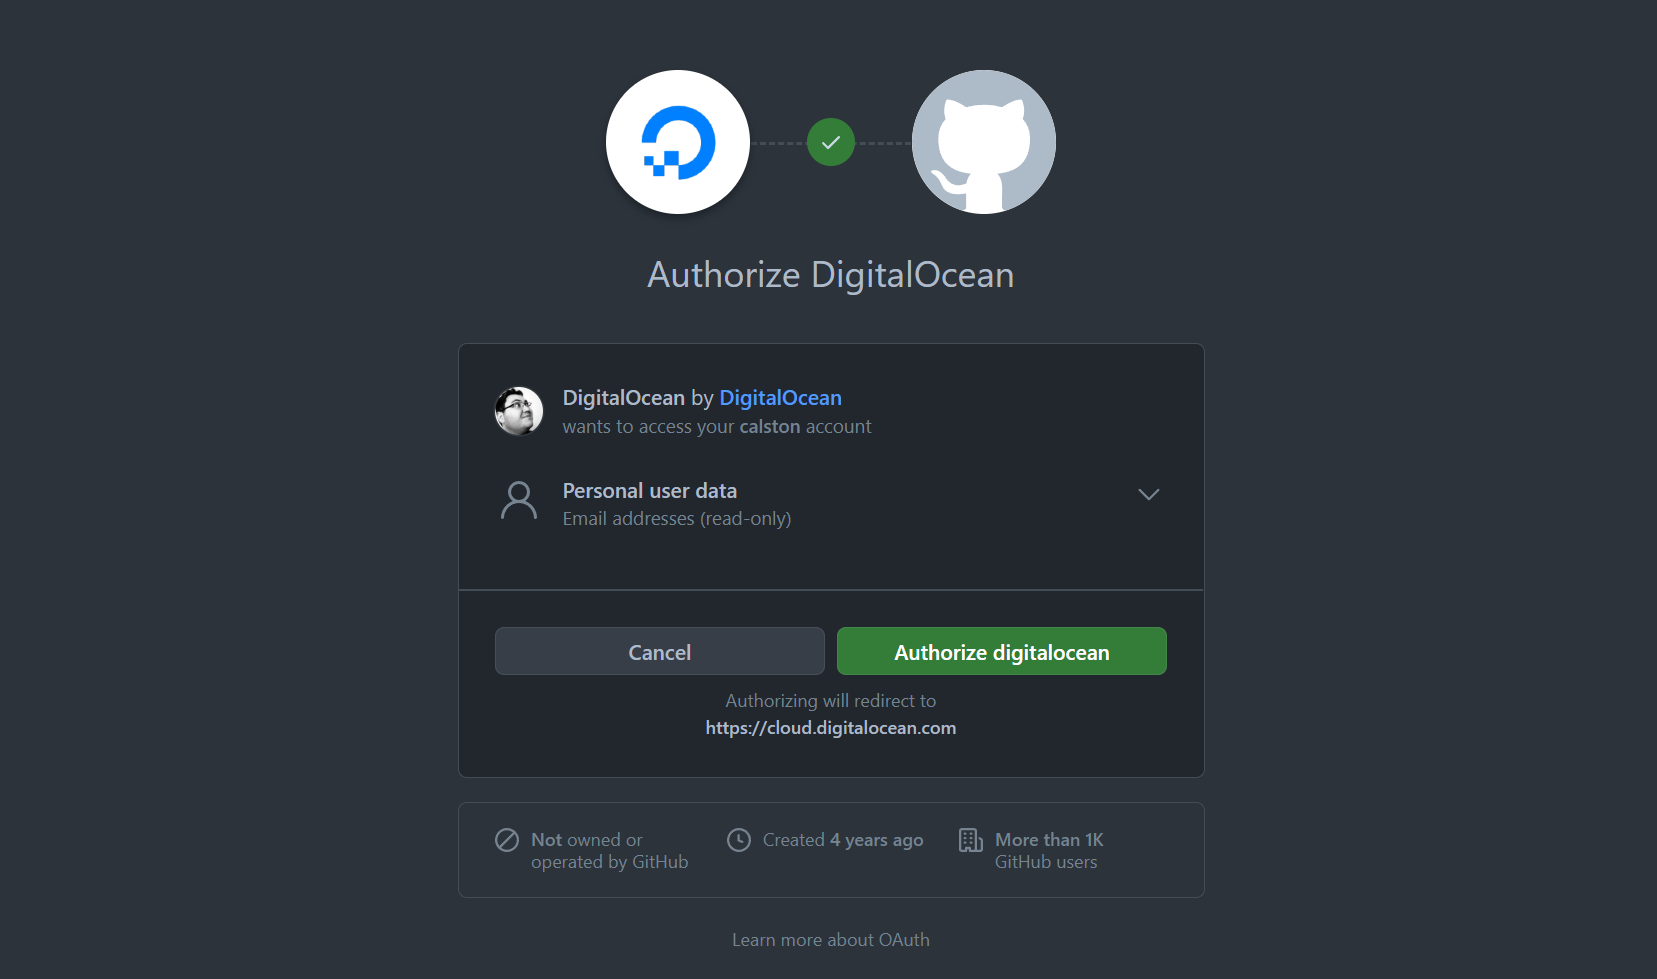
Sign up using Github to link your account
You will need a credit card but will receive $200 to start with if this is your first time using DigitalOcean.
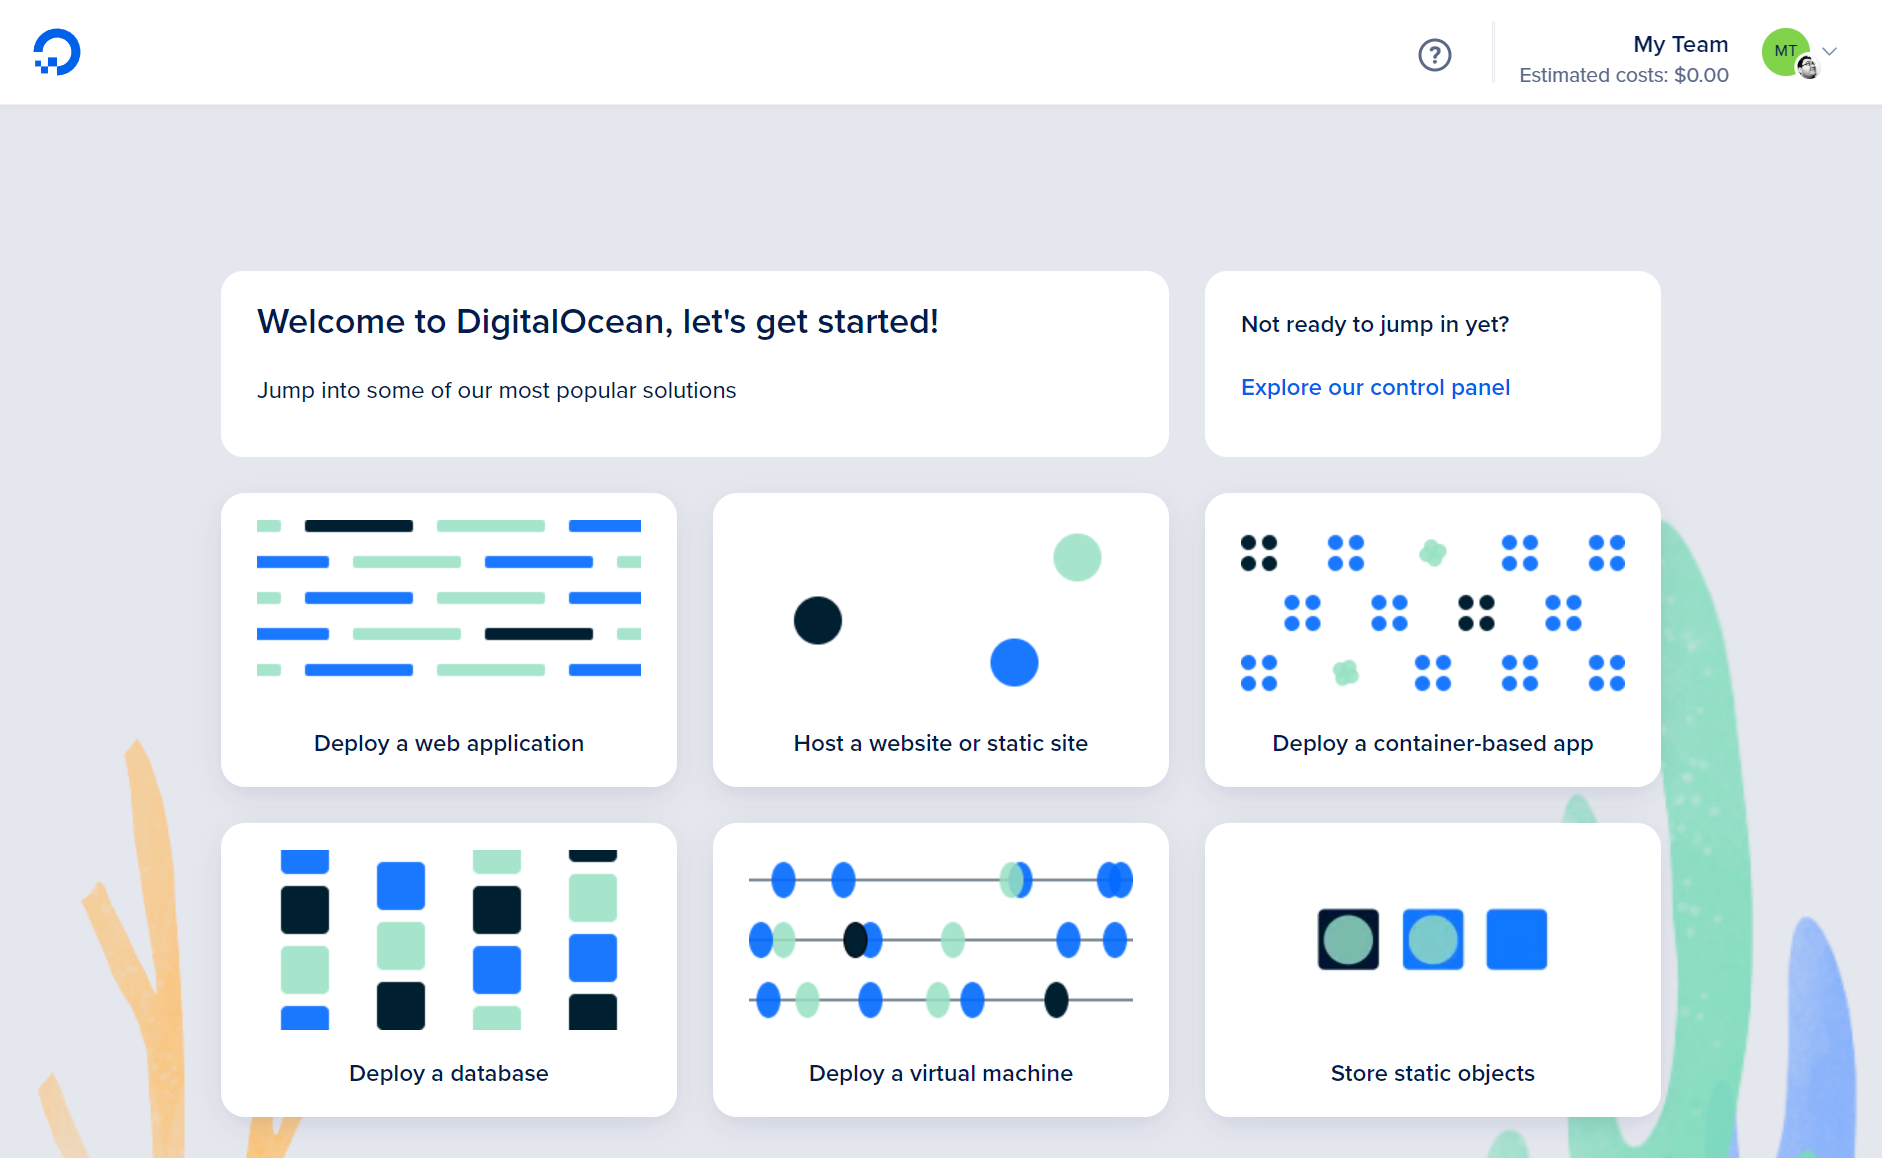
Click on Deploy a web application to get started.
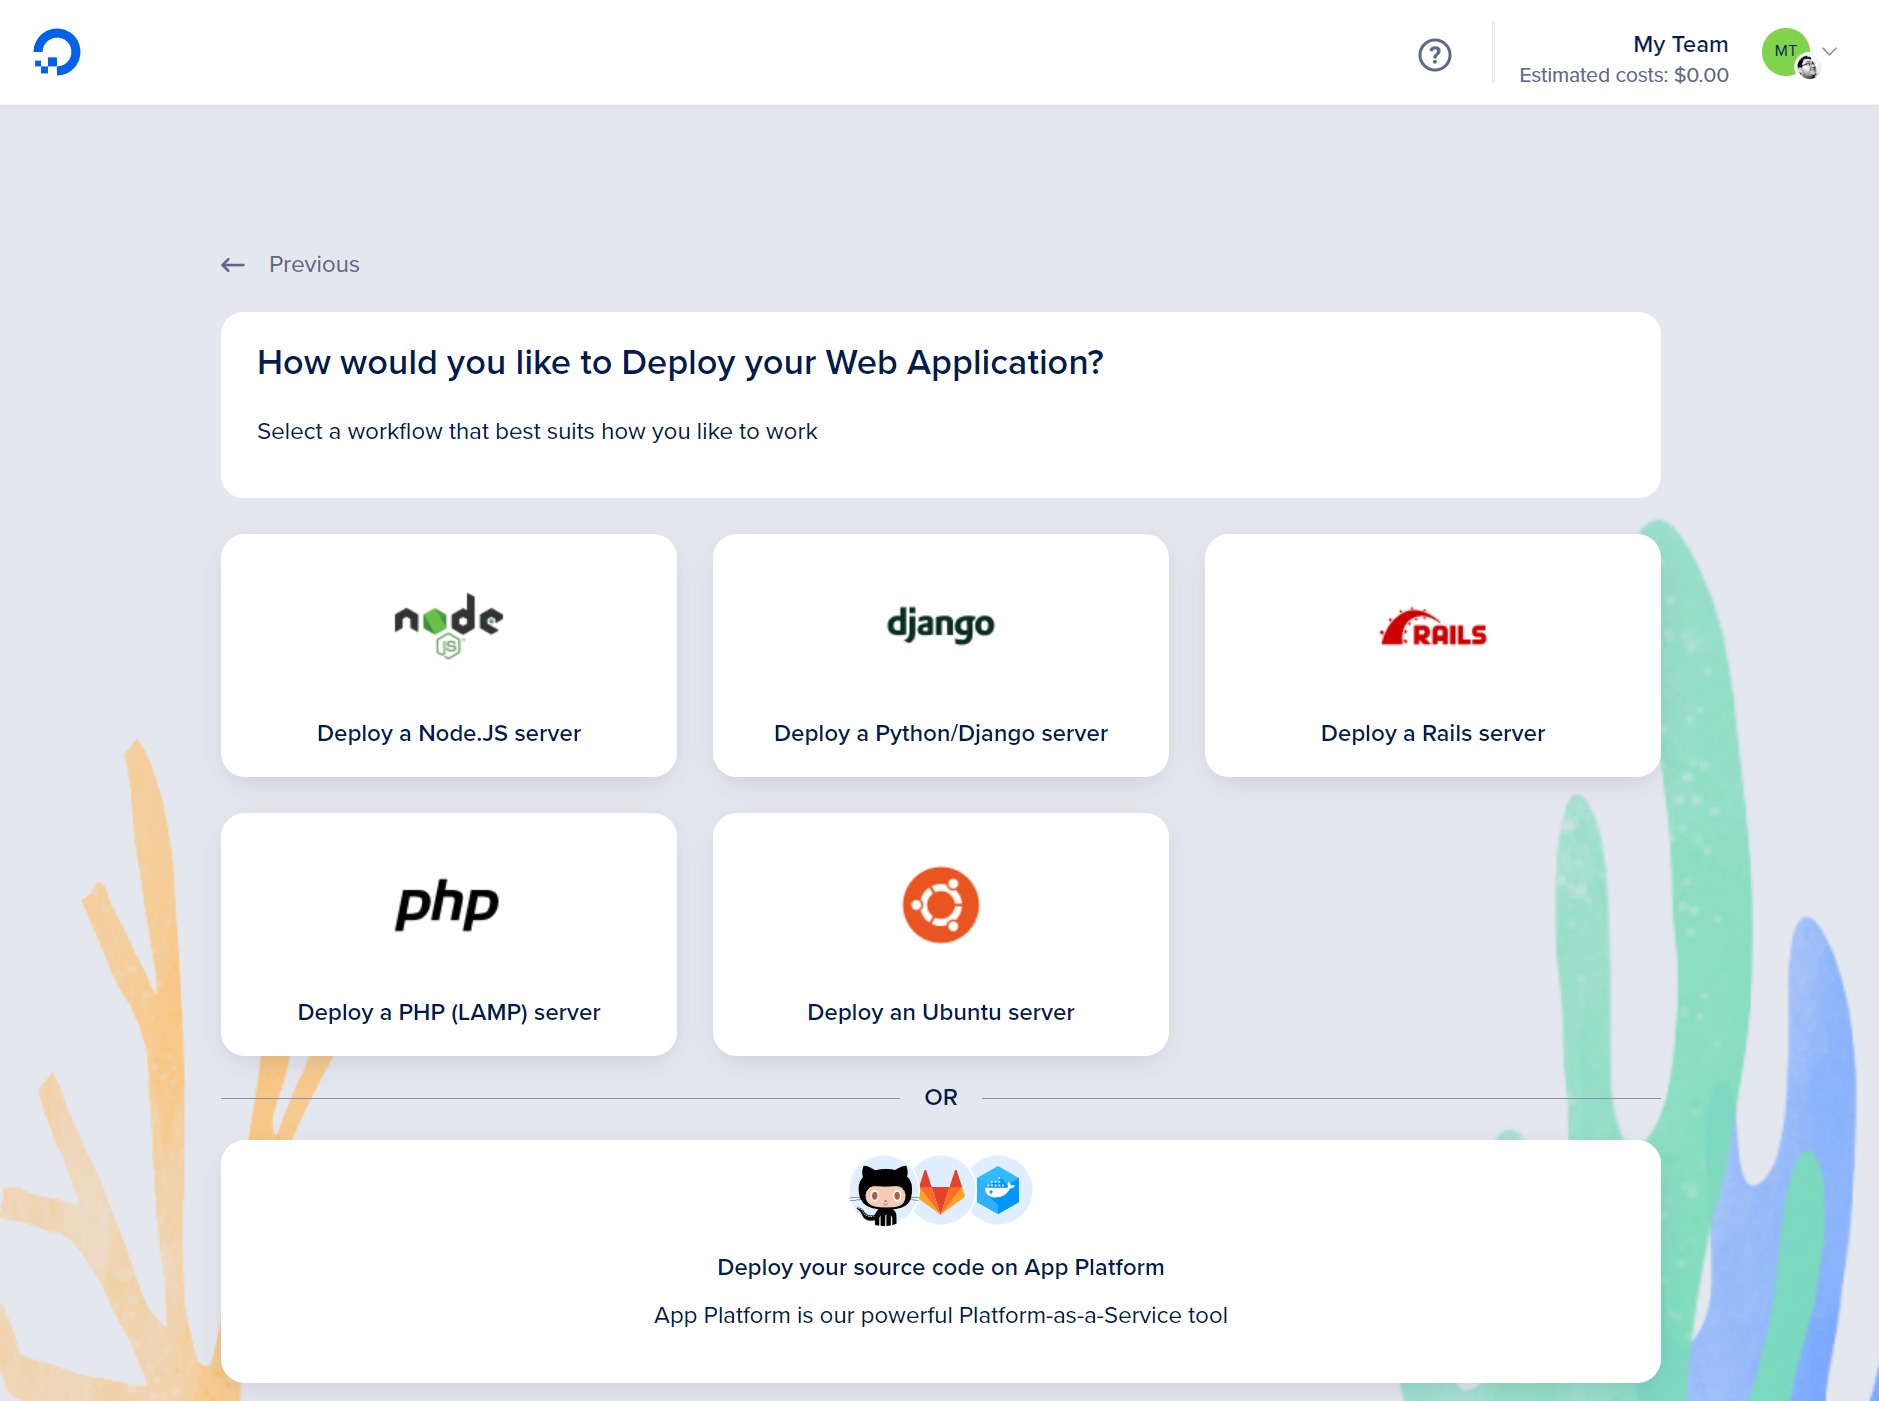
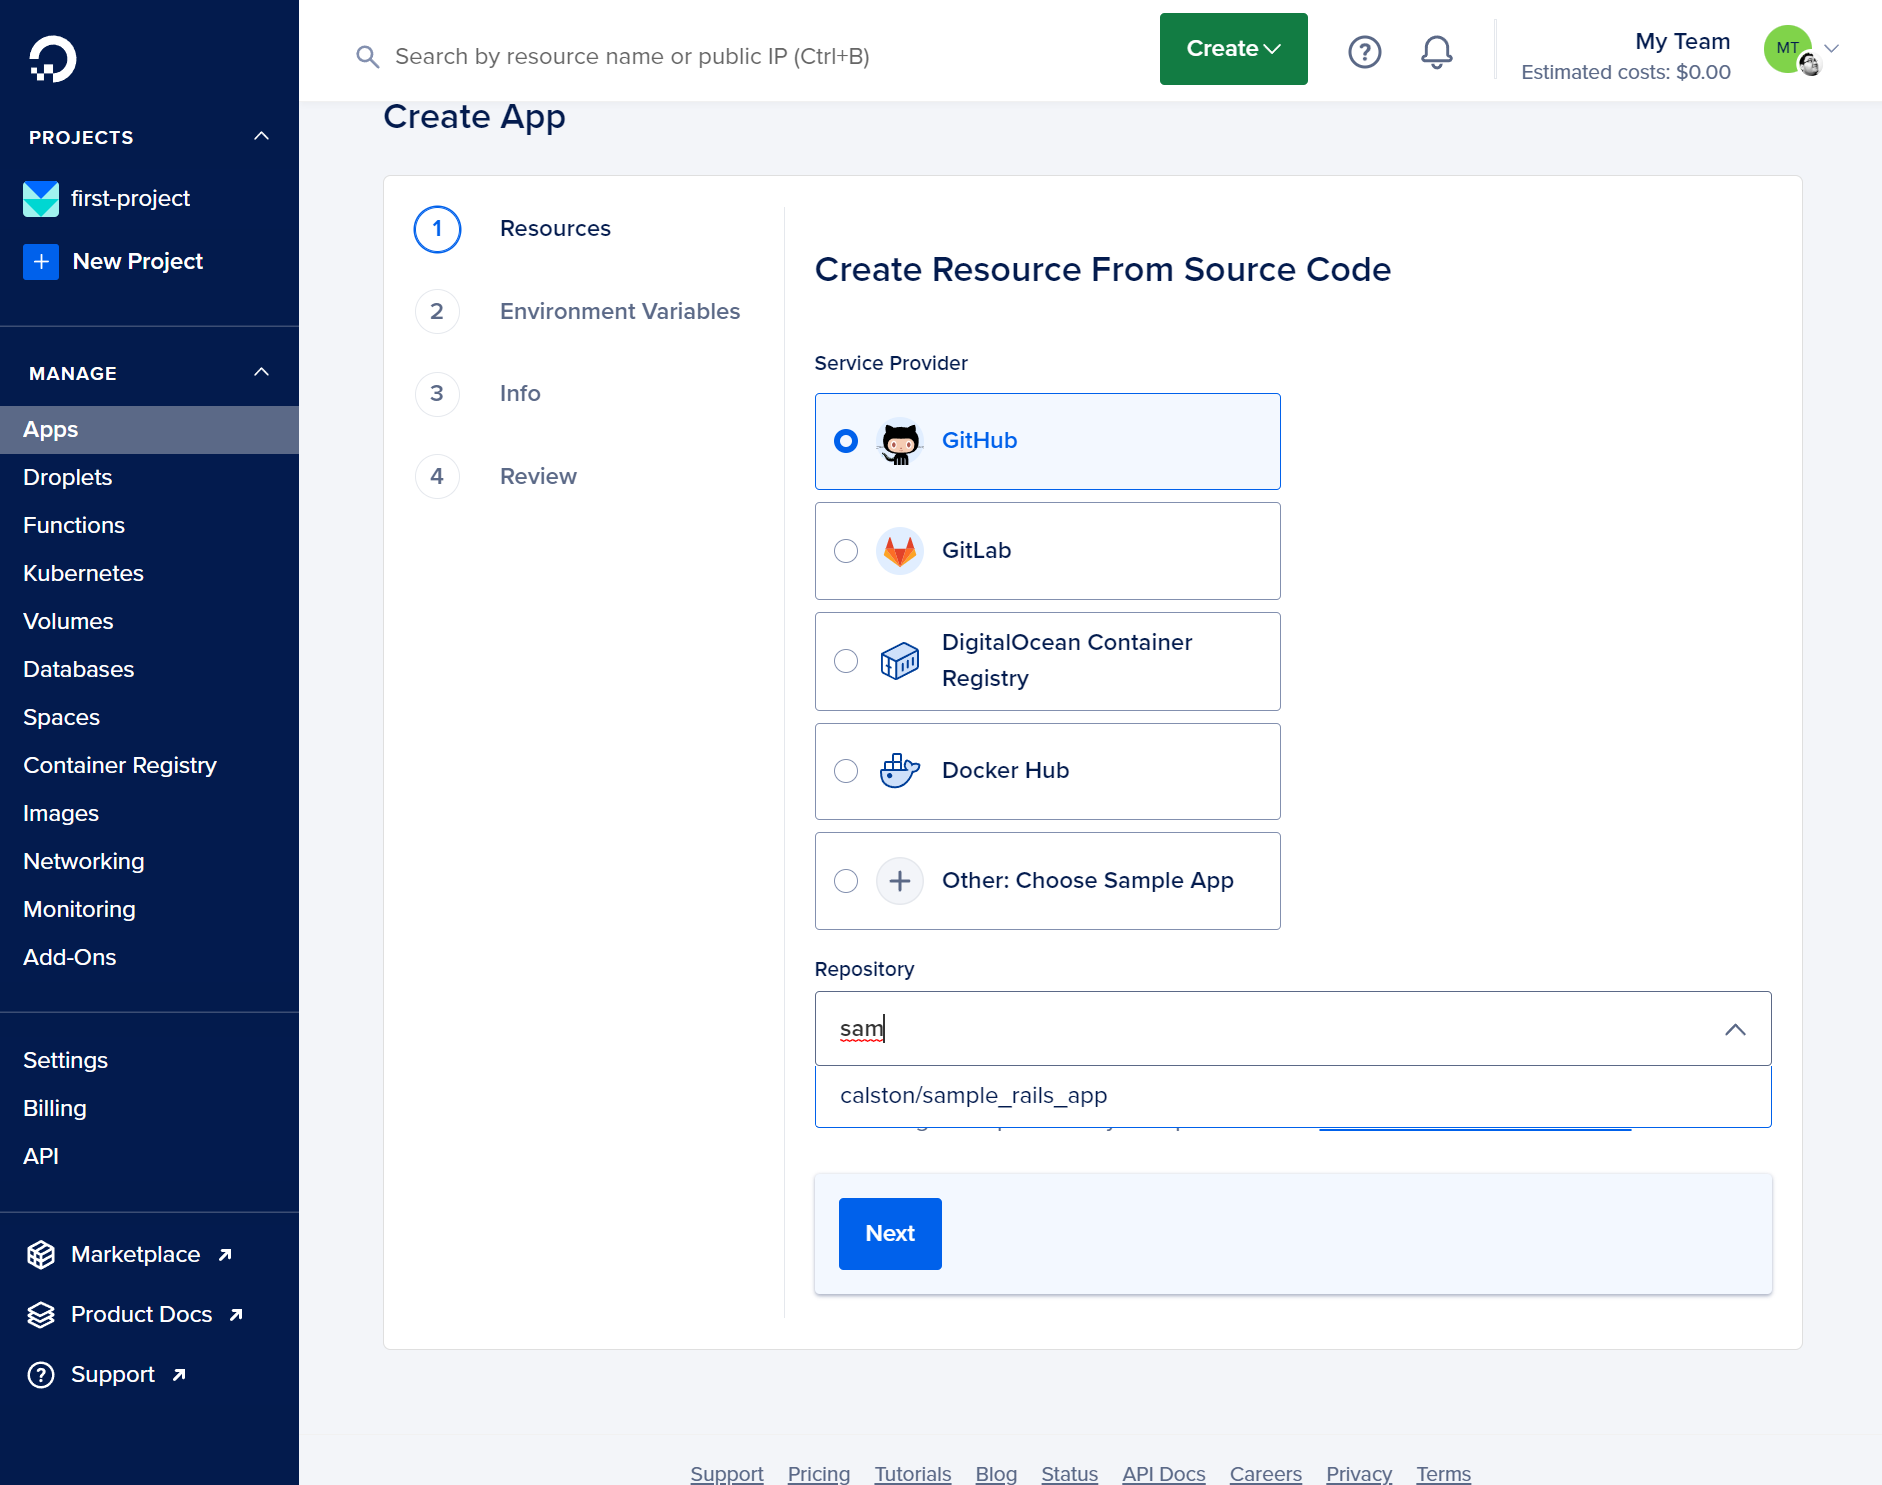
Chose "Deploy your source code" to add an existing GitHub repository
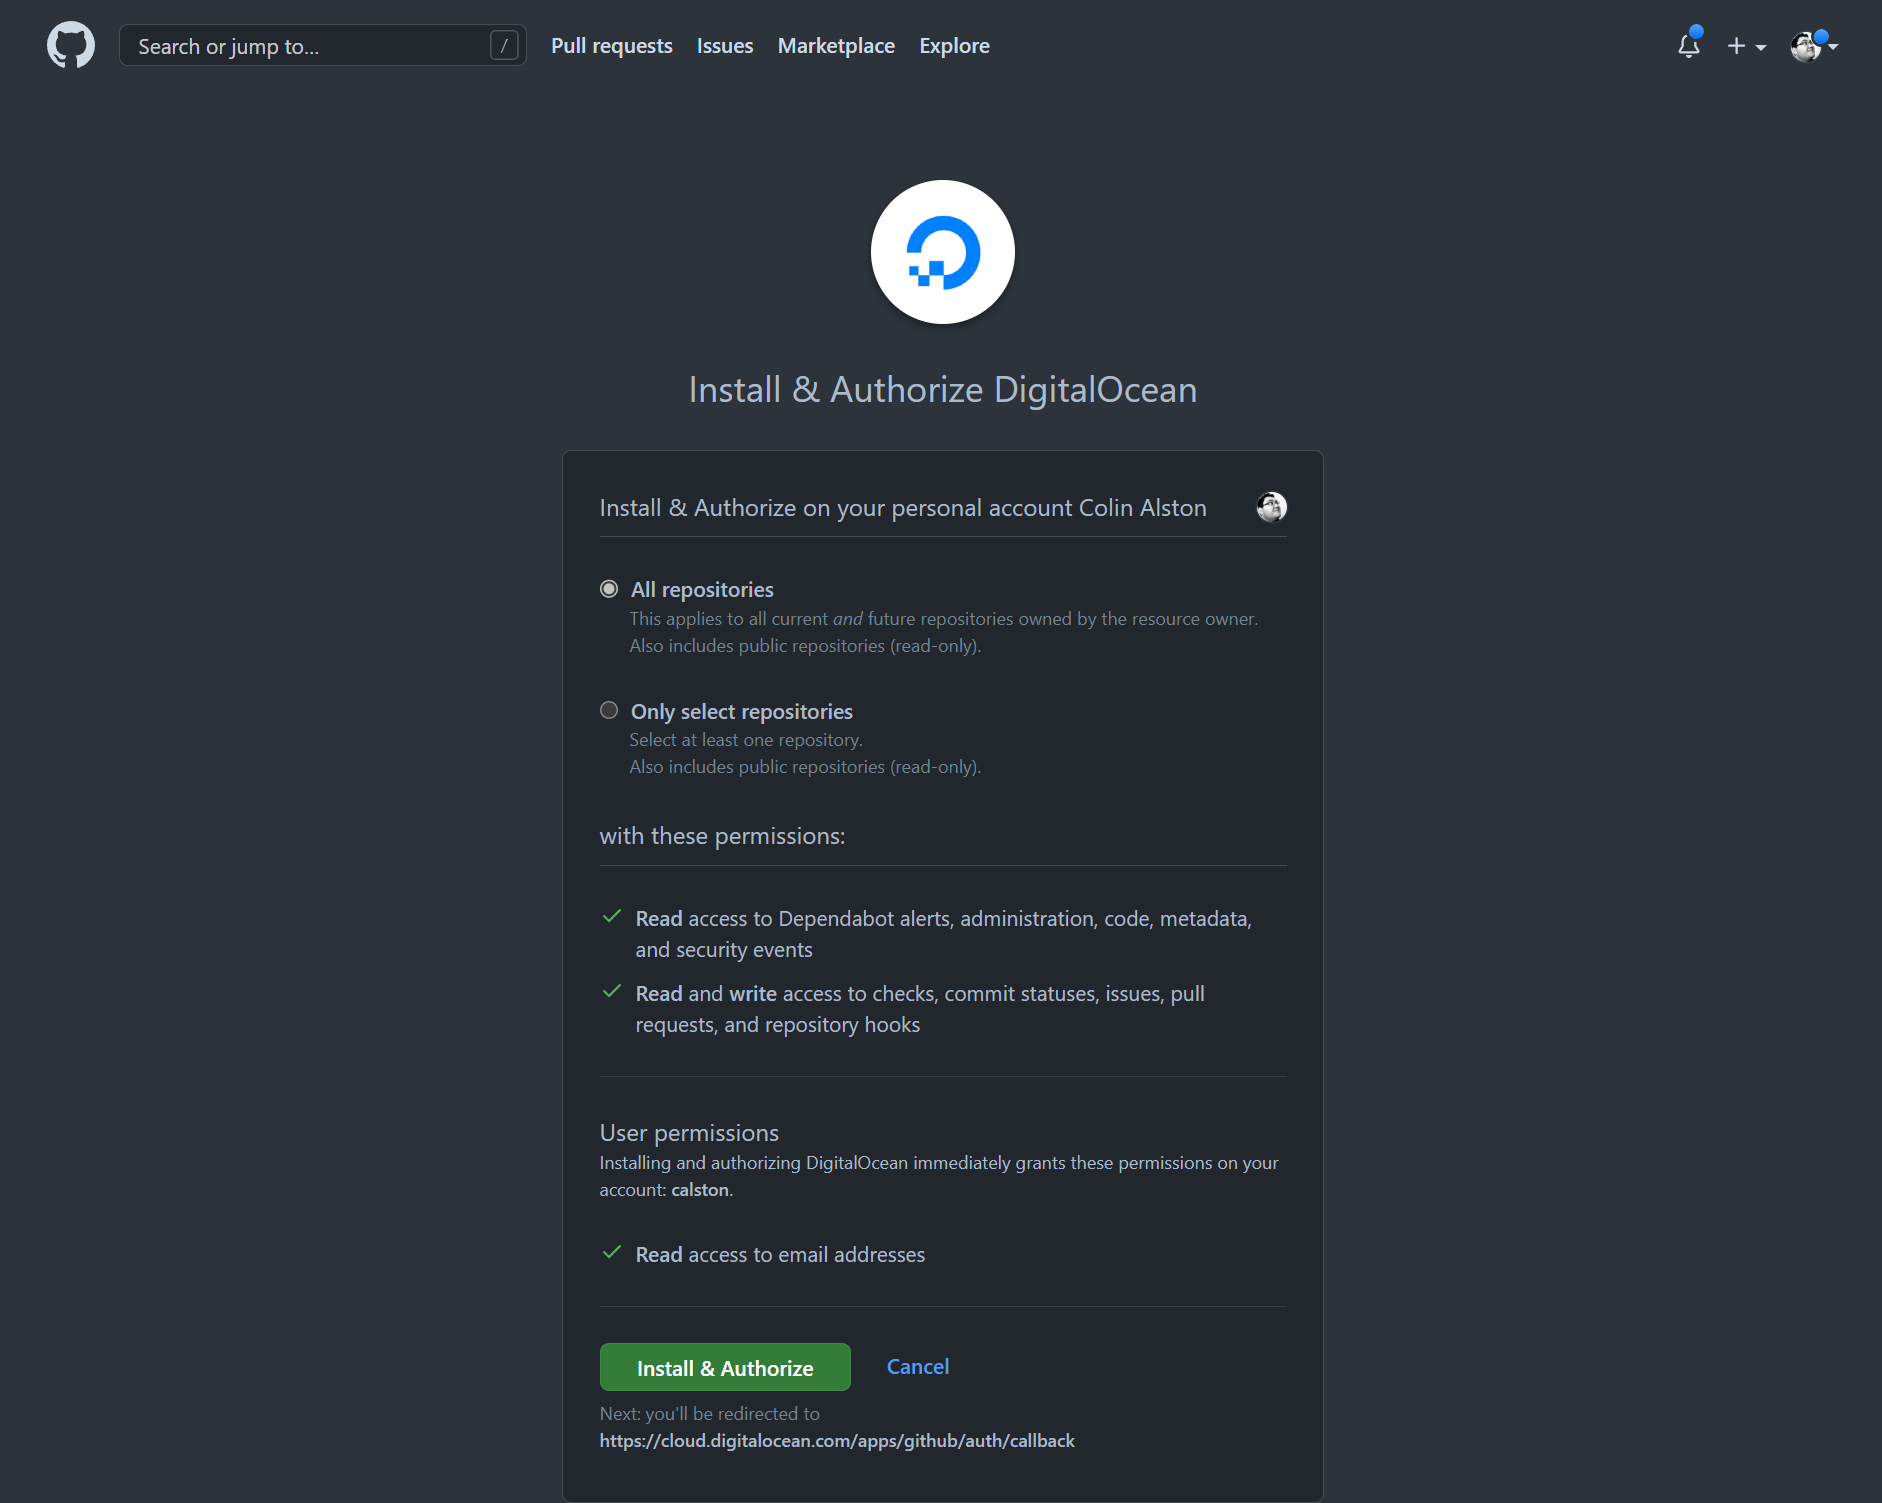
Authorize DigitalOcean to read your repositories
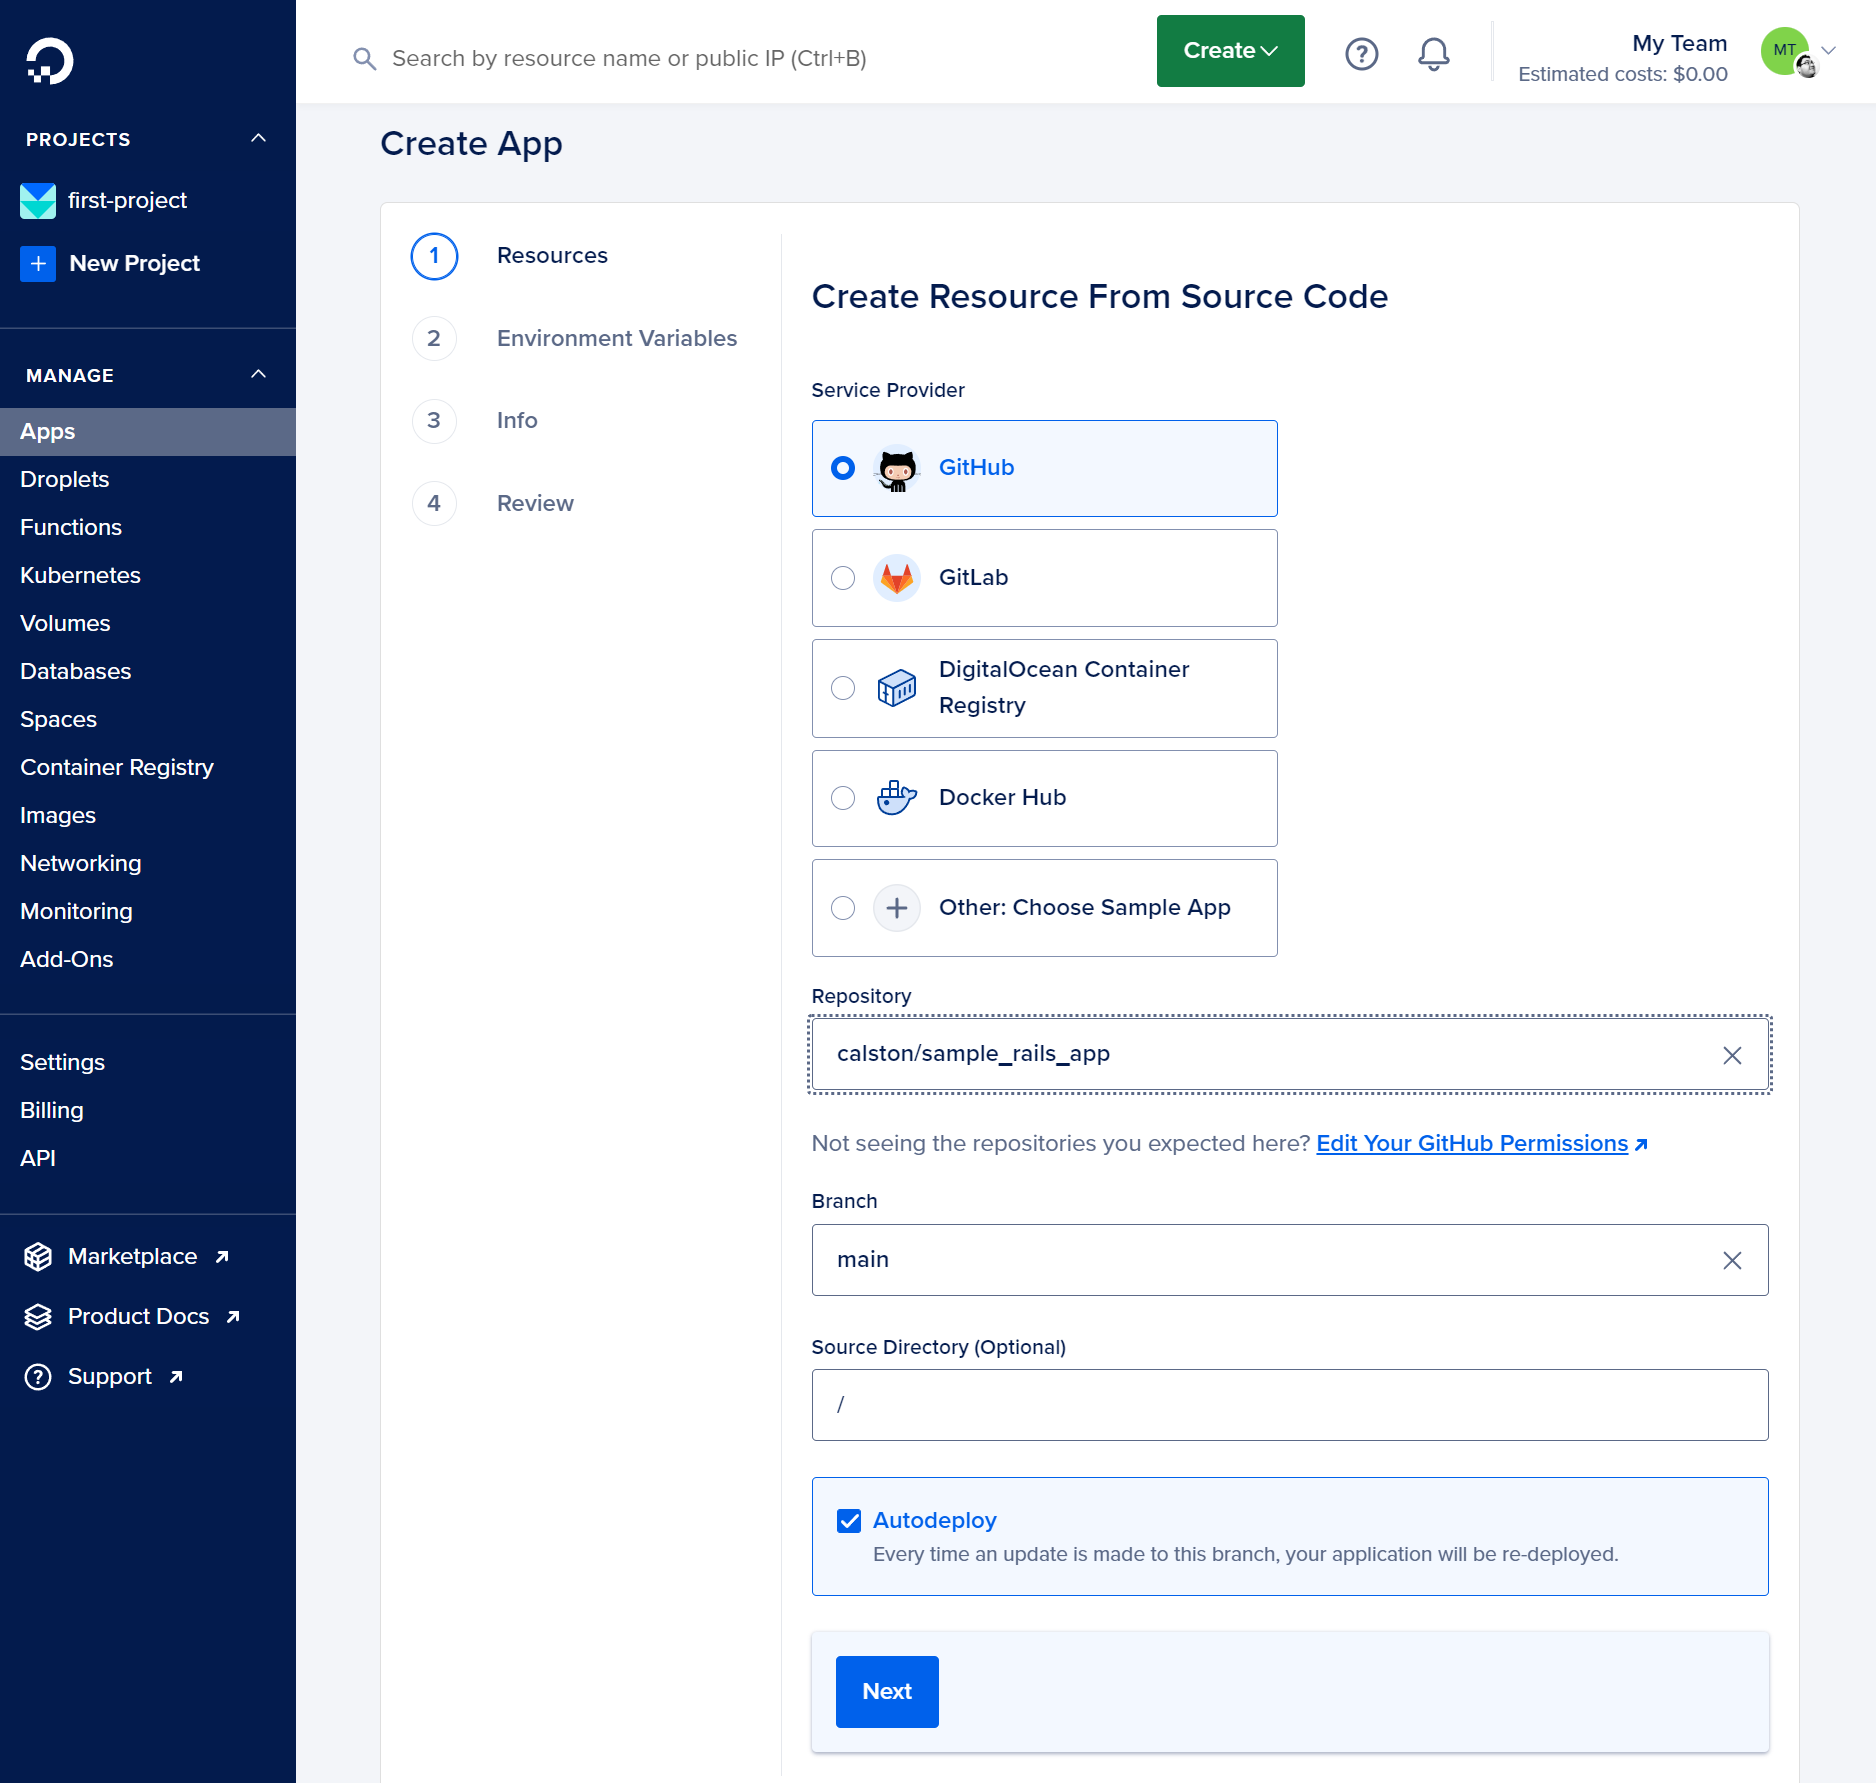
Select the repository for your application
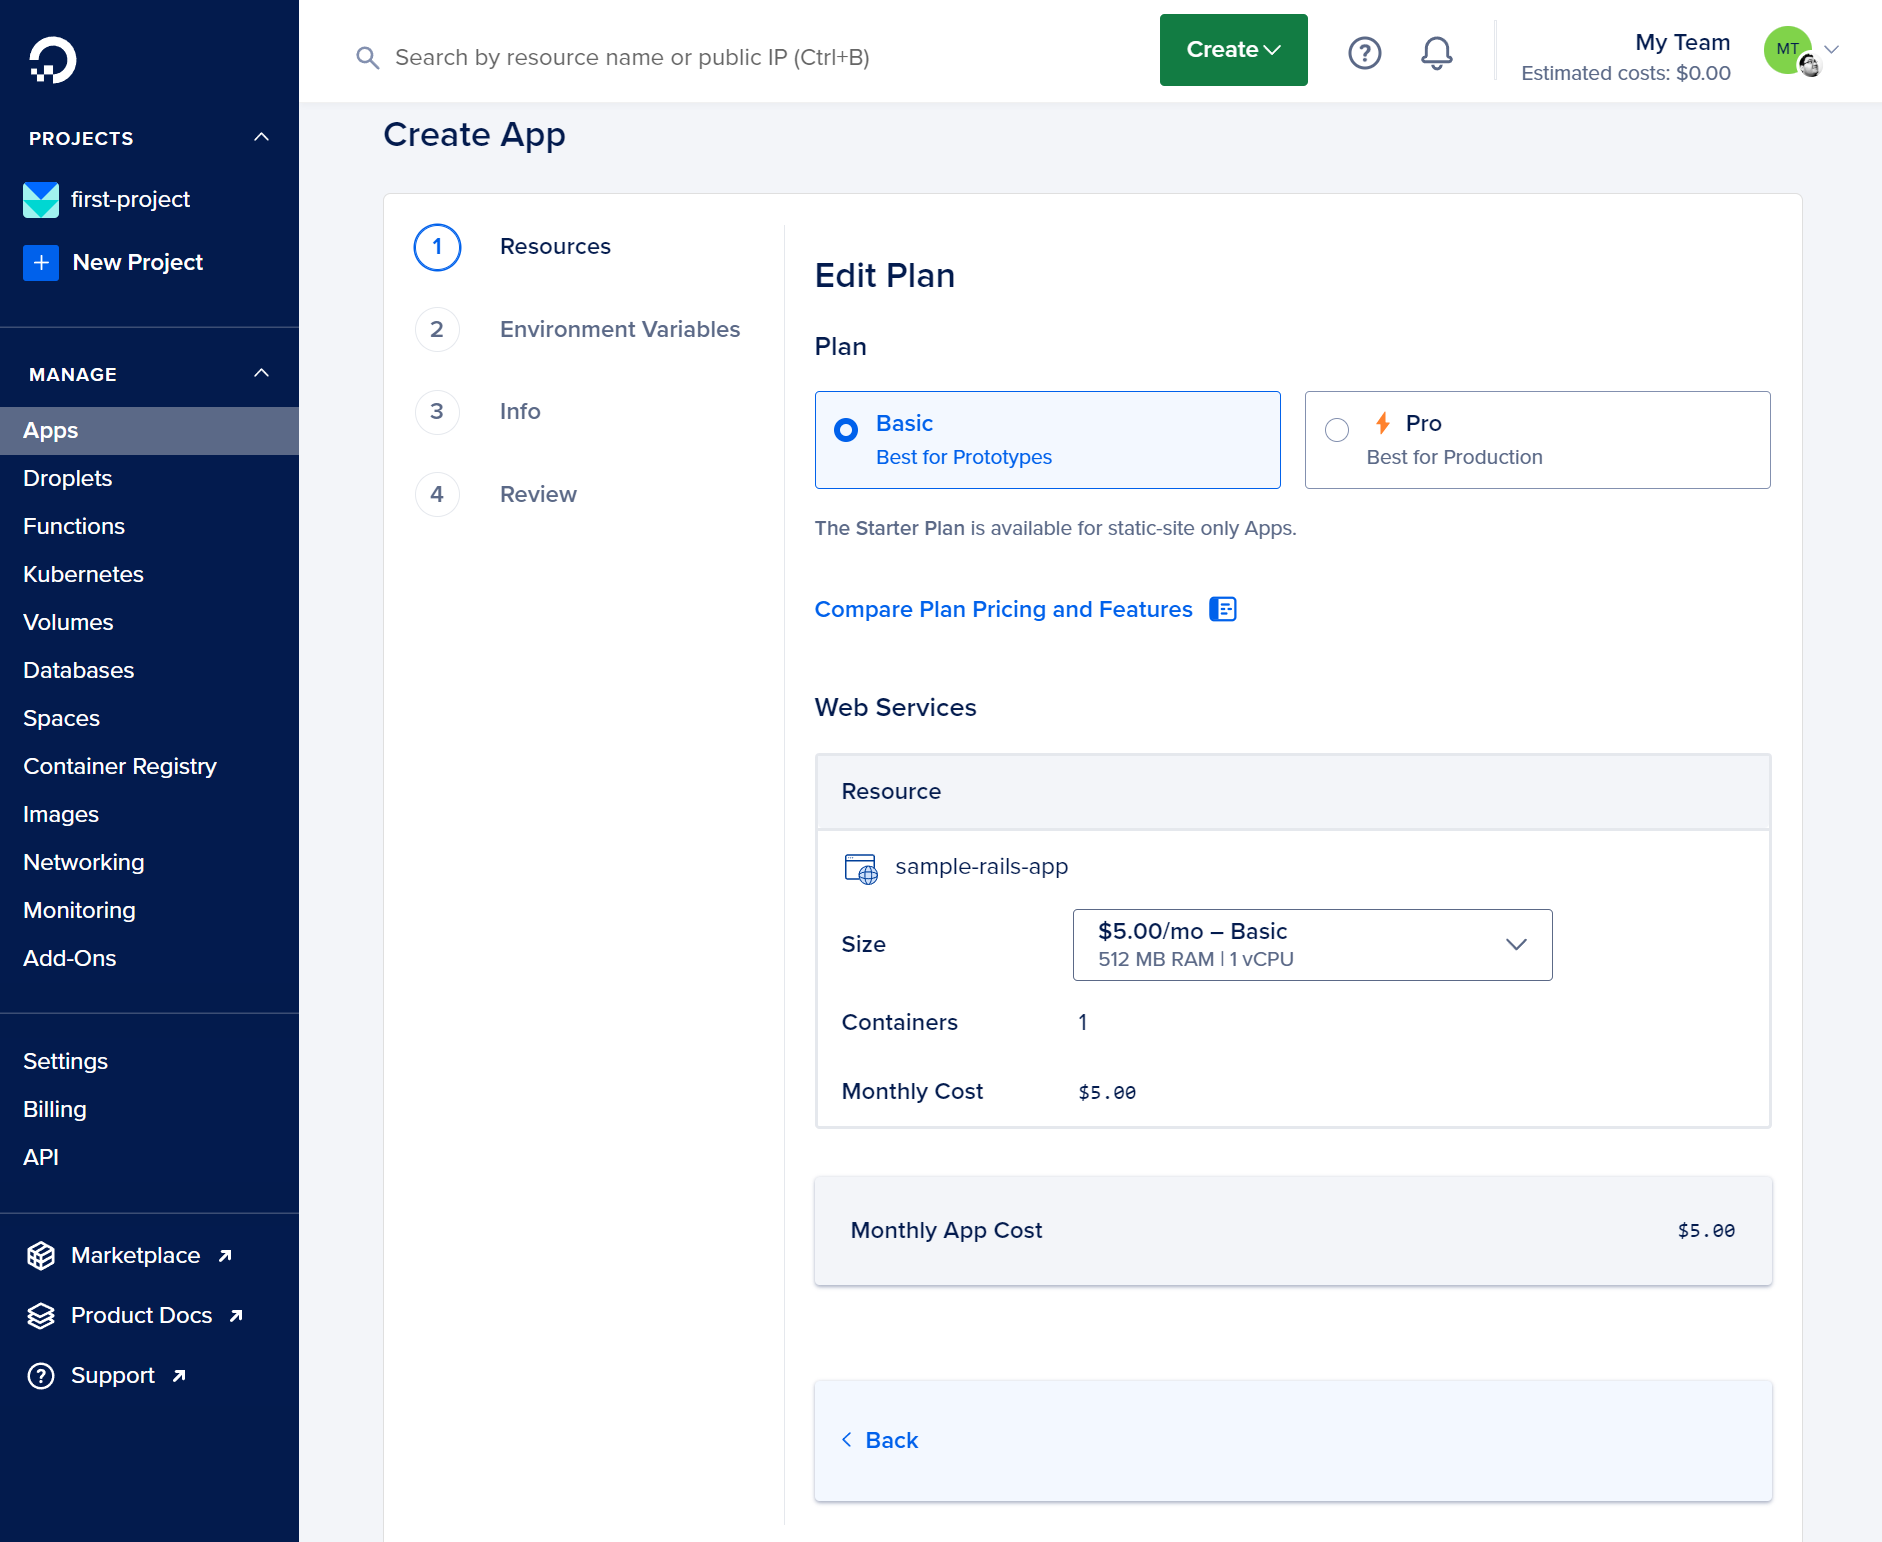
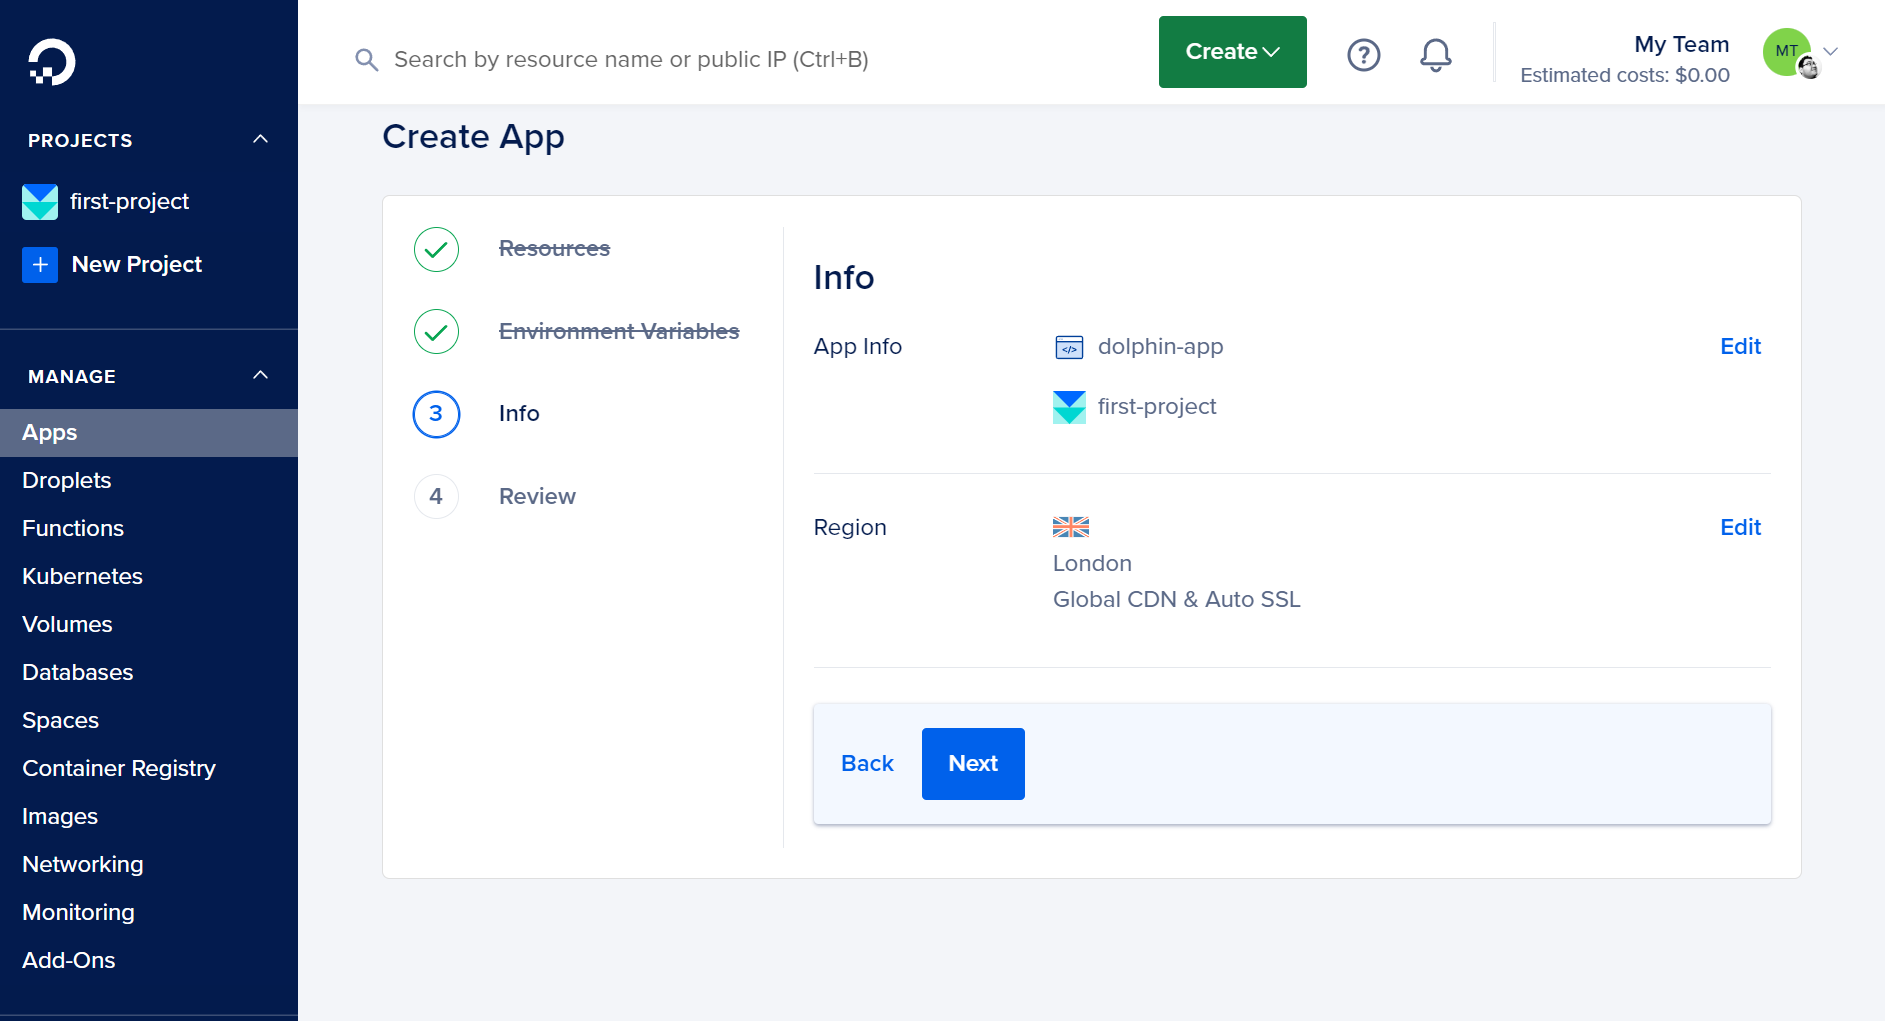
Click Next to continue then Edit Plan to ensure we use the appropriate resources. We will start with a Basic plan and the smallest container size which should be sufficient.
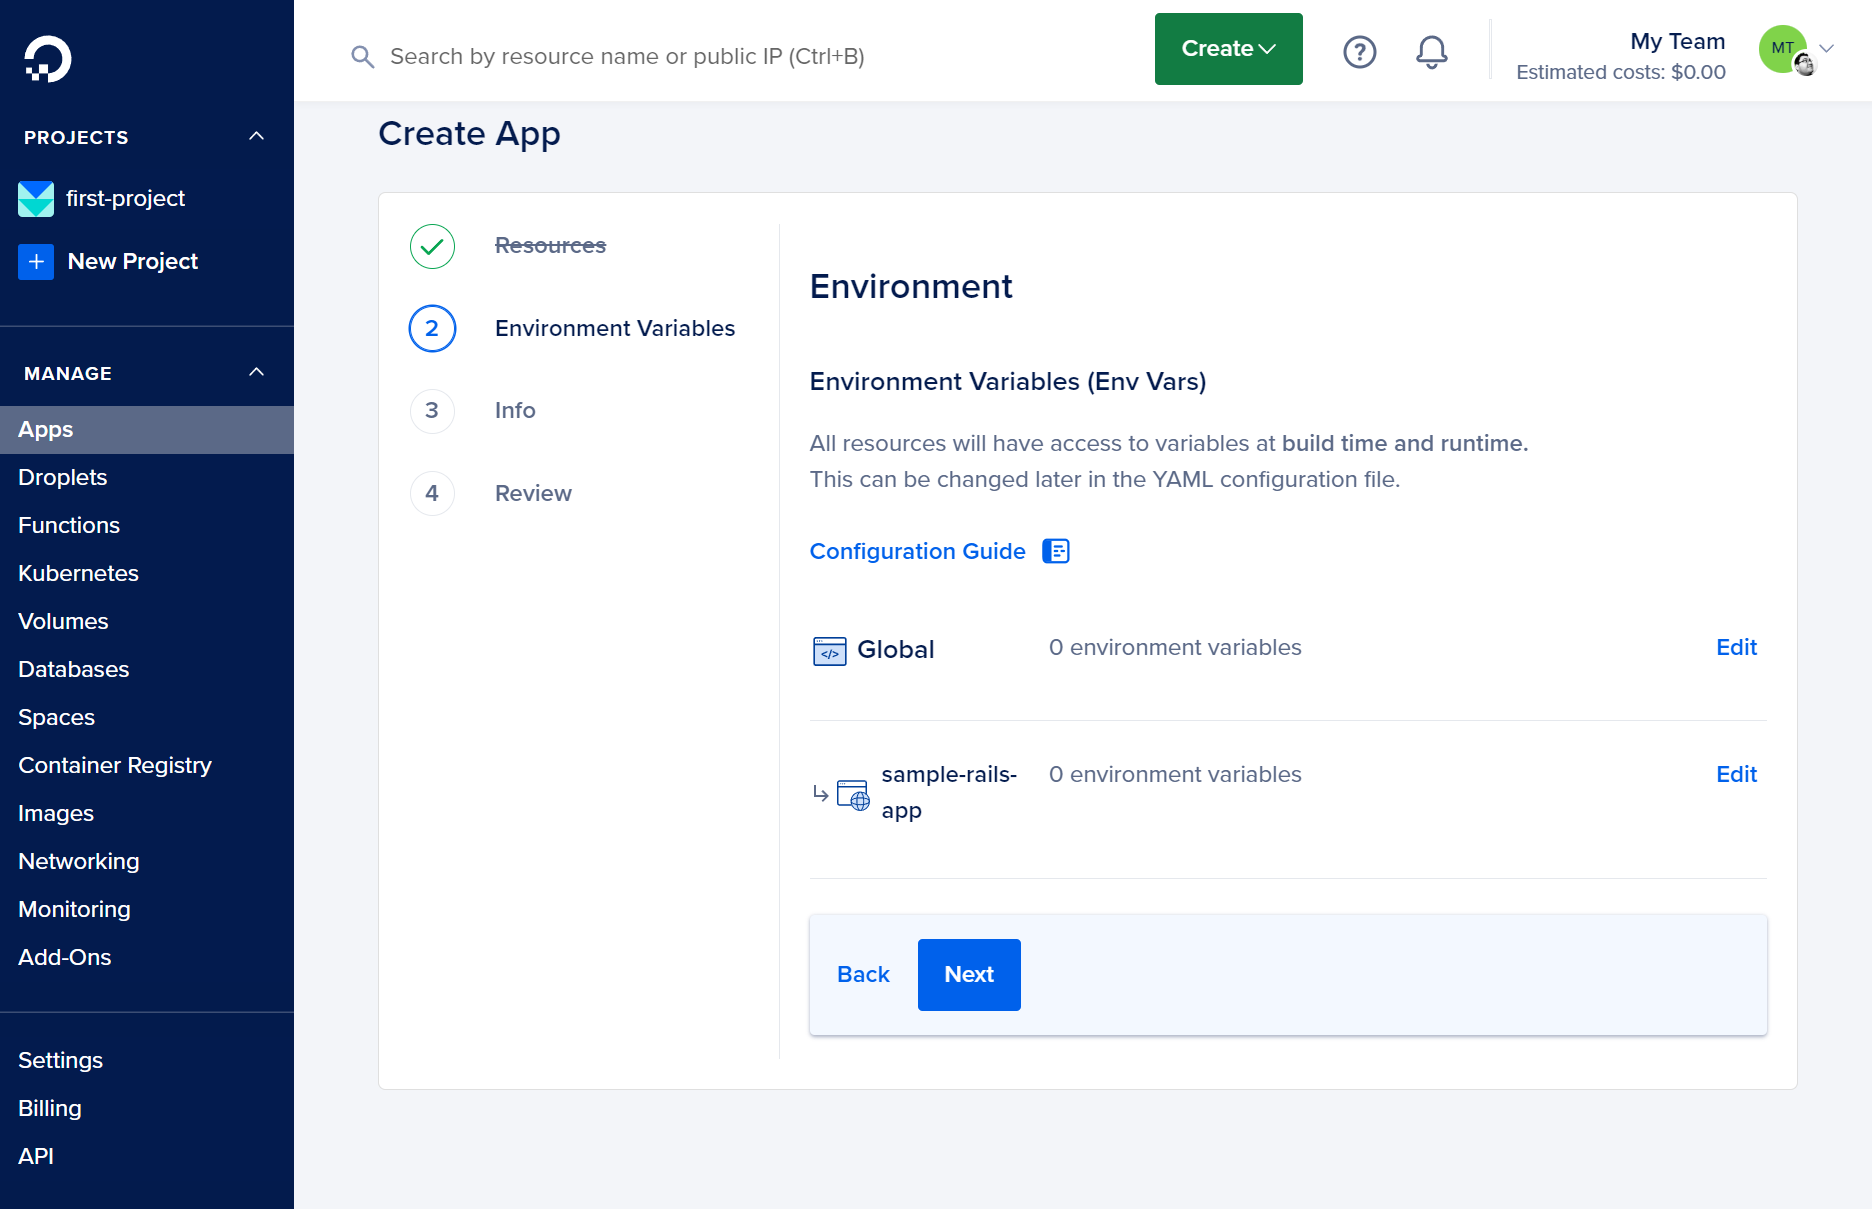
Continue through the next steps until the end. We should not need to change anything else.
Wait for the application to build, you can view realtime logs of the process while it happens.
If all went well you should see your application is available, however it still needs to be initialized and have a database added.
Click on Create and Create/Attach Database to connect a Postgresql database.
The application will automatically be configured with the database credentials
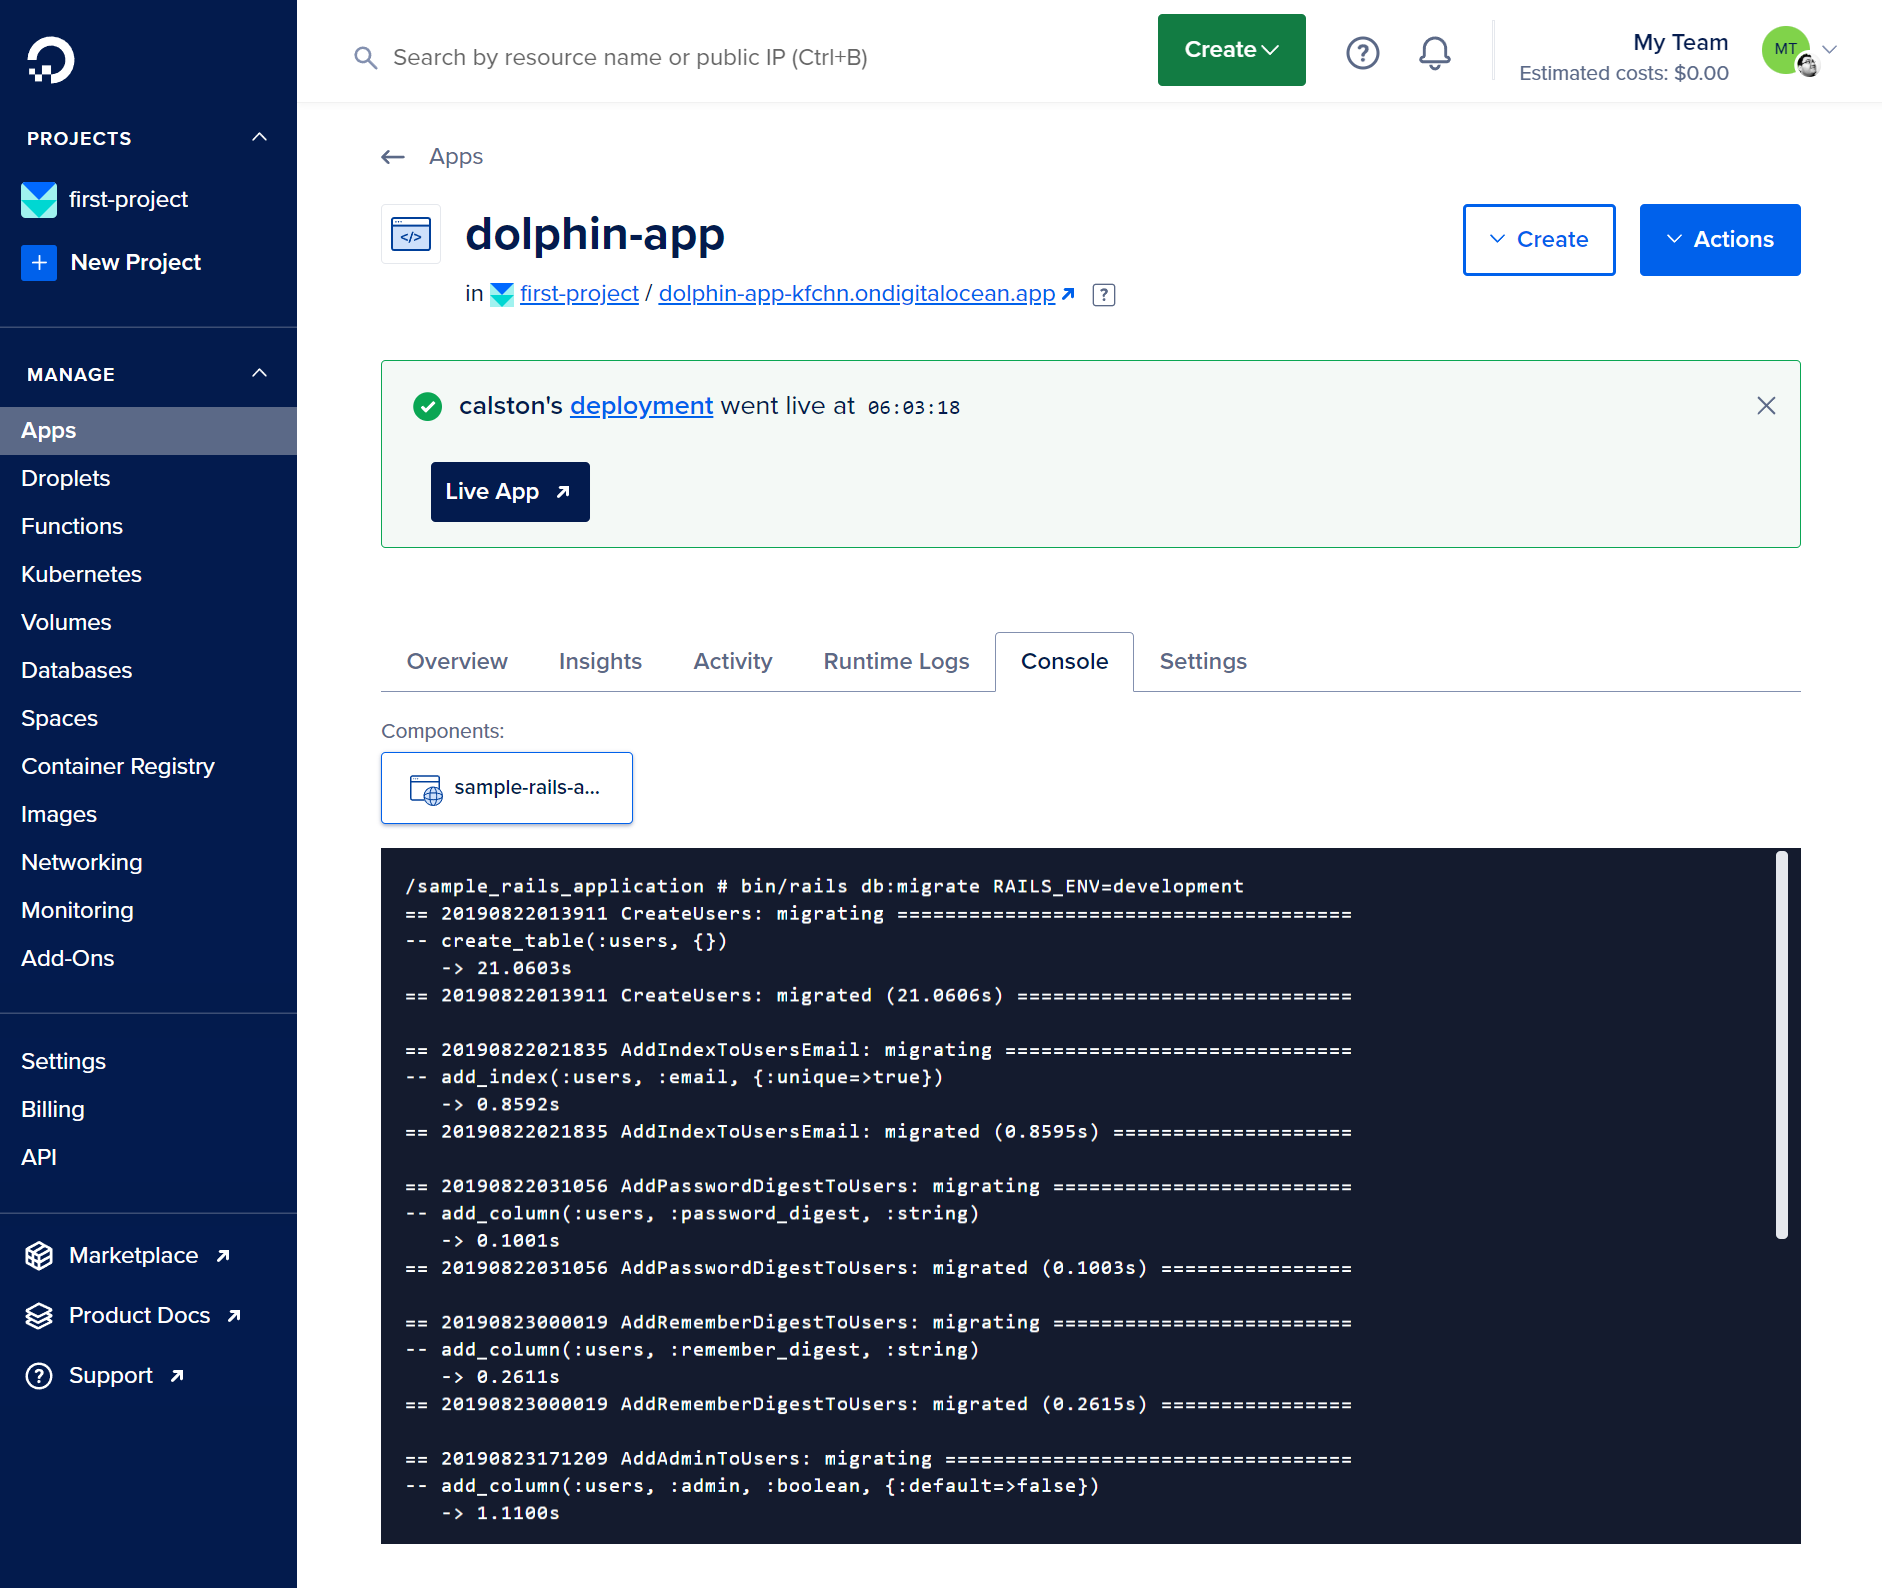
You can now head to the Console to access your application container and setup the database.
Type rails db:migrate into the terminal and press Enter. You should see the database being setup with the Rails schema.
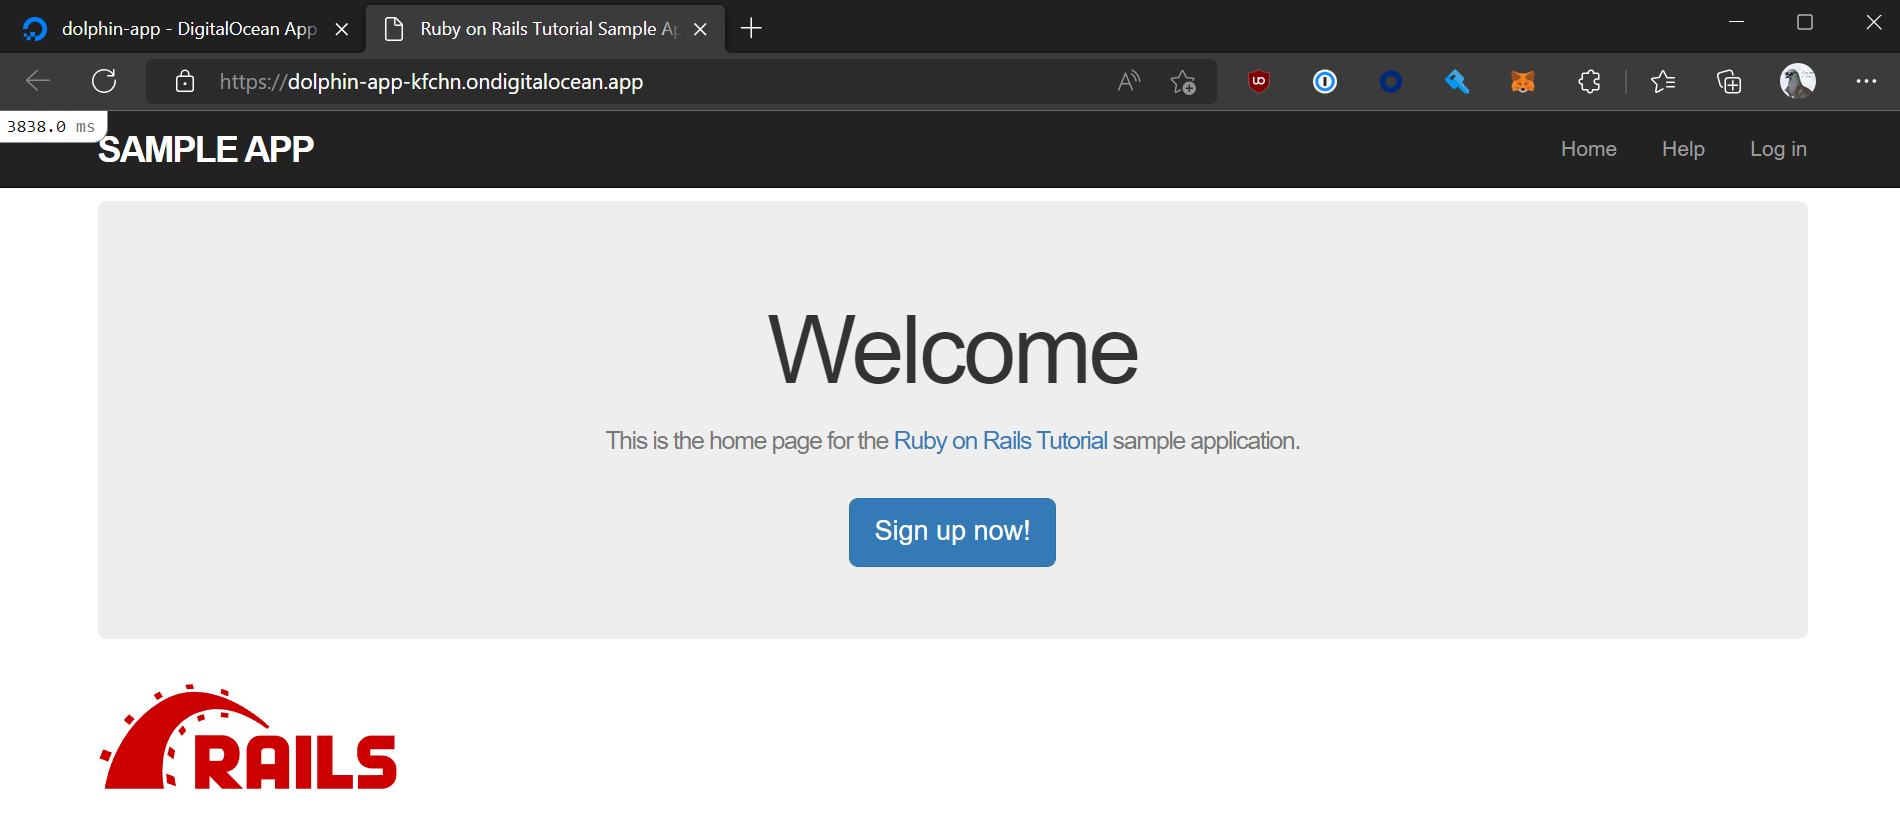
If all went well you should now be able to click on the Live App button which links to the live server.

