Original Video
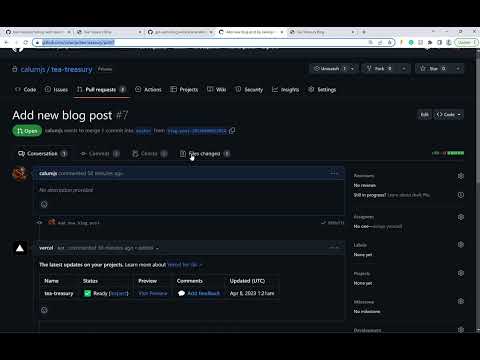
Feature: Interactive Review Process...Coming to the repo soon!

Auto Content Generator is a .NET 8 application that uses OpenAI's GPT-3.5-turbo (or GPT-4) to generate new markdown formatted blog posts. The application clones a specified GitHub repository, generates a new Markdown file with the blog post content, commits the new file, and creates a pull request for the change. Additionally, it handles pull request reviews, updating content based on comments, and commits changes back to the repository.
GitHubToken: The personal access token for your GitHub account.GitHubRepoOwner: The owner of the GitHub repository.GitHubRepoName: The name of the GitHub repository.GitHubEmail: The email address of your GitHub account.GitHubPostsDirectory: The directory in the repository where the blog posts are stored.OpenAIKey: Your OpenAI API key.
This will deploy your blog with Vercel (free). Don't worry, you don't need to touch the blog repo unless you want to update your blog manually. The auto blog writer will write posts for you, so to get started there is no need to clone the blog repo locally.
- Set the required environment variables in the
appsettings.jsonfile or in theappsettings.Development.jsonfile for development.
Sample appsettings.json:
{
  "Logging": {
    "LogLevel": {
      "Default": "Information",
      "Microsoft.AspNetCore": "Warning"
    }
  },
  "AllowedHosts": "*",
  "GitHub": {
    "GitHubToken": "<< PUT IN SECRETS OR 'appsettings.Development.json' >>",
    "GitHubRepoOwner": "<< PUT IN SECRETS OR 'appsettings.Development.json' >>",
    "GitHubRepoName": "<< PUT IN SECRETS OR 'appsettings.Development.json' >>",
    "GitHubEmail": "<< PUT IN SECRETS OR 'appsettings.Development.json' >>",
    "GitHubPostsDirectory": "_posts"
  },
  "OpenAI": {
    "OpenAIApiKey": "<< PUT IN SECRETS OR 'appsettings.Development.json' >>",
    "Model": "gpt-4",
    "ImageModel": "dall-e-3"
  }
}
Note - Configuring GitHub Access Token:
 You need to give access to the blog repository.
And you will need read and write access to administration, code, and pull requests
You need to give access to the blog repository.
And you will need read and write access to administration, code, and pull requests
- Run the application.
Use the following command to run the application:
dotnet run- Generate a new blog post.
Make an HTTP POST request to the endpoint /generate-blog-post. This will give you a new pull request on your repo.
- Respond to PR comments
Leave a comment asking for changes and submit your review, then call the endpoint /pr-webhook/{pullRequestNumber:int}. Your comments will be picked up and actioned.