Octoprint Canon Camera Control API Scripts
Although this is a work in progress, the scripts are fully functional.
This is a set of scripts to create Octolapses with a Canon camera that supports the Camera Control API (CCAPI)
You can control your Canon camera wirelessly since CCAPI enabled cameras can be controlled over wifi.
Canon Camera Control API (CCAPI)
Follow the link below for a list of supported cameras and how to enable CCAPI on your camera.
Here's a list of compatible cameras (as of December 2021)
| Camera | CCAPI v1.1 | CCAPI v1.0 |
|---|---|---|
| EOS M50 Mark II | ✔️ | |
| EOS R5 | ✔️ | ✔️ |
| EOS R6 | ✔️ | ✔️ |
| EOS Rebel T8i | ✔️ | |
| EOS 1D X Mark III | ✔️ | ✔️ |
| EOS M200 | ✔️ | |
| EOS M6 Mark II | ✔️ | |
| EOS 90D | ✔️ | |
| EOS Rebel SL3 | ✔️ | |
| EOS RP | ✔️ | |
| Powershot SX70 HS | ✔️ | |
| PowerShot G5 X Mark II | ✔️ | |
| PowerShot G7 X Mark III | ✔️ |
Octolapse Setup
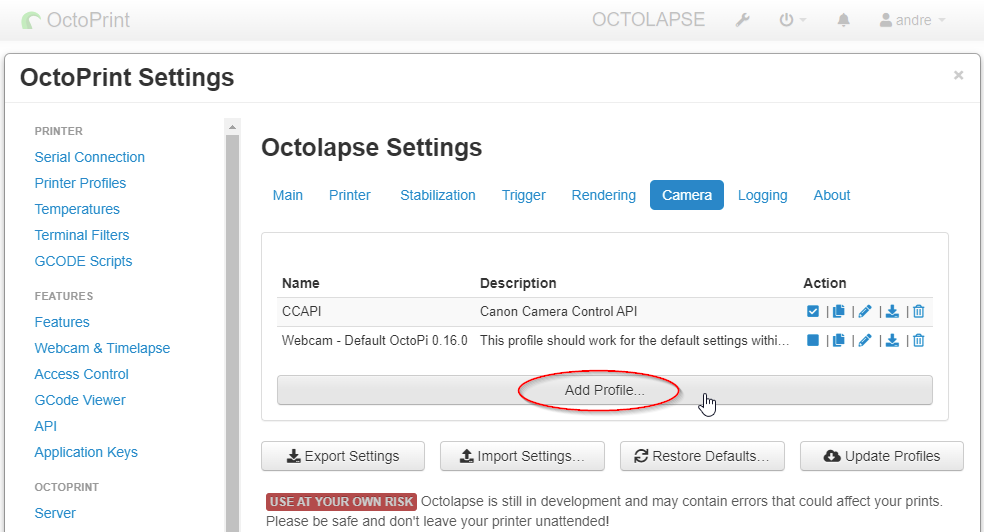
Add a new camera in Octolapse config.
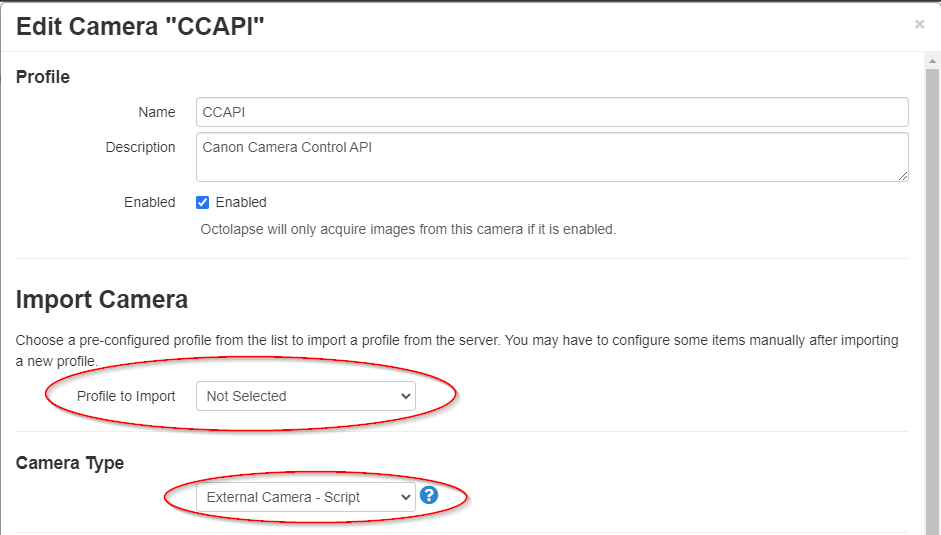
Basic Settings
Give it a name and a description. Here, I just named it CCAPI. Do not choose a Profile to Import and make sure to select External Camera - Scrip under the Camera Type section.
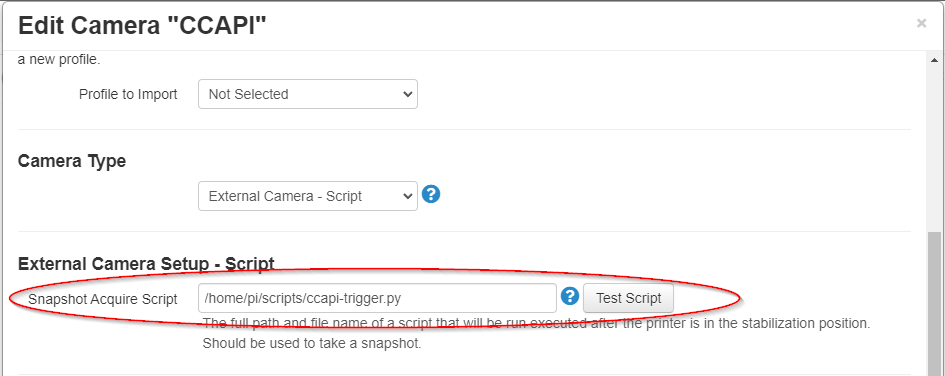
External Camera Setup - Script
Always add the full path to the scripts below in each one of Octolapse's fields. For example, the full path for ccapi-trigger.py is /home/pi/scripts/ccapi-trigger.py.
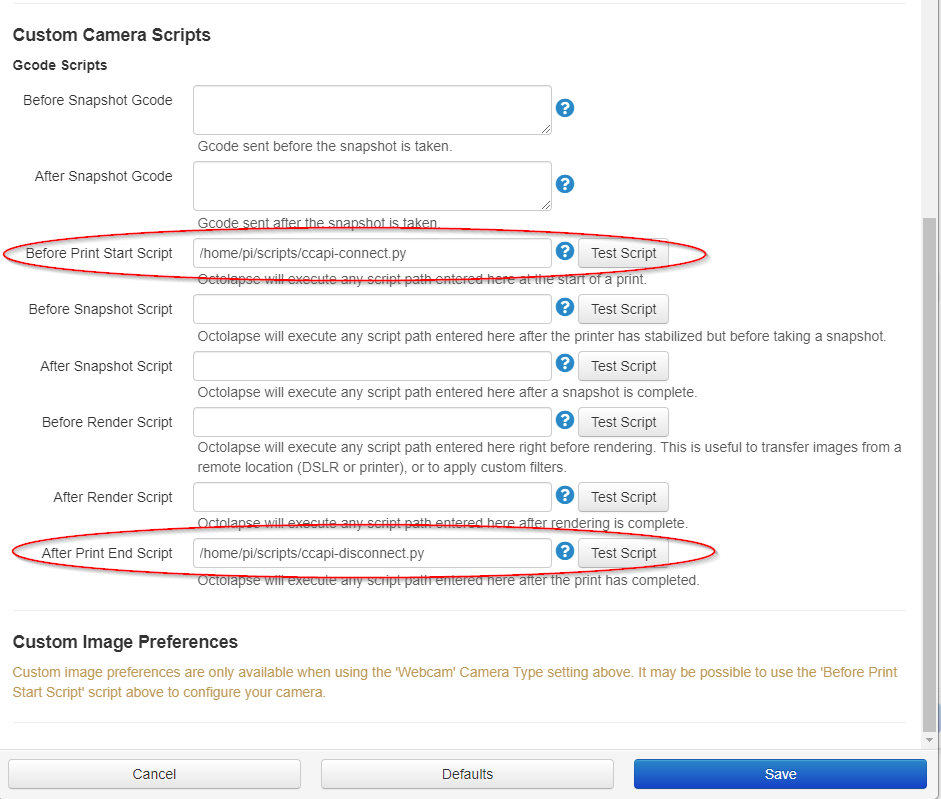
Custom Camera Scripts
ccapi-connect.py Establishes the first connection with the camera.
ccapi-disconnect.py Terminates CCAPI and disconnects the camera from Wi-fi network.
ccapi-trigger.py Sends a signal to trip the shutter on the camera.
First things first. Set your camera's IP address in config.py. You shouldn't have to change any of the other settings, but they are there if you need it.
# Camera IP Address
IP = '192.168.1.27'

# Camera port. Default is 8080
PORT = '8080'

# Protocol. Default is http
PROTOCOL = 'http'

BASE_URL = PROTOCOL+'://'+IP+':'+PORT

# Turn Auto-focus On/Off during shooting
AF = False

# Liveview options
LVSIZE = 'small'

DISPLAY = 'off'

# Disconnect camera from Wi-fi after print is complete
DISCONNECT = True
Camera Setup
Timelapse Technique
Set the camera to manual exposure and dial in the exposure before starting the timelapse. If the camera is set to any of the automatic exposure modes (Av, Tv, Auto, Etc) the exposure will be ever so lightly different in each frame/picture. This will case the finished timelapse clip to apper to flicker.


