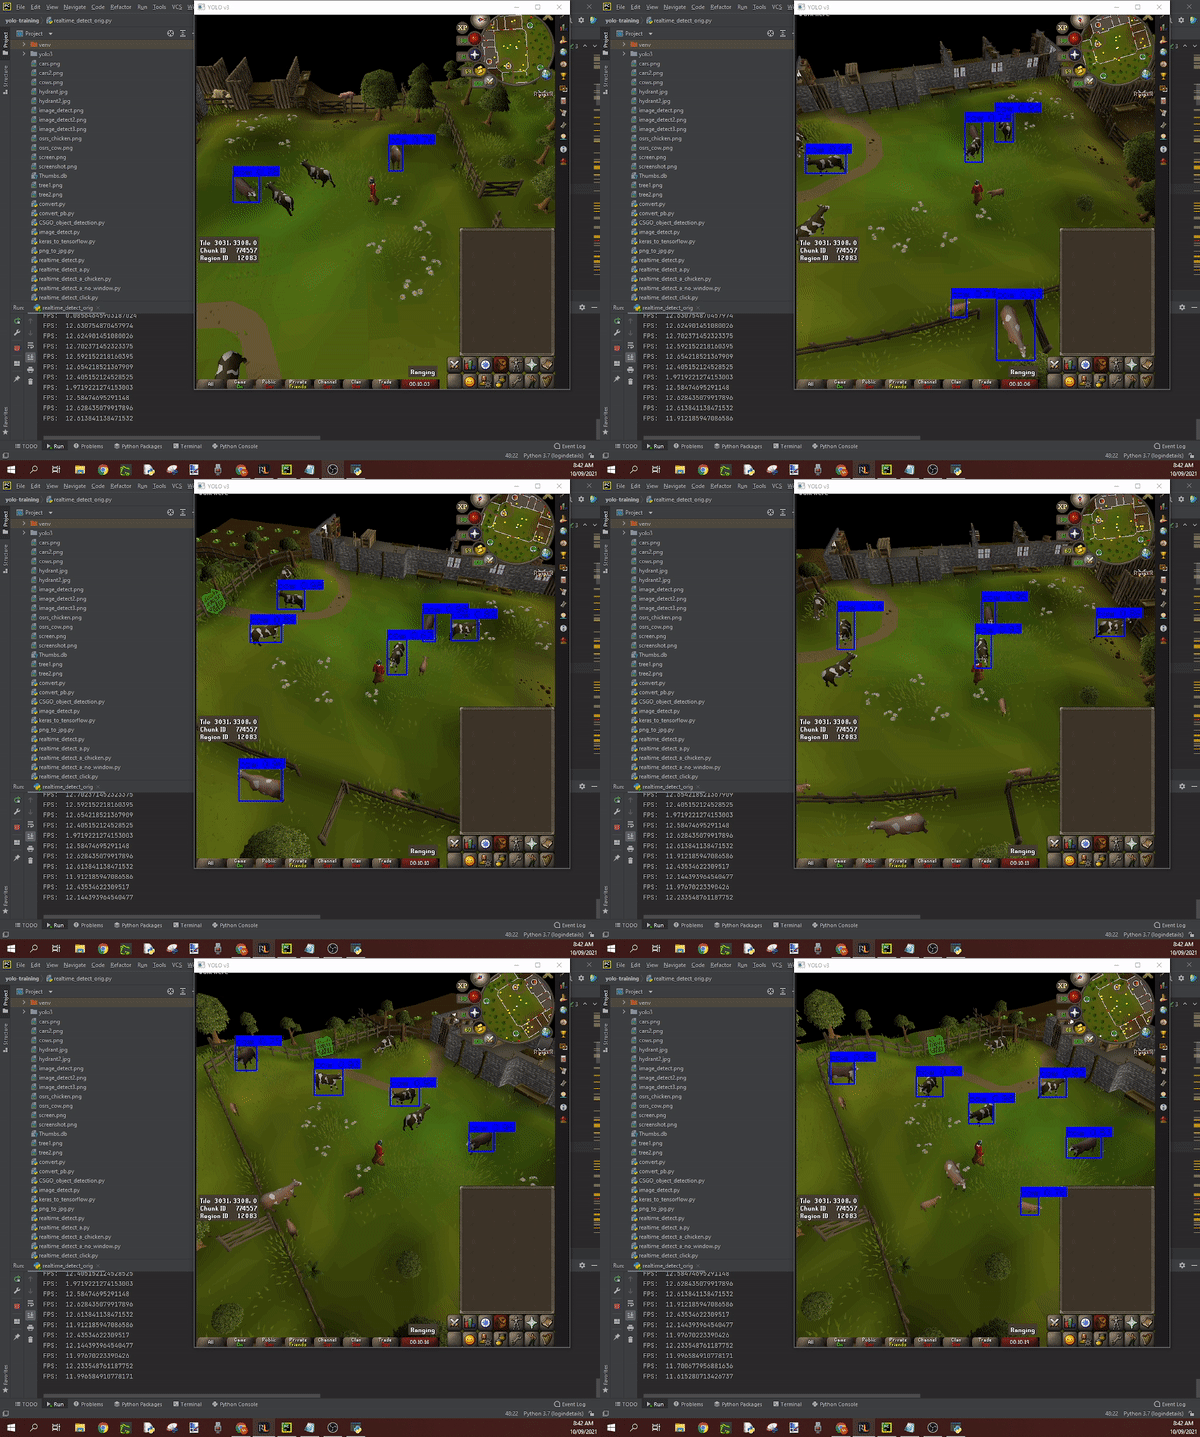
Yolov3 Object Detection In OSRS using Python code, Detecting Cows - Botting
name: GeForce GTX 1060 6GB major: 6 minor: 1 memoryClockRate(GHz): 1.7085 (Average: 12 FPS)
Download YOLOv3 weights from YOLO website. Run in Pycharm Terminal:
https://pjreddie.com/media/files/yolov3.weights ----- save this in 'model_data' directory
Convert the Darknet YOLO model to a Keras model.
type in terminal:
pip install -r requirements
then
python convert.py -w model_data/yolov3.cfg model_data/yolov3.weights model_data/yolov3.h5
Note: if there's issues with converting the weights to h5 use this yolo weights in the interim: https://drive.google.com/file/d/1_0UFHgqPFZf54InU9rI-JkWHucA4tKgH/view?usp=sharing
goto Google drive for large files and specifically the osrs cow and goblin weighted file: https://drive.google.com/folderview?id=1P6GlRSMuuaSPfD2IUA7grLTu4nEgwN8D
and see full video tutorial: https://youtu.be/X3snnwzJfEw
Check if your gpu will work: https://developer.nvidia.com/cuda-gpus and use the cuda for your model and the latest cudnn for the cuda version.
pycharm = https://www.jetbrains.com/pycharm/download/download-thanks.html?platform=windows&code=PCC
cuda 10.0 = https://developer.nvidia.com/compute/cuda/10.0/Prod/local_installers/cuda_10.0.130_411.31_win10
cudnn = https://developer.nvidia.com/rdp/cudnn-archive#a-collapse765-10
labelImg = https://tzutalin.github.io/labelImg/
tesseract-ocr = https://sourceforge.net/projects/tesseract-ocr-alt/files/tesseract-ocr-setup-3.02.02.exe/download or for all versions: https://github.com/UB-Mannheim/tesseract/wiki
Credit to: https://github.com/pythonlessons/YOLOv3-object-detection-tutorial
example unzip files in directory OID/Dataset/train/cow/: cows.z01 , cows.z02 , cows.z03
add image and xml files to folder OID//Dataset//train//name of class **** Add folder to train with the name of each class
***** IMAGES MUST BE IN JPG FORMAT (use png_jpg to convert png files to jpg files) *******
run voc_to_yolov3.py - this will create the images class path config file and the classes list config file
ezgif-1-5e2882085ca8.mp4
Ensure you're using cmd for your terminal, by using the top tab 'file', then select 'settings'. using the left navigation pane select the section for 'Tools' then in the drop down select 'Terminal'. Within the section for Application Settings change/make sure the Shell Path: is your cmd.exe path. click apply then ok. close the project then reopen. In the terminal view type: cd venv cd scripts activate.bat
Untitled.Project.mp4
while using the pip -r requirements and still get the error: cannot import name 'batchnormalization' from 'keras.layers.normalization
download this and save to model_data folder https://drive.google.com/file/d/1_0UFHgqPFZf54InU9rI-JkWHucA4tKgH/view?usp=sharing.
this is the error log for batchnormalisation: https://github.com/slyautomation/osrs_yolov3/blob/main/error_log%20batchnormalization.txt this is caused by having an incompatiable version of tensorflow. the version needed is 1.15.0
pip install --upgrade tensorflow==1.15.0
since keras has been updated but will still cause the batchnomralisation error, downgrade keras in the same way to 2.2.4:
pip install --upgrade keras==2.2.4
refer to successful log of python convert.py -w model_data/yolov3.cfg model_data/yolov3.weights model_data/yolov3.h5


