This demo showcases a simplified insurance or bank account application process using the Camunda platform for workflow and decision automation.
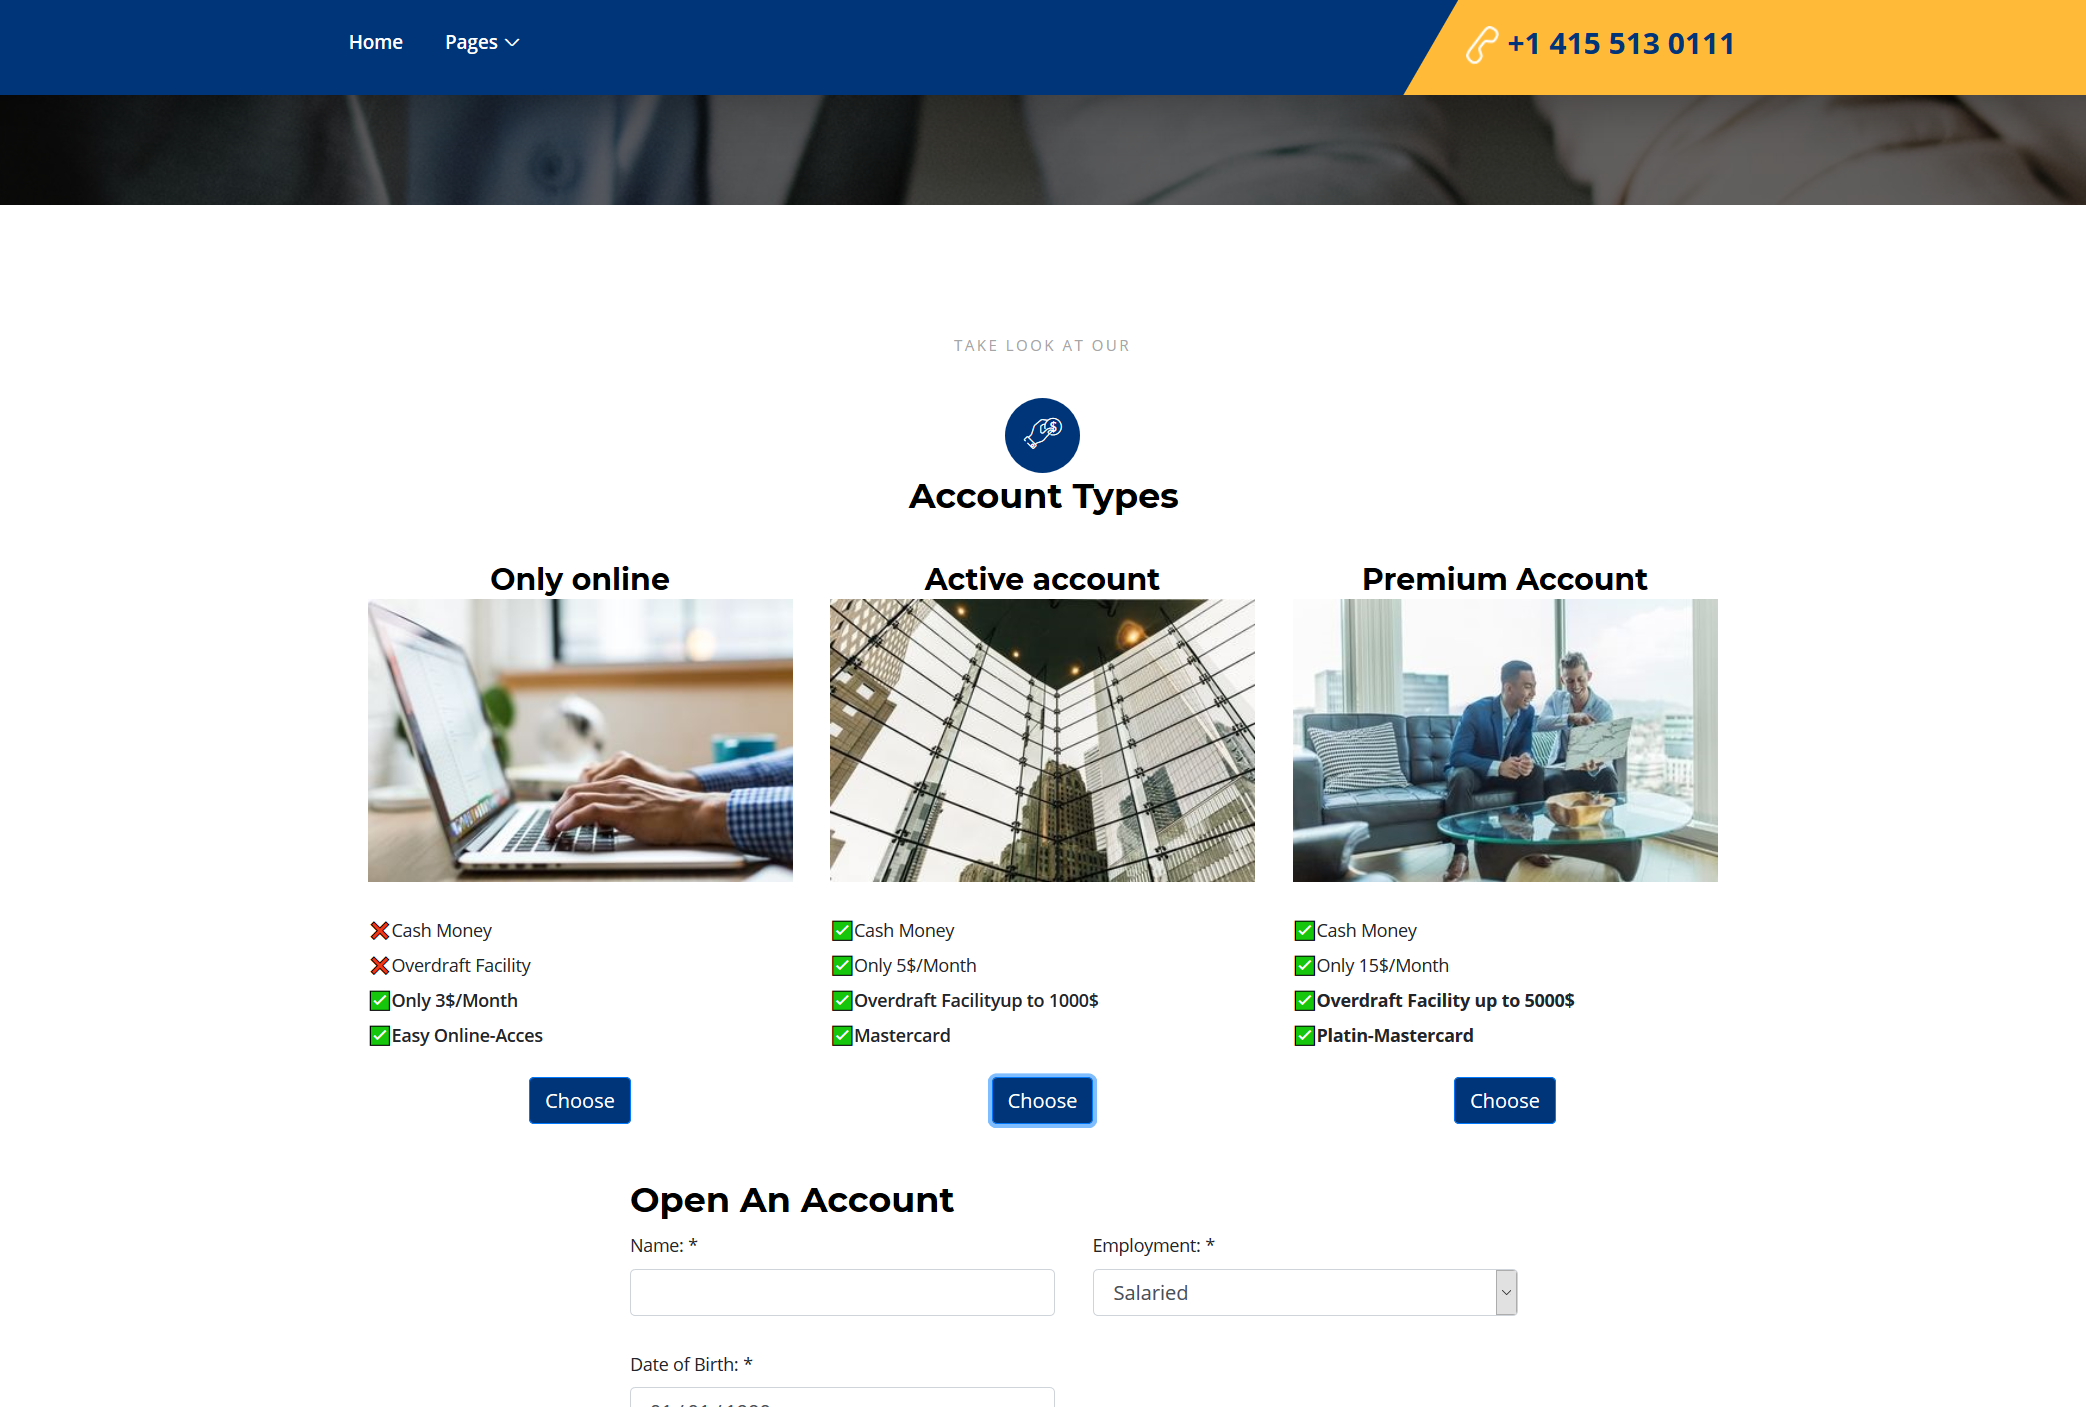
The project includes a simple self-contained, custom-made web frontend, which can be used to submit applications. After deploymnet the web pages are available under:
- English: http://localhost:8080/camunda/online/index.html?lang=en
- German: http://localhost:8080/camunda/online/index.html?lang=de
On the landing page an insurance or banking frontend and the language can be selected.
The frontends start instances of the follwoing (BPMN) process via a simple REST API:
 (src/main/resources/static/bpmn/customer_onboarding_en.bpmn)
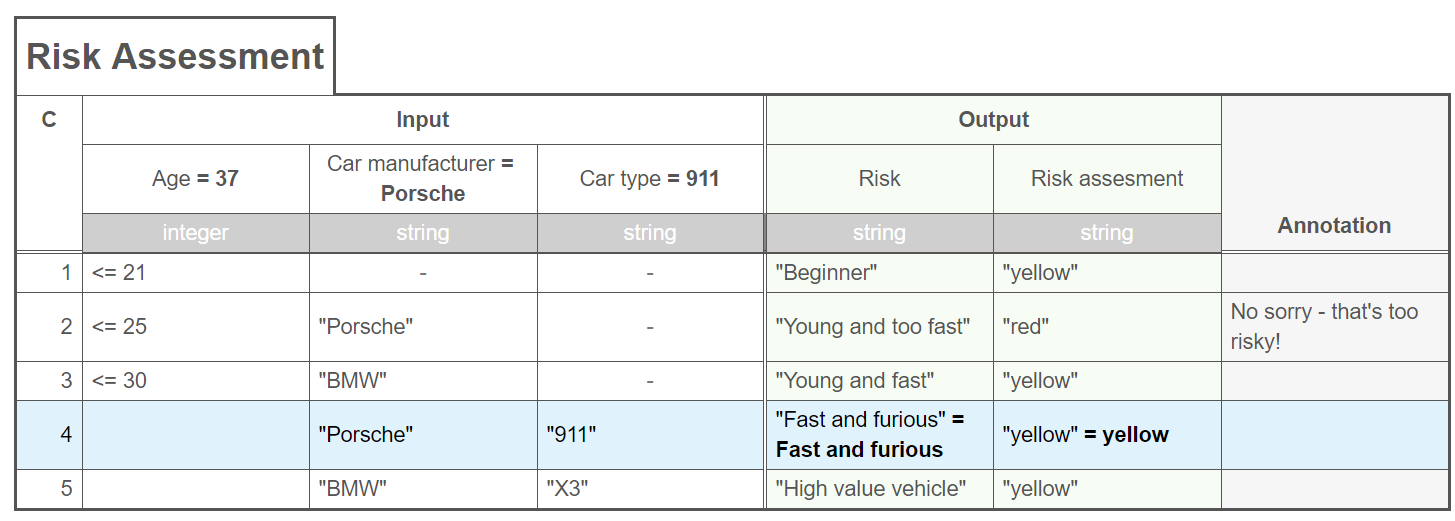
The workflow first executes an automated decision (in DMN), determining if the application requires a manual assessment or can be process automatically:
 (src/main/resources/static/bpmn/risk_check_en.dmn)
The camunda web applications will be accessible under http://localhost:8080/camunda
The user/password demo/demo can be used to login.
The showcase uses Spring Boot and the Camunda Spring boot starters. https://docs.camunda.org/manual/latest/user-guide/spring-boot-integration
Spring web is used for the REST services defined in ApplicationOnlineFacade
- clone project or download sources
- build via Maven (mvn clean package)
- run via Spring boot (mvn spring-boot:run)
During startup the showcase will generate test data. This can take a few minutes. You can already use the application during this time. To start with a fresh database delete /camunda-db.mv.db and /camunda-db.trace.db.
Alternatively you can play online in the Showroom without installing anything locally. The showroom is password protected and only accessible for camunda partners.
When you want to release a new Docker image, create a GitHub release:
- Choose a tag: enter a new version (e.g.
v1.2.3) and clickcreate a tag - Target:
main - Release title: new version (e.g.
v1.2.3) - Description: click
Generate release notesfor GitHub to fill it. - Click
Publish Releaseto release it.
You can check the actions page to follow the release.


