FlexLib is an Objective-C layout framework for iOS. It's based on flexbox model which is standard for web layout. So the layout capability is powerful and easy to use.
With FlexLib, you can write iOS UI much faster than before, and there are better adaptability.
- Screenshots
- Feature
- Usage
- Hot Preview
- Usage For Swift Project
- Example
- Attribute Reference
- FlexLib Classes
- Installation
- About Flexbox
- FAQ
- Author
- License
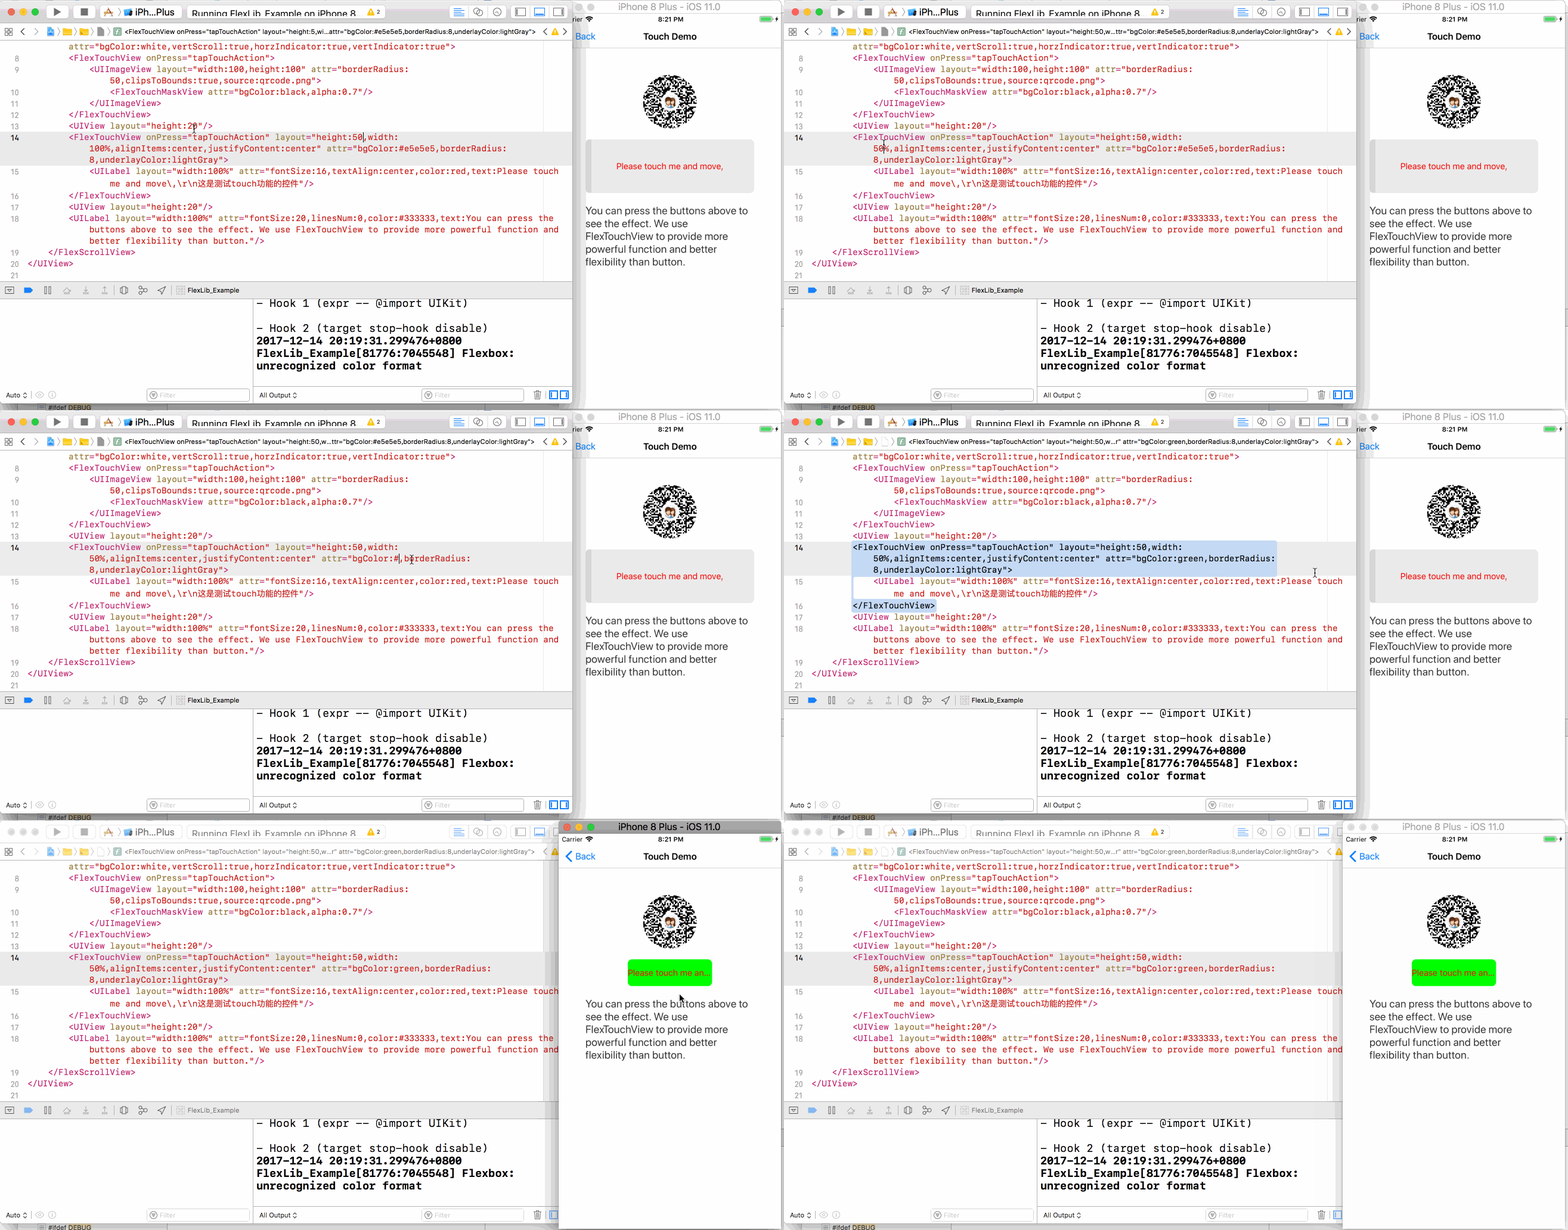
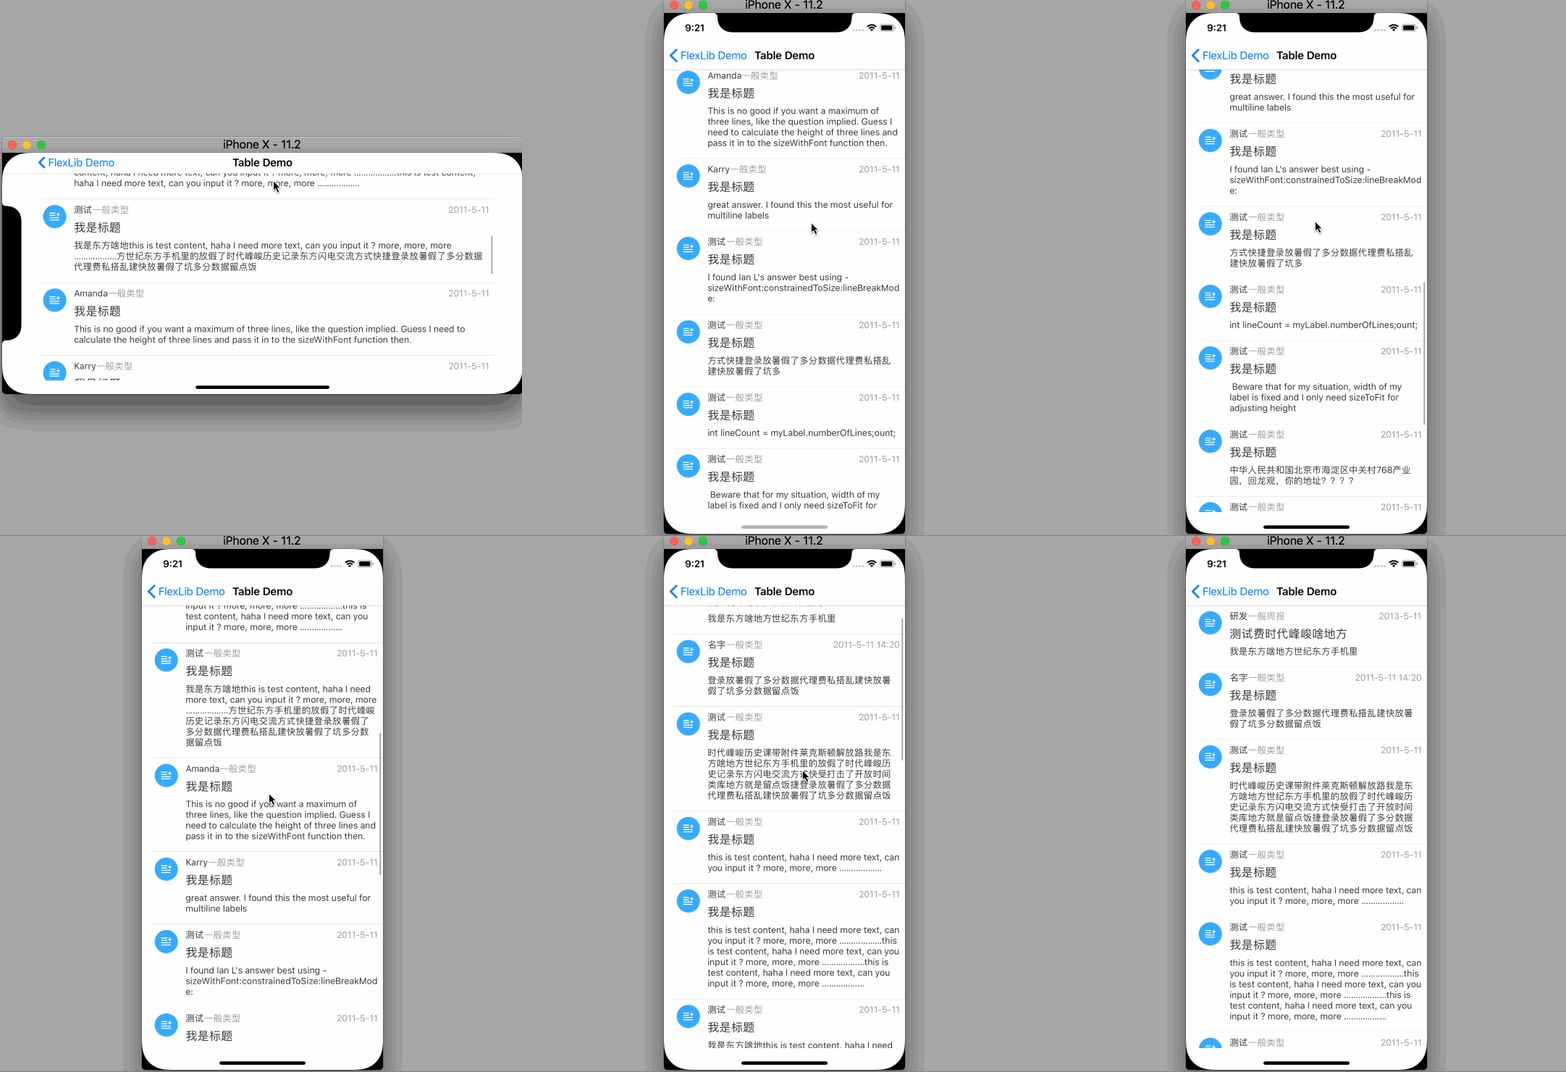
This demo is hot preview:
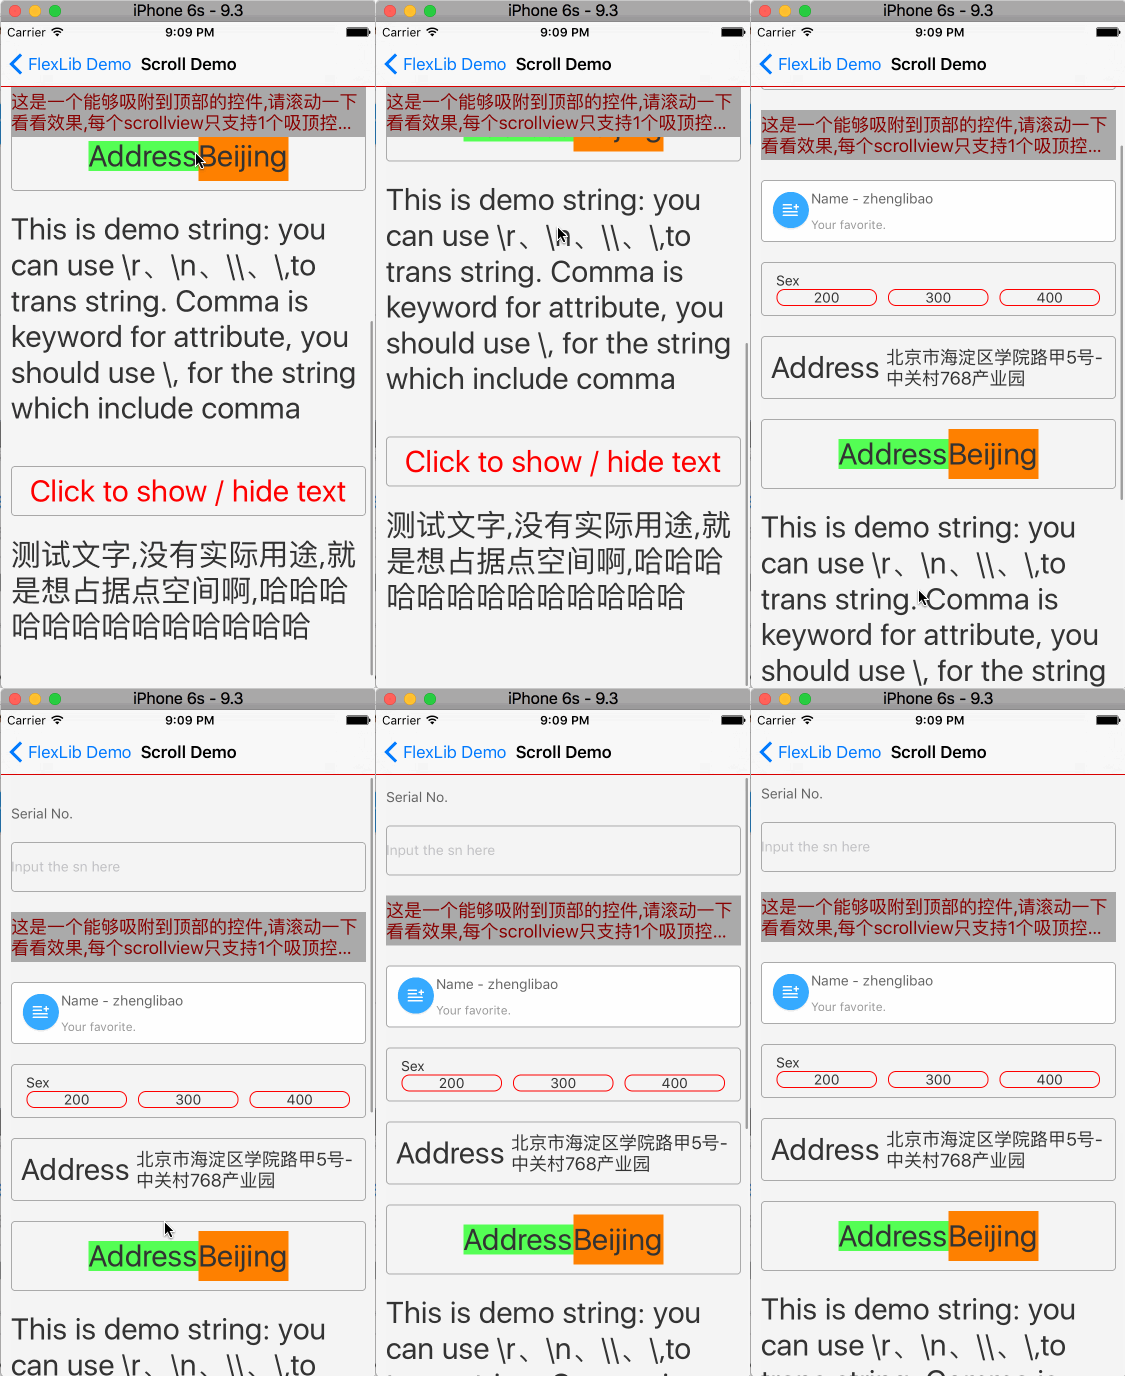
Can you imagine you almost need nothing code to implement the following effect?
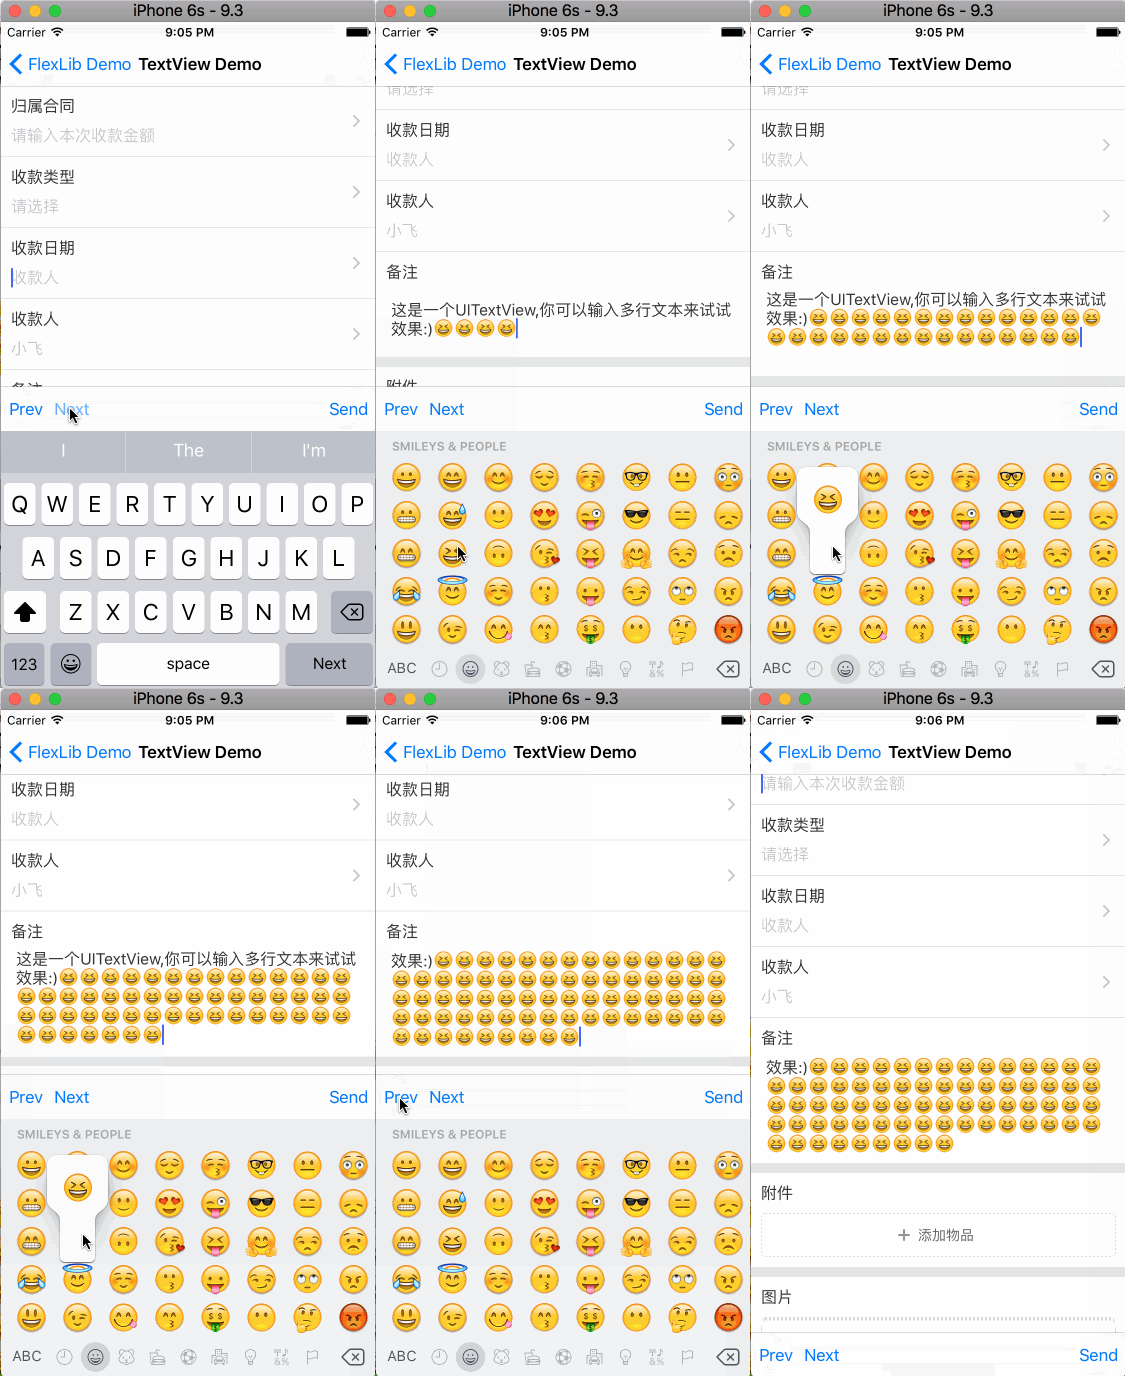
Avoid keyboard automatically
iPhone X adaption
- layout based on xml format
- auto variable binding
- onPress event binding
- support layout attribute (padding/margin/width/...)
- support view attribute (eg: bgColor/fontSize/...)
- support reference predefined style
- view attributes extensible
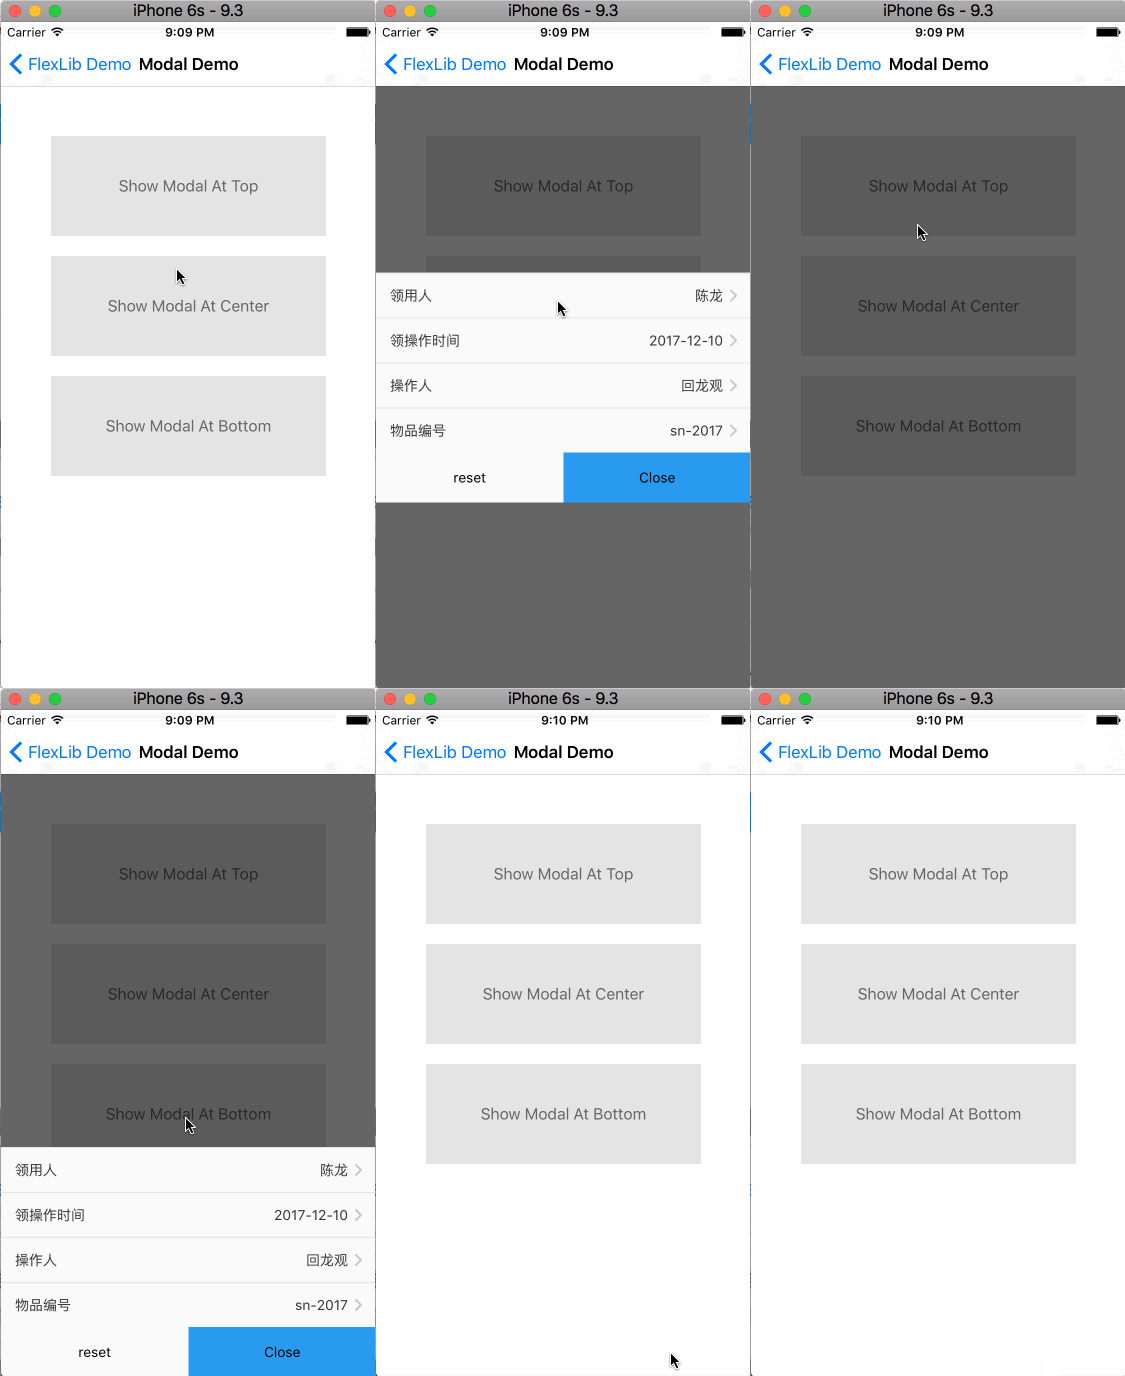
- support modal view
- table cell height calculation
- support iPhoneX perfectly
- support hot preview
- auto adjust view to avoid keyboard
- keyboard toolbar to switch input field
- cache support for release mode
- support Swift project
- view all layouts in one page (Control+V)
- multi-language support
- Write layout with xml file.
The following is a demo file:
<UIView layout="flex:1,justifyContent:center,alignItems:center" attr="bgColor:lightGray">
    <UIView layout="height:1,width:100%" attr="bgColor:red"/>
    <FlexScrollView name="_scroll" layout="flex:1,width:100%,alignItems:center" attr="vertScroll:true">
        <UILabel name="_label" attr="@:system/buttonText,text:You can run on iPhoneX,color:blue"/>
        <UIView onPress="onTest:" layout="@:system/button" attr="bgColor:#e5e5e5">
            <UILabel attr="@:system/buttonText,text:Test ViewController"/>
        </UIView>
        <UIView onPress="onTestTable:" layout="@:system/button" attr="bgColor:#e5e5e5">
            <UILabel attr="@:system/buttonText,text:Test TableView"/>
        </UIView>
        <UIView onPress="onTestScrollView:" layout="@:system/button" attr="bgColor:#e5e5e5">
            <UILabel attr="@:system/buttonText,text:Test ScrollView"/>
        </UIView>
        <UIView onPress="onTestModalView:" layout="@:system/button" attr="bgColor:#e5e5e5">
            <UILabel attr="@:system/buttonText,text:Test ModalView"/>
        </UIView>
        <UIView onPress="onTestLoginView:" layout="@:system/button" attr="bgColor:#e5e5e5">
            <UILabel attr="@:system/buttonText,text:Login Example"/>
        </UIView>
    </FlexScrollView>
</UIView>
You can use any UIView subclass in xml file. Every element can have four attribute: name, onPress, layout, attr.
Every element with name attribute will bind to variable in owner.
Every element with onPress attribute will bind to selector in owner.
You can specify any flexbox attribute in layout attribute, like width、height、padding、margin、justifyContent、alignItems etc.
'attr' support view attribute, like background color, font, text, ...
- Derive view controller class from FlexBaseVC
@interface FlexViewController : FlexBaseVC
@end
@interface FlexViewController ()
{
    // these will be binded to those control with same name in xml file
    FlexScrollView* _scroll;
    UILabel* _label;
}
@end

@implementation FlexViewController

- (void)viewDidLoad
{
    [super viewDidLoad];

    self.navigationItem.title = @"FlexLib Demo";
}
- (void)didReceiveMemoryWarning
{
    [super didReceiveMemoryWarning];
    // Dispose of any resources that can be recreated.
}
- (void)onTest:(id)sender {
    TestVC* vc=[[TestVC alloc]init];
    [self presentViewController:vc animated:YES completion:nil];
}
- (void)onTestTable:(id)sender {
    TestTableVC* vc=[[TestTableVC alloc]init];
    [self presentViewController:vc animated:YES completion:nil];
}

@end
- Now you can use the controller as normal:
    FlexViewController *vc = [[FlexViewController alloc] init];

    UINavigationController *nav = [[UINavigationController alloc] initWithRootViewController:vc];
    self.window.rootViewController = nav;

    [self.window makeKeyAndVisible];
-
Write layout with xml file. There is no difference than view controller layout except that it will be used for tabel cell.
-
Derive table cell class from FlexBaseTableCell:
@interface TestTableCell : FlexBaseTableCell
@end
@interface TestTableCell()
{
    UILabel* _name;
    UILabel* _model;
    UILabel* _sn;
    UILabel* _updatedBy;

    UIImageView* _return;
}
@end
@implementation TestTableCell
@end
- In cellForRowAtIndexPath callback, call initWithFlex to build cell. In heightForRowAtIndexPath, call heightForWidth to calculate height
- (nonnull UITableViewCell *)tableView:(nonnull UITableView *)tableView cellForRowAtIndexPath:(nonnull NSIndexPath *)indexPath {

    static NSString *identifier = @"TestTableCellIdentifier";
    TestTableCell* cell = [tableView dequeueReusableCellWithIdentifier:identifier];
    if (cell == nil) {
        cell = [[TestTableCell alloc]initWithFlex:nil reuseIdentifier:identifier];
    }
    return cell;
}
- (CGFloat)tableView:(UITableView *)tableView heightForRowAtIndexPath:(NSIndexPath *)indexPath
{
    if(_cell==nil){
        _cell = [[TestTableCell alloc]initWithFlex:nil reuseIdentifier:nil];
    }
    return [_cell heightForWidth:_table.frame.size.width];
}
-
Write layout xml file.
-
Use FlexFrameView to load xml file, you can set frame or make it flexible. After initiation, maybe you need to call layoutIfNeeded before add it to other view.
-
add this FlexFrameView to other traditional view
    //load TableHeader.xml as UITableView header

    CGRect rcFrame = CGRectMake(0, 0, [[UIScreen mainScreen] bounds].size.width, 0);
    FlexFrameView* header = [[FlexFrameView alloc]initWithFlex:@"TableHeader" Frame:rcFrame Owner:self];
    header.flexibleHeight = YES;
    [header layoutIfNeeded];

_table.tableHeaderView = header;-
start http server in your local folder
For mac with python2.7 installed:
open Terminal and go to your folder, then input:
python -m SimpleHTTPServer 8000
-
Set preview base url, call like this:
FlexSetPreviewBaseUrl(@"http://192.168.6.104:8000/FlexLib/res/");
-
Run your project, you can press Cmd+R to reload the layout on simulator. Notice: this shortcut is available only on debug mode.
Notice: Cmd+R should be pressed on simulator when view controller is shown, not in XCode. The base url will be used to concate the resource url. For example, if the base url is 'http://ip:port/abc/' and you want to access flex resource 'TestVC', then your final url will be 'http://ip:port/abc/TestVC.xml'
-
Start http server in your local folder as before
-
Set preview base url
-
Set resource load way FlexSetLoadFunc(YES) or FlexSetCustomLoadFunc(loadfunc)
- Press Cmd+D when any view controller based on FlexBaseVC is shown
- Set all parameters then save.
- Call FlexRestorePreviewSetting when app init. This will restore all setting.
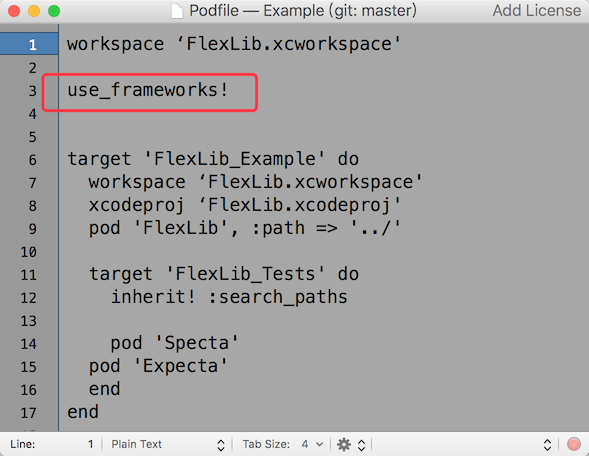
- Adjust 'Podfile' to use frameworks
- Extend your swift class from FlexBaseVC, FlexBaseTableCell, etc
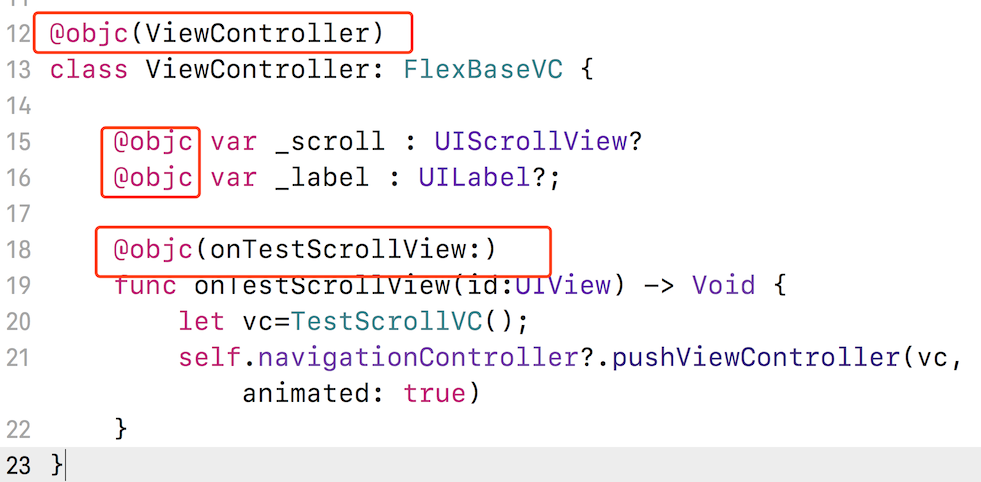
- For those variables, onPress events, class, you should declare them with @objc keyword. Like this:
To run the example project, clone the repo, and open Example/FlexLib.xcworkspace with XCode to run.
FlexLib support two kinds of attribute: layout attribute and view attribute. Layout attribute conform with yoga implementation. View attribute can be extensible using FLEXSET macro.
Notice: FlexLib will output log when it doesn't recognize the attribute you provided. So you should not ignore the log when you develop your project.
You can get it on Wiki-FlexLib Classes
FlexLib is available through CocoaPods. To install it, simply add the following line to your Podfile:
pod 'FlexLib'You can get it on Wiki-FAQ
zhenglibao, 798393829@qq.com. QQ Group: 687398178
You can contact me if you have any problem.
I hope you will like it. :)
FlexLib is available under the MIT license. See the LICENSE file for more info.


