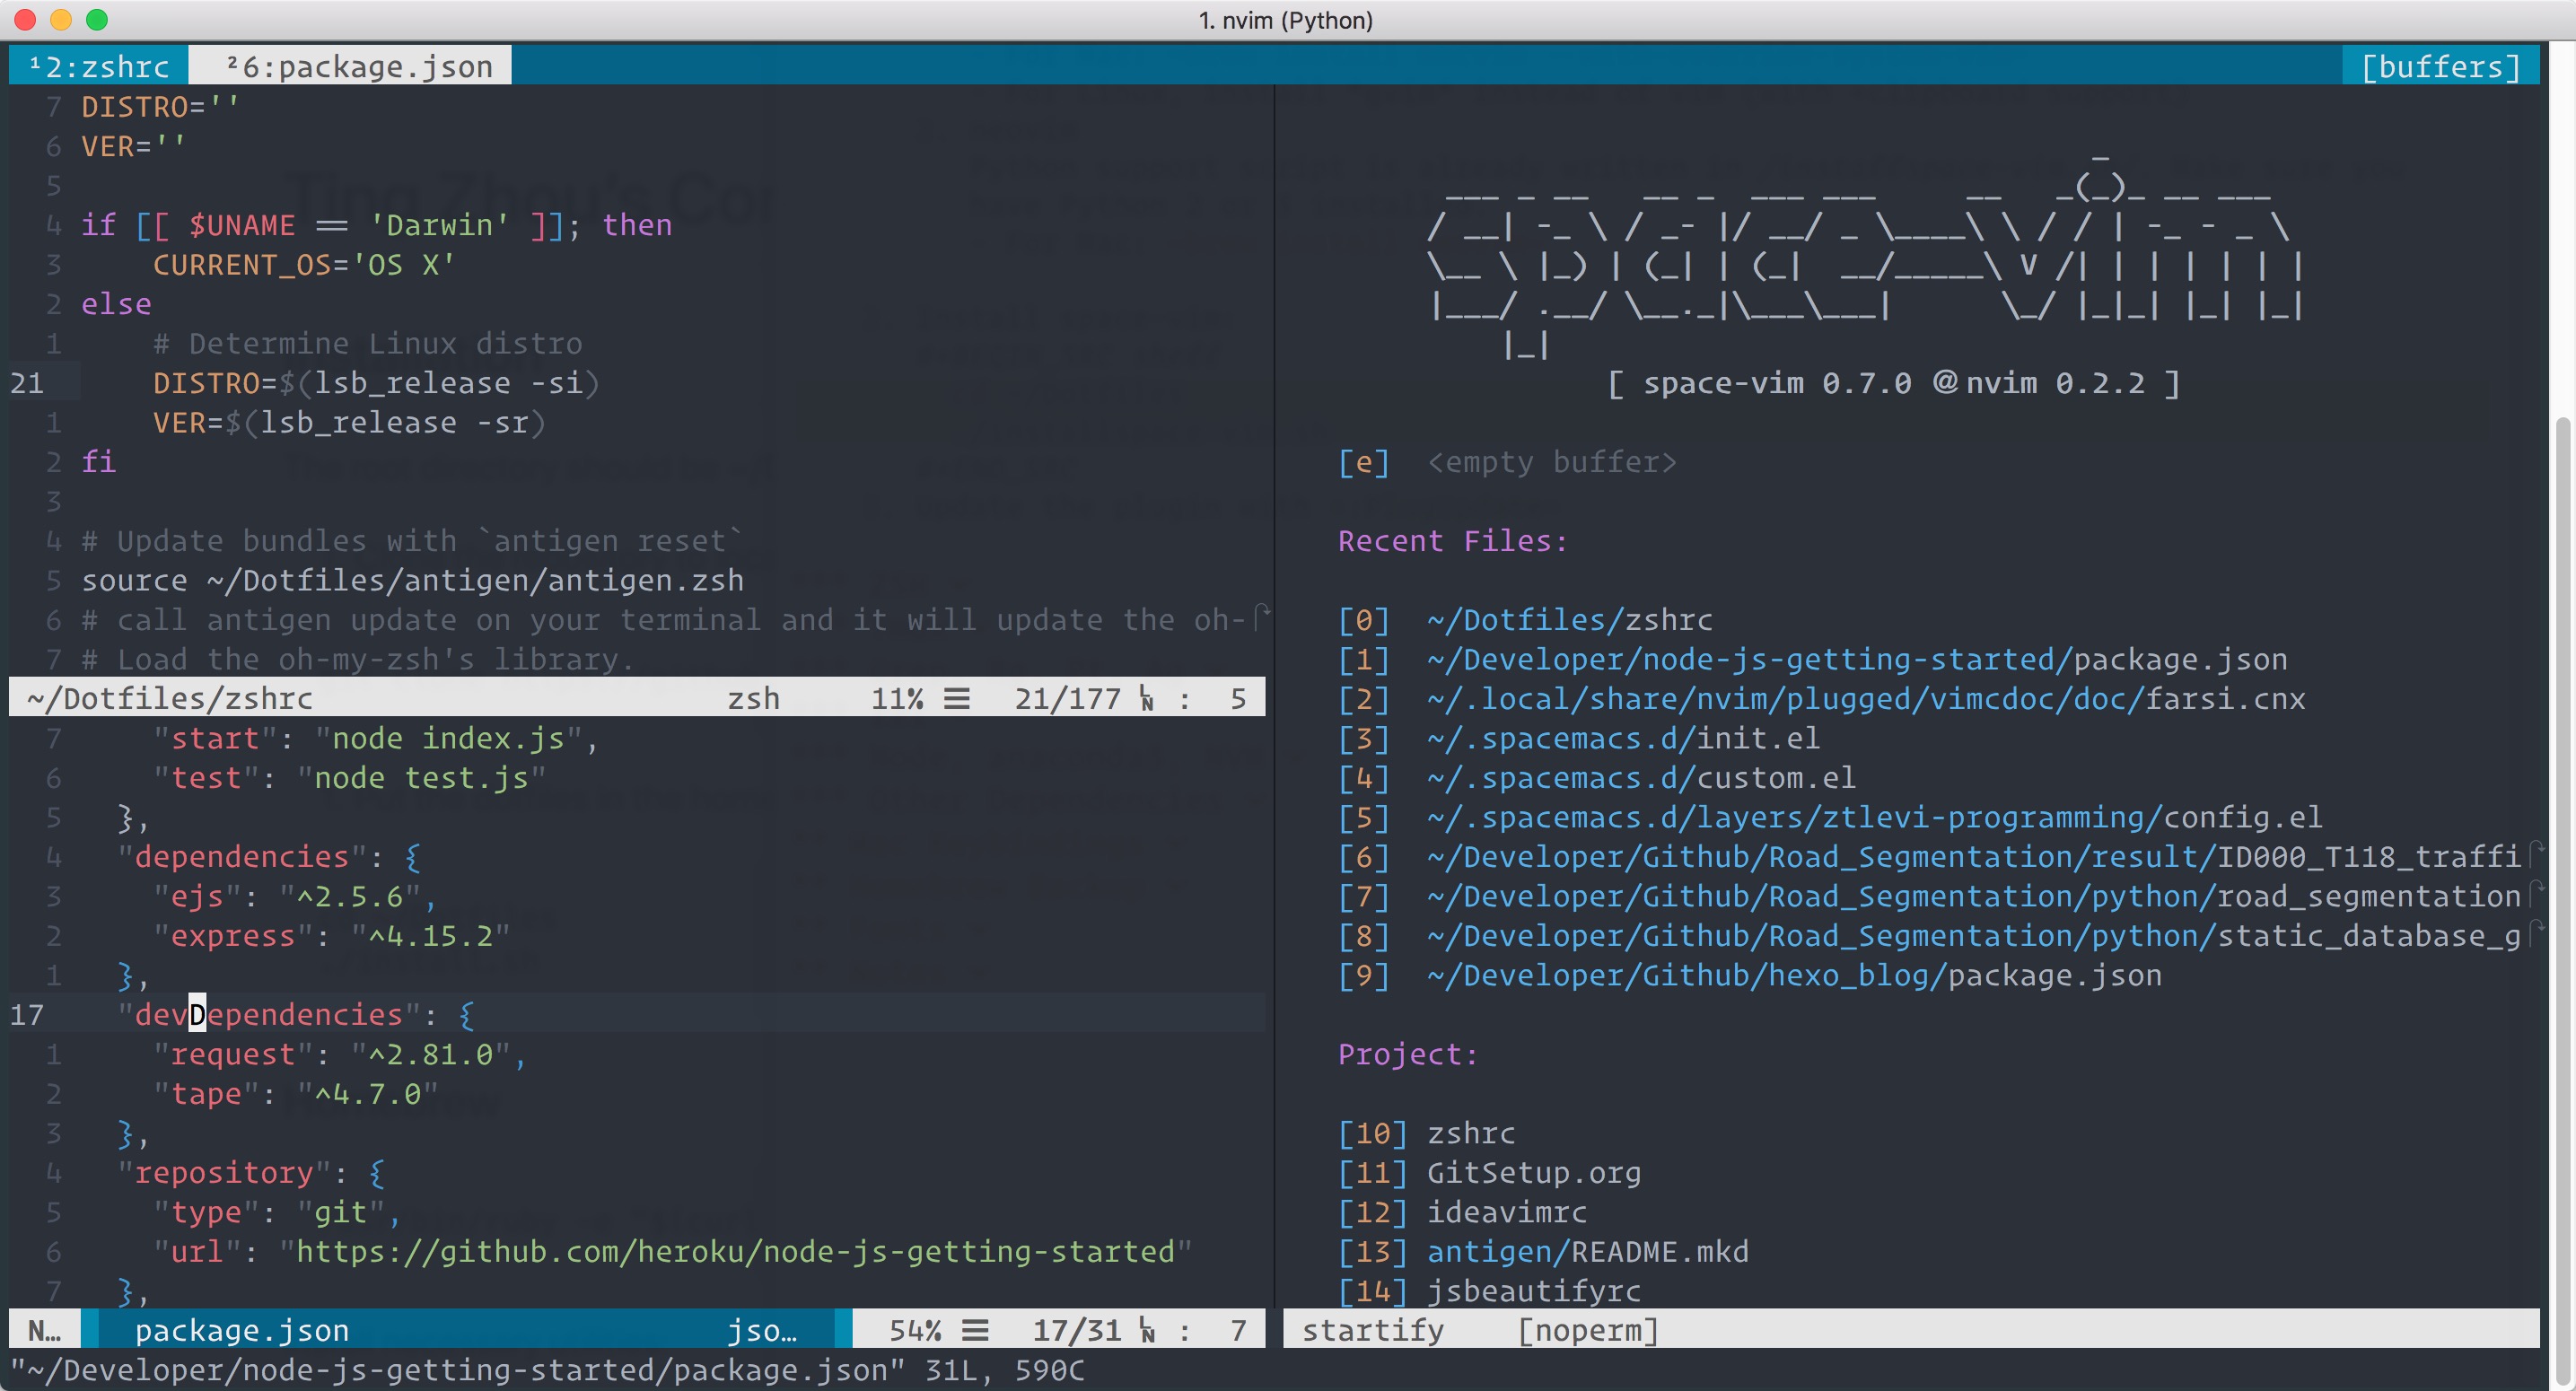
The root directory should be ~/Dotfiles/
- Clone the repository to local machine:
git clone https://github.com/ztlevi/Dotfiles.git ~/Dotfiles - Install GNU stow
# OSX
brew install stow
# Ubuntu
sudo apt install stow
- Put the dotfiles in the home directory:
cd ~/Dotfiles
./install.sh
/usr/bin/ruby -e "$(curl -fsSL https://raw.githubusercontent.com/Homebrew/install/master/install)"Install necessary utilities:
brew install git curl wget- Install git, vim/neovim, curl first.
- vim
vim --versionto check your vim has +clipboard and +python/python3 support- For Mac:
brew install macvim --with-override-system-vim - For Linux, install gvim instead of vim (with +clipboard support)
- For Mac:
- neovim
Python support script is already written in installspace-vim.sh. Make sure you have Python 2 or 3 installed.
- For Mac:
brew install neovim
- For Mac:
- vim
- Install space-vim:
cd ~/Dotfiles
./installspace-vim.sh
- Update the plugin with
:PlugUpdate - Note: Python3 must be enabled before updating remote plugins
If Deoplete was installed prior to Python support being added to Neovim,
:UpdateRemotePluginsshould be executed manually in order to enable auto-completion. - Add clipboard support on Ubuntu by installing:
sudo apt install xclip
- Install zsh first, instructions here.
# set zsh as default, this one does not need root
chsh -s $(which zsh)
# alternative for Linux
sudo usermod -s /usr/bin/zsh <username>
- Install oh-my-zsh:
sh -c "$(curl -fsSL https://raw.githubusercontent.com/robbyrussell/oh-my-zsh/master/tools/install.sh)" - Some instructions is in OhMyZSH.org
- Install Tumx using system package manager like homebrew, apt-get, pacman.
brew install tmux - tmux-yank package requirements here.
Mac:
brew install reattach-to-user-namespaceLinux:pacman -S xsel - Key bindings
- tmux-resurrect: prefix + Ctrl-s - save, prefix + Ctrl-r - restore
- prefix: I set it to C-x
- prefix + I: Installs new plugins from GitHub or any other git repository. Refreshes TMUX environment
- prefix + U: updates plugin(s)
- prefix + alt + u: remove/uninstall plugins not on the plugin list
brew install grep ripgrep- Homebrew or Linuxbrew
brew install fzf

# To install useful key bindings and fuzzy completion:
$(brew --prefix)/opt/fzf/install
Use Node Installer to install node.js.
- Optional:
Use nvm as node version manager.
nvm install 8nvm use 8 # set the node8 as default node nvm alias default 8 # OR # set the system as default node nvm alias default system
- Follow the link
.aspell.lang.pws: The second part of simply a word list with one word per line..aspell.lang.prepl: The second part simply a list of replacements with one replacement per line with each replacement pair has the following format:misspelled_word correction
- System package manager dependencies:
brew install fd ranger p7zip screenfetch asciinema tree pandoc - NPM dependencies here, and you will need to install python.
npm i -g npm yarn prettier trash-cli live-server hexo-cli reveal-md phantomjs \ eslint babel-eslint eslint-plugin-babel eslint-plugin-react \ eslint-plugin-import eslint-plugin-prettier eslint-config-prettier \ typescript tslint - Pip
Make sure your pip is the one you want to use. Options are from anaconda, python2 or python3.
python3 -m pip install pipenv 'python-language-server[all]'Note: (optional) If you are using Python 2.7 and want to enable multiprocessing:
python2 -m pip install futures - C++
brew install gcc@7 cmake ninja clang-format - Latex
brew cask install basictex sudo tlmgr update --self sudo tlmgr install latexmk multirow - Mac quick look (Preview)
brew cask install qlcolorcode qlstephen qlmarkdown quicklook-json webpquicklook suspicious-package quicklookase qlvideo - Cask applications
# Install jdk8
brew cask install java

# anaconda
brew cask install anaconda

# Install Others
brew cask install typora slack skype dropbox neteasemusic obs iina firefox google-chrome kap \
    cakebrew keycastr intel-power-gadget karabiner-elements \
    iterm2 jetbrains-toolbox visual-studio-code virtualbox gitbook-editor vimr
Brew cask upgrade:
brew tap buo/cask-upgrade
# Upgrade with
brew cu
Settings are described in Mac\_keybindings/ReadMe.md
- Backup
brew bundle dump --force --file="~/Library/Mobile Documents/com~apple~CloudDocs/PackageManagerLists/Brewfile" - Restore
brew bundle --file="~/Library/Mobile Documents/com~apple~CloudDocs/PackageManagerLists/Brewfile" - Clean up
brew bundle cleanup --file="~/Library/Mobile Documents/com~apple~CloudDocs/PackageManagerLists/Brewfile"
- Roboto Mono for Powerline
- Ubuntu Mono and the one for Powerline
- Source Code Pro for Powerline
- Operator Mono and Lig
- Monofur for Powerline
- Menlo - Regular
- Xmodmap file is used for key tweak on linux.
- NPM global packages’ path is set to be ~/.npm-global

